Tool School: Straight Pins
Taking the time to identify that “most perfect” pin for each application can make all of the difference in our finished work. Learn more about our variety of straight pins.
What are they?
The devil is in the details. Isn’t that what they say? How can that possibly apply to us? Just think about what we do when we sew. We spend hours selecting a delicious design or the perfect pattern. The same amount of time is spent finding the most fabulous fabric (and no, it’s not in your stash) and some awesome thread. And then after all of that it’s the details of measuring, marking and cutting our fabric to create those fabulous fashion, elegant heirloom, quintessential quilt or curiously clever craft projects. And we go through great effort to make each component piece precisely perfect. So how do we hold all of those little fabric gems we’ve cut in the perfect position while we apply our stitches? Devilishly detailed and sharp little pins, that’s how. And despite all the time spent identifying patterns, designs, fabrics and threads we are still not done. We need to find the best pin for the application. And there are many different styles and sizes of pins to choose from. The design features of each style straight pin makes one more suitable than another for any particular application. There are also a few overarching principles that apply to any pin style selection.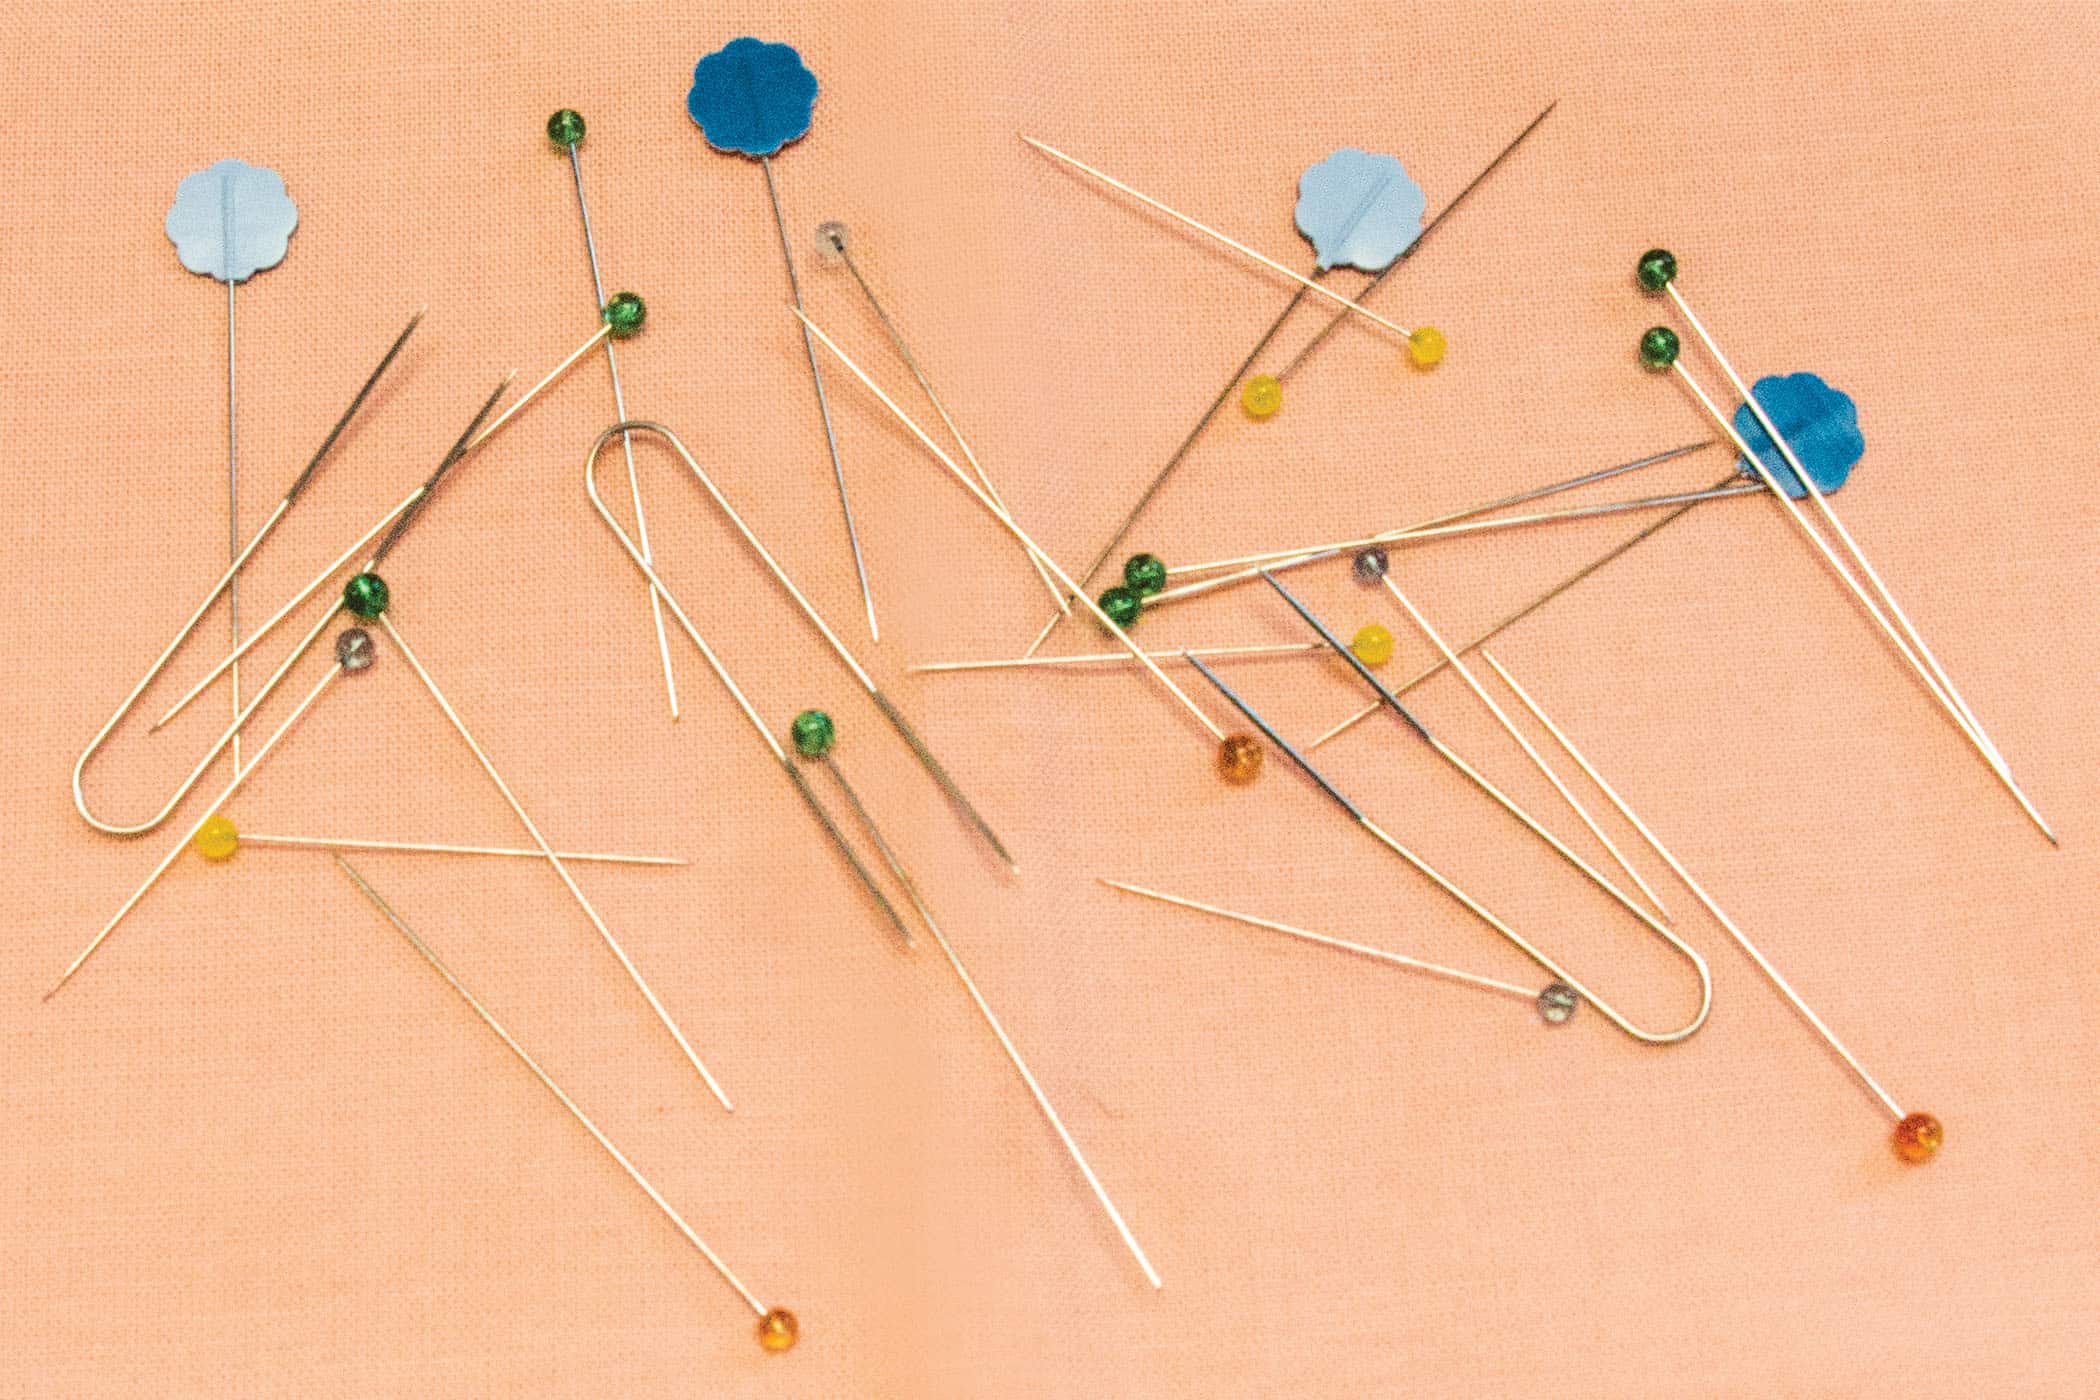
Size
As with sewing machine needles, we should always use the finest needle possible to be the least intrusive with our fine fabrics. If our pins are buckling as we insert them though, it’s probably a sign that we need to go to a heavier shaft. They shouldn’t bend. Length is important too. If we’re pinning several layers of fabric together as in quilting or pinning large seam allowances we’ll need to use longer pins. For appliqué, on the other hand, we can (and should) get away with shorter pins.
Pin heads
The pin heads are very important. That’s the handle that allows us to effectively manipulate the pins. We have tiny metal heads, plastic heads, glass heads, and flat heads. Each provides specific advantages so pick the one that best suits your needs. If you’re planning on ironing over your pins it’s a good idea to verify their heat resistance before using them.
Points
This is the business end of the pin. Needless to say it should be clean and sharp. The extra-sharp category also exists for special needs. Dull, bent or corroded (really old) needles damage our fabric and test our patience. When in doubt toss it. This is not the place to get stingy.
What do they do?
We use straight pins to hold patterns in place, bind fabric pieces, hold seams together, anchor trims, beads or other embellishments in place and even block knitted products. Over time several styles of pins have evolved to satisfy the specific demands all of these different applications. For each of these applications there is a “best” straight pin design that will give us the best results.
Flower Head Pins
The defining feature is a large flat head. That makes it both easy to see and manipulate. It is especially well suited for pinning lace, eyelets or loose woven embellishments to fabric because the head will not slip through enlarged openings. You can also lay rulers flat on them when marking or cutting. The heads are not iron proof so keep them away from the heat. These pins come in three different diameters to provide strength without stressing your fabric.
- Extra fine: Very fine shaft and acute point for delicate fabrics
- Fine: Thin shaft and acute point for fine fabrics like silk or satin
- Regular: Same acute point but a little stronger and longer shaft for multiple layers of heavier fabrics. Great for quilting.
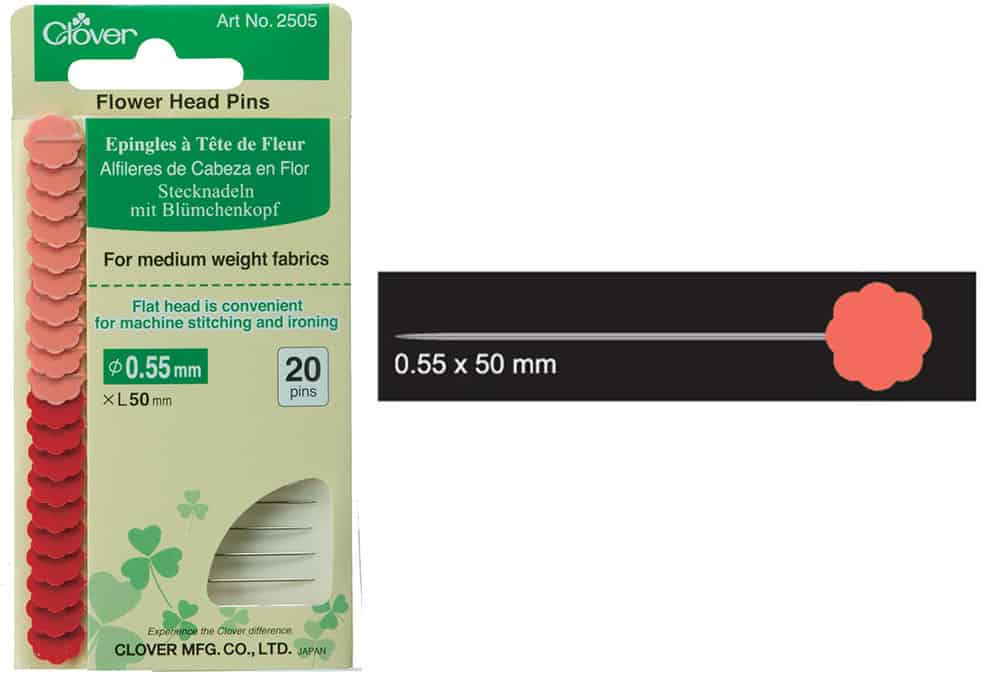
Flower Head Pins
Art. No 2505
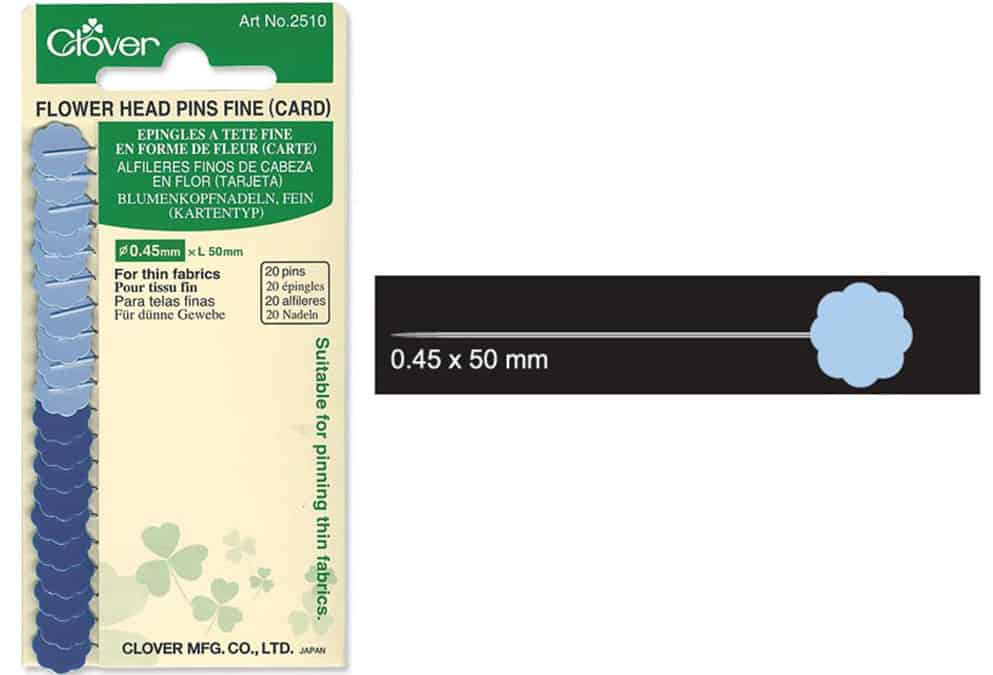
Flower Head Pins (Fine)
Art. No 2510

Flower Head Pins Boxed
Art. No 2506
Appliqué Pins
These little gems are perfect for applying appliqués, trims, beads, or sequins to your project. The sharp, tapered point prevents damage to your fabric. The small 3/4″ size allows detailed work when many pins are required and space is limited.
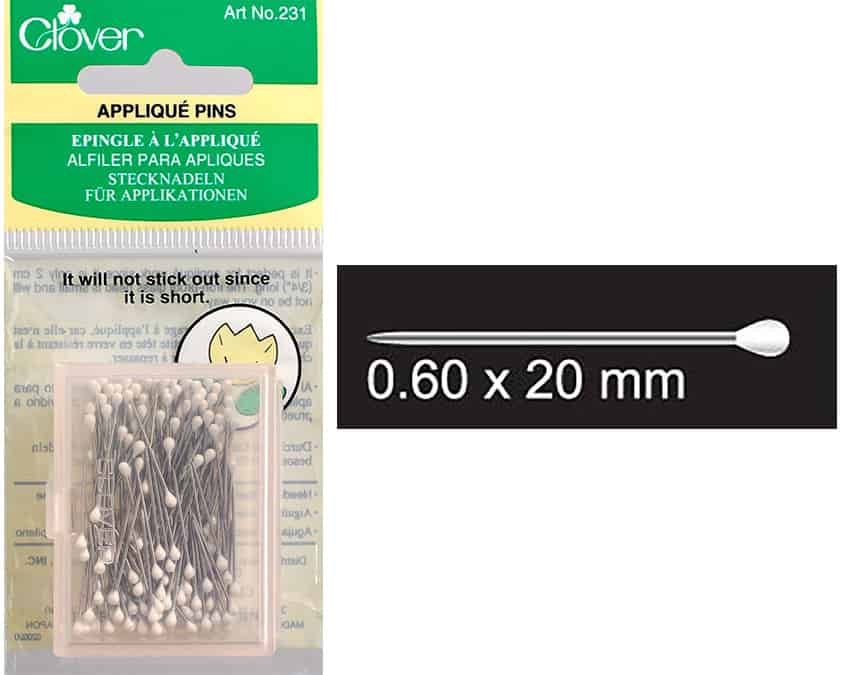
Applique Pins
Art. No 231
Quilting Pins
Quilting pins have a fine point and a smooth shaft to make them fabric friendly. They are longer than many straight pins so they can penetrate several layers of fabric and stay in place. Quilting Pins are available in two shaft sizes, fine for more delicate fabrics and regular for heavier fabrics. They have glass heads so they can be ironed.

Quilting Pin
Art. No 2508
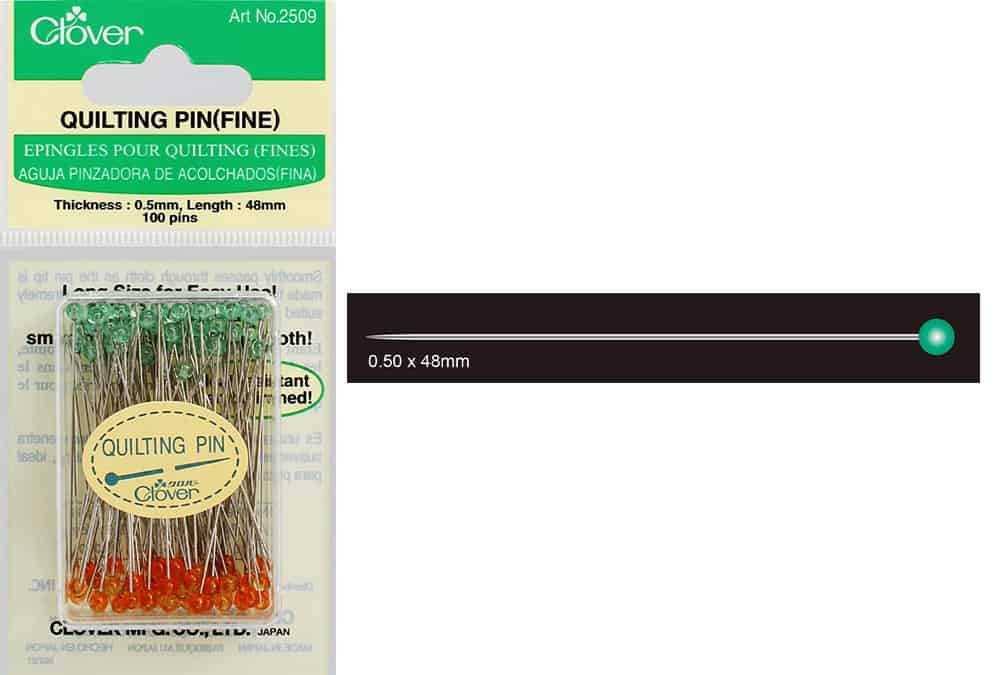
Quilting Pin (Fine)
Art. No 2509
Patchwork Pins
Patchwork pins have very fine points for use on the most delicate fabrics like silks and satins. Two sizes are available, fine and extra fine. They have glass heads so they can be ironed.

Patchwork Pins
Art. No 232

Patchwork Pins (Fine)
Art. No 2507
Silk Pins
Silk pins have very fine points and a shorter length for use on fine fabrics. Glass heads so iron safe.
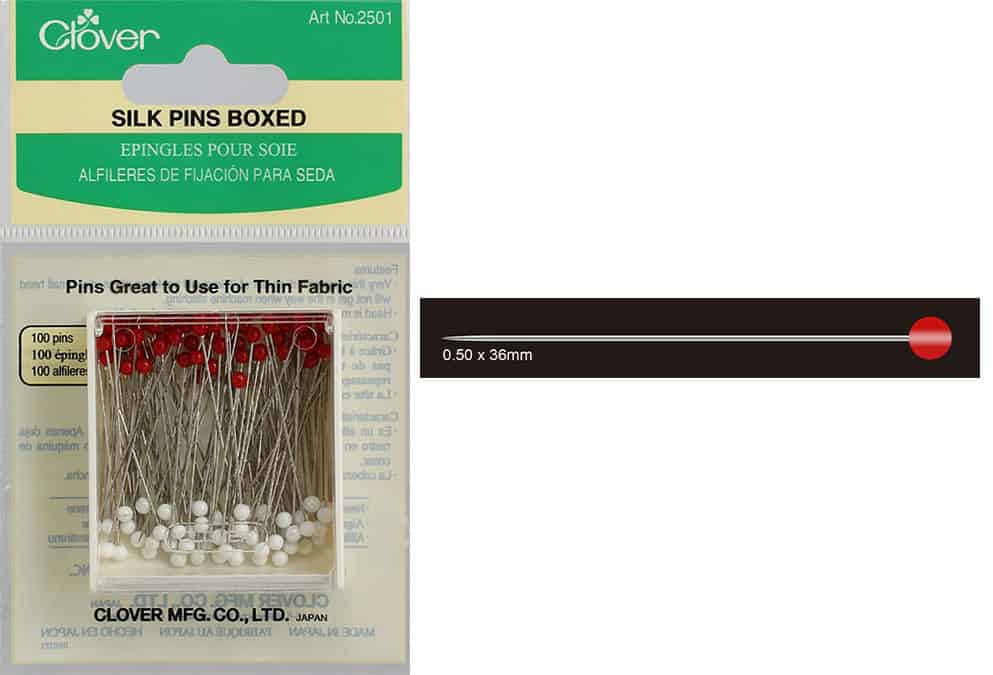
Silk Pins
Art. No 2501
Marbled Glass Head Pins
Marbled Glass Head Pins are a little shorter and finer than the quilting pins. Sharp and thin, they are ideally suited for dress making applications where fine fabrics are being used. They have glass heads so they are iron safe.
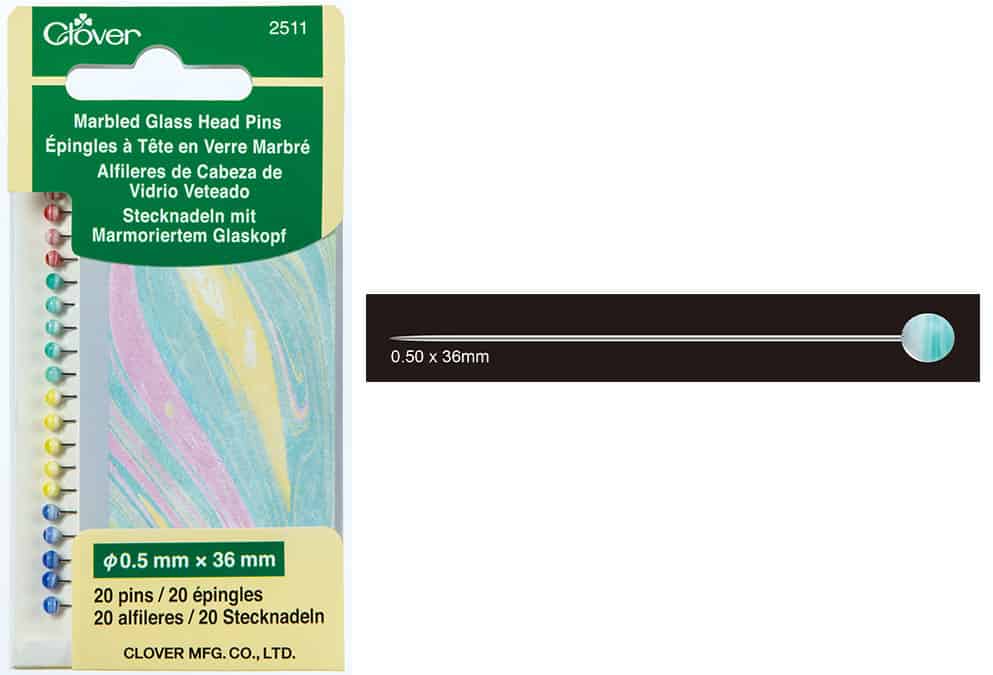
Marbled Glass Head Pins
Art. No 2511
Fork Pins
Fork pins have two shafts connected by a turned up end. This allows you to pin fabrics without lifting them. Perfect for securing hard to handle or slippery lining materials. They are great for positioning stripe or plaid fabric pattern alignment prior to sewing in place. They’ve also found a new home in creative contemporary quilting where matching unique shapes is required. Blocking knitted garments? No problem. We also have a Fork Blocking Pin that is one size larger and works great with knitted or crocheted fabrics.

Fork Pins
Art. No 240
How do I share them?
If you think about it you’ll realize that straight pins have applications to almost everything we do in sewing. And that, unfortunately, results in widespread frustration by the unknowing. Everyone uses them but not everyone understands the unique features each style enables. Right tool for the right job, right? Education is the key. Put together some attractive story boards showing the applications of each style pin with a number of different fabrics and applications. This will serve as a dedicated educational tool to all who pass within sight. You may also download our Pin Guide which can be reprinted for your distribution. It’s a great handout for all of your classes too. Remember, an enabled sewer is a greedy sewer. Education is the key.
Watch Tool School here:
Sign up for Tool School, our bi-monthly e-newsletter.
Visit our Tool School website!
Stay connected with Clover on Facebook | Twitter | Instagram | Pinterest | YouTube | Ravelry
[mc4wp_form id=”11289″]
