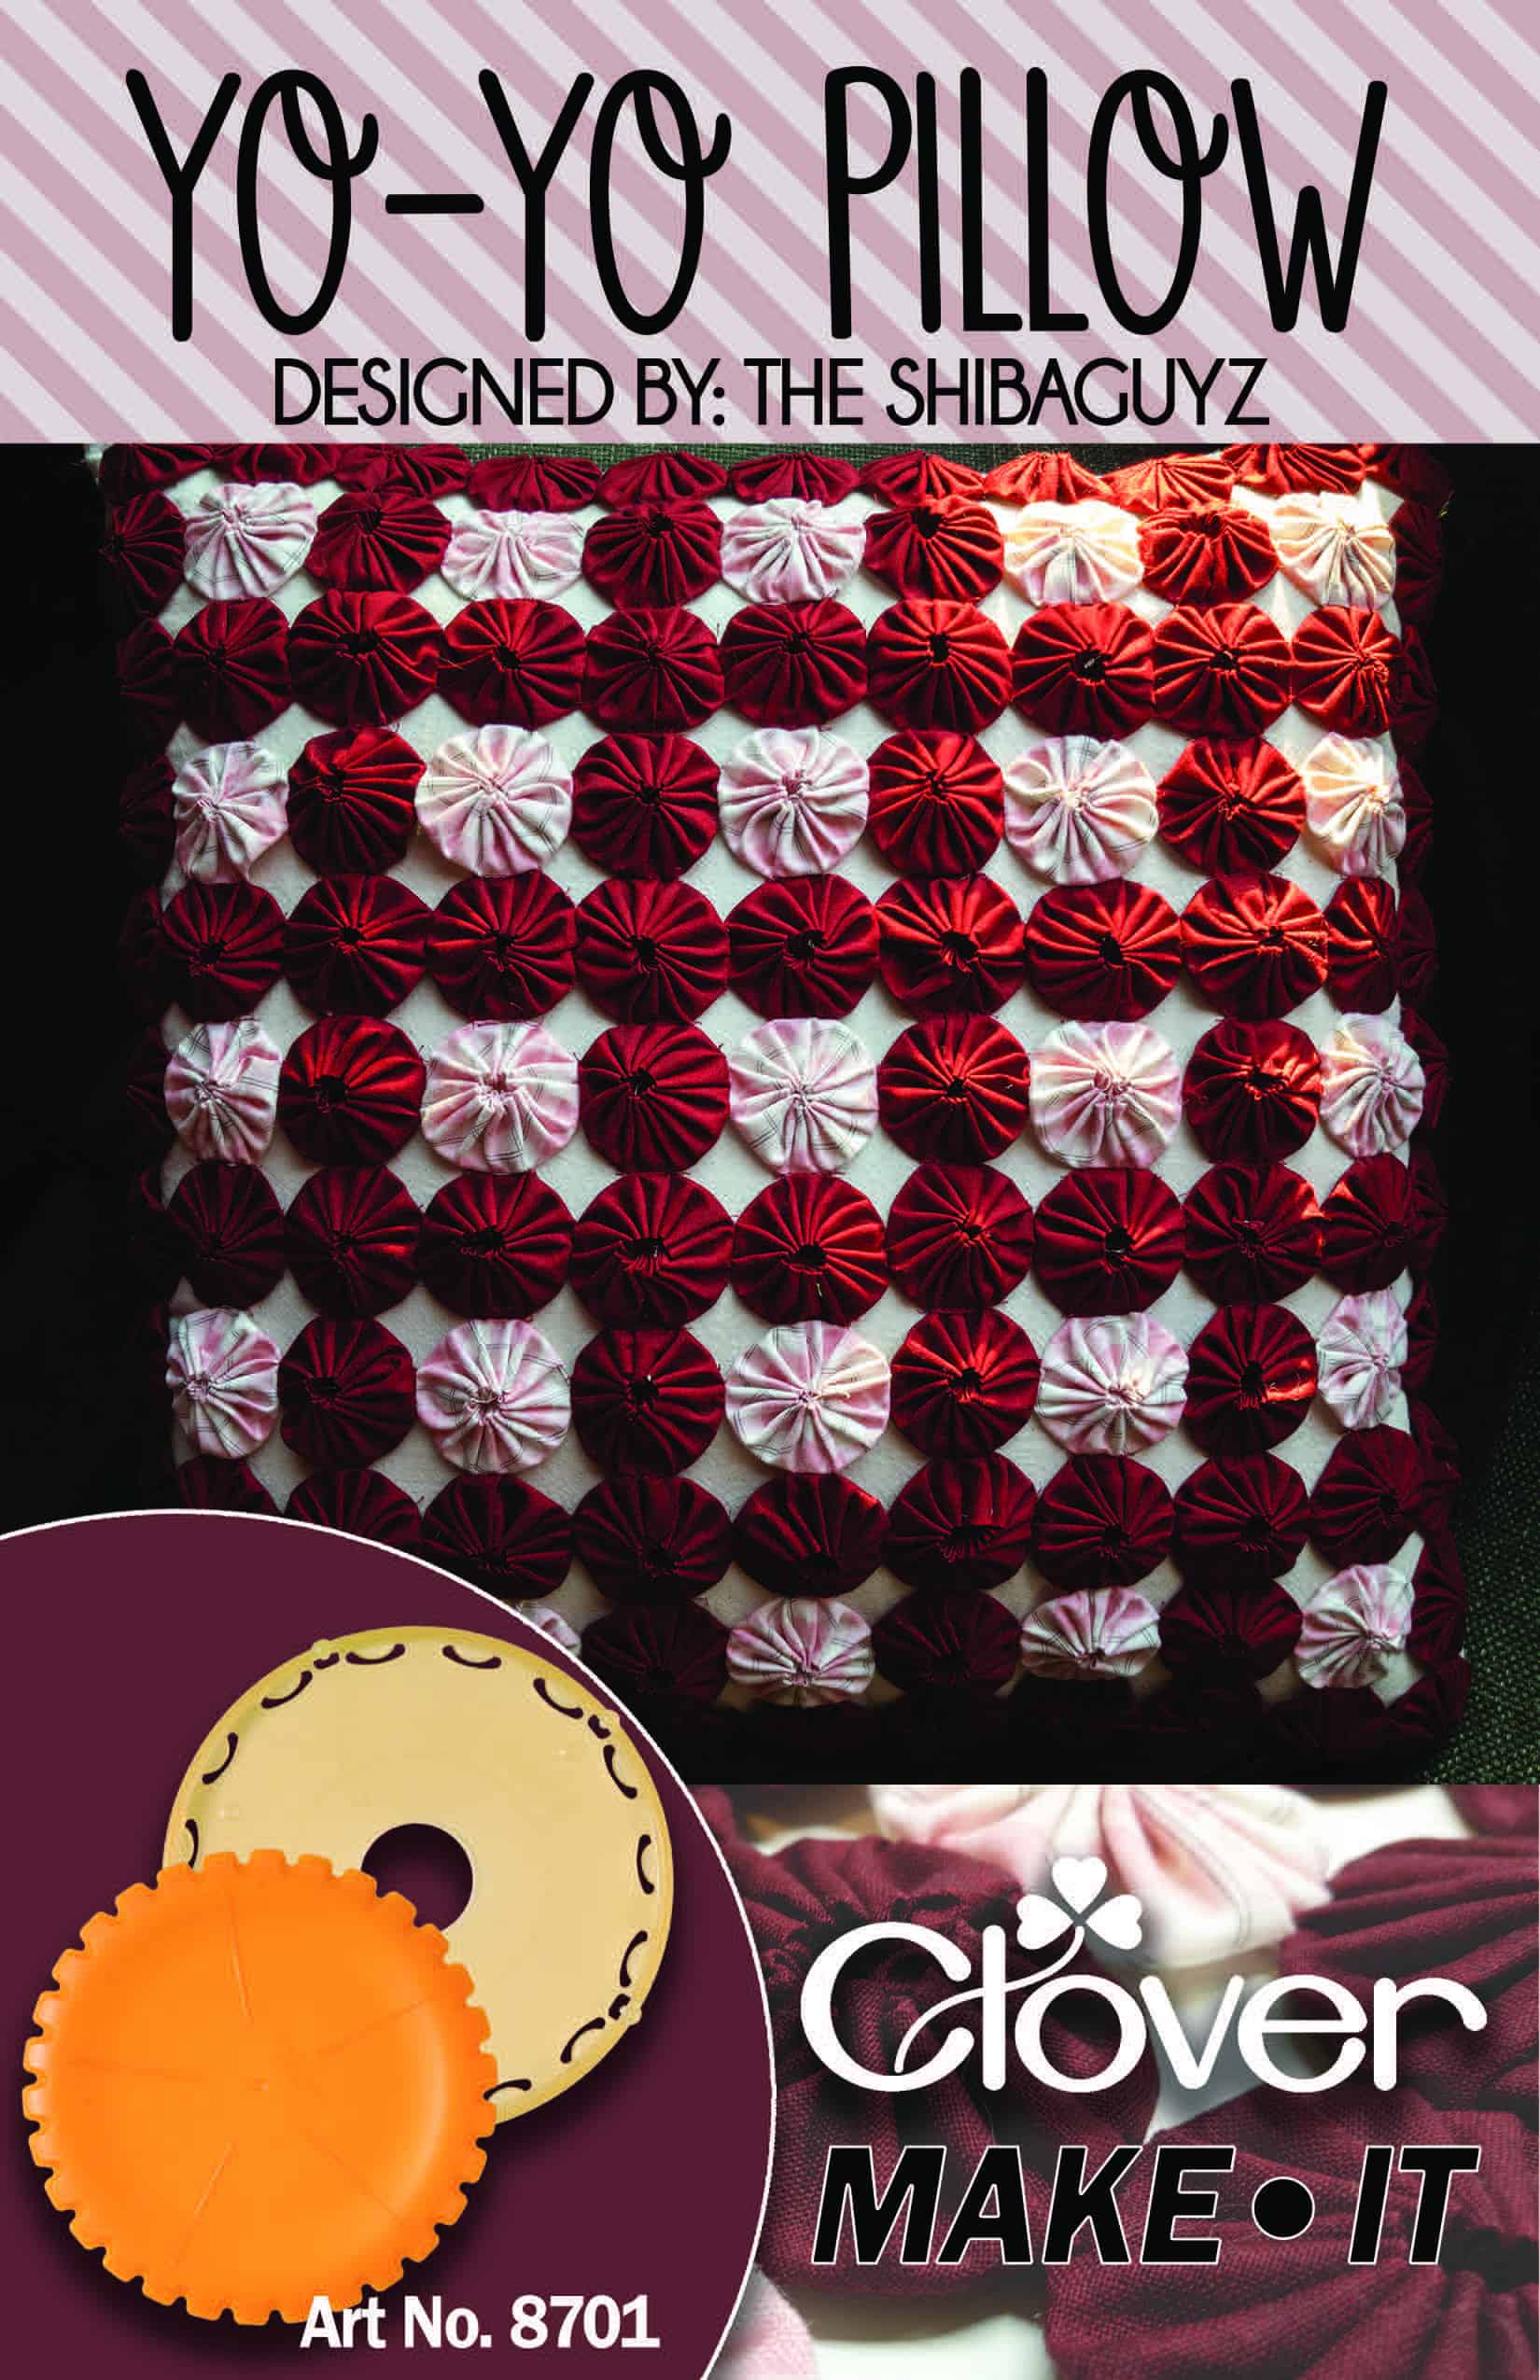
Yo-Yo Pillow Tutorial
Yo-Yos are the ultimate way to use up small pieces of fabric have been a part of American culture since the 1920’s but really hit their hay day during the depression era.
We remember seeing, and sleeping on, pillows and bedspreads made from a potpourri of scrap fabric that our grandmothers painstakingly cut into circles and hand sewed into small purse-shaped puffs. There is just something about Yo-Yos that cries out “home”.
We have to admit, we’ve not been big fans of the original method our grandmothers used to make yo-yo projects. Between fussing to keep the fabric on the circular template and trying to make the stitches “just so” to make a perfect little yo-yo, we just couldn’t bring ourselves to make more than a few.
But, by locking the fabric in place and adding guides to place the stitches properly, this clever little tool from Clover makes the whole process so quick and easy… we got a little carried away while watching a movie one night.
This project started out as a small mat under a hand turned bowl on our mantle and ended up a full-on feature pillow on our couch. We can definitely see how easy it would be to grab a pile of scrap fabric and make a quilt in no time.

What you’ll need
Tools
- Yo-Yo Maker – Large (Art. No 8701) – purchase on Clover Website or Amazon
- Neutral shade of thread, Aurifil 50 wt cotton
- Black Gold Applique Needles (Art. No 4971) – purchase on Clover Website or Amazon
- Jumbo Wonder Clips (Art. No 3157) – purchase on Clover Website or Amazon
- Patchwork Scissors – Small (Art. No 493/S) – purchase on Clover Website or Amazon
- Fabric
Cuts:
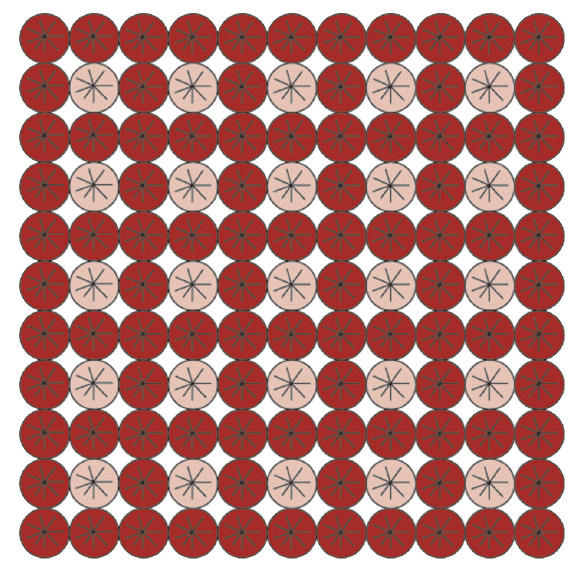
- 96, 4.5” red squares (or any darker color)
- 25, 4.5” pink squares (or any lighter color)
- One, 20×20” red fabric square for the back of the pillow
- One, 20×20” white fabric square for the front of the pillow
- One 20” square pillow insert
Instructions
Follow the instructions included in the Yo-Yo Maker and make 96 red yo-yos and 25 pink yo-yos.
Use a whip stitch or ladder stitch to sew two yo-yos together.
Now, sew two yo-yo sets together.
Continue until you have eleven sets sewn together.
Whip stitch or ladder stitch the eleven columns together.
Cut a 20×20” square of red fabric for the back of the pillow.
Cut a 20×20” square of white fabric for the front of the pillow.
With the right sides facing up, center the yo-yo panel on the pillow front fabric and secure with pins or Wonder Clips.
Machine or hand sew the yo-yo panel to the front pillow panel by sewing only through the seams where the yo-yos are joined.

With the right sides facing, pin or clip the back panel to the front of the pillow. Remember to leave an opening for stuffing the pillow insert!
Now, sew the back panel to the front panel using a ½” seam allowance.
Turn the pillow right side out and use a Hera Marker or a turning tool to push the corners all the way out.
Stuff the insert into the pillow casing.
Sew the final seam closed using a ladder stitch.
Fluff your finished creation and admire your handywork!
Tip: You can use any two colors to make this pillow. To achieve the overall effect, use two contrasting colors such as a dark and light.
You can use a print in place of the dark colored fabric for a different look.
For the backing of the pillow, you can use either dark or light fabric depending on your taste.

Watch the video tutorial here:
Yo-Yo Pillow Project PDF
Find the Shibaguyz on Facebook | Twitter | Instagram | Pinterest
Stay connected with Clover on Facebook | Twitter | Instagram | Pinterest | YouTube | Ravelry
[mc4wp_form id=”11289″]