Crochet Wall Hanging with Fringe
Designed by Debbie von Grabler-Crozier
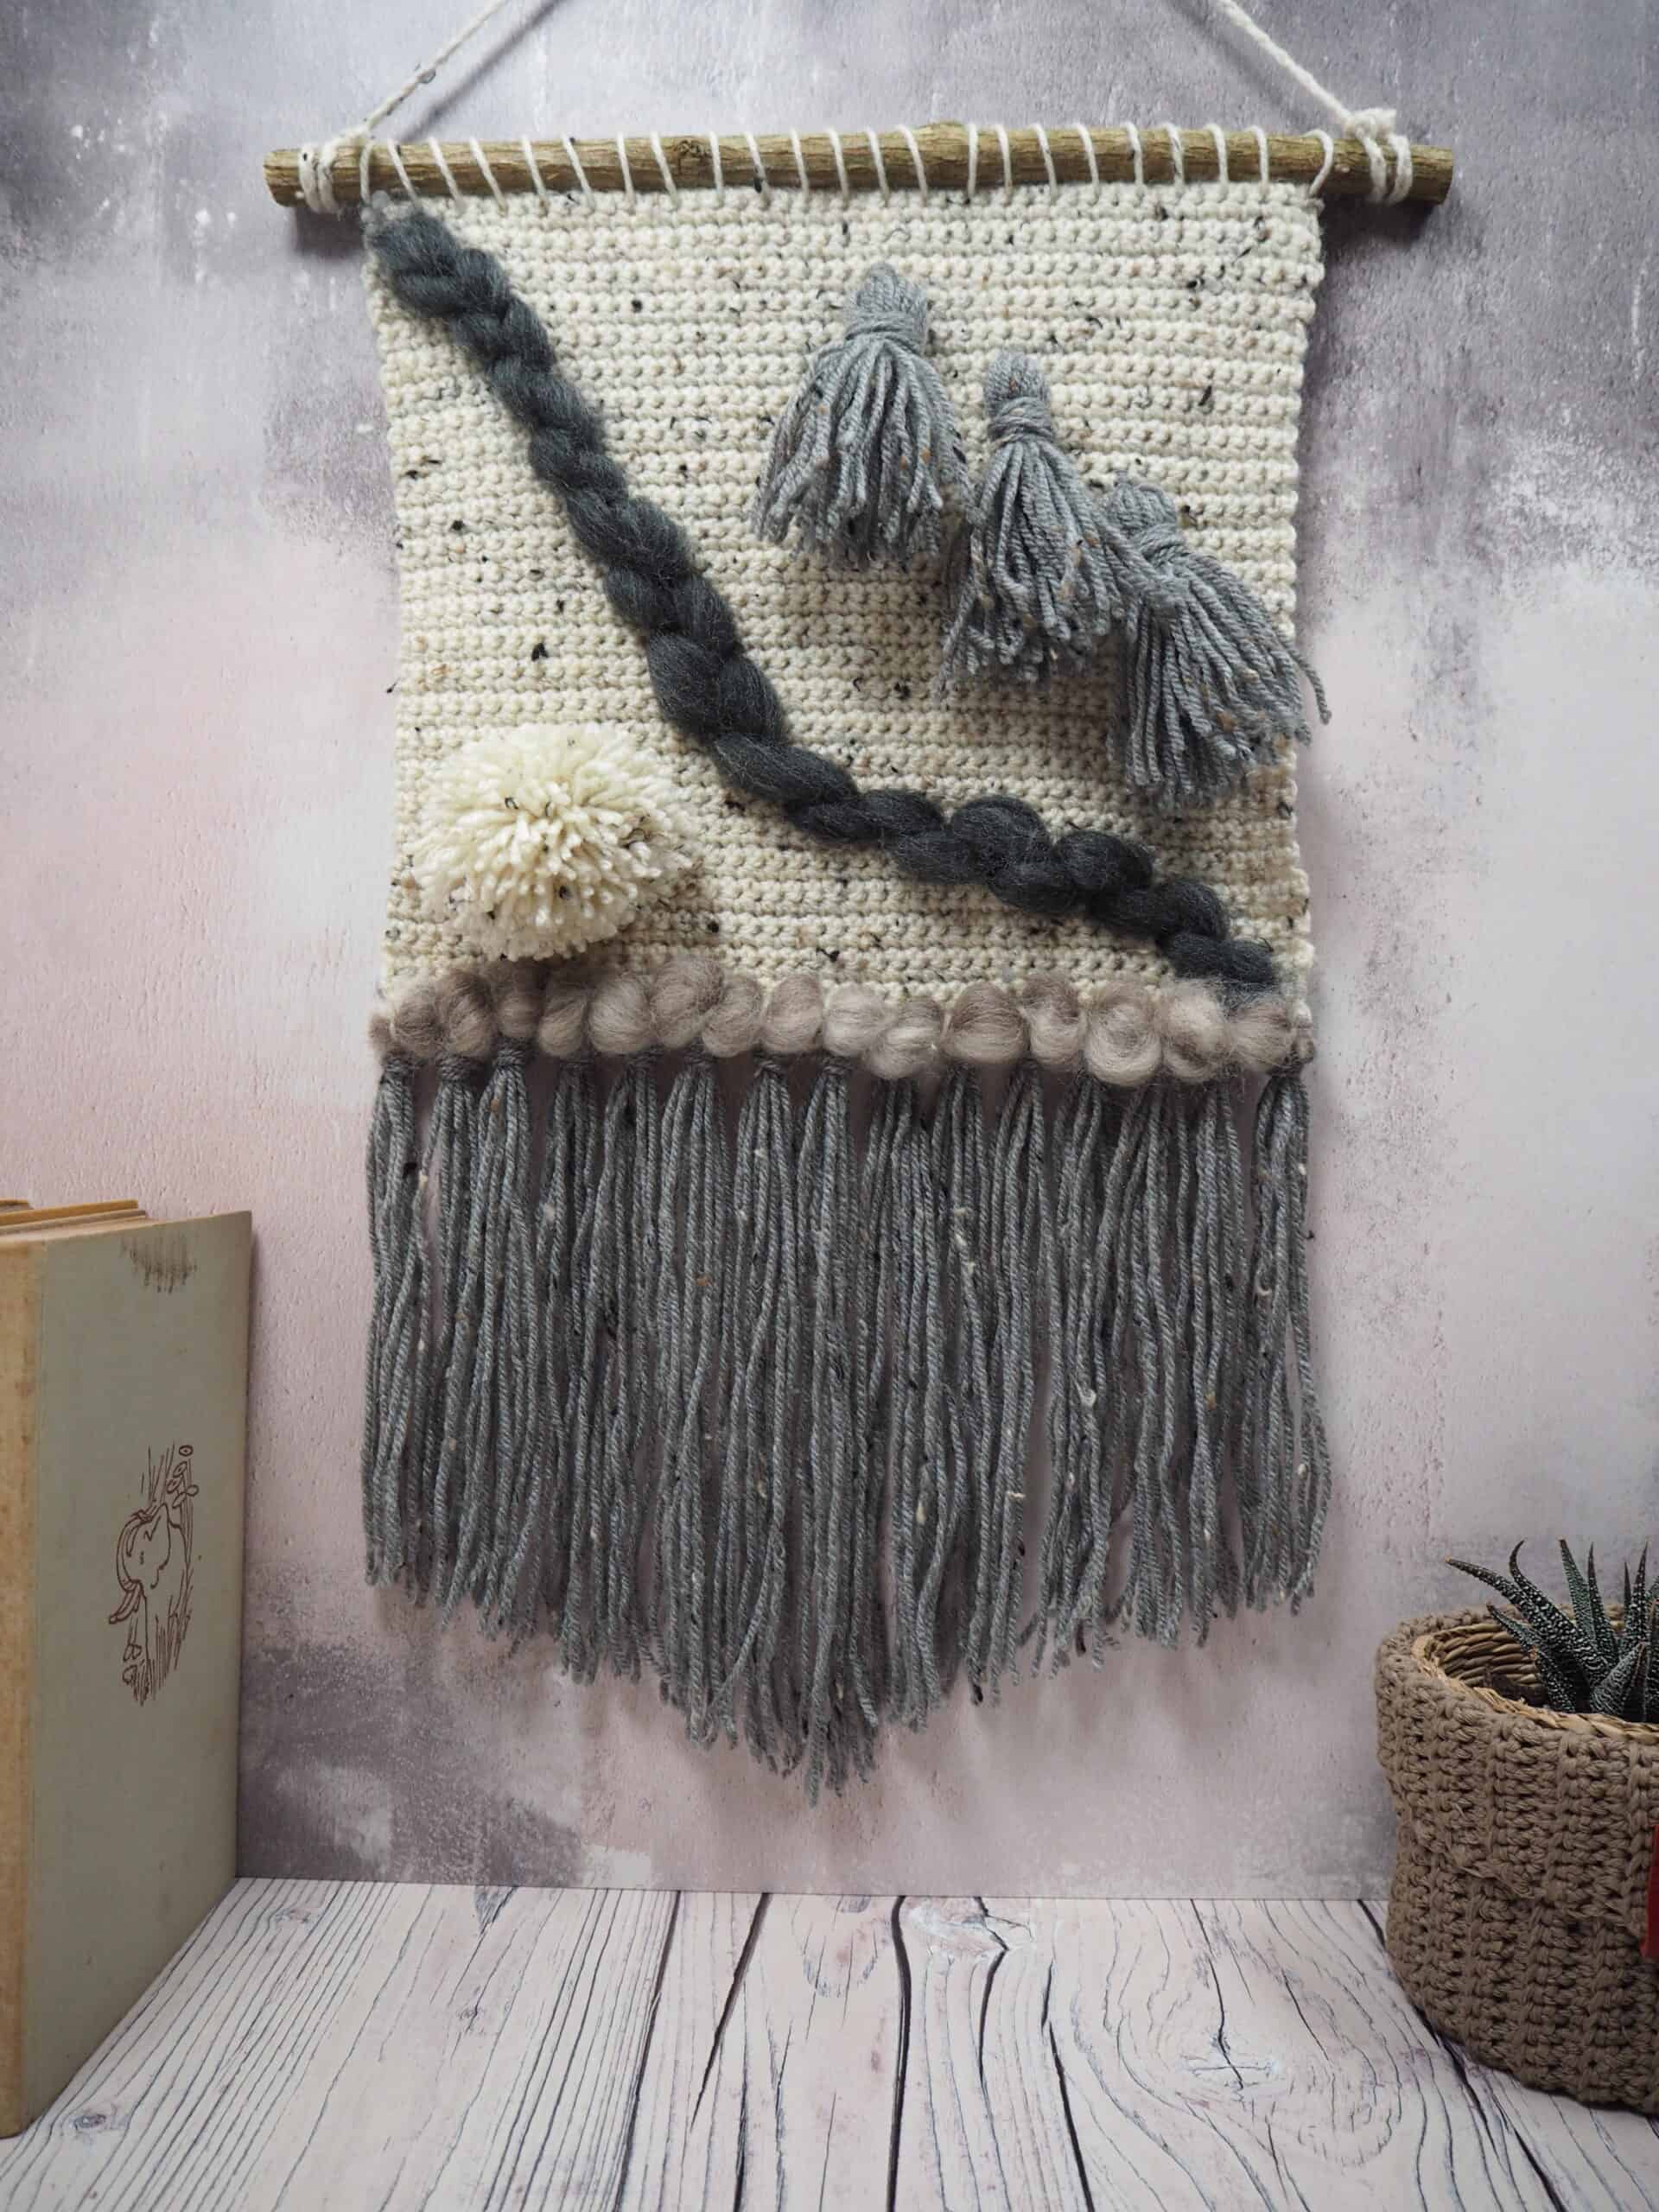
Looking for some easy and creative home decor ideas? Learn how to make a Crochet Wall Hanging with Fringe. Add tassels, pom-poms and a little bit of wool roving to give it a finished look.
Gather these supplies
Tools
- Amour Crochet Hook 5.0mm (Art No. 1047/H)
- Tassel Maker-Large (Art No. 9941)
- Pom-Pom Maker-Large (Art No. 3126)
- Patchwork Scissors-Small(Art No. 493/S)
- Patchwork Scissors-Large(Art No. 493/L)
- Water Erasable Marker (Art No. 515/516)
- Super Jumbo Tapestry Needle (Art No. 3113)
- Your usual crafting needs
Materials
- Yarn:
-
-
- 1x 50g ball natural tweed DK yarn
- 1x 50g ball grey tweed DK yarn
-
-
- Everything Else:
- Wool roving in two colours to coordinate with your main yarn (Tip: the tweed wool has small flecks through it and I let those colours dictate the colour of the wool roving)
- Square of felt 11 1/2″ (30cm) sq.
- Fabric glue
- Wooden stick–about 11 1/2″ (30cm) long and as thick as your thumb
Here’s How
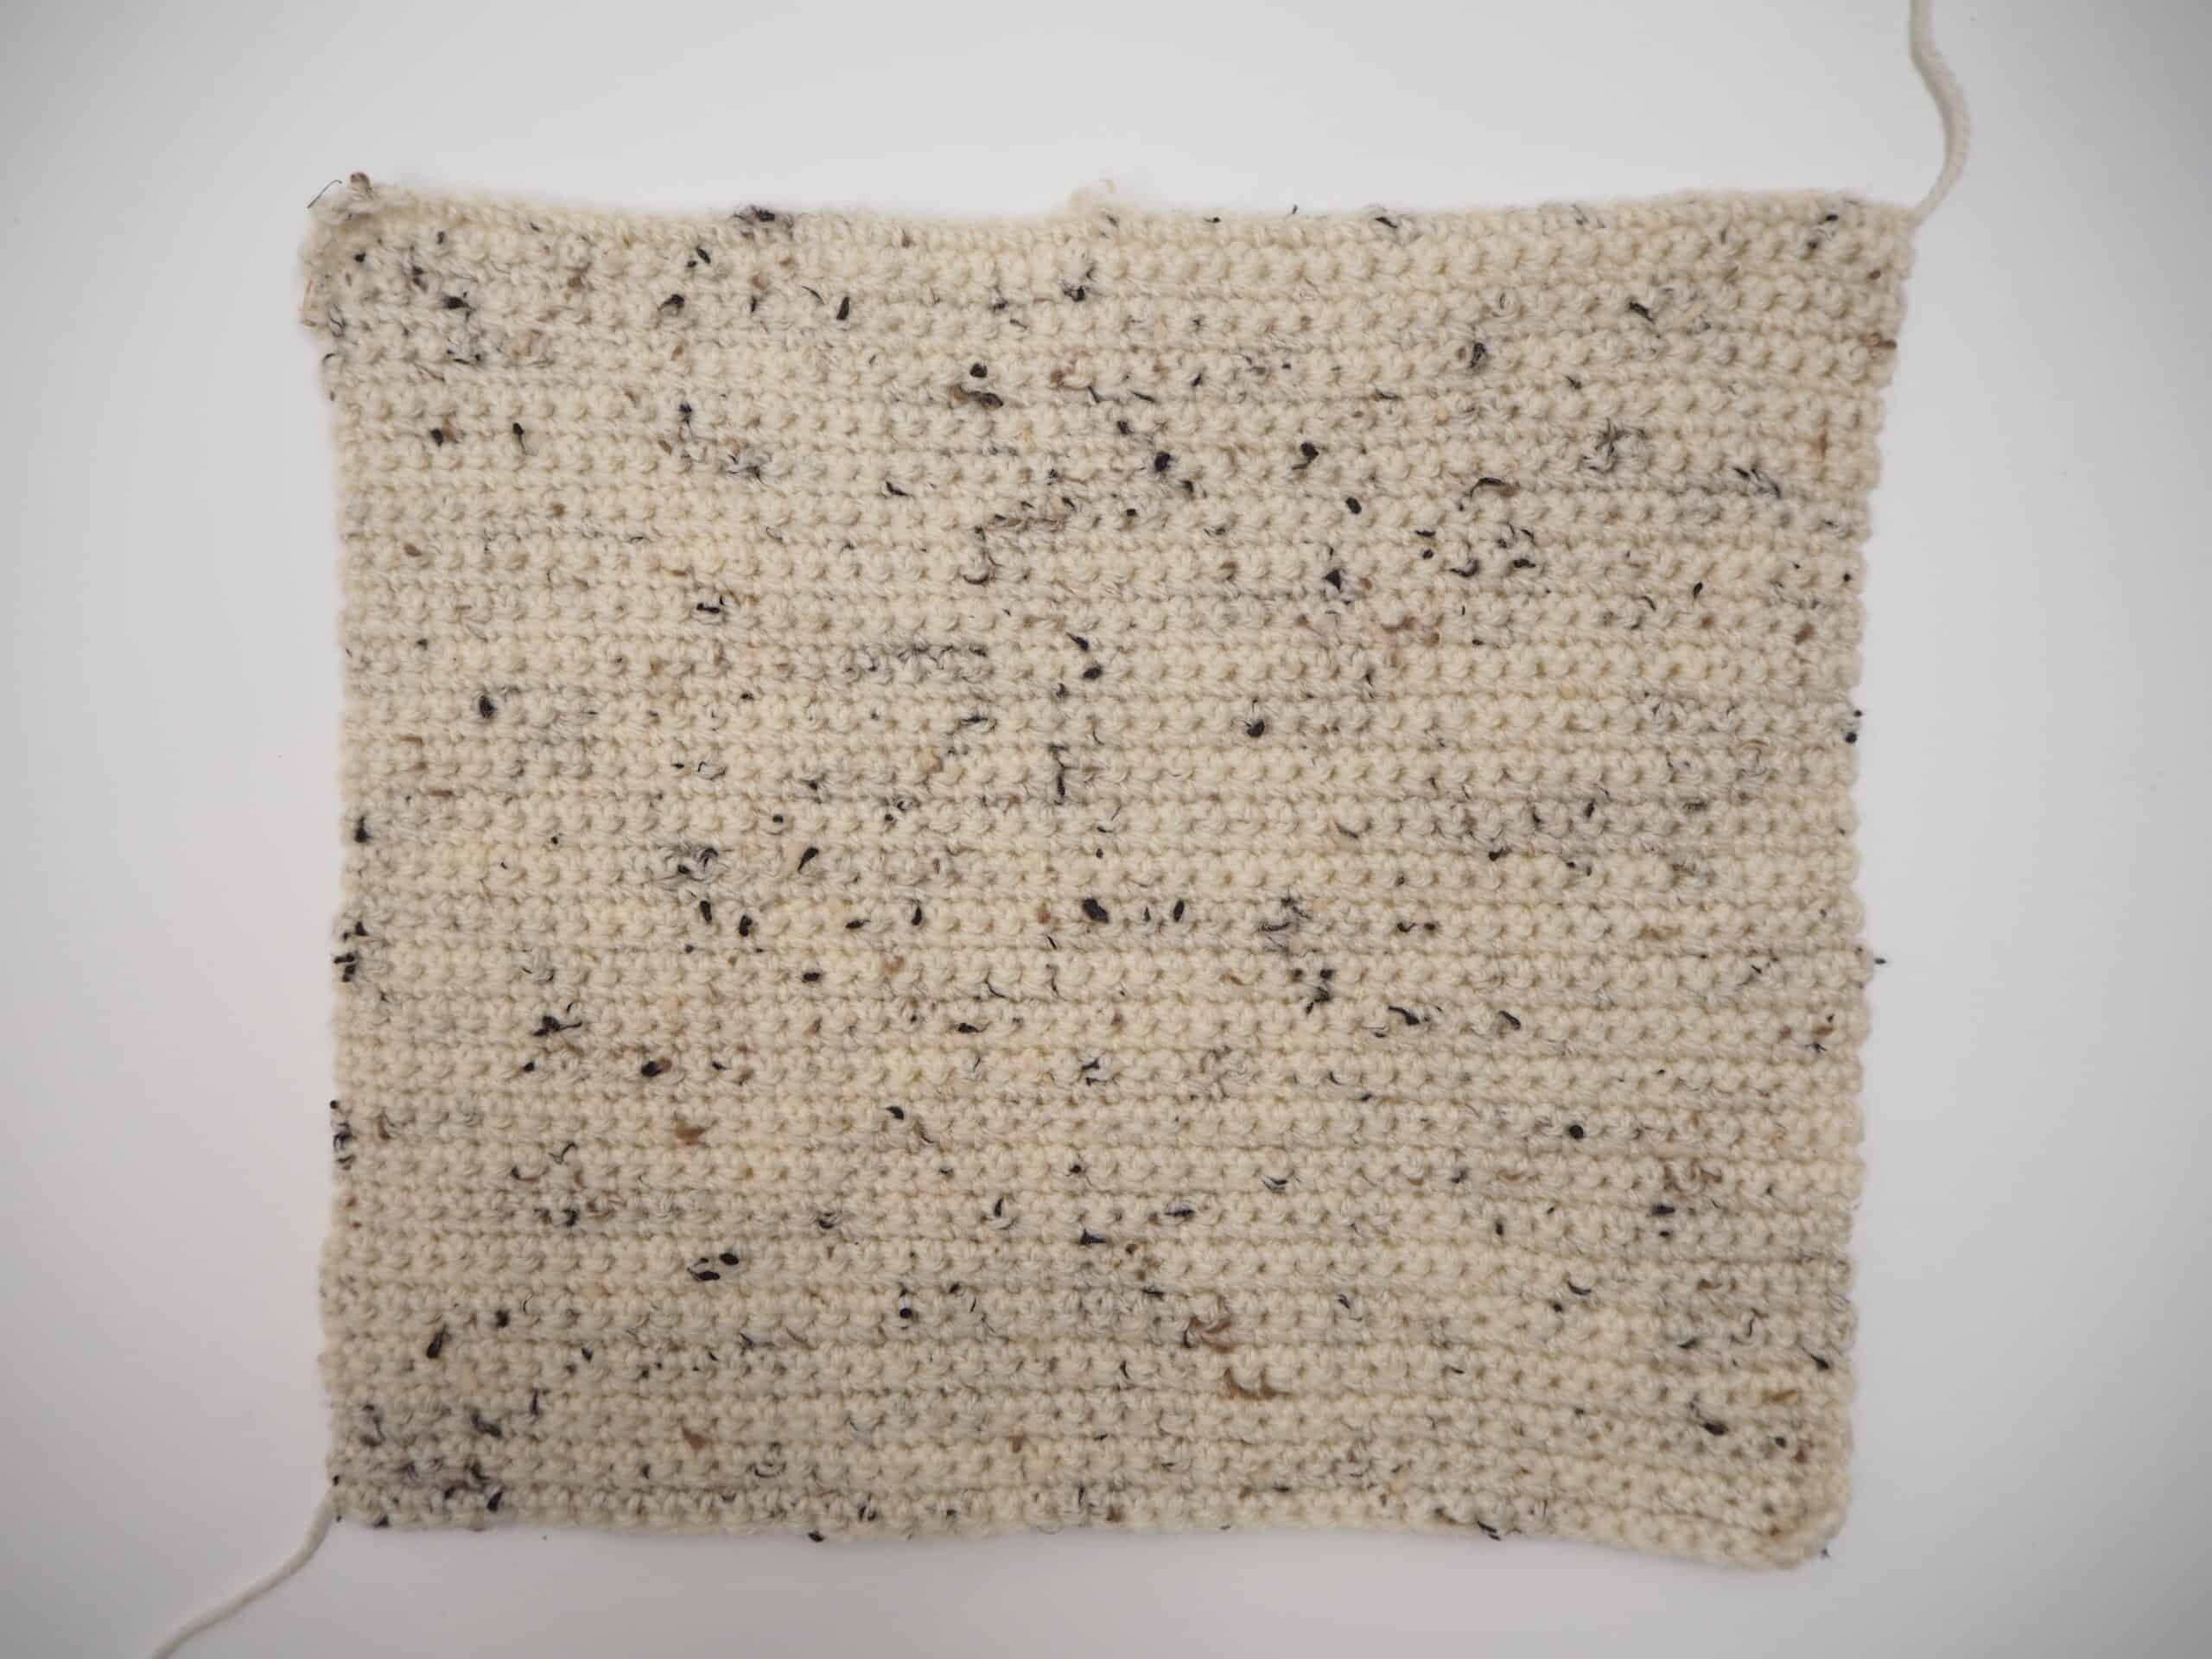
The crochet panel
Chain 46
Row 1: Single Crochet (sc) in the second chain from hook and in each stitch across (45 stitches)
Row 2: Chain 1, sc in each stitch across.
Row 3: Repeat row 2 until square measures about 11 1/2″ (30cm) long.
Weave in the ends top and bottom.
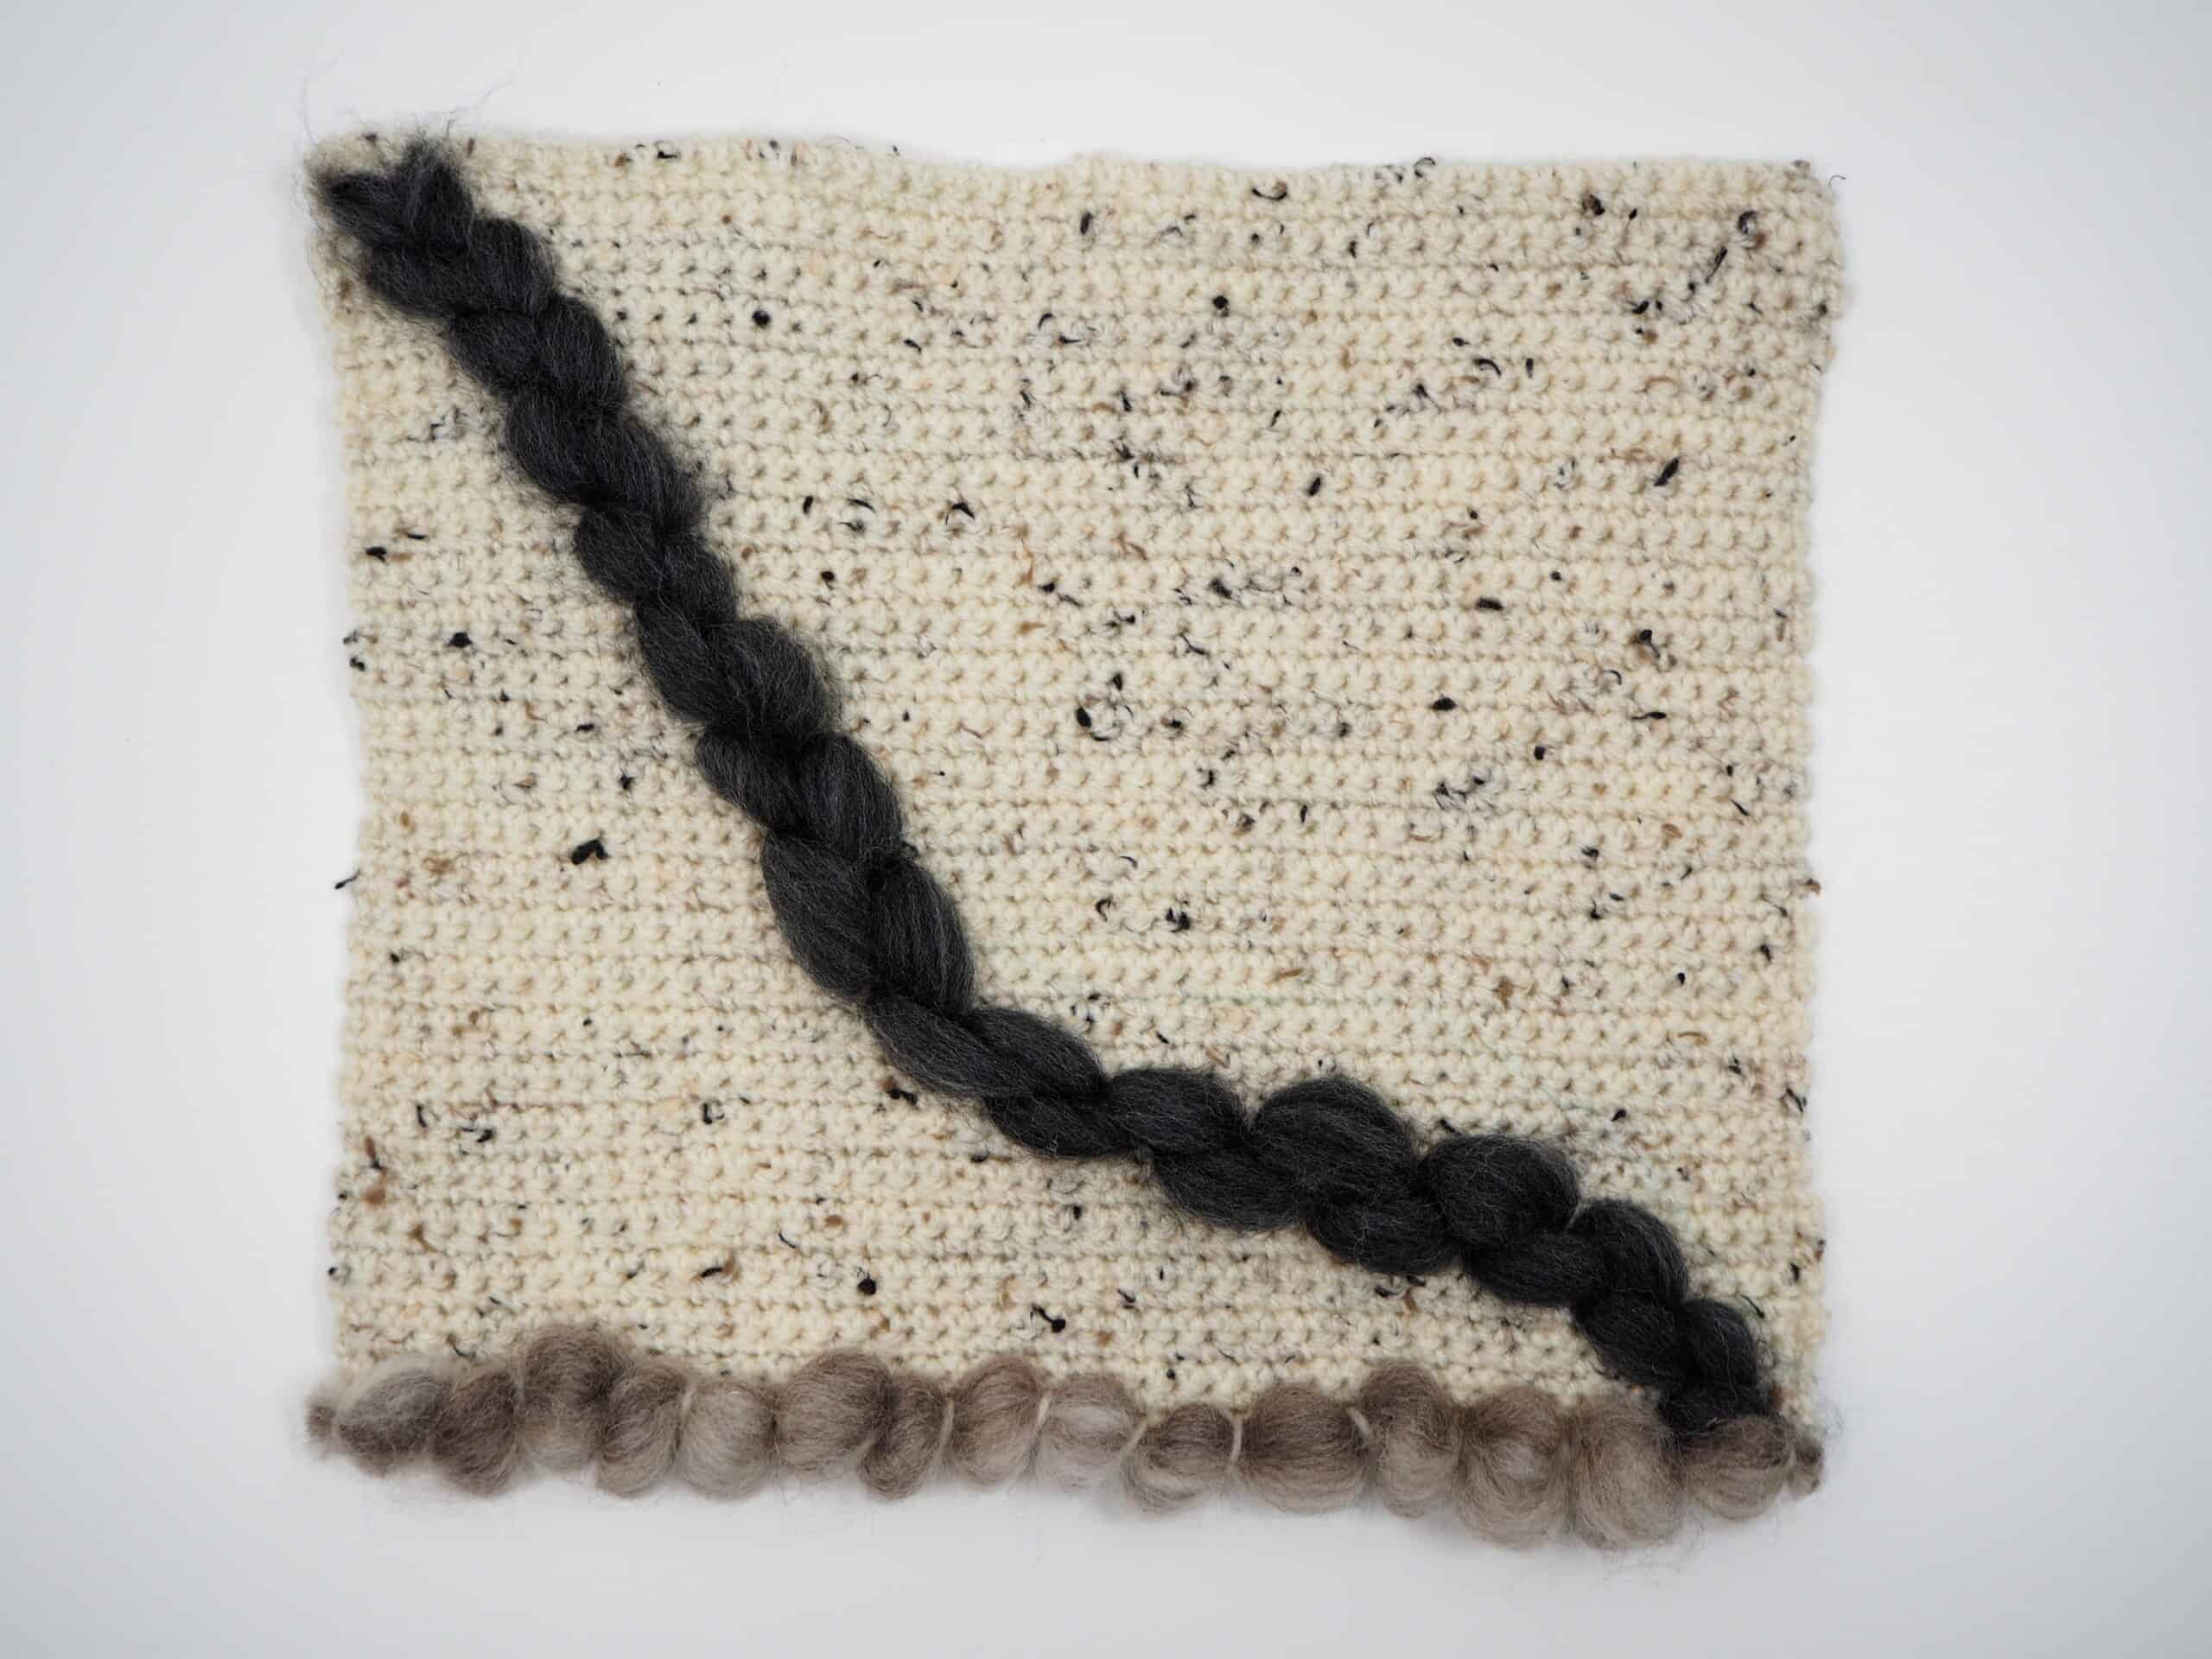
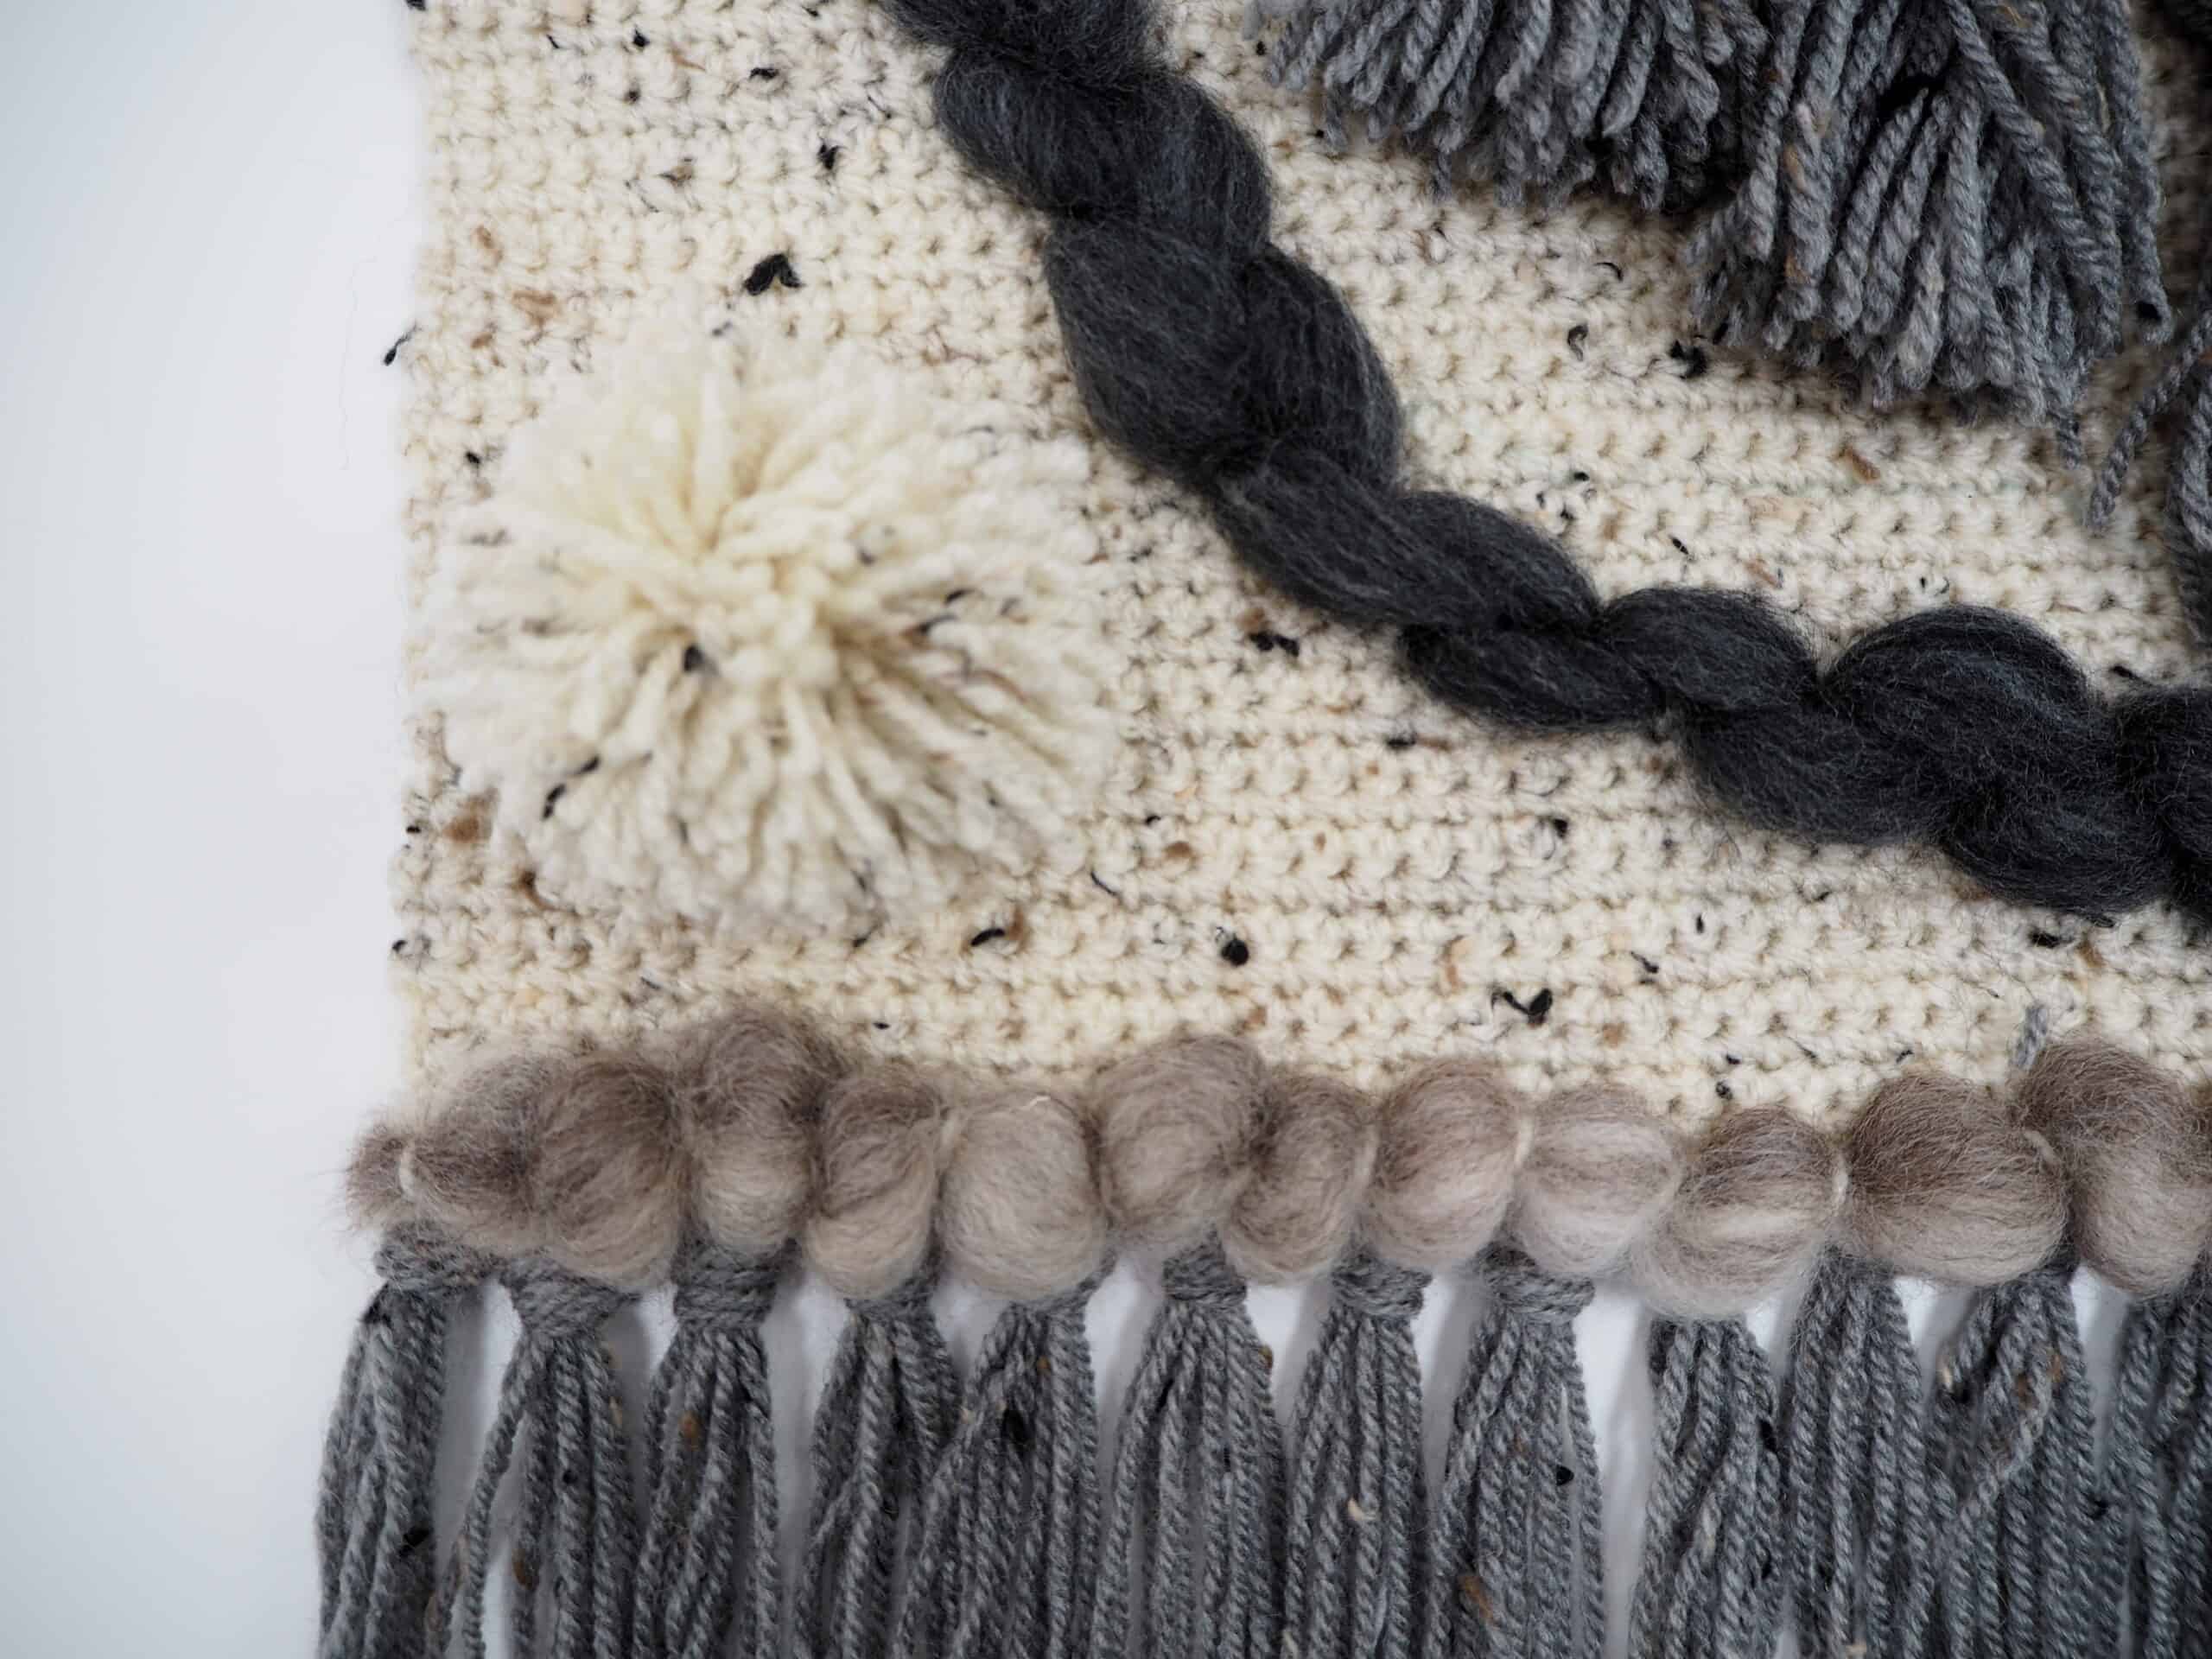
Tip: With the Water Erasable Marker, draw a curved line from the top left hand side of the crochet panel to the bottom right hand corner and stitch the wool roving on following this line.

With the other color wool roving, make a row along the bottom of the crochet panel.
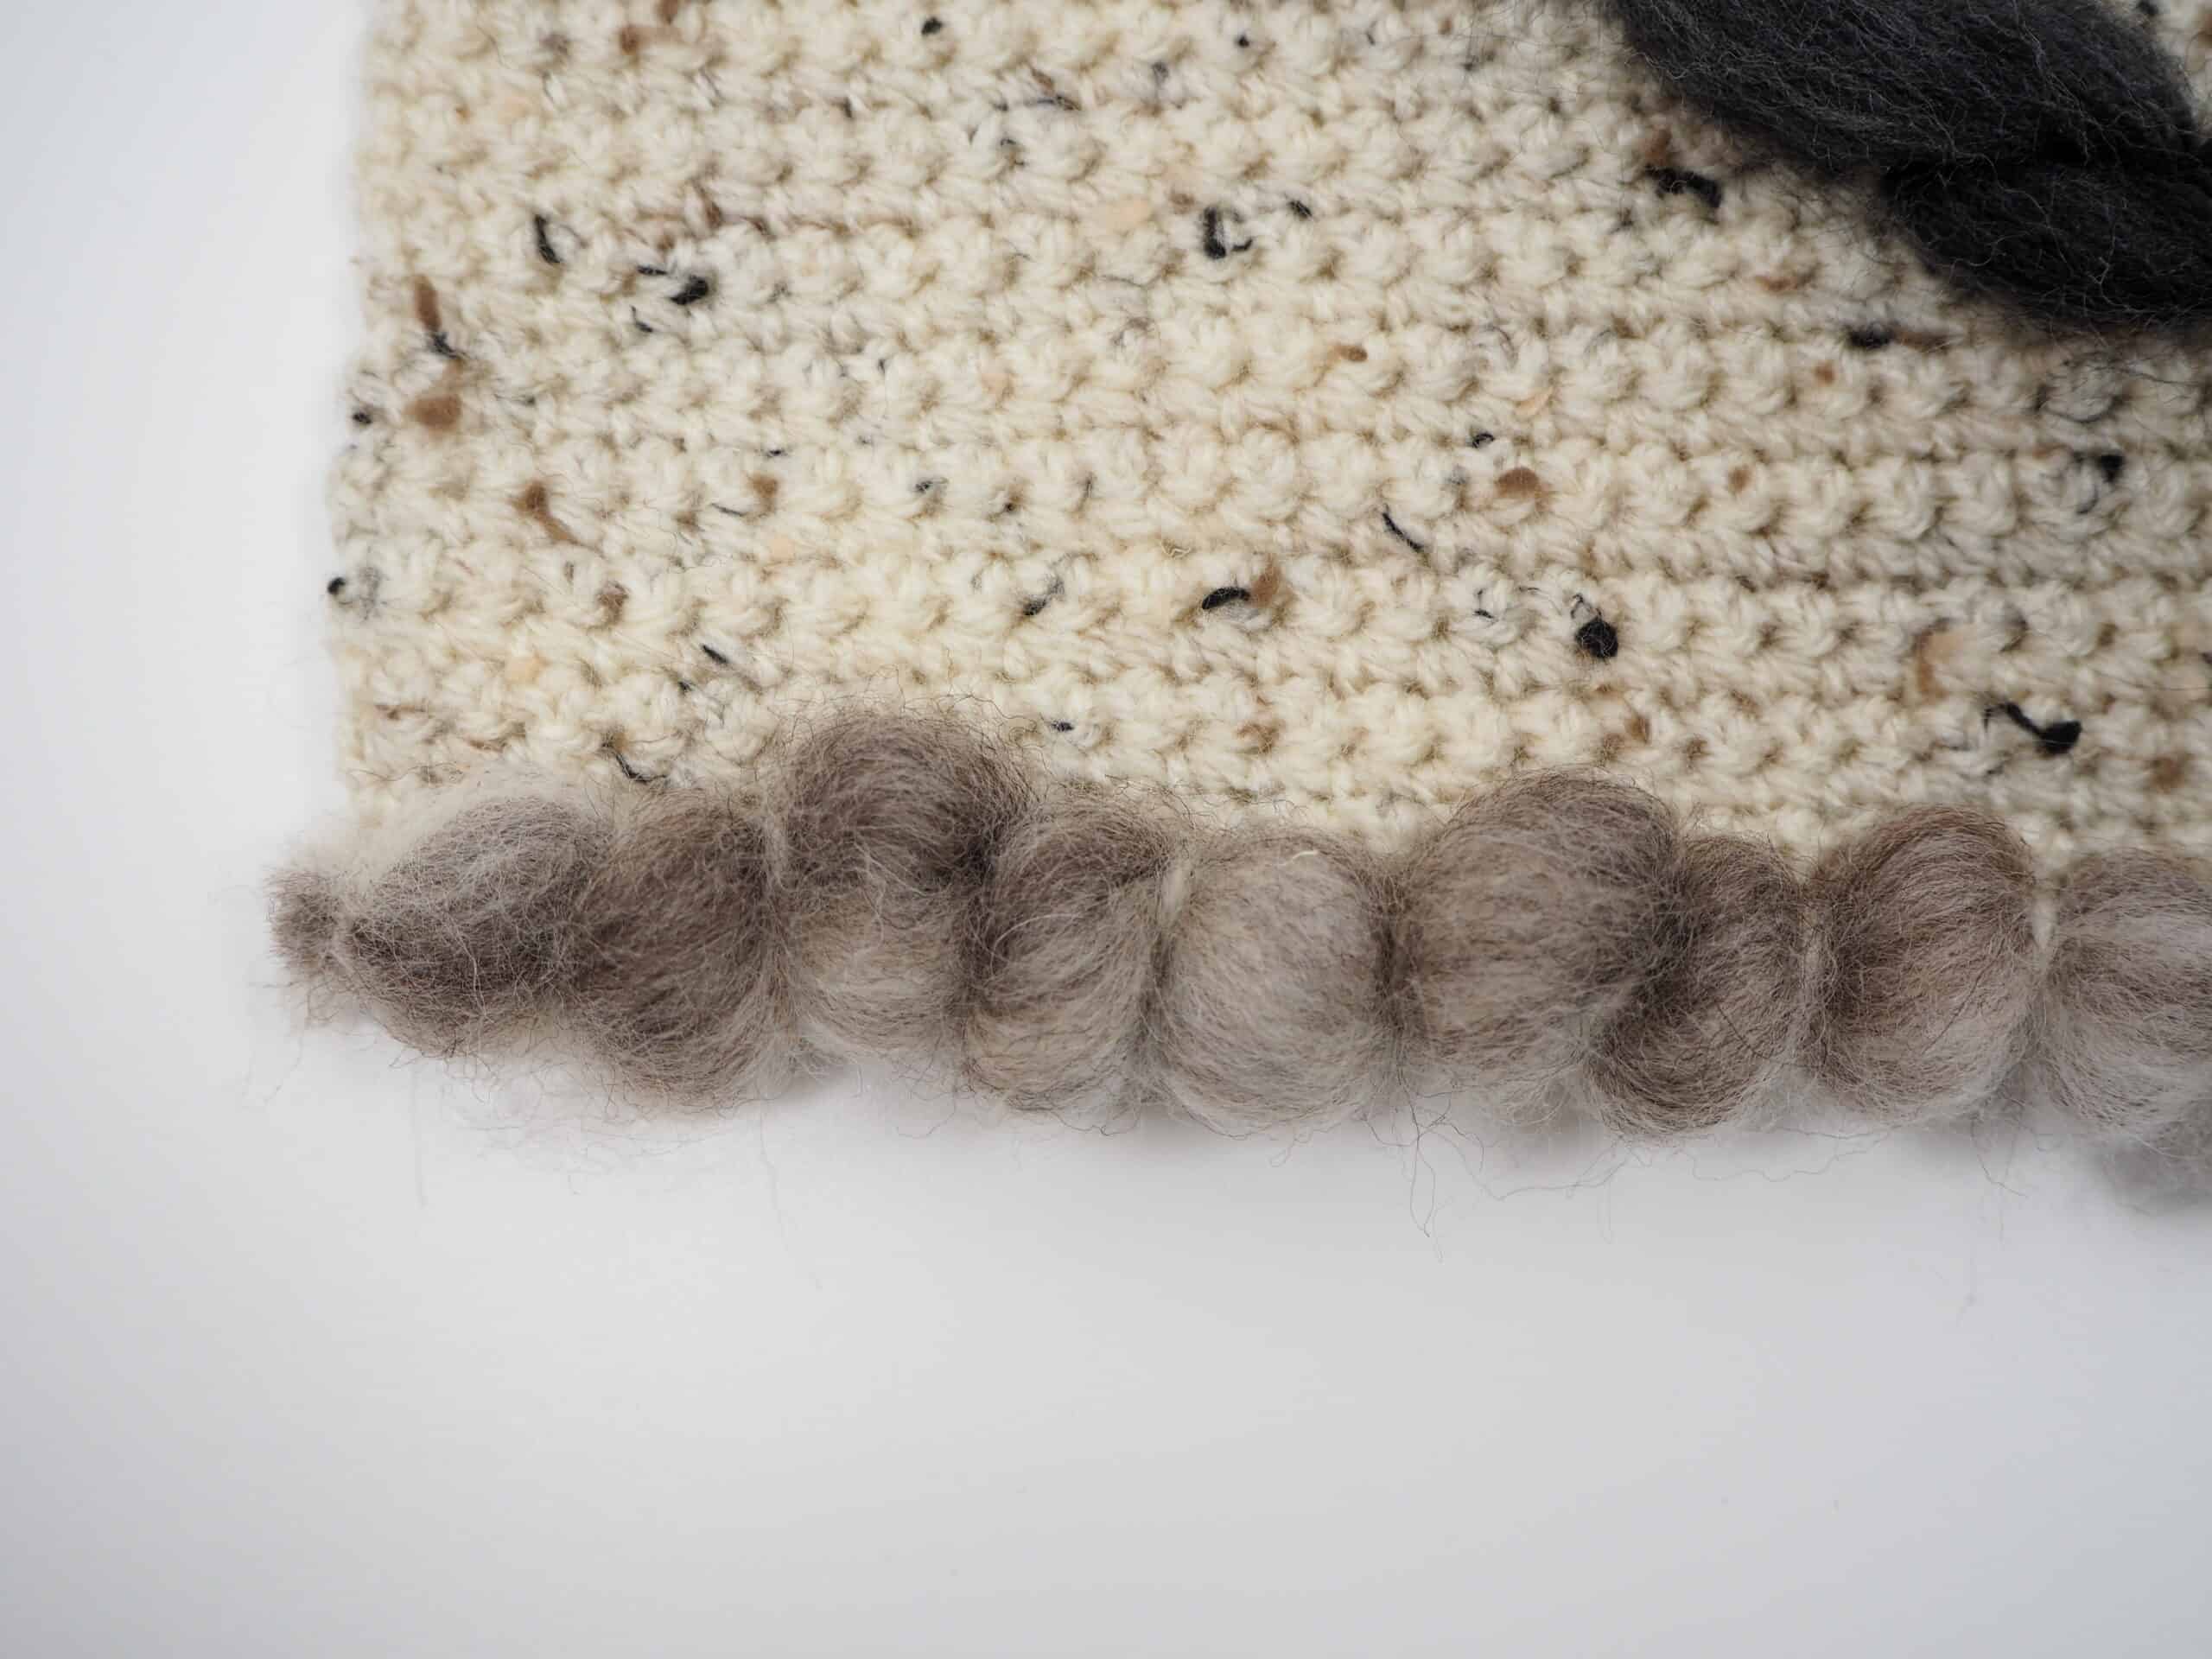
Tip: If your wool roving is a bit fragile, it will keep coming apart and that is very frustrating.
Solve this by laying it onto the crochet panel and using a piece of natural yarn to couch it into place.
You now have a panel with some open areas which would be perfect for tassels and pom-poms!
Make a Tassel
To make a tassel with the large Tassel Maker, firstly set up the maker so that it is on the second to largest setting.
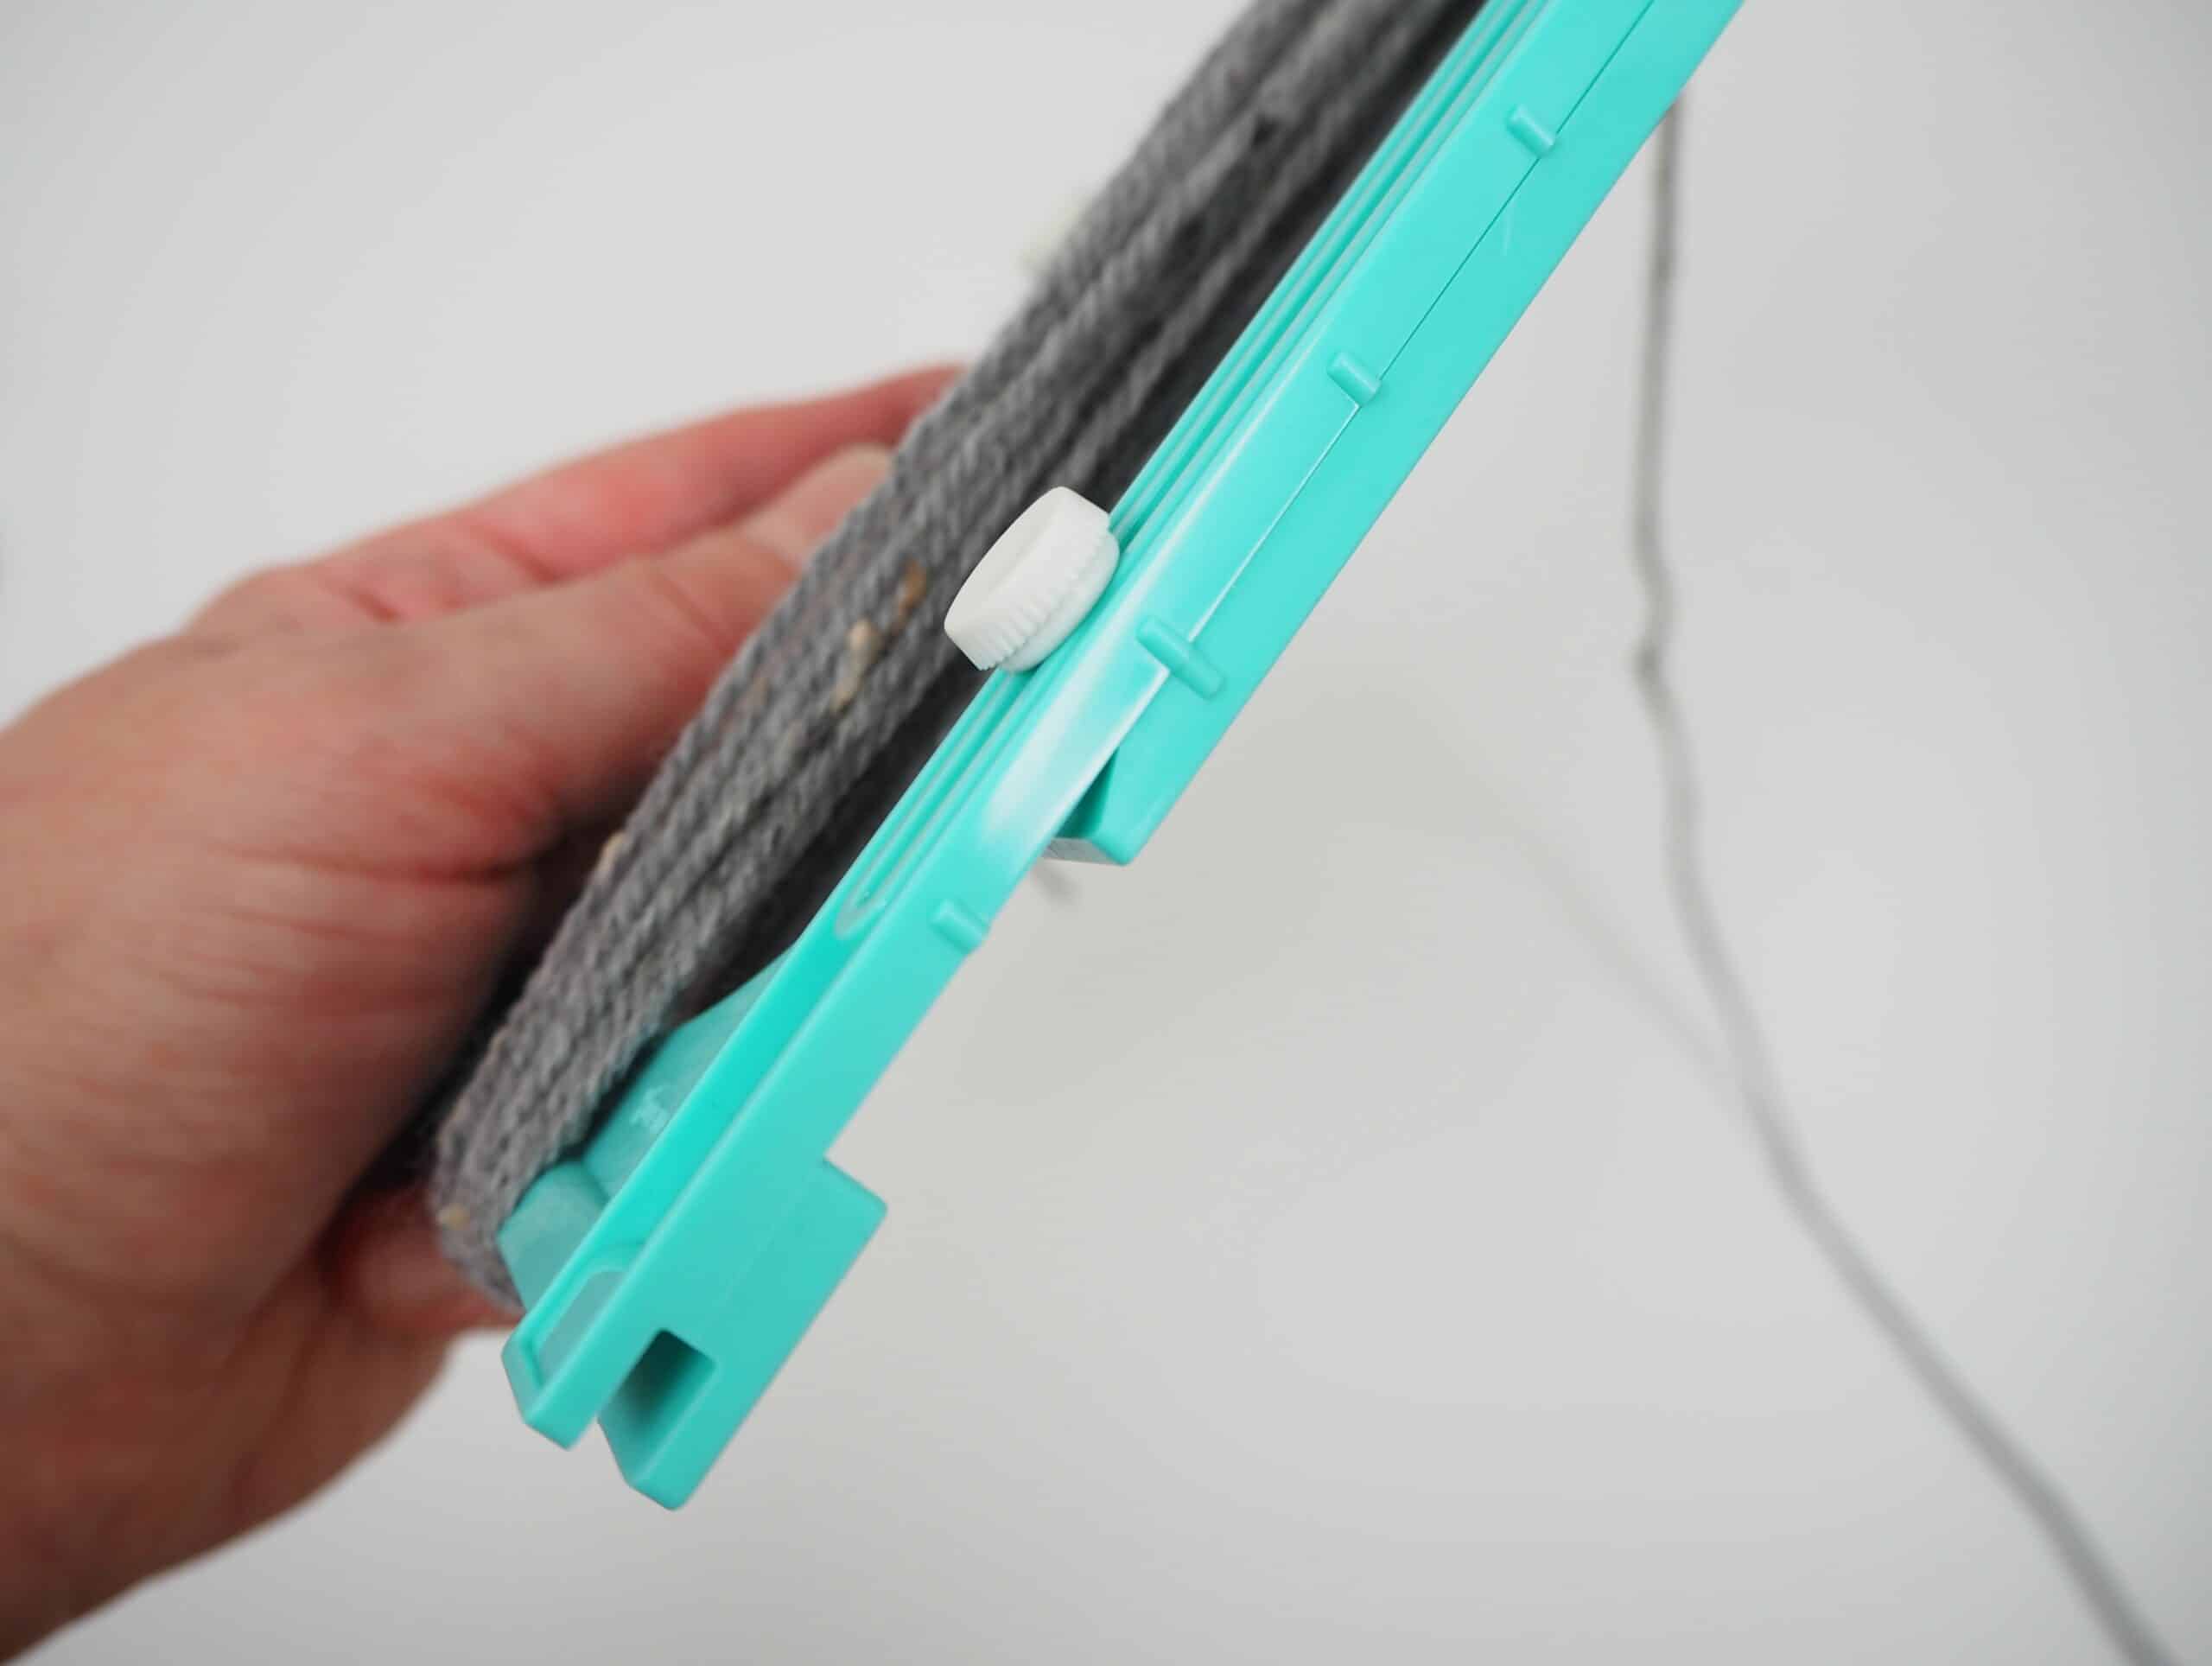
Wrap some grey yarn around the tassel maker 15 times.

Take a long piece of yarn [around 11 1/2″ (30cm) long] and tie the center of the tassel.
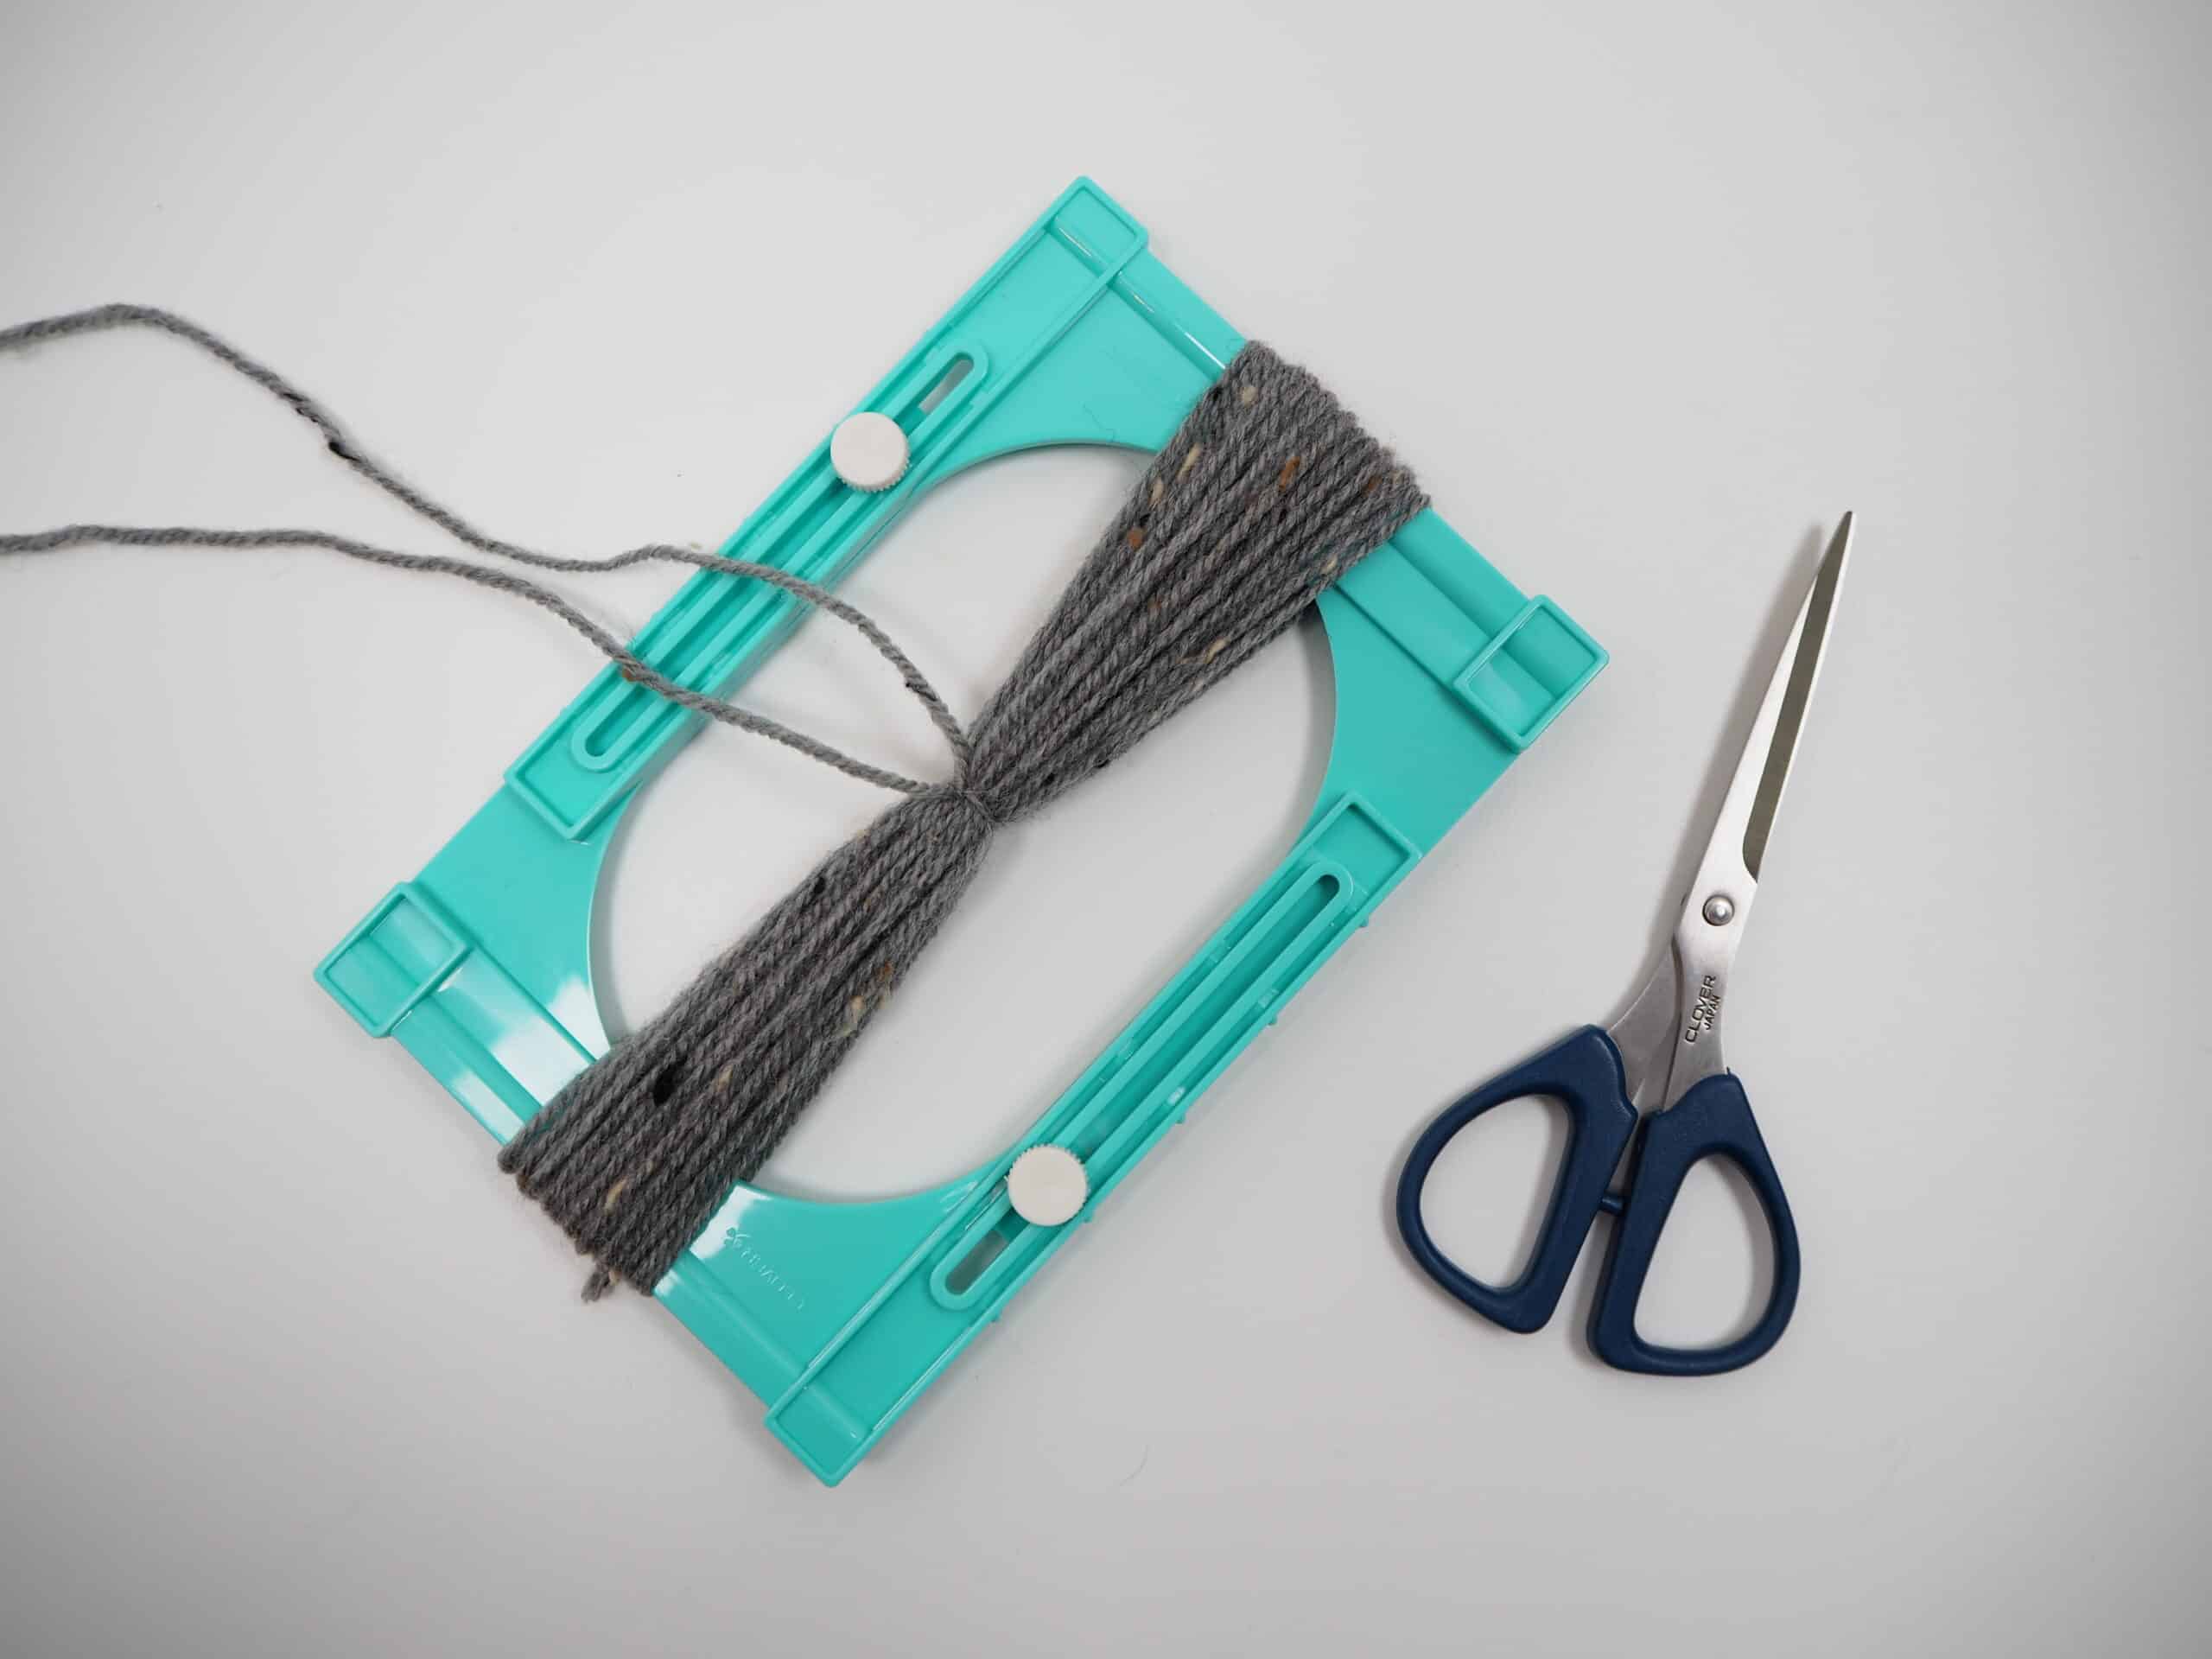
Cut the tassel from the maker.

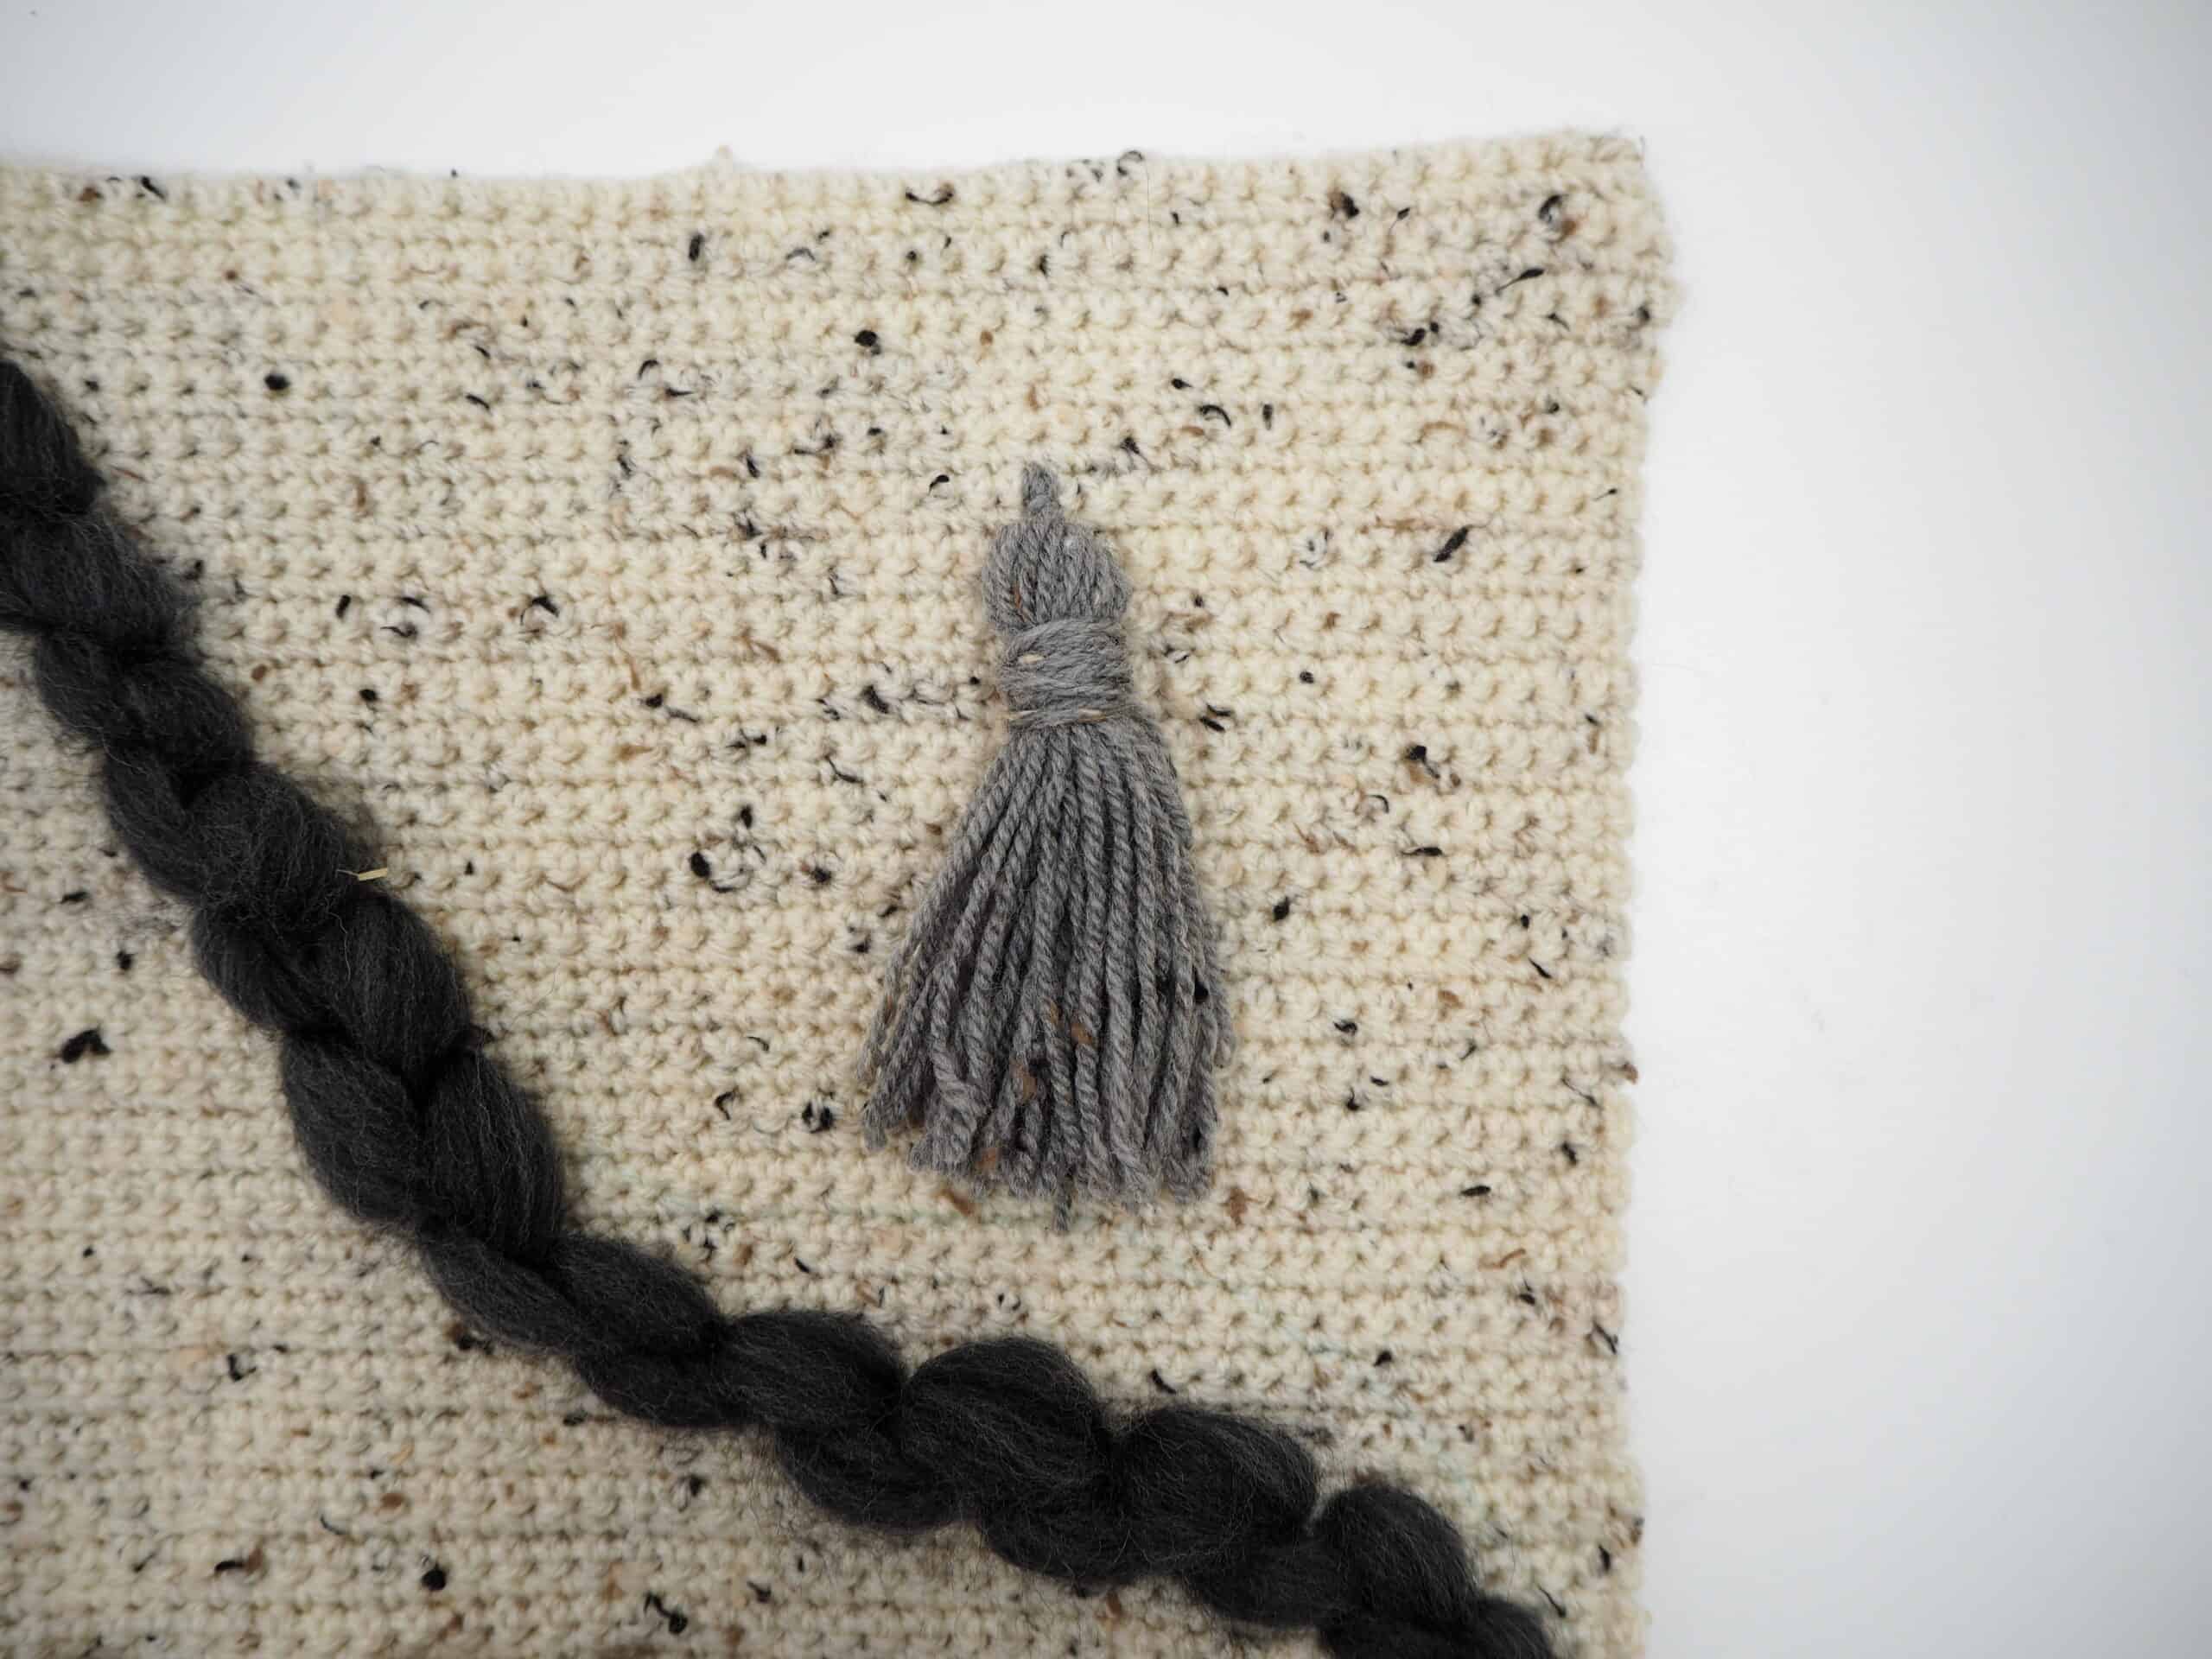
Fold the tassel over and wrap it about (3/4″) 2cm down with a very long piece of yarn.

Make two more of these and attach them using the long center yarn to the top right hand space on the panel.
Tip: odd numbers are the norm when putting on embellishments like this.
One didn’ t seem enough so I added two more.
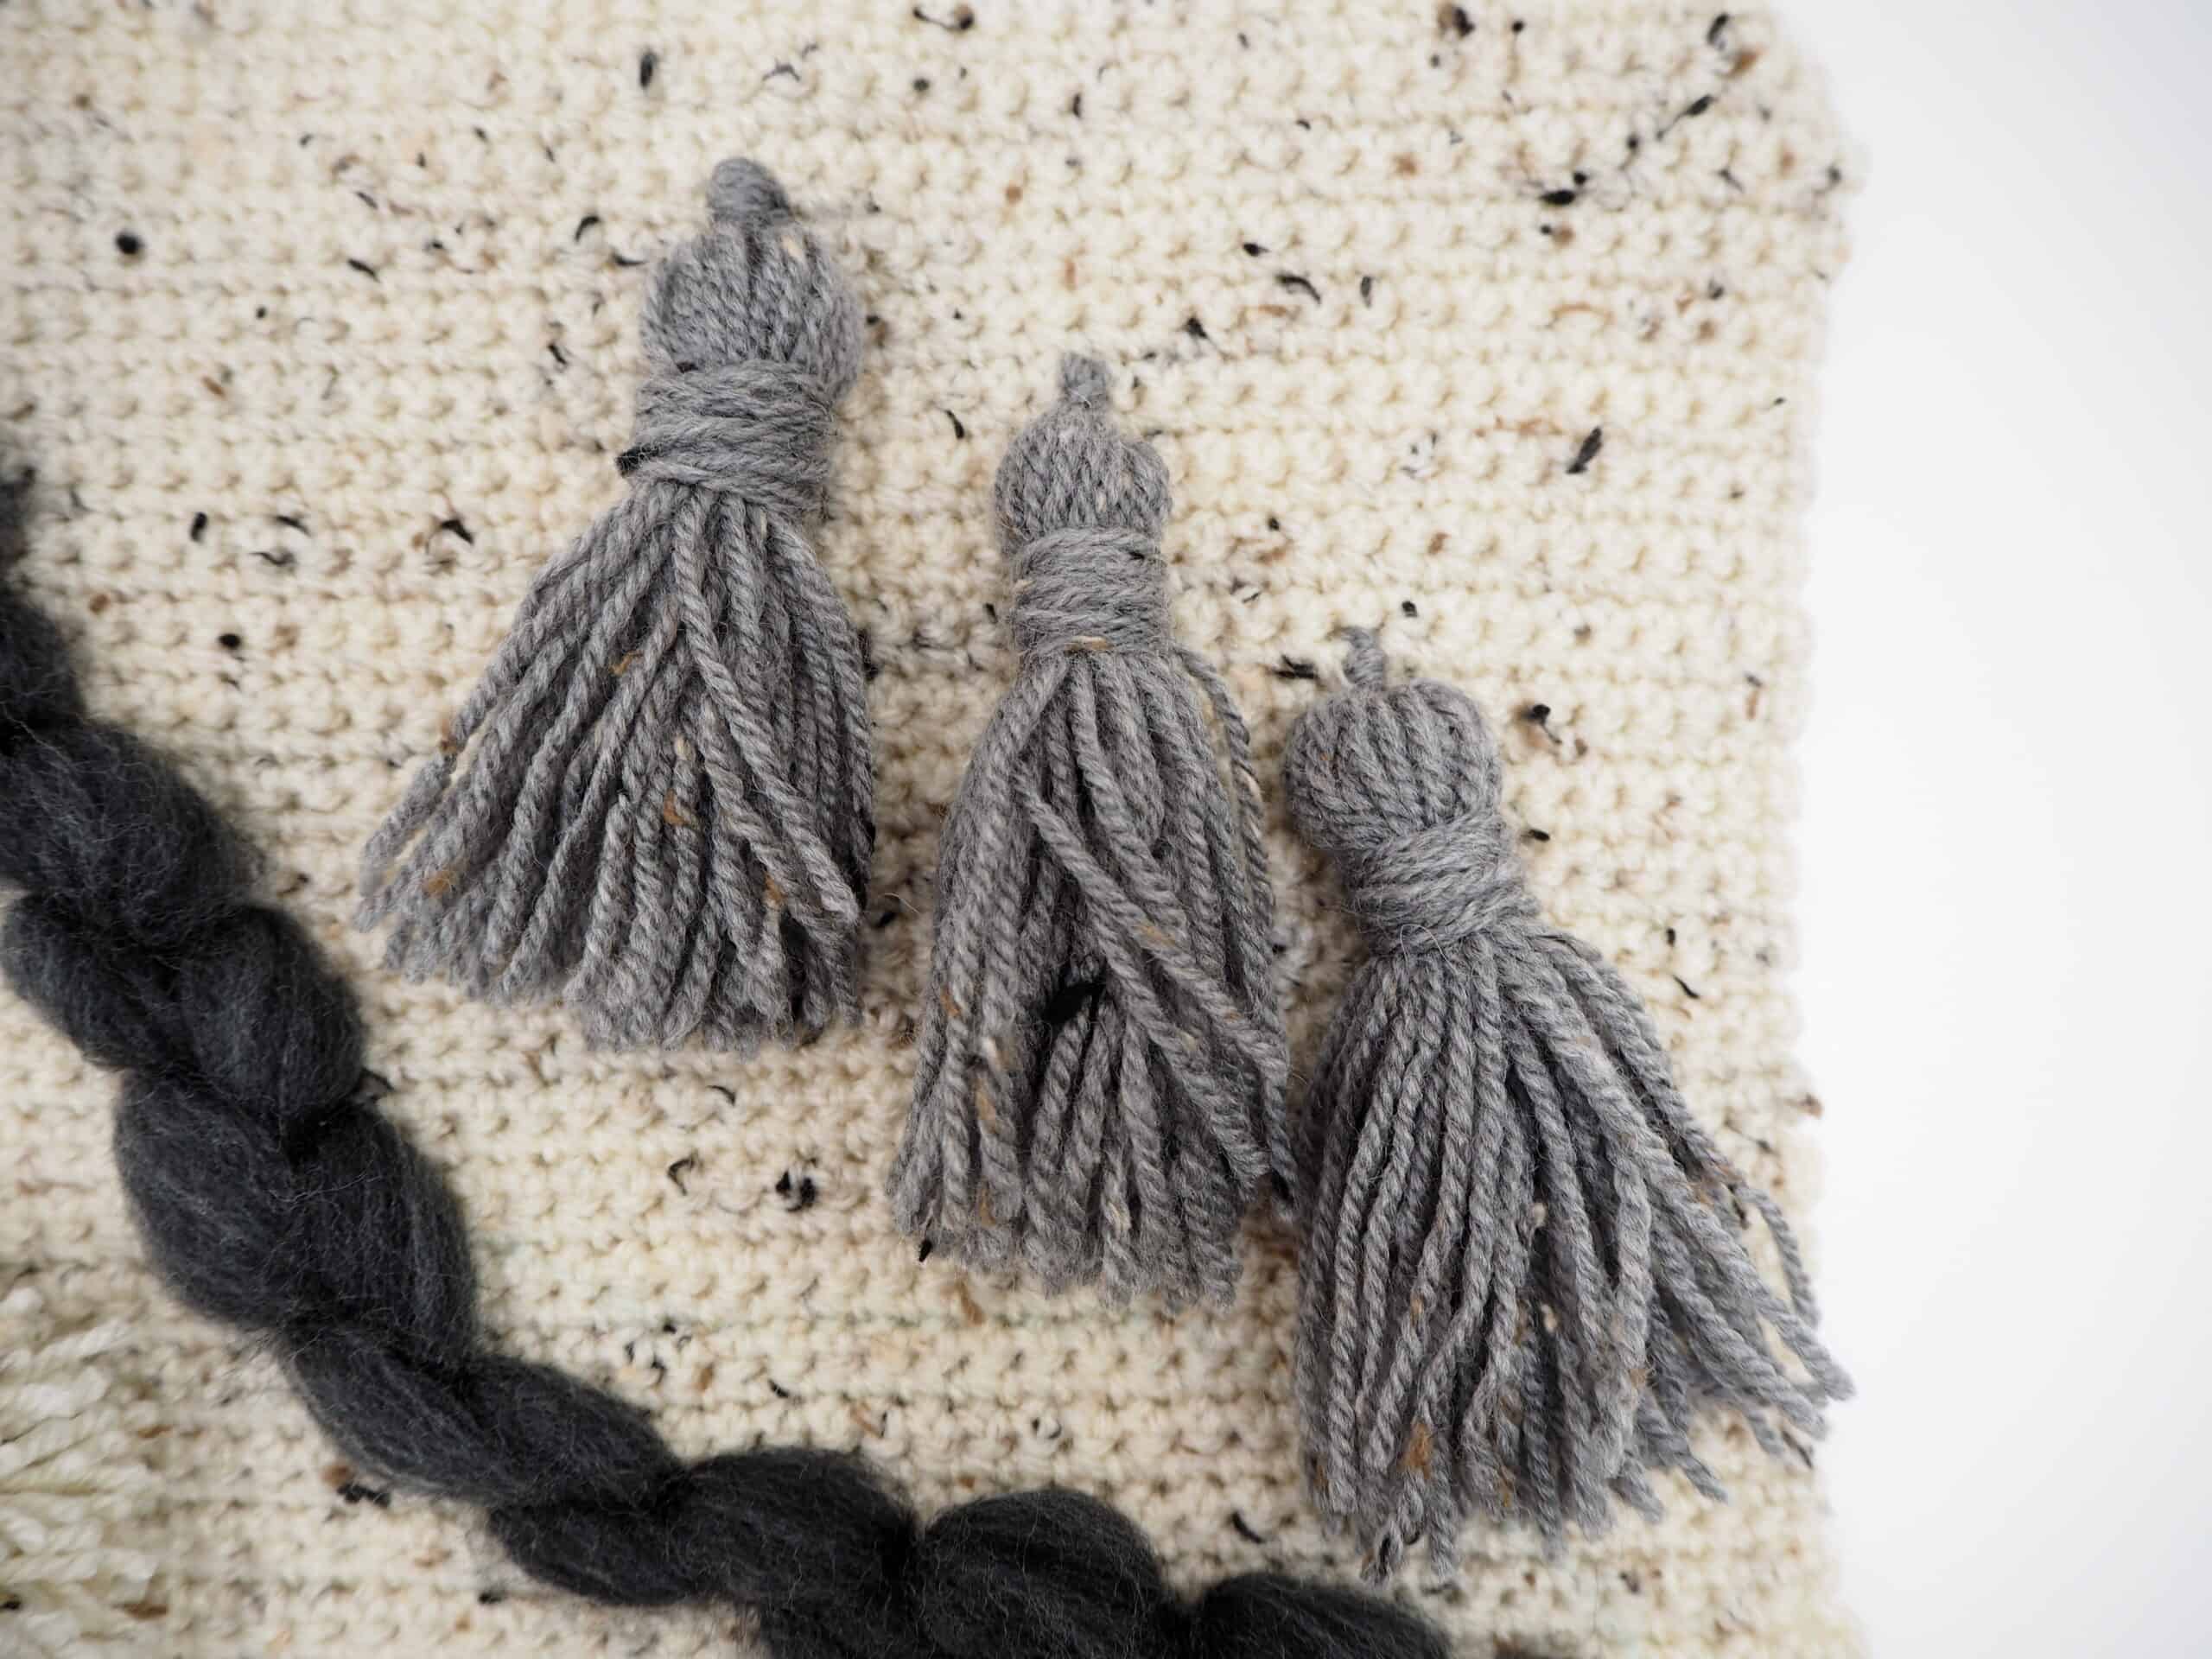
You can add as many or as few as you like.
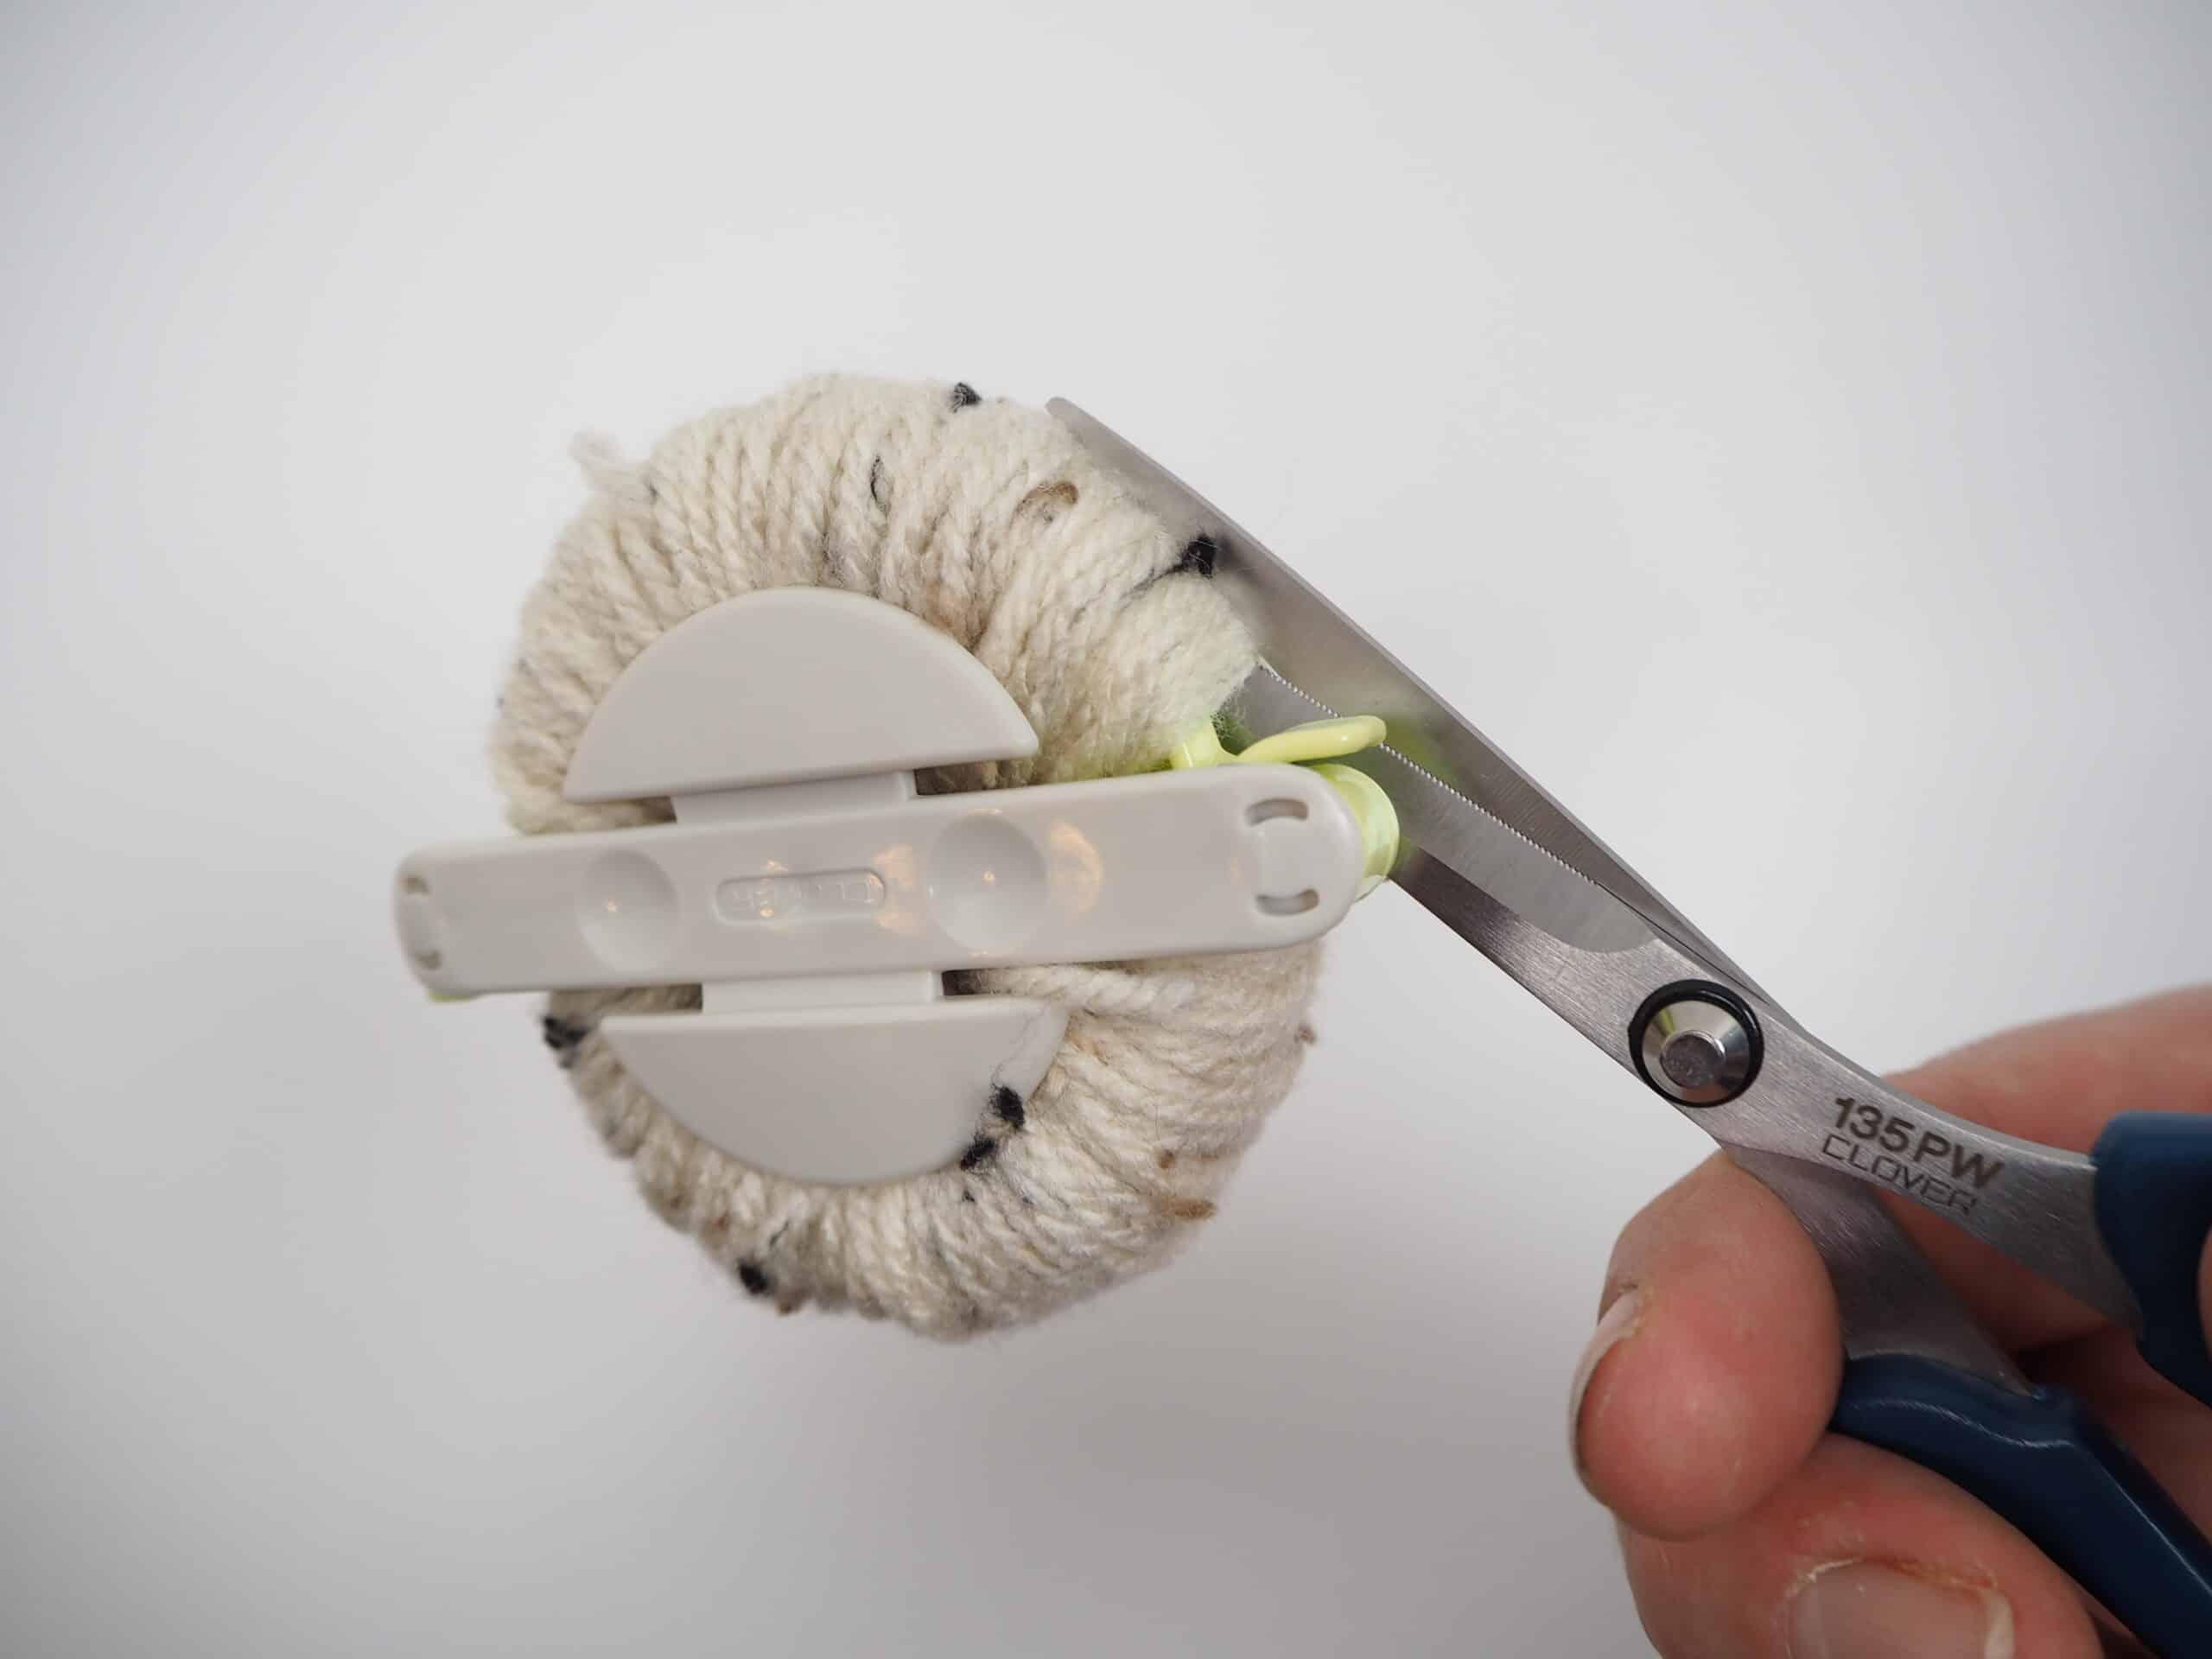
Make a Pom-Pom
Make the pompom next. Using the natural yarn, fill the pompom maker well.
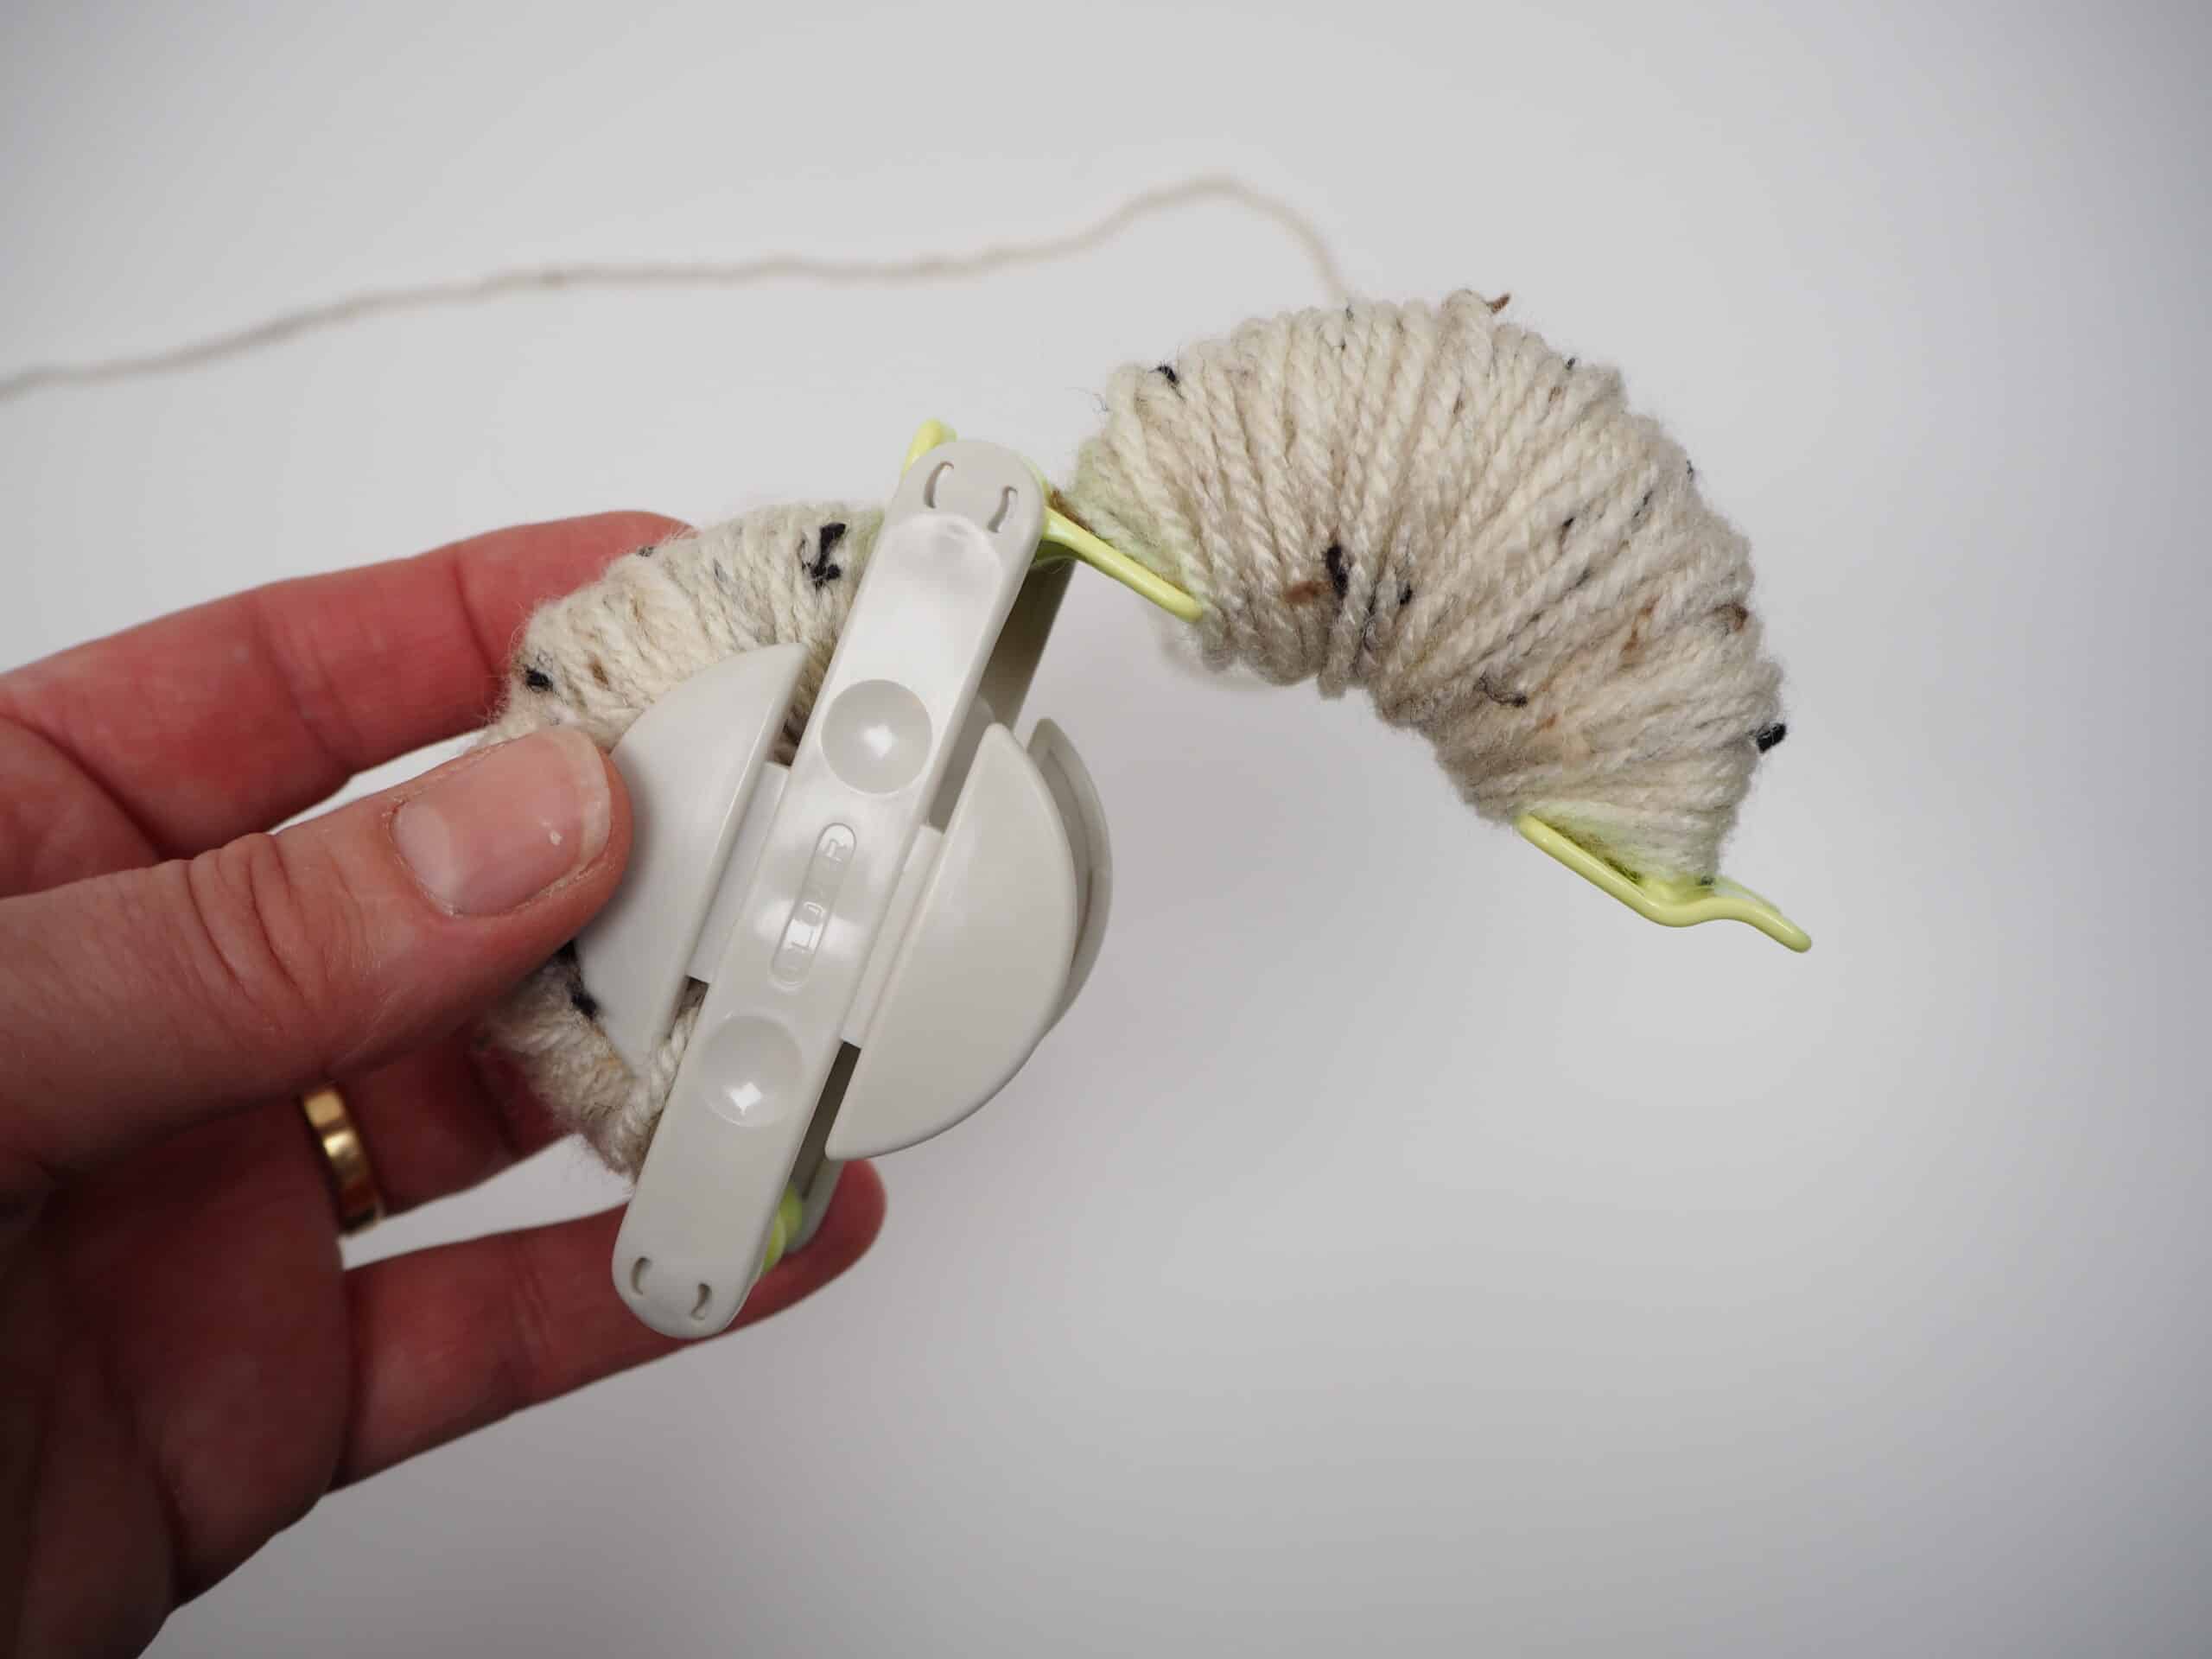
Cut the yarn with the small scissors.
Tie the pompom off with a long piece of yarn.
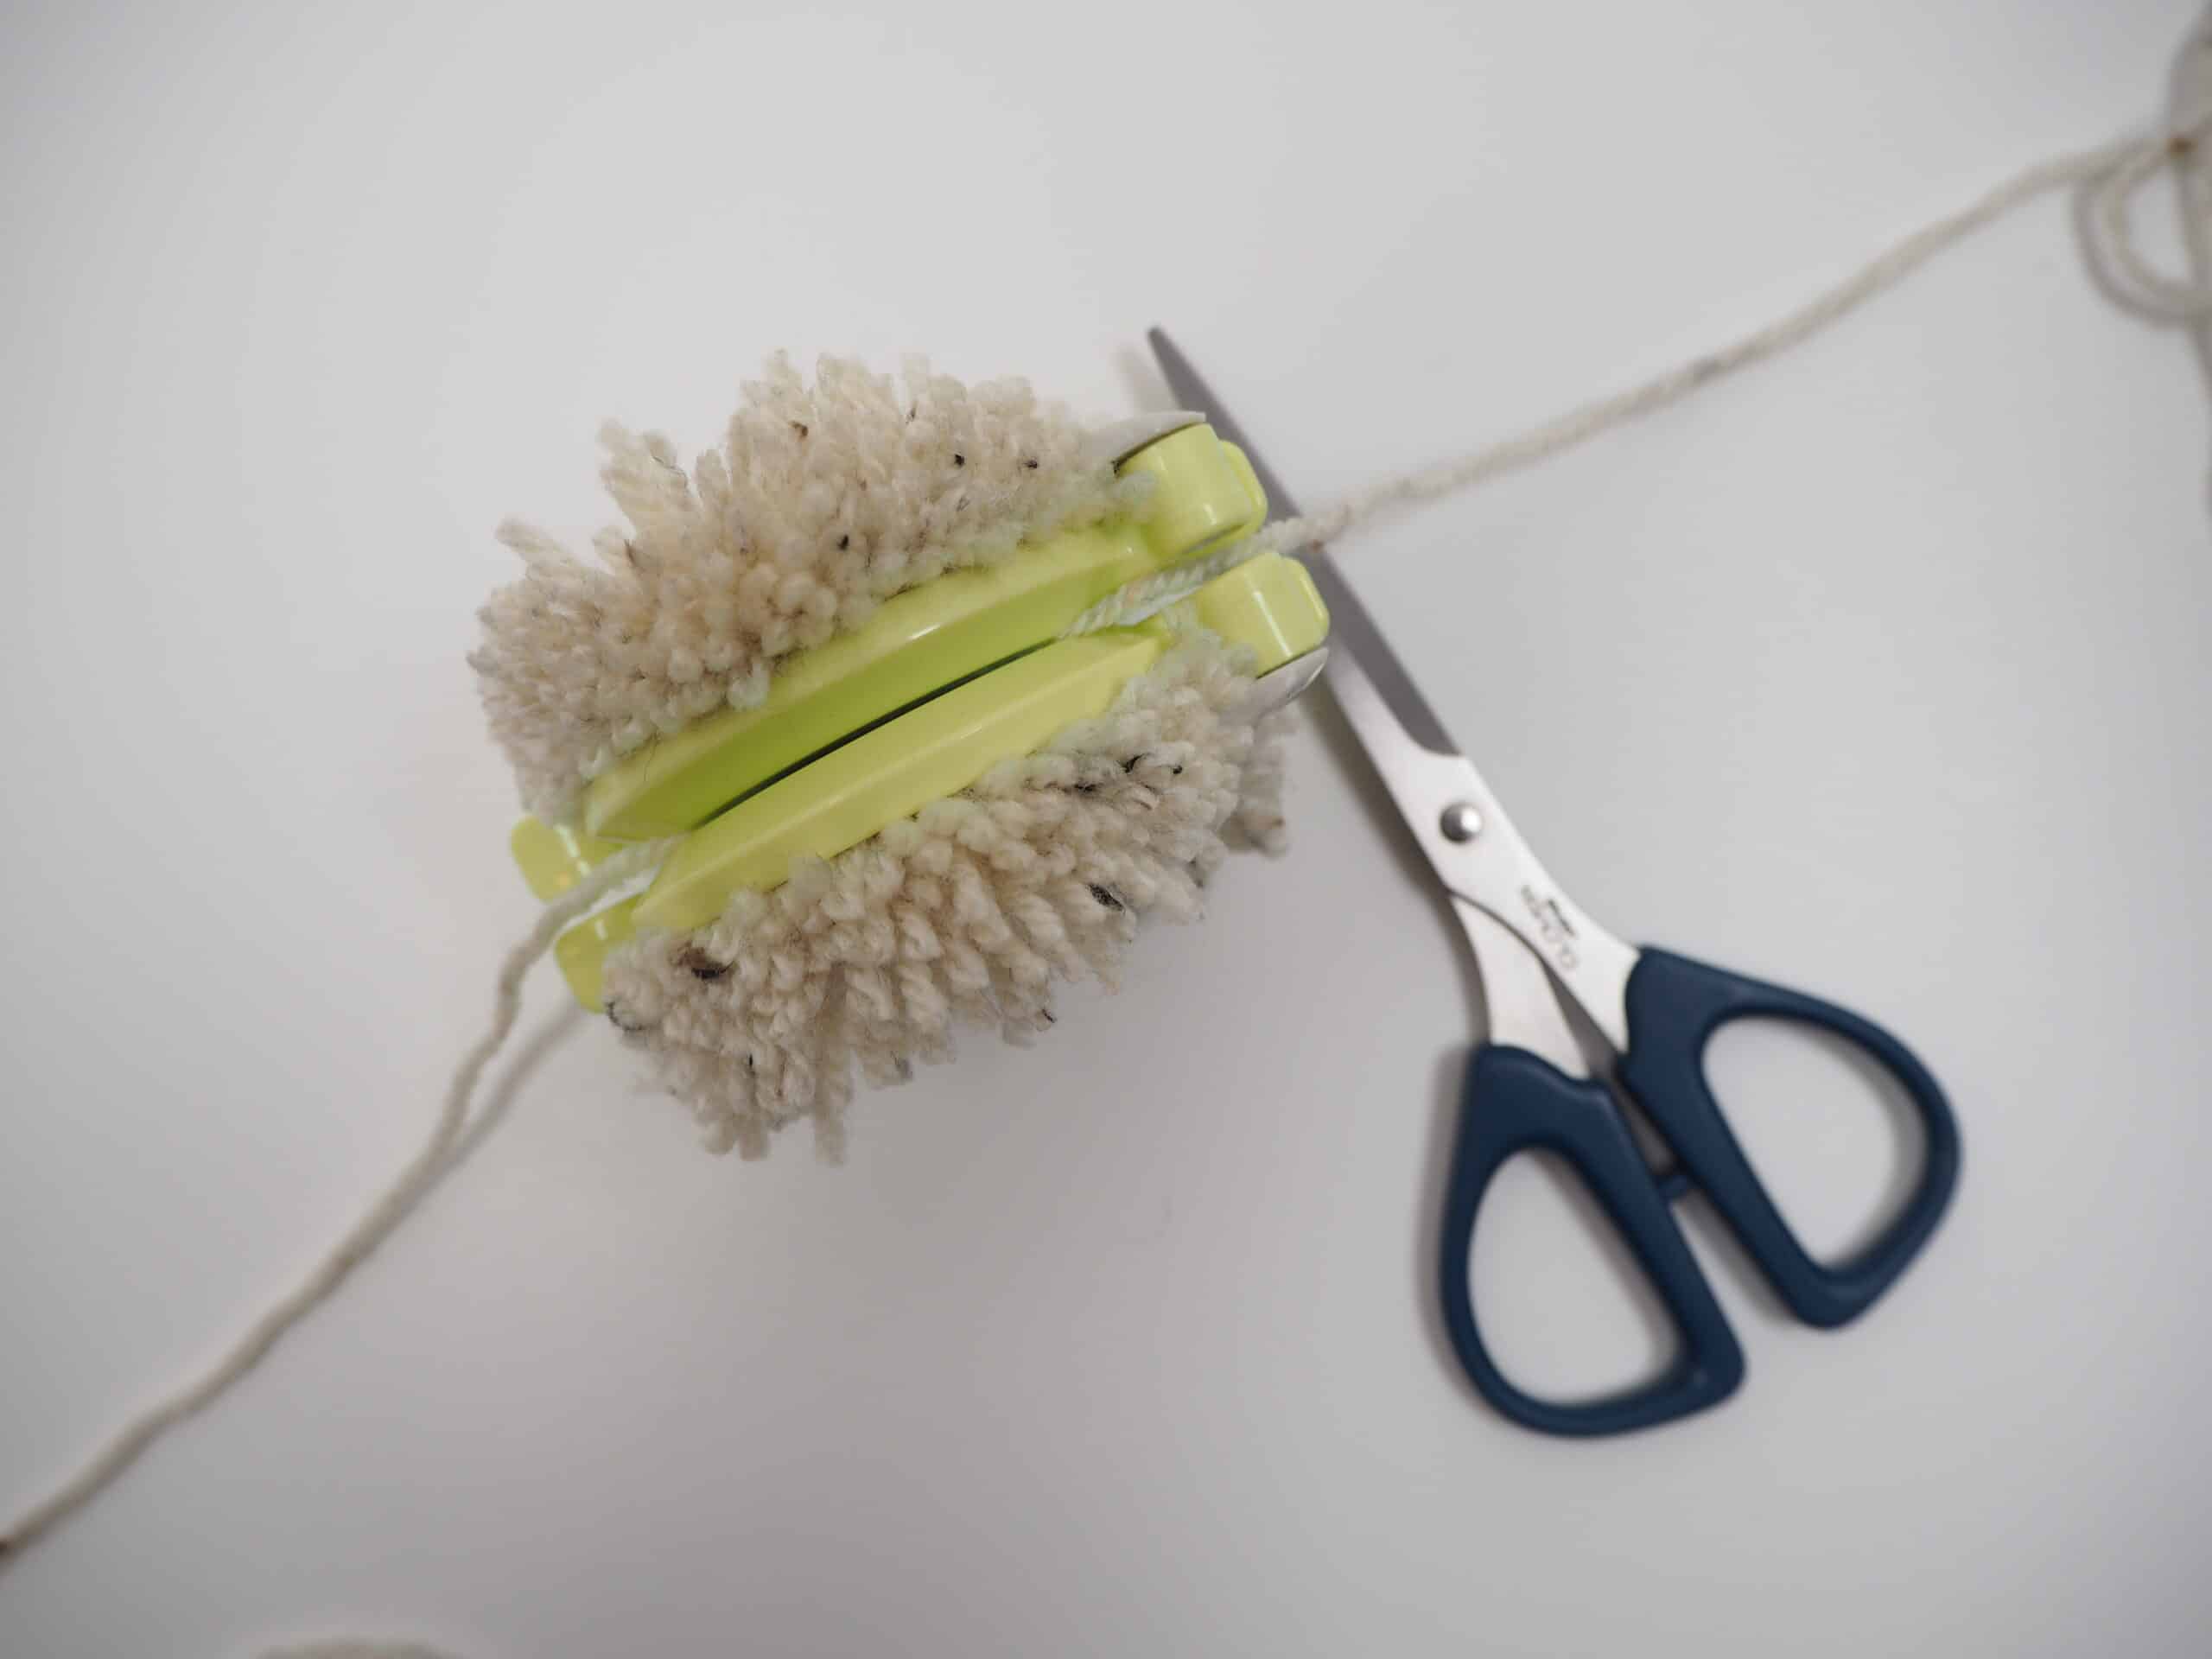
Tip: keep it long too because it will be used to secure the pompom to the wall hanging.
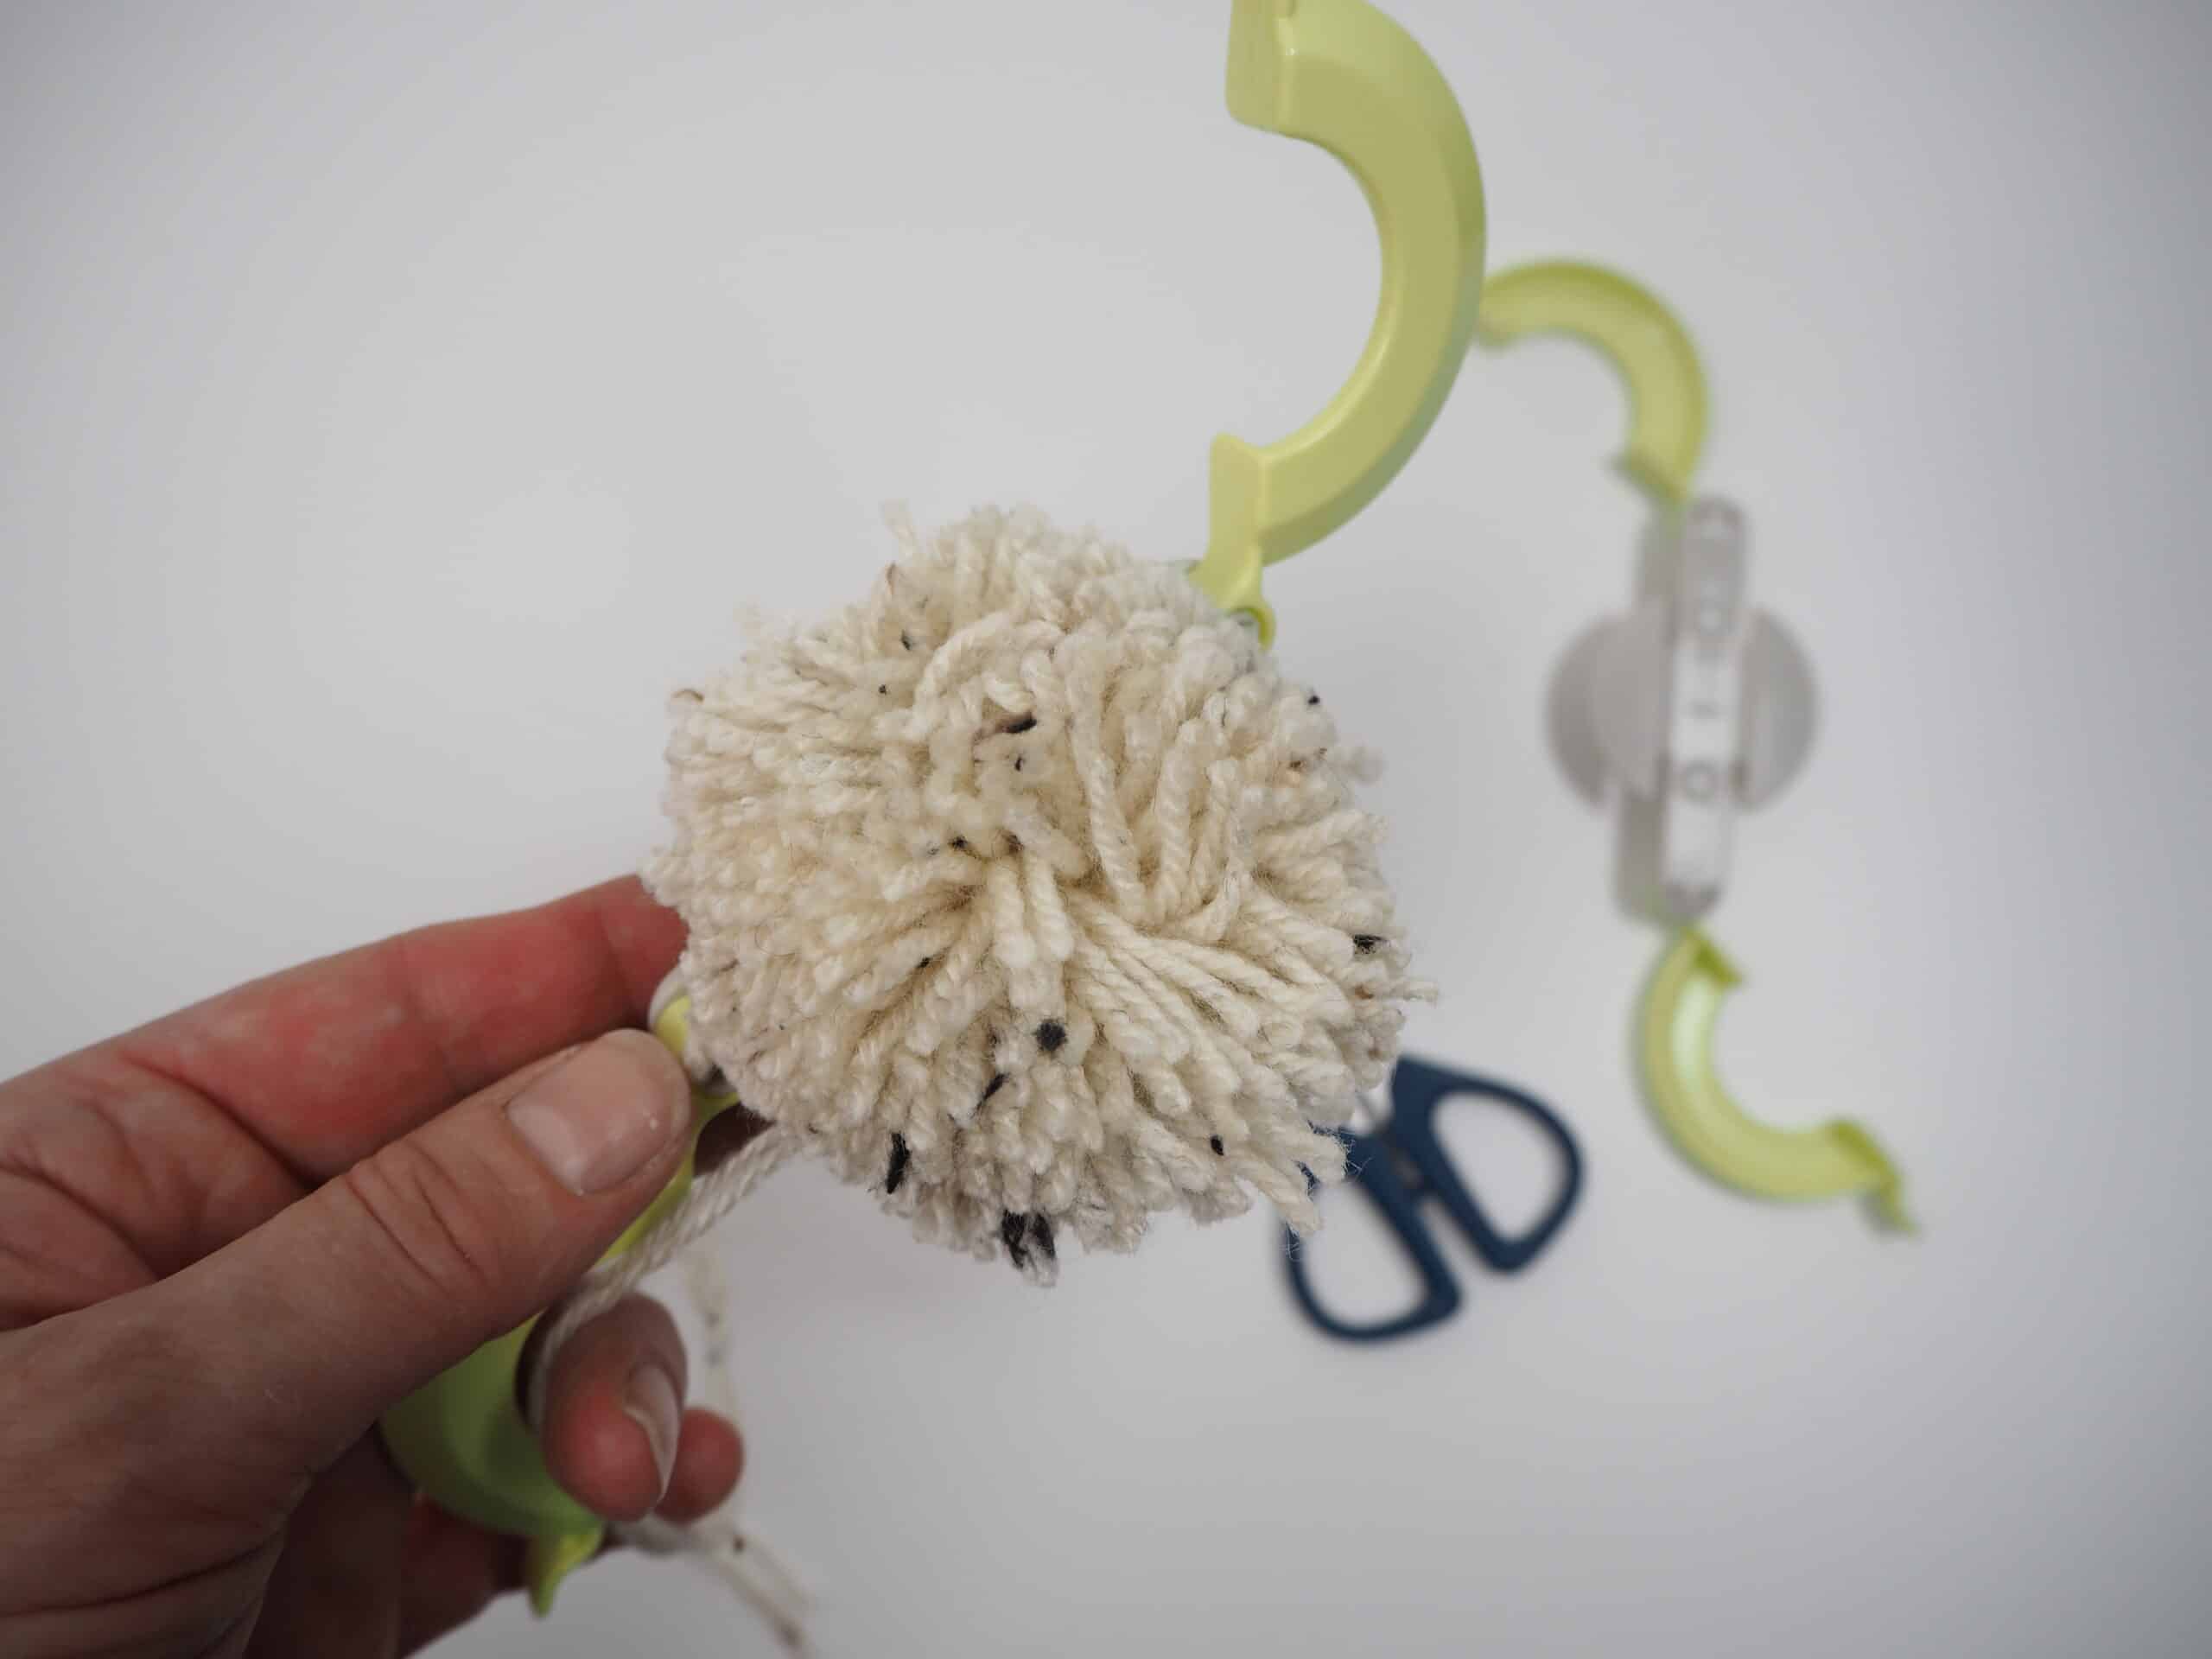
Remove the pompom from the maker and secure it to the lower left space on the crochet panel.
Make the Tassel Fringe
Finally, make the tassel fringe.
Cut 5 pieces of yarn 17″ (45cm) long, fold in half and attach this yarn bunch to the bottom of the crochet panel with a Larks Head Knot.
Begin by folding the five pieces of yarn in half.

Bring them through a chain stitch at the bottom of the crochet panel.
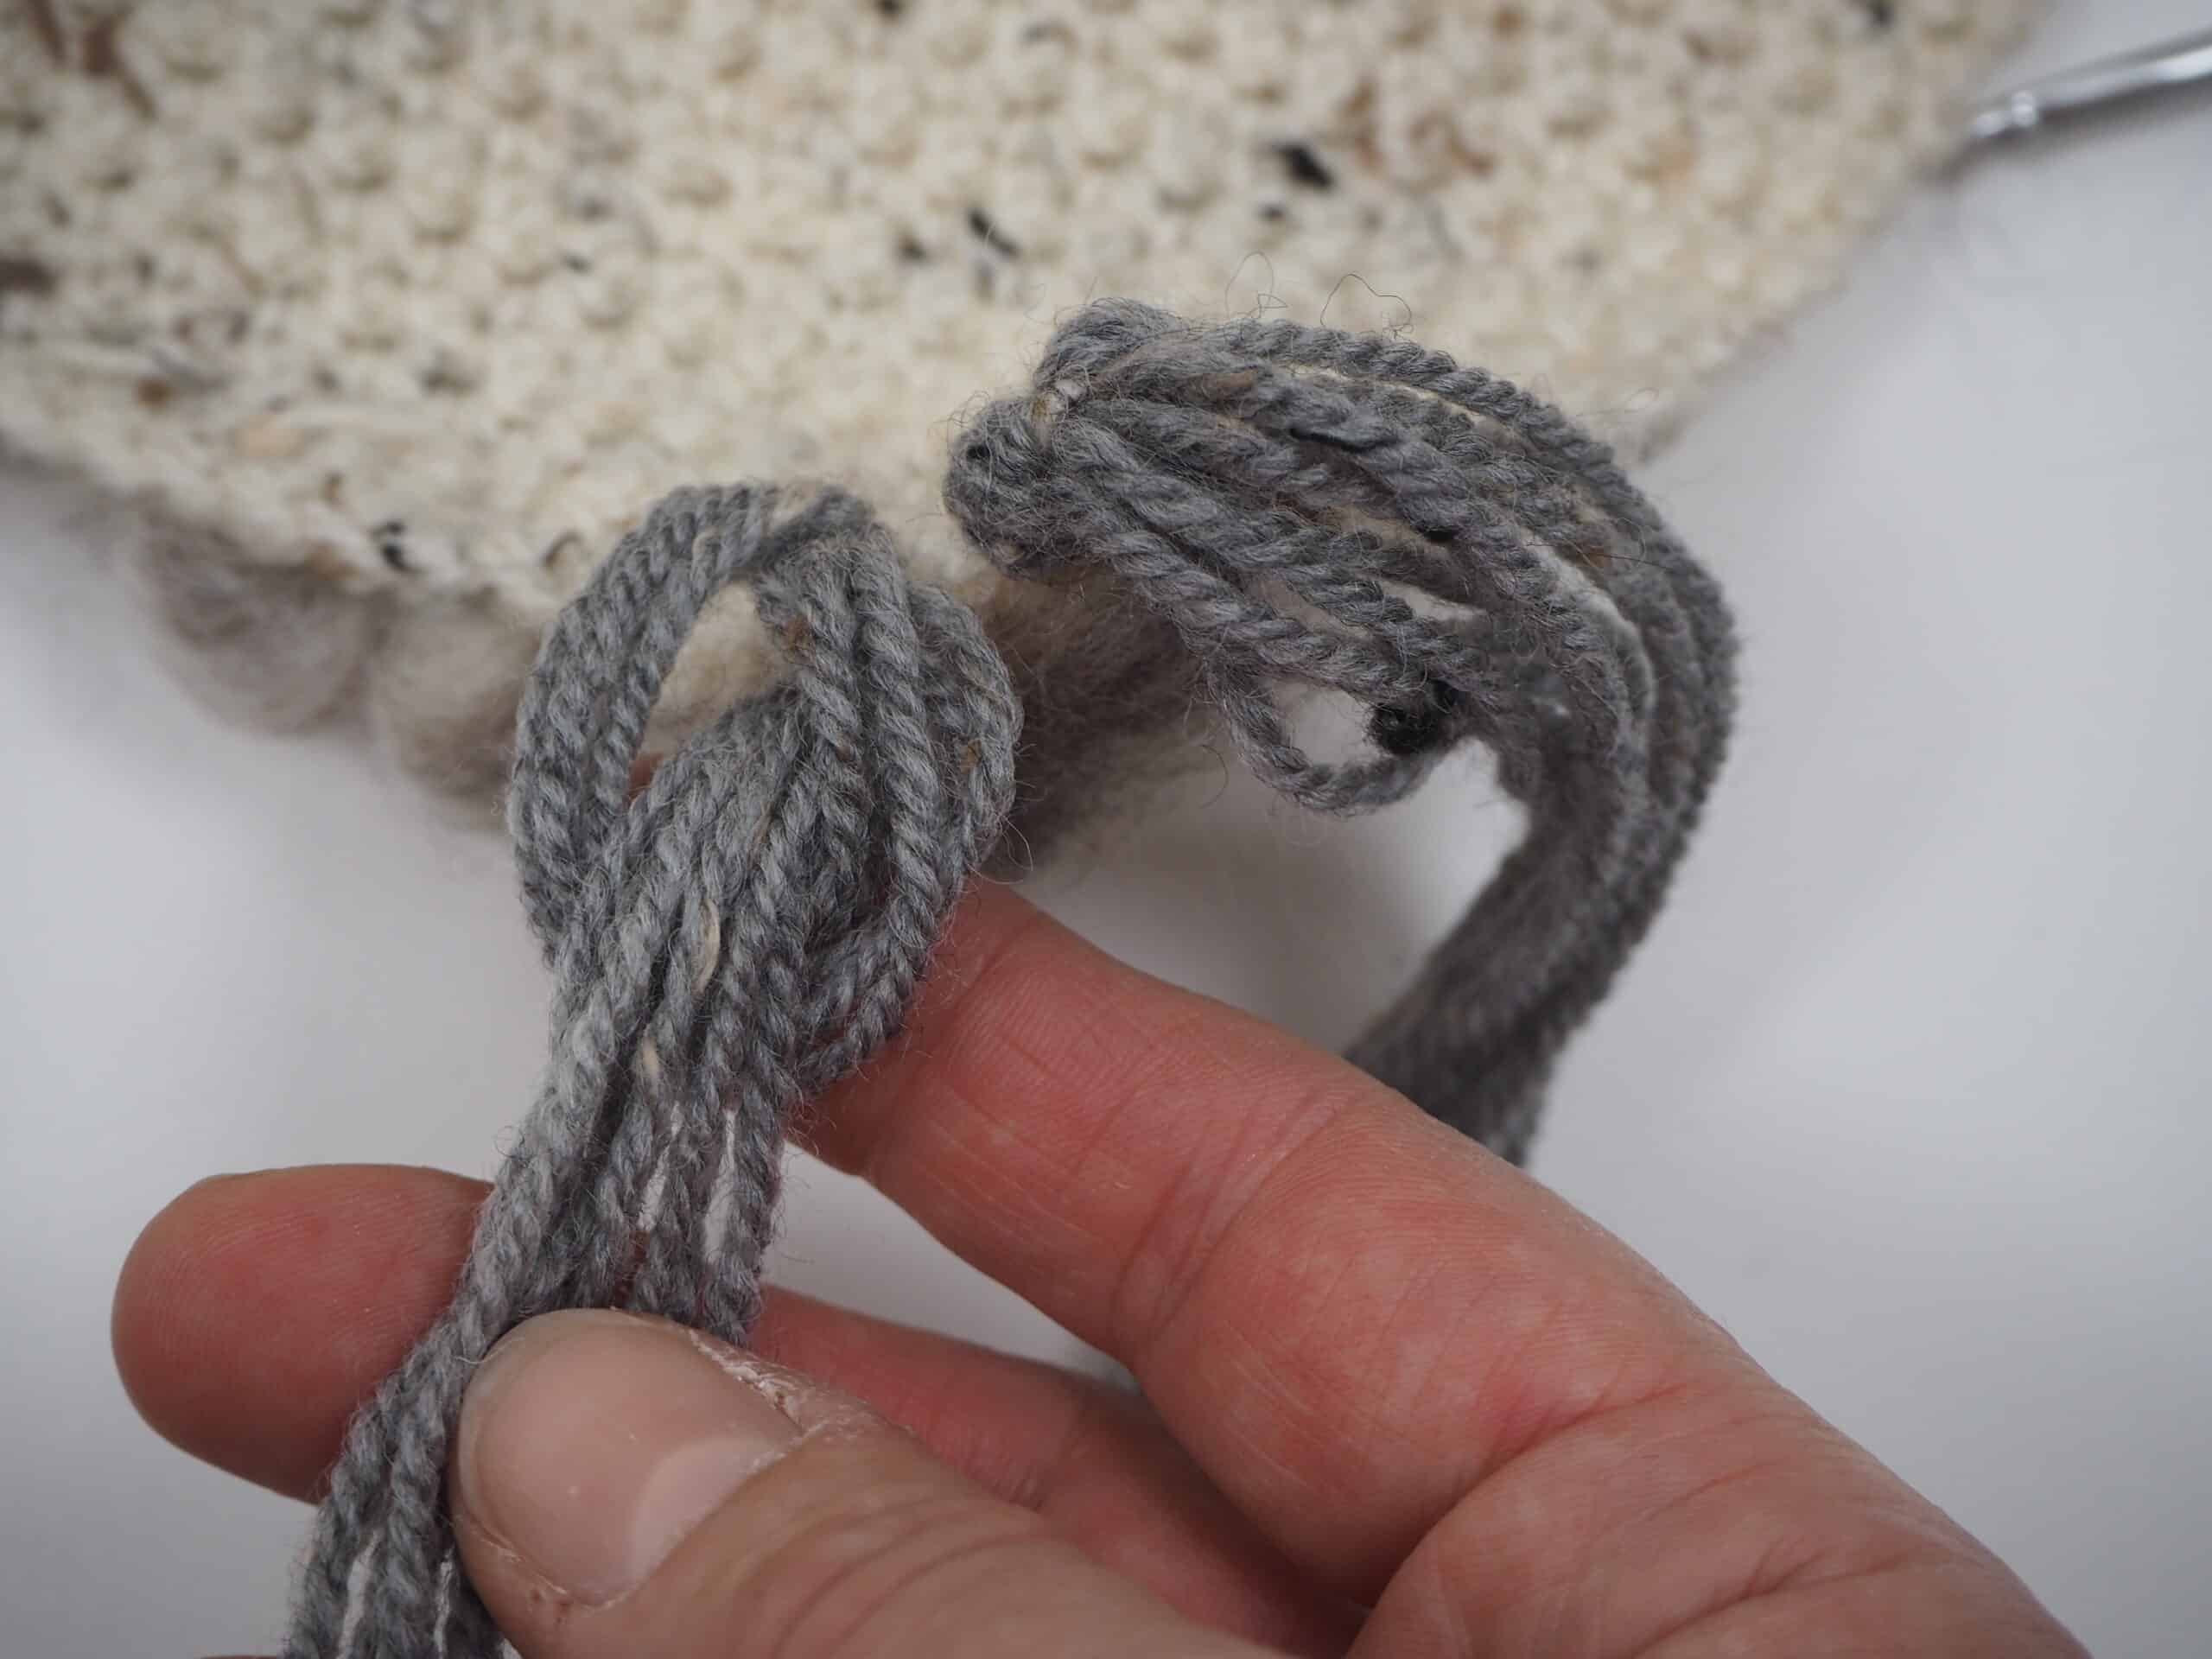
Now bring the tails up and through that loop and pull tight.

This is what the fringe will look like from the front.
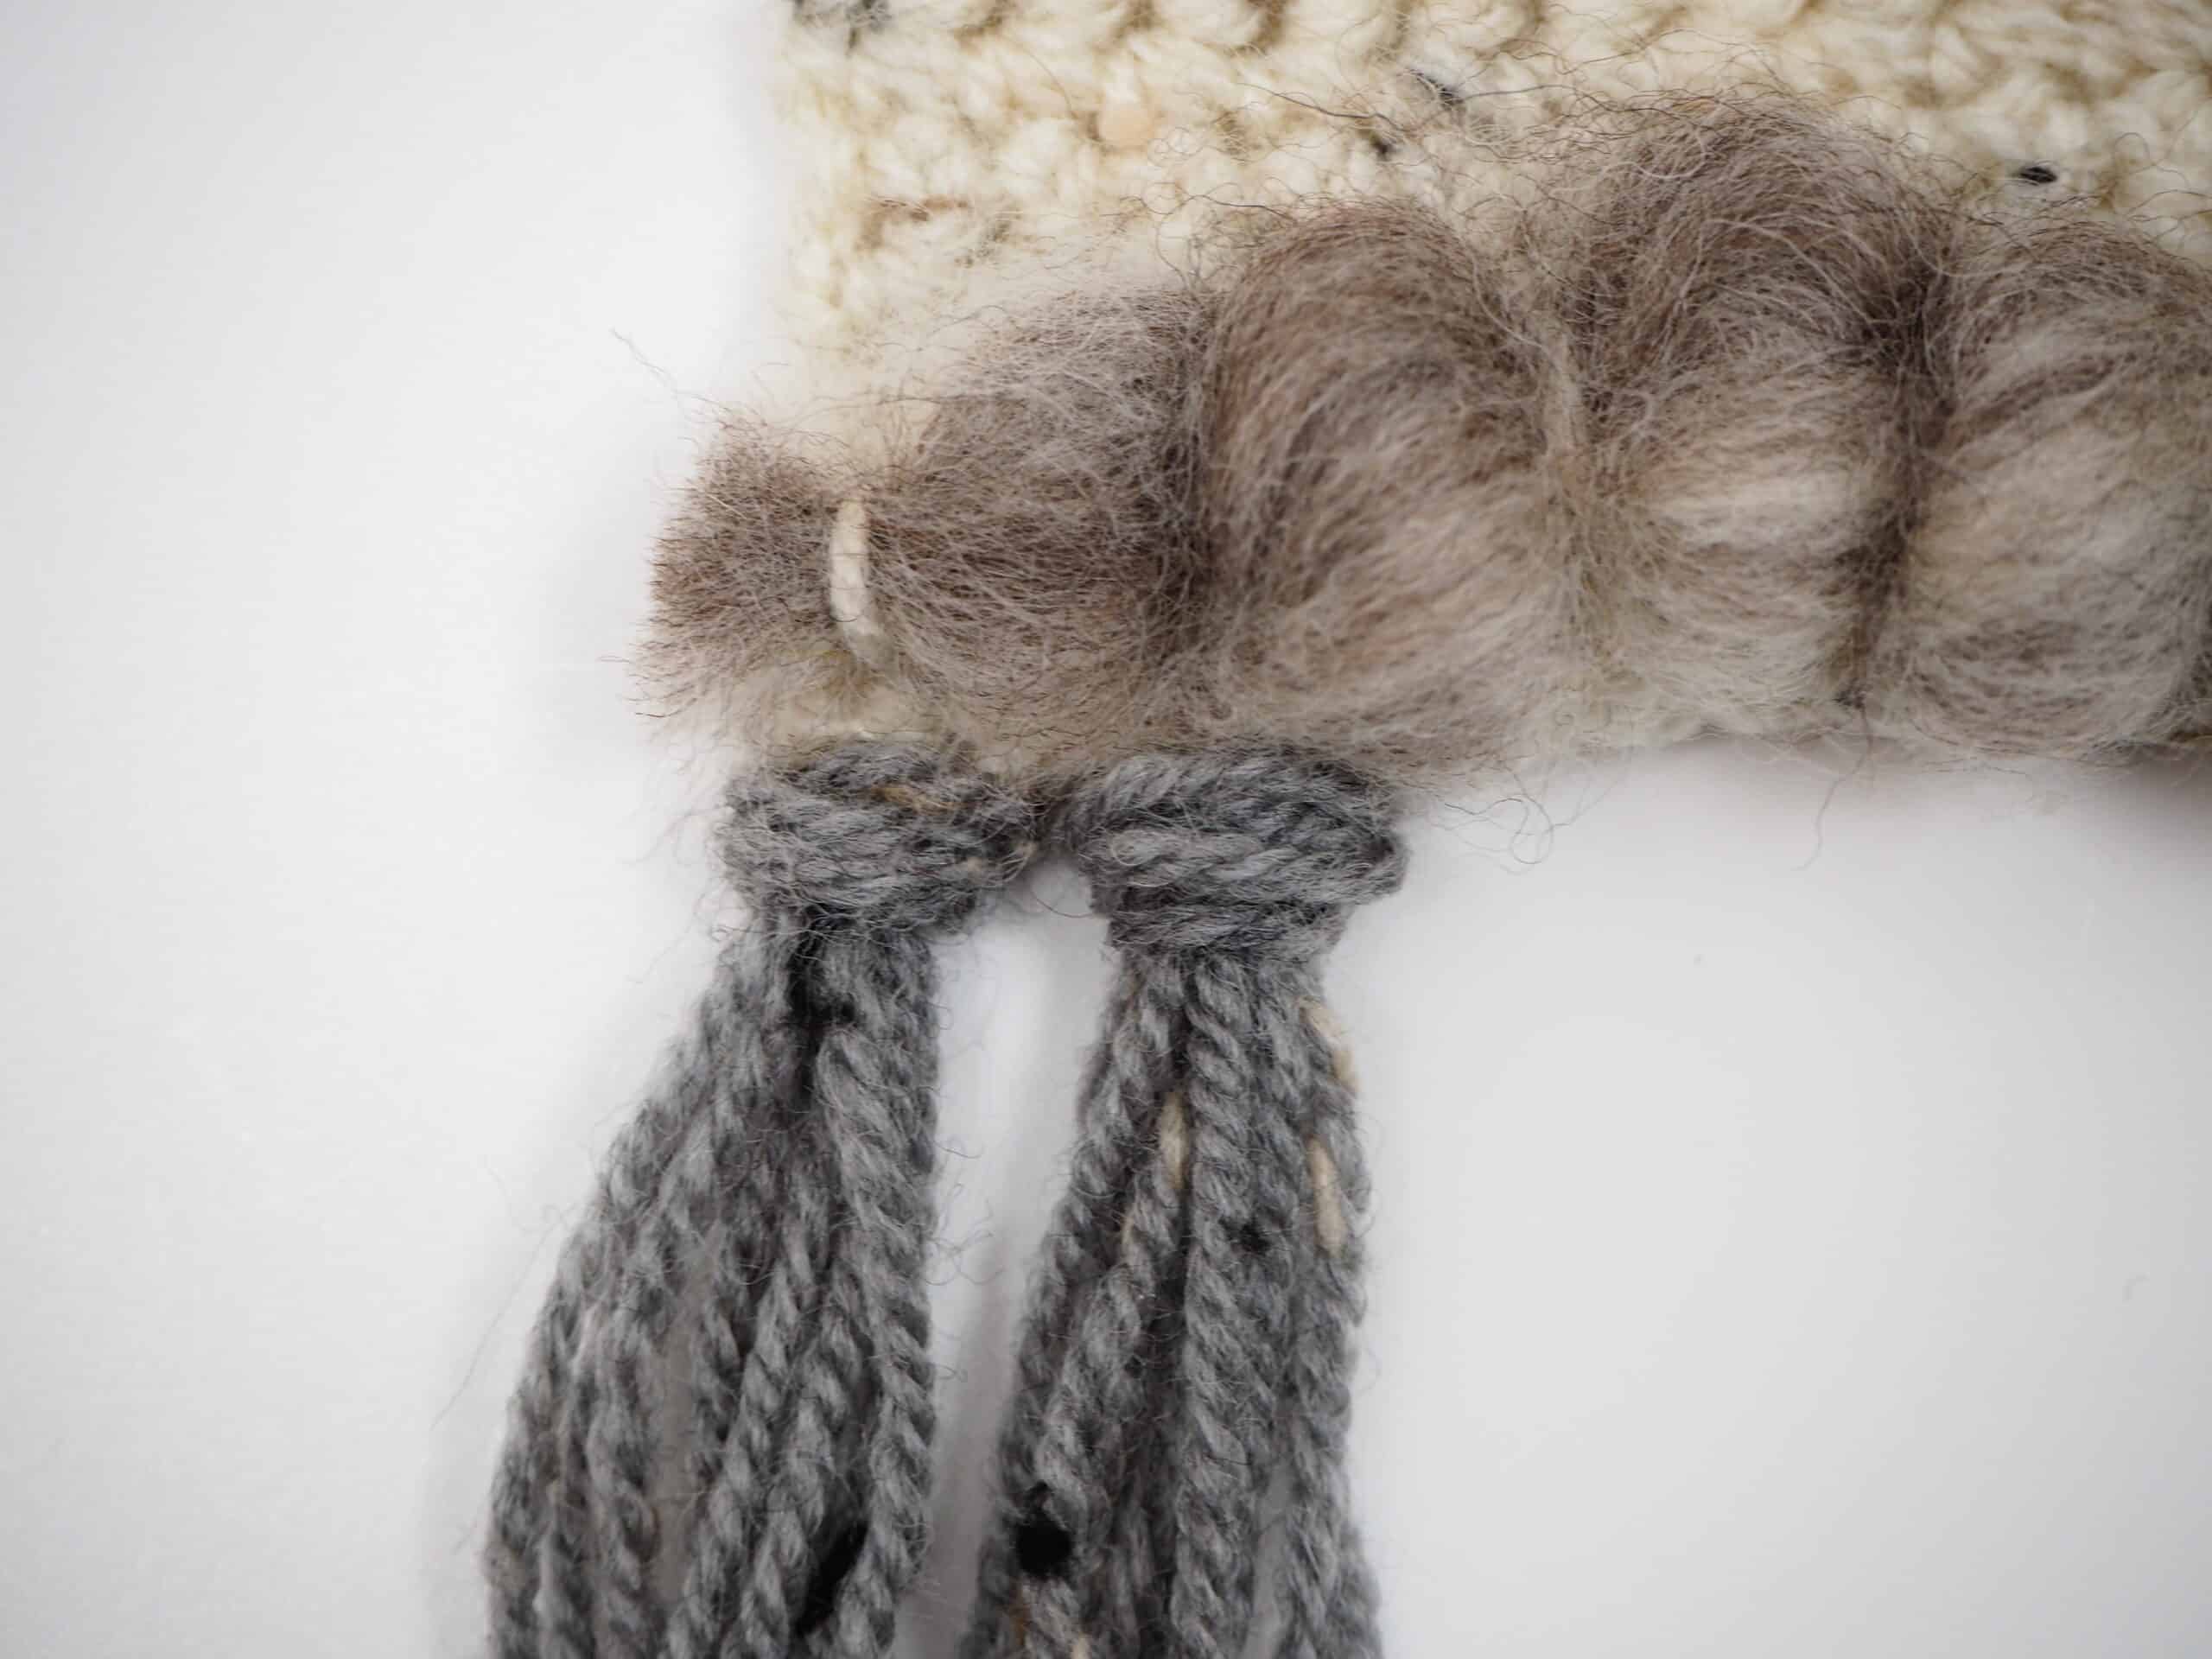
Repeat every three stitches along the bottom chain.

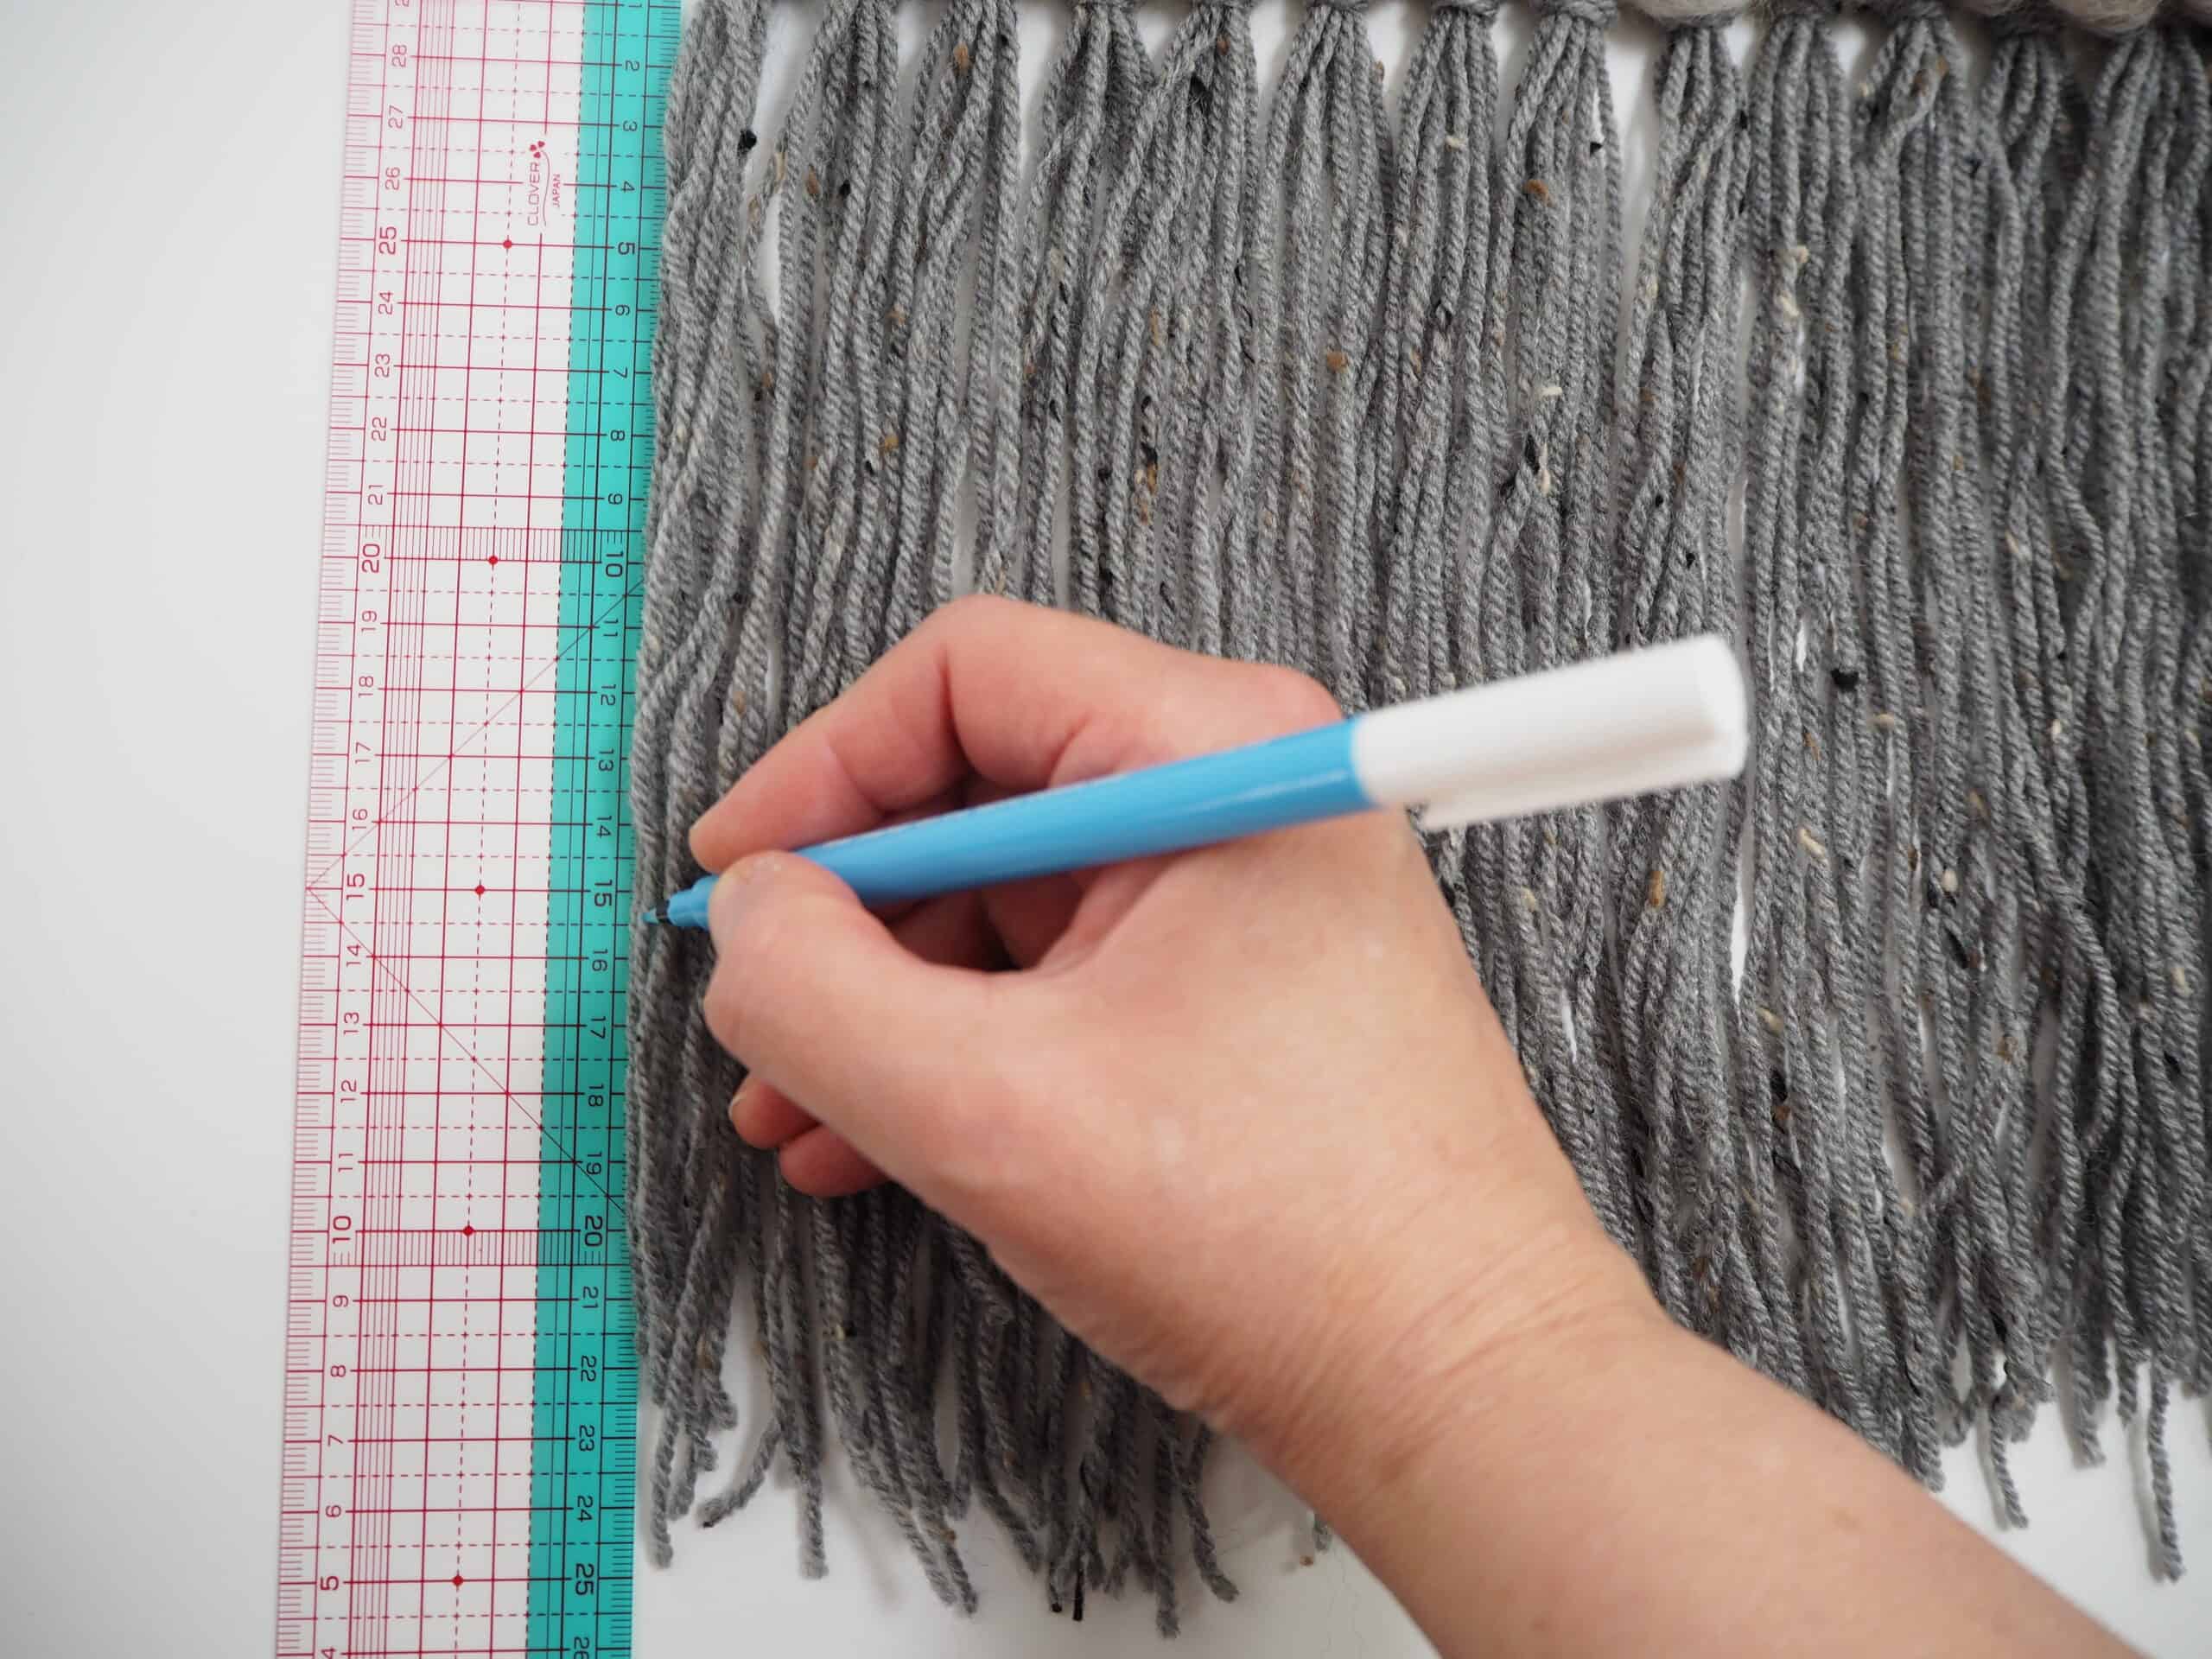
To shape the fringe, measure down 6″ (15cm) on the outside tassels and make a mark with the water erasable marker.
Cut with the larger pair of scissors from the center tassel to make a point.
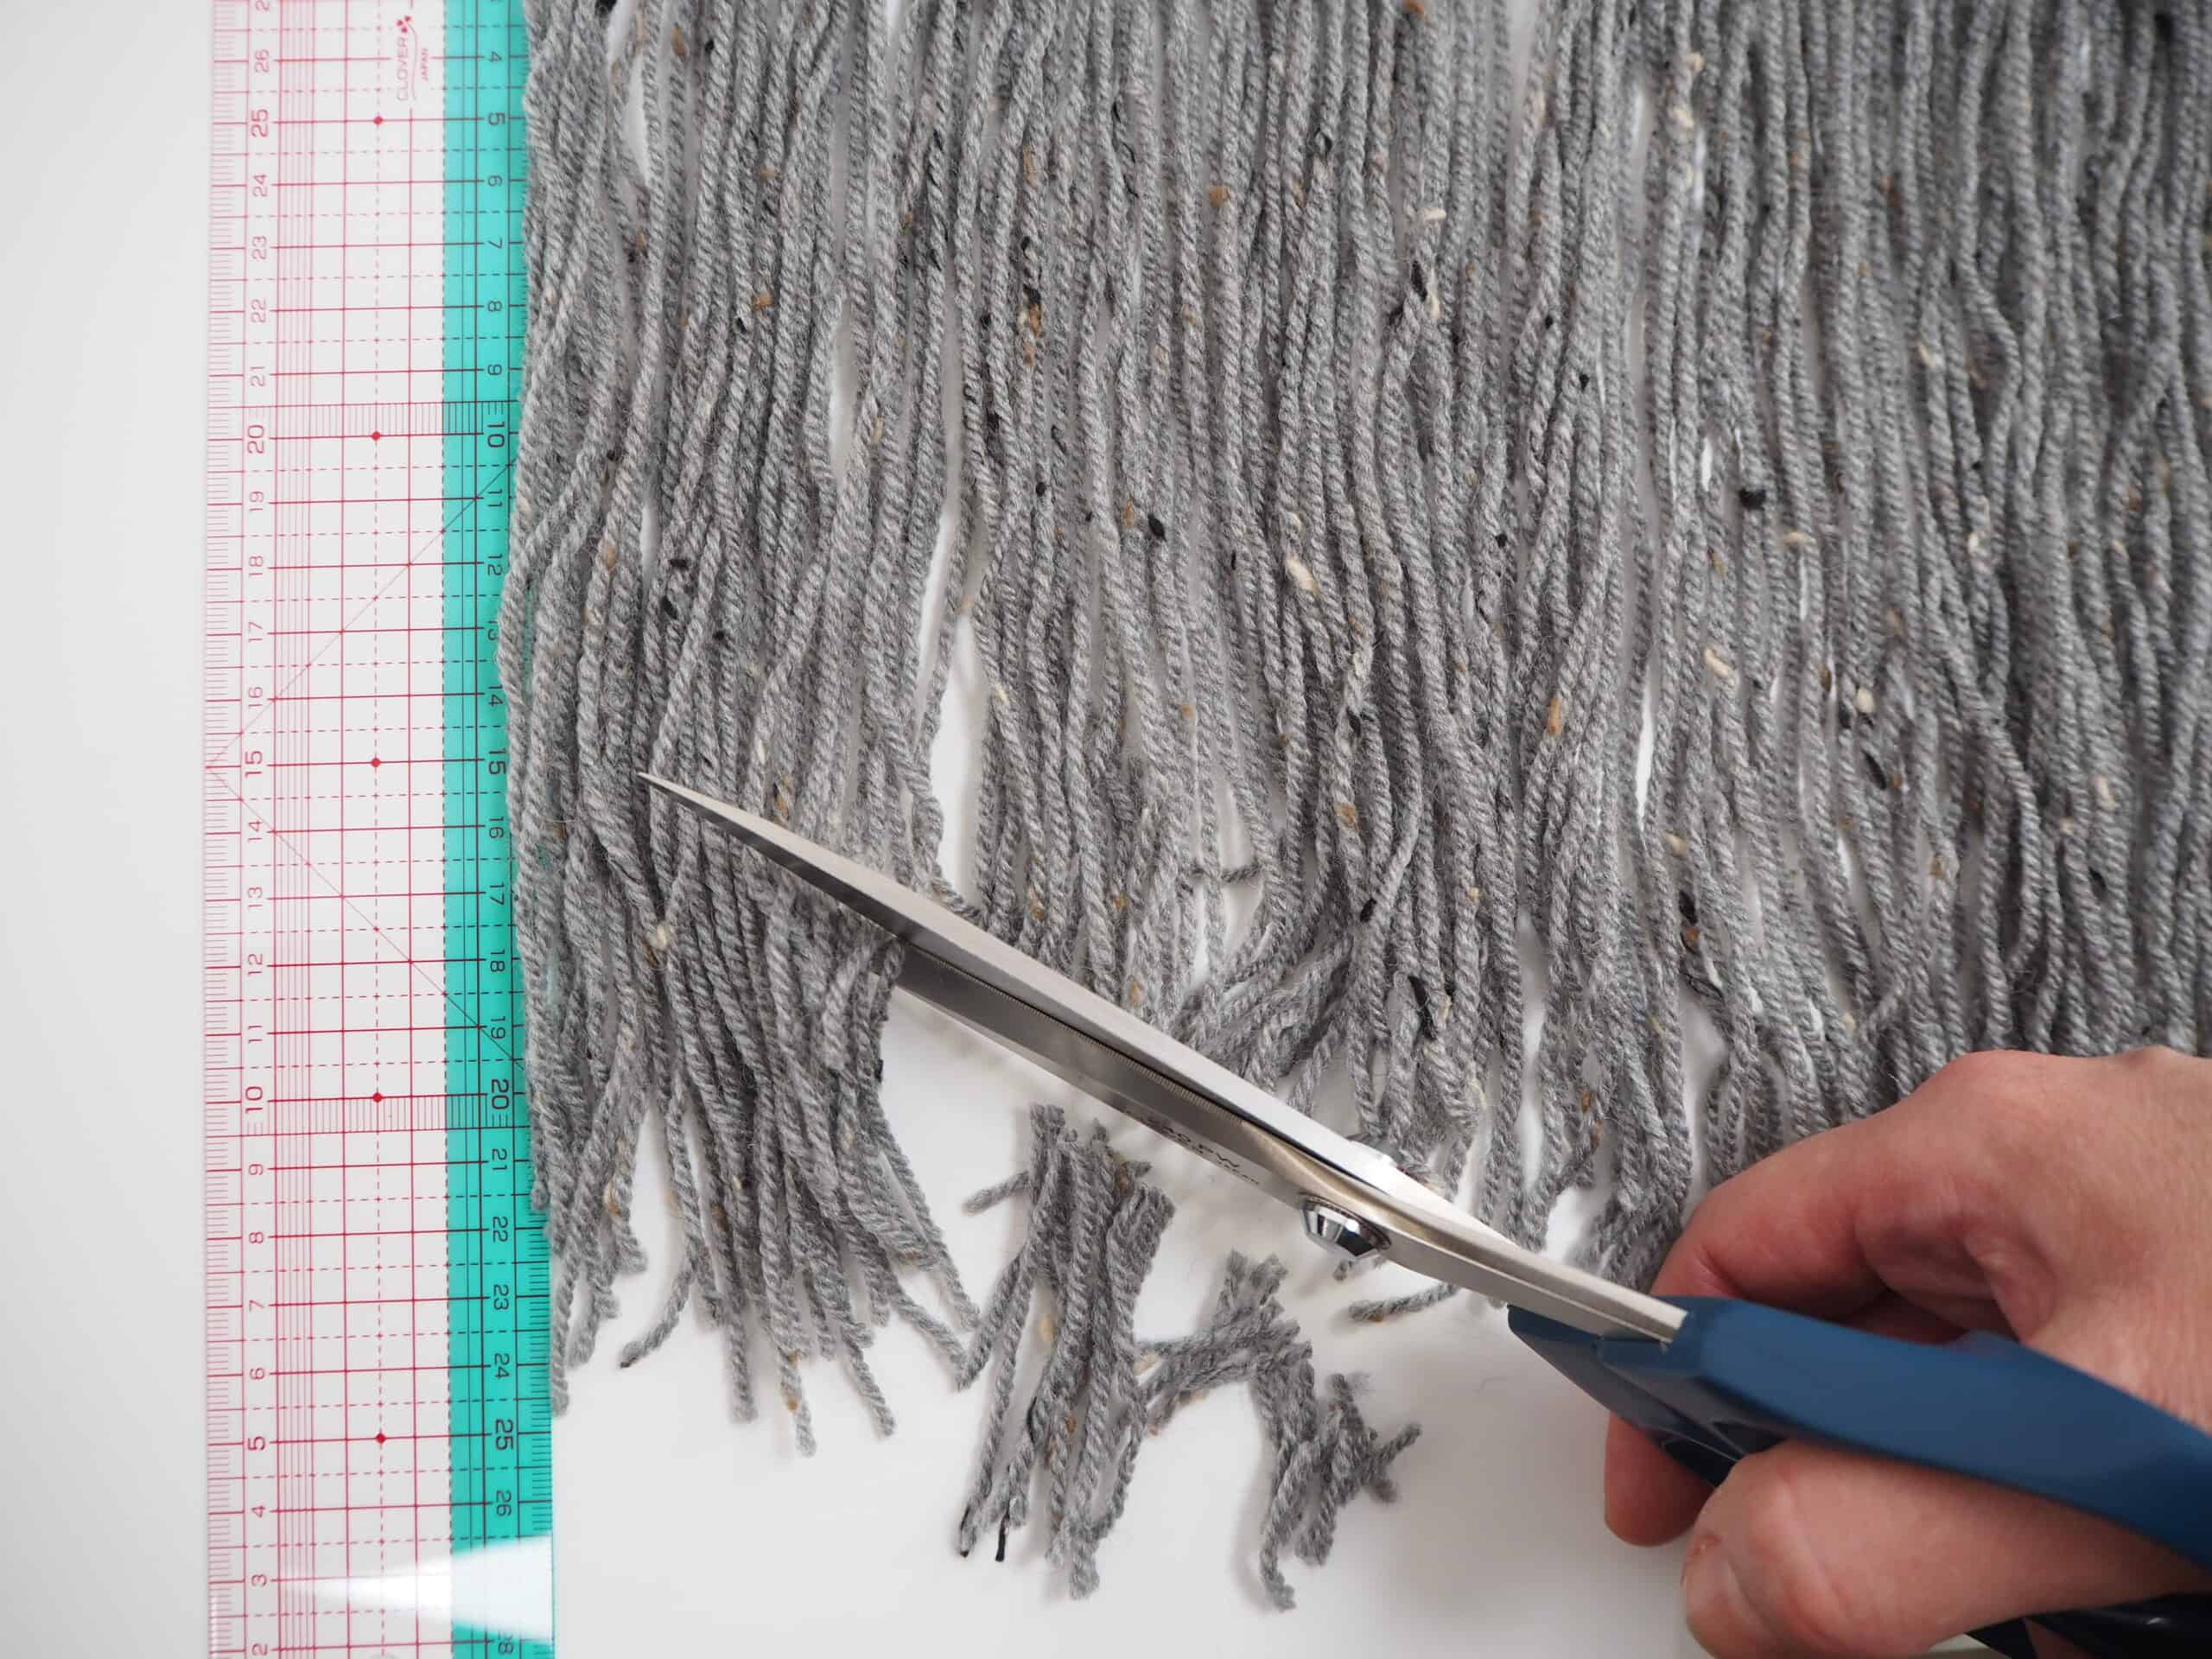
Repeat on the other side.

Finishing
Finish the wall hanging by stitching the panel to the stick with natural yarn and then make a hanger.
I made mine by crocheting a chain about 23 1/2″ (60cm) long and tying it to each end of the stick.
Tip: the back on a project like this can look a bit untidy – there really isn’ t any way around this.
The best remedy is to cut a piece of felt and use some fabric glue to glue it to the back.
This will cover the threads and make the project look more professional.
© Debbie von Grabler-Crozier 2019
Stay connected with Clover on Facebook | Twitter | Instagram | Pinterest | YouTube | Ravelry
[mc4wp_form id=”11289″]