Quilting Essentials by Dori Troutman
Happy Quilting Month! I love that there is a month of celebration just for us quilters! And I’m so excited to kick it off by telling you about a few tools that make super fast work of some great scrappy quilting projects!

No-Hassle Triangles Gauge
The No-Hassle Triangles Gauge is such a fantastic tool for making half-square and quarter-square triangle blocks. I’ve been wanting to try this tool out for awhile and I was so excited because I had a couple projects just waiting in the sidelines!

Half-Square
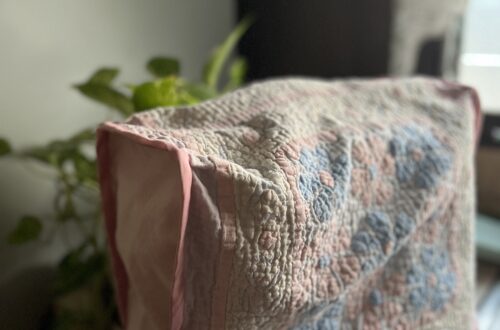
Using the No-Hassle Triangles Gauge is a great way to make a project simply compiled of half-square triangle blocks. I’ve been wanting to make large 24 inch quilted pillow covers for the couch in my sewing room. This was a perfect project for half square triangle blocks.
I’ve found that it can be tricky to determine what size to cut the original square when you are making half-square triangle blocks. And this gauge makes the steps so simple!

Determine the size that you would like your block to be. I chose 5-1/2 inches for mine. Look on the left side of the gauge where the calculations for a half-square triangle are listed. Find the size that you want your block to be. And right below that number it will tell you what size to cut your fabric! According to the cutting instructions, I cut my blocks 5-7/8 inches square. For each block you will need to cut two fabric squares. I used a low volume and a blue print for each of my blocks.

Take the two pieces of fabric and place them right sides together. Place your gauge on top of the fabric squares. The top arrow of the gauge should be right on the upper corner of your fabric, with the lower arrow along the outside of the fabric square. This basically locks it in place.

You can then take your Air Erasable Marker and draw lines onto your fabric by following the marking slots on the gauge!

Remove the gauge and sew 1/4 inch along both sides of the lines that you drew.

Using a ruler and your Rotary Cutter, cut between the two sewn lines.

Open each block and iron the seam towards the darker fabric. You now have two perfect half-square triangle blocks. Repeat these steps until you have made as many blocks as you need.
I simply sewed my blocks together forming a large 25 inch square pillow cover. What I loved is that by using the gauge my blocks were so perfect that as I sewed, my corners matched up exactly.
I love half-square triangle blocks and with these great tools, it is such a quick and easy way to make a quilted project.
Quarter-Square

You can also use the No-Hassle Triangle Gauge to make a quarter-square triangle block. This is super tricky to calculate without the gauge and I loved that I didn’t even have to think about it! There is a great online tutorial on how to make quarter-square triangles using the gauge.

I loved making a darling doll quilt using a combination of 3.5 inch quarter-square triangle blocks mixed in with 3.5 inch squares. Such a fast and easy project with the No-Hassle Triangle Gauge.
Ultimate Quilt ‘n Stitch Presser Foot

I decided to do some simple straight line machine quilting on my pillow covers and I used the Ultimate Quilt n’ Stitch Presser Foot to make sure my lines were the exact distance apart.

I cannot express to you how much I love this presser foot. What I really love is that the measuring gauge locks in so as you are sewing, it doesn’t budge. The instructions are simple: choose the spacing that you want your quilting lines to be, adjust your gauge to that spacing, and use the arm as your guide! It was so simple. My quilting lines came out perfect.
The presser foot is not a walking foot. It is simply a presser foot with the built in alignment ruler. So keep that in mind.


6-in-1 Stick ‘n Stitch Guide

The last tool I would like to tell you about is the 6-in-1 Stick ‘n Stitch Guide. I decided to let my grand-girls experiment with this while they were sewing a little quilting project.

I wish so badly that I had these guides for the children in the quilting class I teach because by simply sticking one of the guides at 1/4 inch distance from the needle, anyone can get perfect 1/4 inch seams. And they stick really firmly; however with just a little rocking motion they are also simple to remove.

If you use both of the guides, you can create a channel for sewing a perfect seam on long jelly roll strips. My grand-daughter, Jillian, said “I don’t hardly even have to guide my fabric”! These are such a great invention, especially for children and beginner sewists. You can watch a great video tutorial that shows all the uses for the 6-in-1 Stick n’ Stitch Guide.

When it comes to useful quilting tools, I would certainly recommend owning all of these! I think any tool that makes a project simpler is an absolute necessity! I hope you will give them all a try!
Happy Quilting Month my friends!
~ Dori ~
Find Dori on her Blog | Instagram | Pinterest
Stay connected with Clover on Facebook | Twitter | Instagram | Pinterest | YouTube | Ravelry
[mc4wp_form id=”11289″]


