Clover Snag Repair Needles with Stitches n Scraps
Hi everybody! I’m Pia, the blogger and designer behind Stitches n Scraps. Have you tried Clover’s new Snag Repair Needle yet? Clover recently sent me one to try out and share my thoughts with you in this guest post.

You can enter for a chance to win a Snag Repair Needle to try out for yourself! See all the giveaway details on Stitches n Scraps. The giveaway ends on June 7th, 2019, so hurry and get your entries in!
The Snag Repair Needle
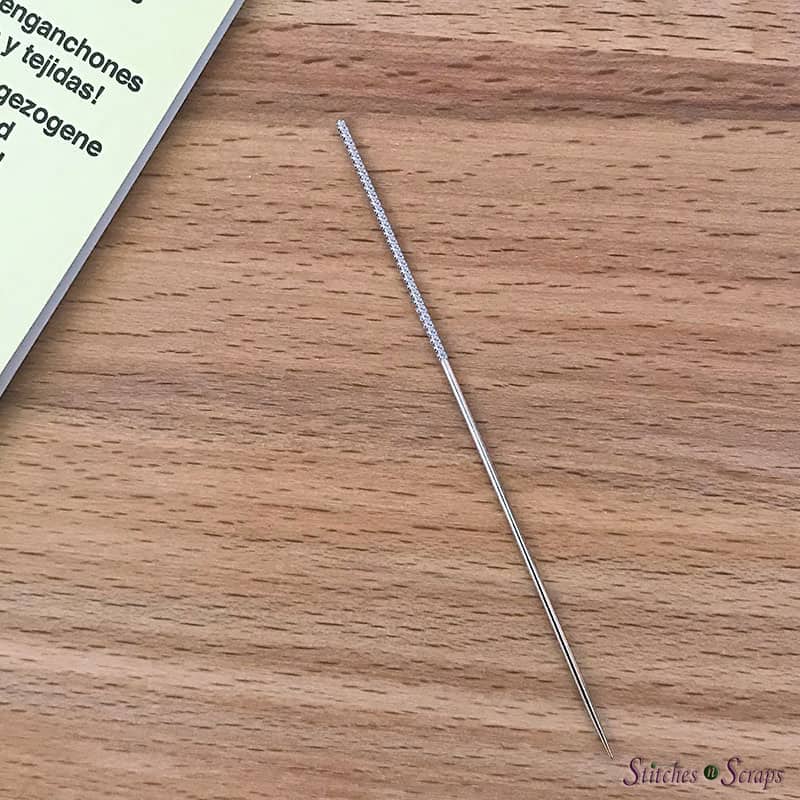
These funny looking needles don’t have any eyes. Where the eye should be, instead there is a screw, which is the key to how they work.
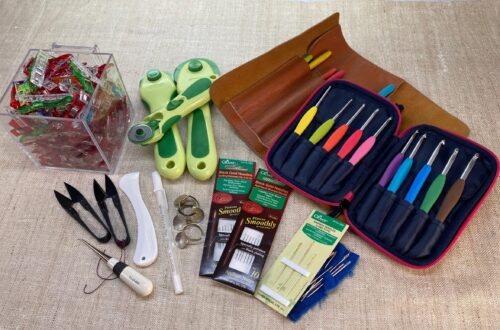
The package comes with two needles in different sizes. The smaller one is perfect for most clothing and lighter fabrics, while the larger one works well with yarn and bulkier fabrics.
Repairing snags
Using the needle to repair a snag is fairly simple. Insert the needle through the fabric from the right side, so that it comes out on the wrong side. As you pull the needle through, make sure that the snagged thread catches on the screw. The screw will hang onto the thread and pull it down to the wrong side of the fabric as you pull the needle through.
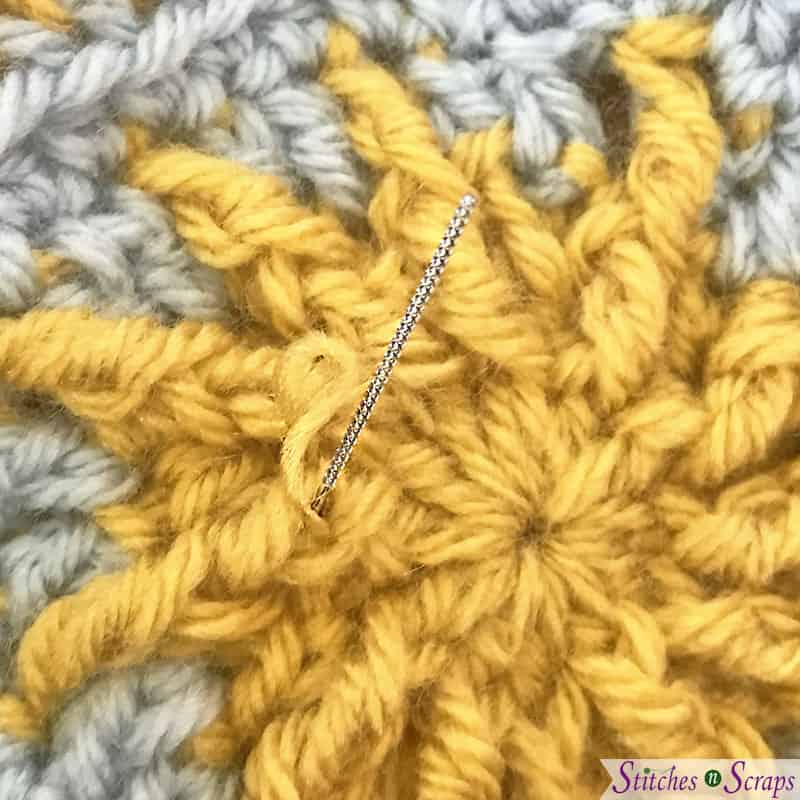
When doing this with yarn, I found that I needed to do it 4 or 5 times before the whole snag came through. Once it did though, the repair was invisible, with no indication there was ever a snag!
More than just snags
This ingenious tool is useful not only for repairing snags. it’s also a great way to weave in ends, particularly short ones. Check out 3 Ways to Weave in Ends in Crochet on Stitches n Scraps to learn more, and to enter the giveaway!
Find Stitches n Scraps on Facebook | Twitter | Instagram | Pinterest | YouTube
Stay connected with us on Facebook | Twitter | Instagram | Pinterest | YouTube
[ctct form=”10190″]