Halloween Rosettes

Halloween is only weeks away! Time for Halloween crafts, if you haven’t started already. Here’s a little inspiration to get you going.
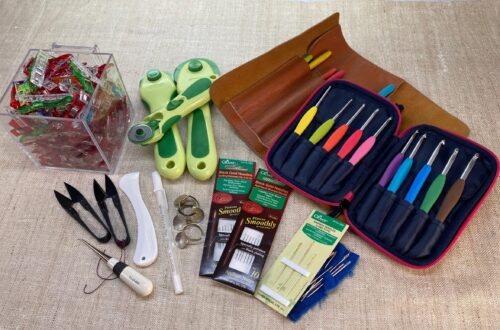
Materials
- Rosette Maker (Large)-Art. No 8431
- Handy Thread Twister-Art. No 9942
- Patchwork Scissors (Mini)-Art. No 493/CW
- Ribbon (width 1″): 36″ in length
- Printed fabric (4x4in.)
- Embroidery Thread (2 colors)
Instructions
To start, grab your Handy Thread Twister and twist your embroidery threads to make your hanging cord. Don’t have package instructions? Here’s a video tutorial.
Now the Rosette making process starts.
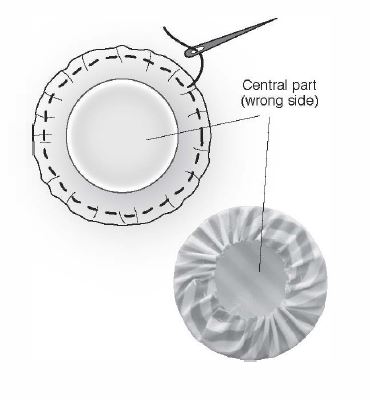
Following the diagram below to make the center part of the rosette using your patterned fabric and dome included in the packaging.

With your 1″ ribbon, make a rosette using the template. Need a little help? Here’s a video tutorial. Attach the cord to the back side of rosette before placing the sticker
Attach stickers on both sides to keep hanging cord and rosette in place.

Then, remove rosette from the template.
Attach an embellishment (such as a felt or fabric) on the back side of your rosette to cover the sticker
Attach the center part from “Step 2” to finish

In case you missed Tool School: Rosettes
Tell us what you think on Facebook | Twitter | Instagram | Pinterest.