Mini Quilt Appliqué with Wonder Fuse
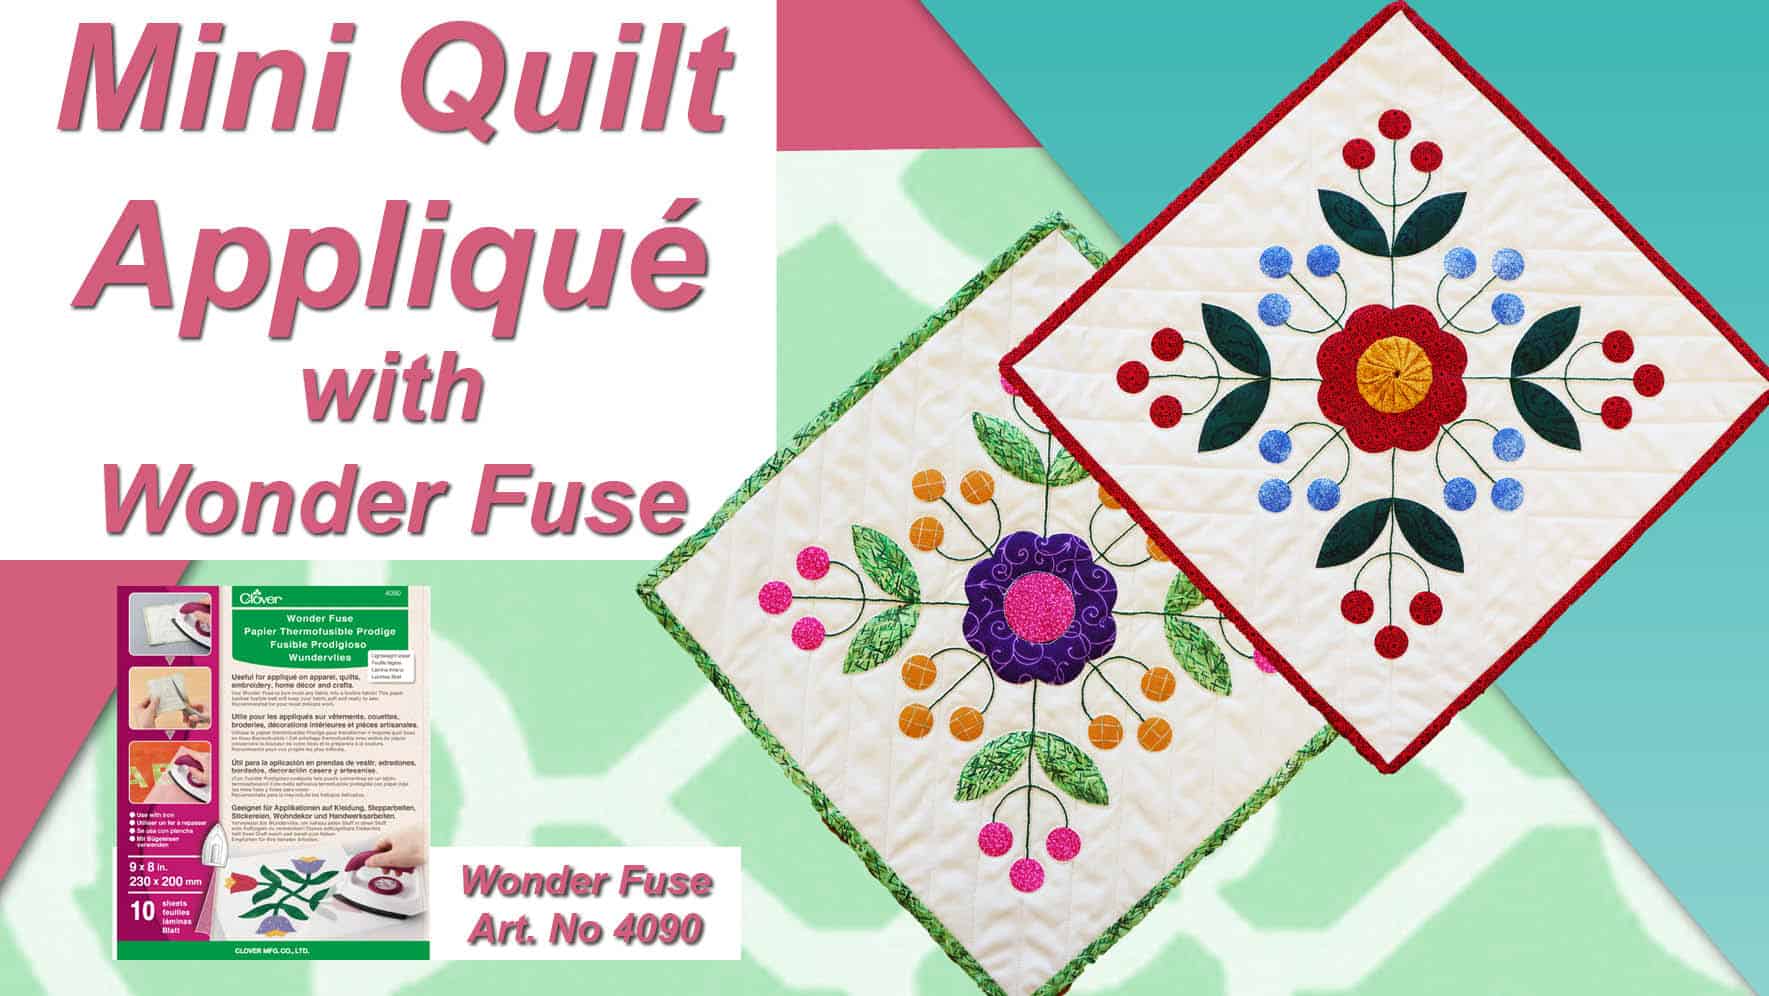
Designed by Carol Mesimer
We’ve introduced you to the new Wonder Fuse and now it’s time to see it in action and see what it can do for you!
How to use the Wonder Fuse: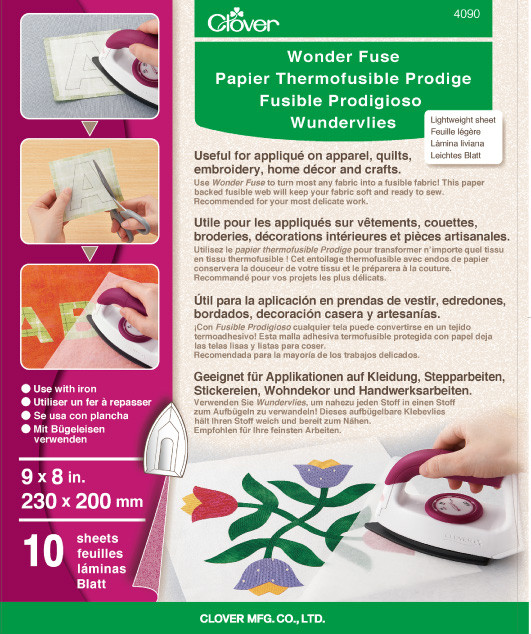
Wonder Fuse
Art. No 4090
To use the Wonder Fuse first reverse and trace your appliqué design creating a mirror image on the release paper side of Wonder Fuse. Cut fusible web slightly larger than your traced design.
Next, place fusible web (rough side) on the wrong side of the fabric. Use a hot, dry iron and press for 5-8 seconds.
Note: always check your iron temperature with the fusible before you begin your work. Heavier fabrics will require more time.
After the temperature cools down, cut appliqué to size, following outlines drawn on paper backing, Then peel off paper backing.
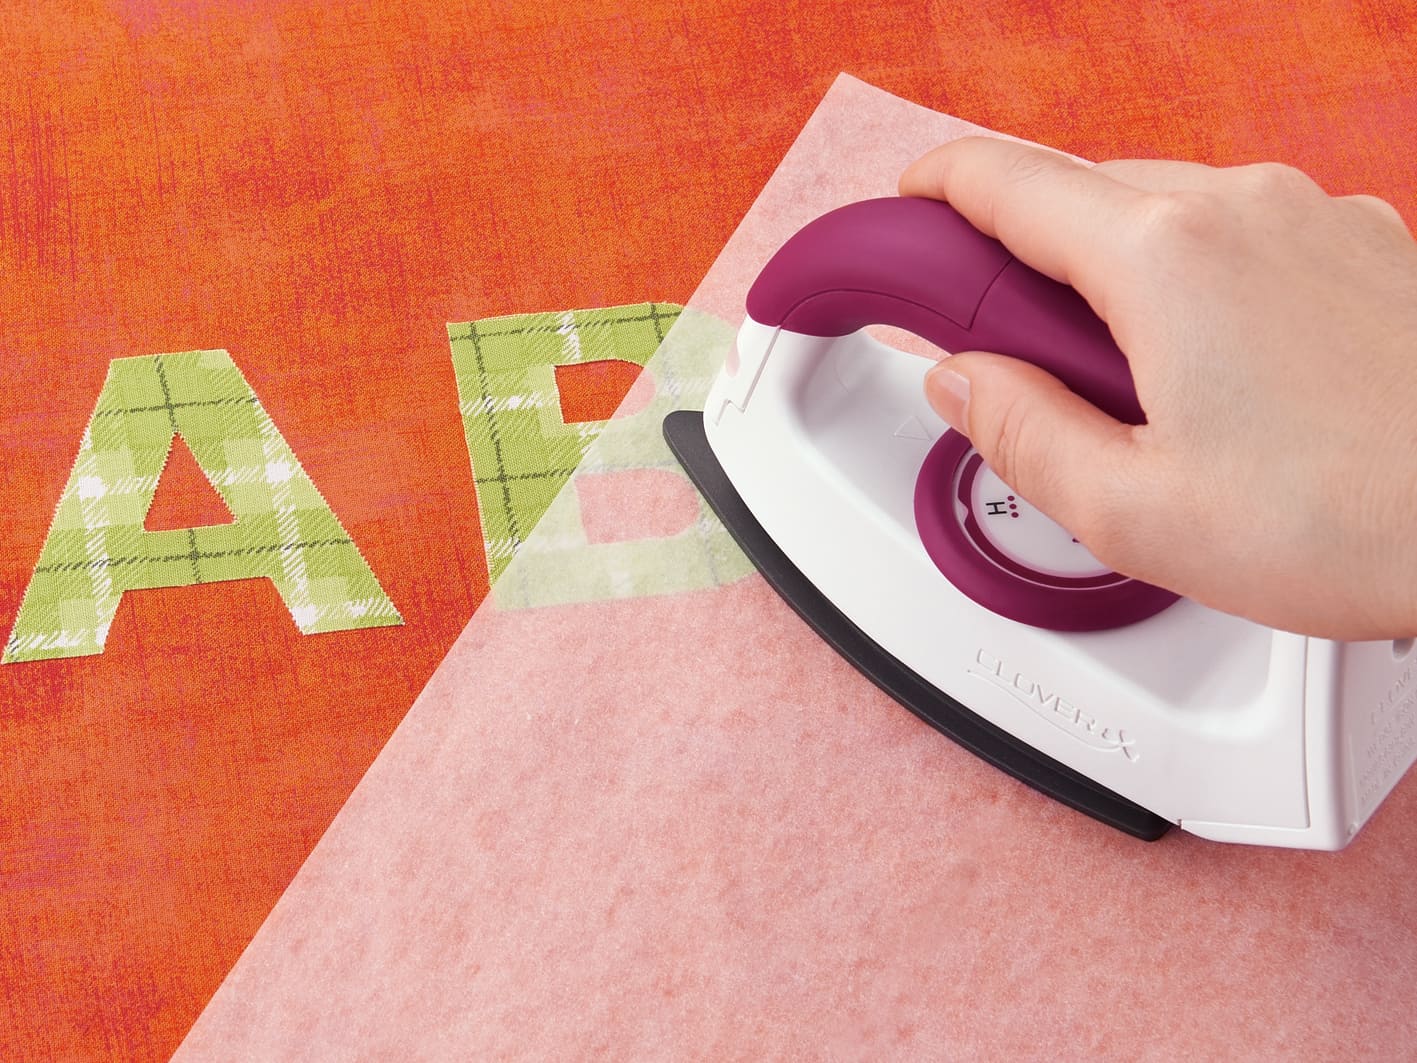
Finally, place the appliqué with the fusible web side down onto project. Use a dry iron to fuse appliqué to background fabric with pressing sheet.
Are you ready for a project?
Supplies for one 12” square:
-
- Wonder Fuse (Art. No 4090)
- 15” square base fabric
- 15” square backing fabric
- 4 – 1.5” x 15” strips for binding
- 15” square batting
- 4” square center flower fabric
- 2” square flower center OR 4.375” square for yo-yo center
- 6” square leaf fabric
- 2 – 3” x 4” squares for berries, two colors
- Embroidery thread or green sewing thread for stems
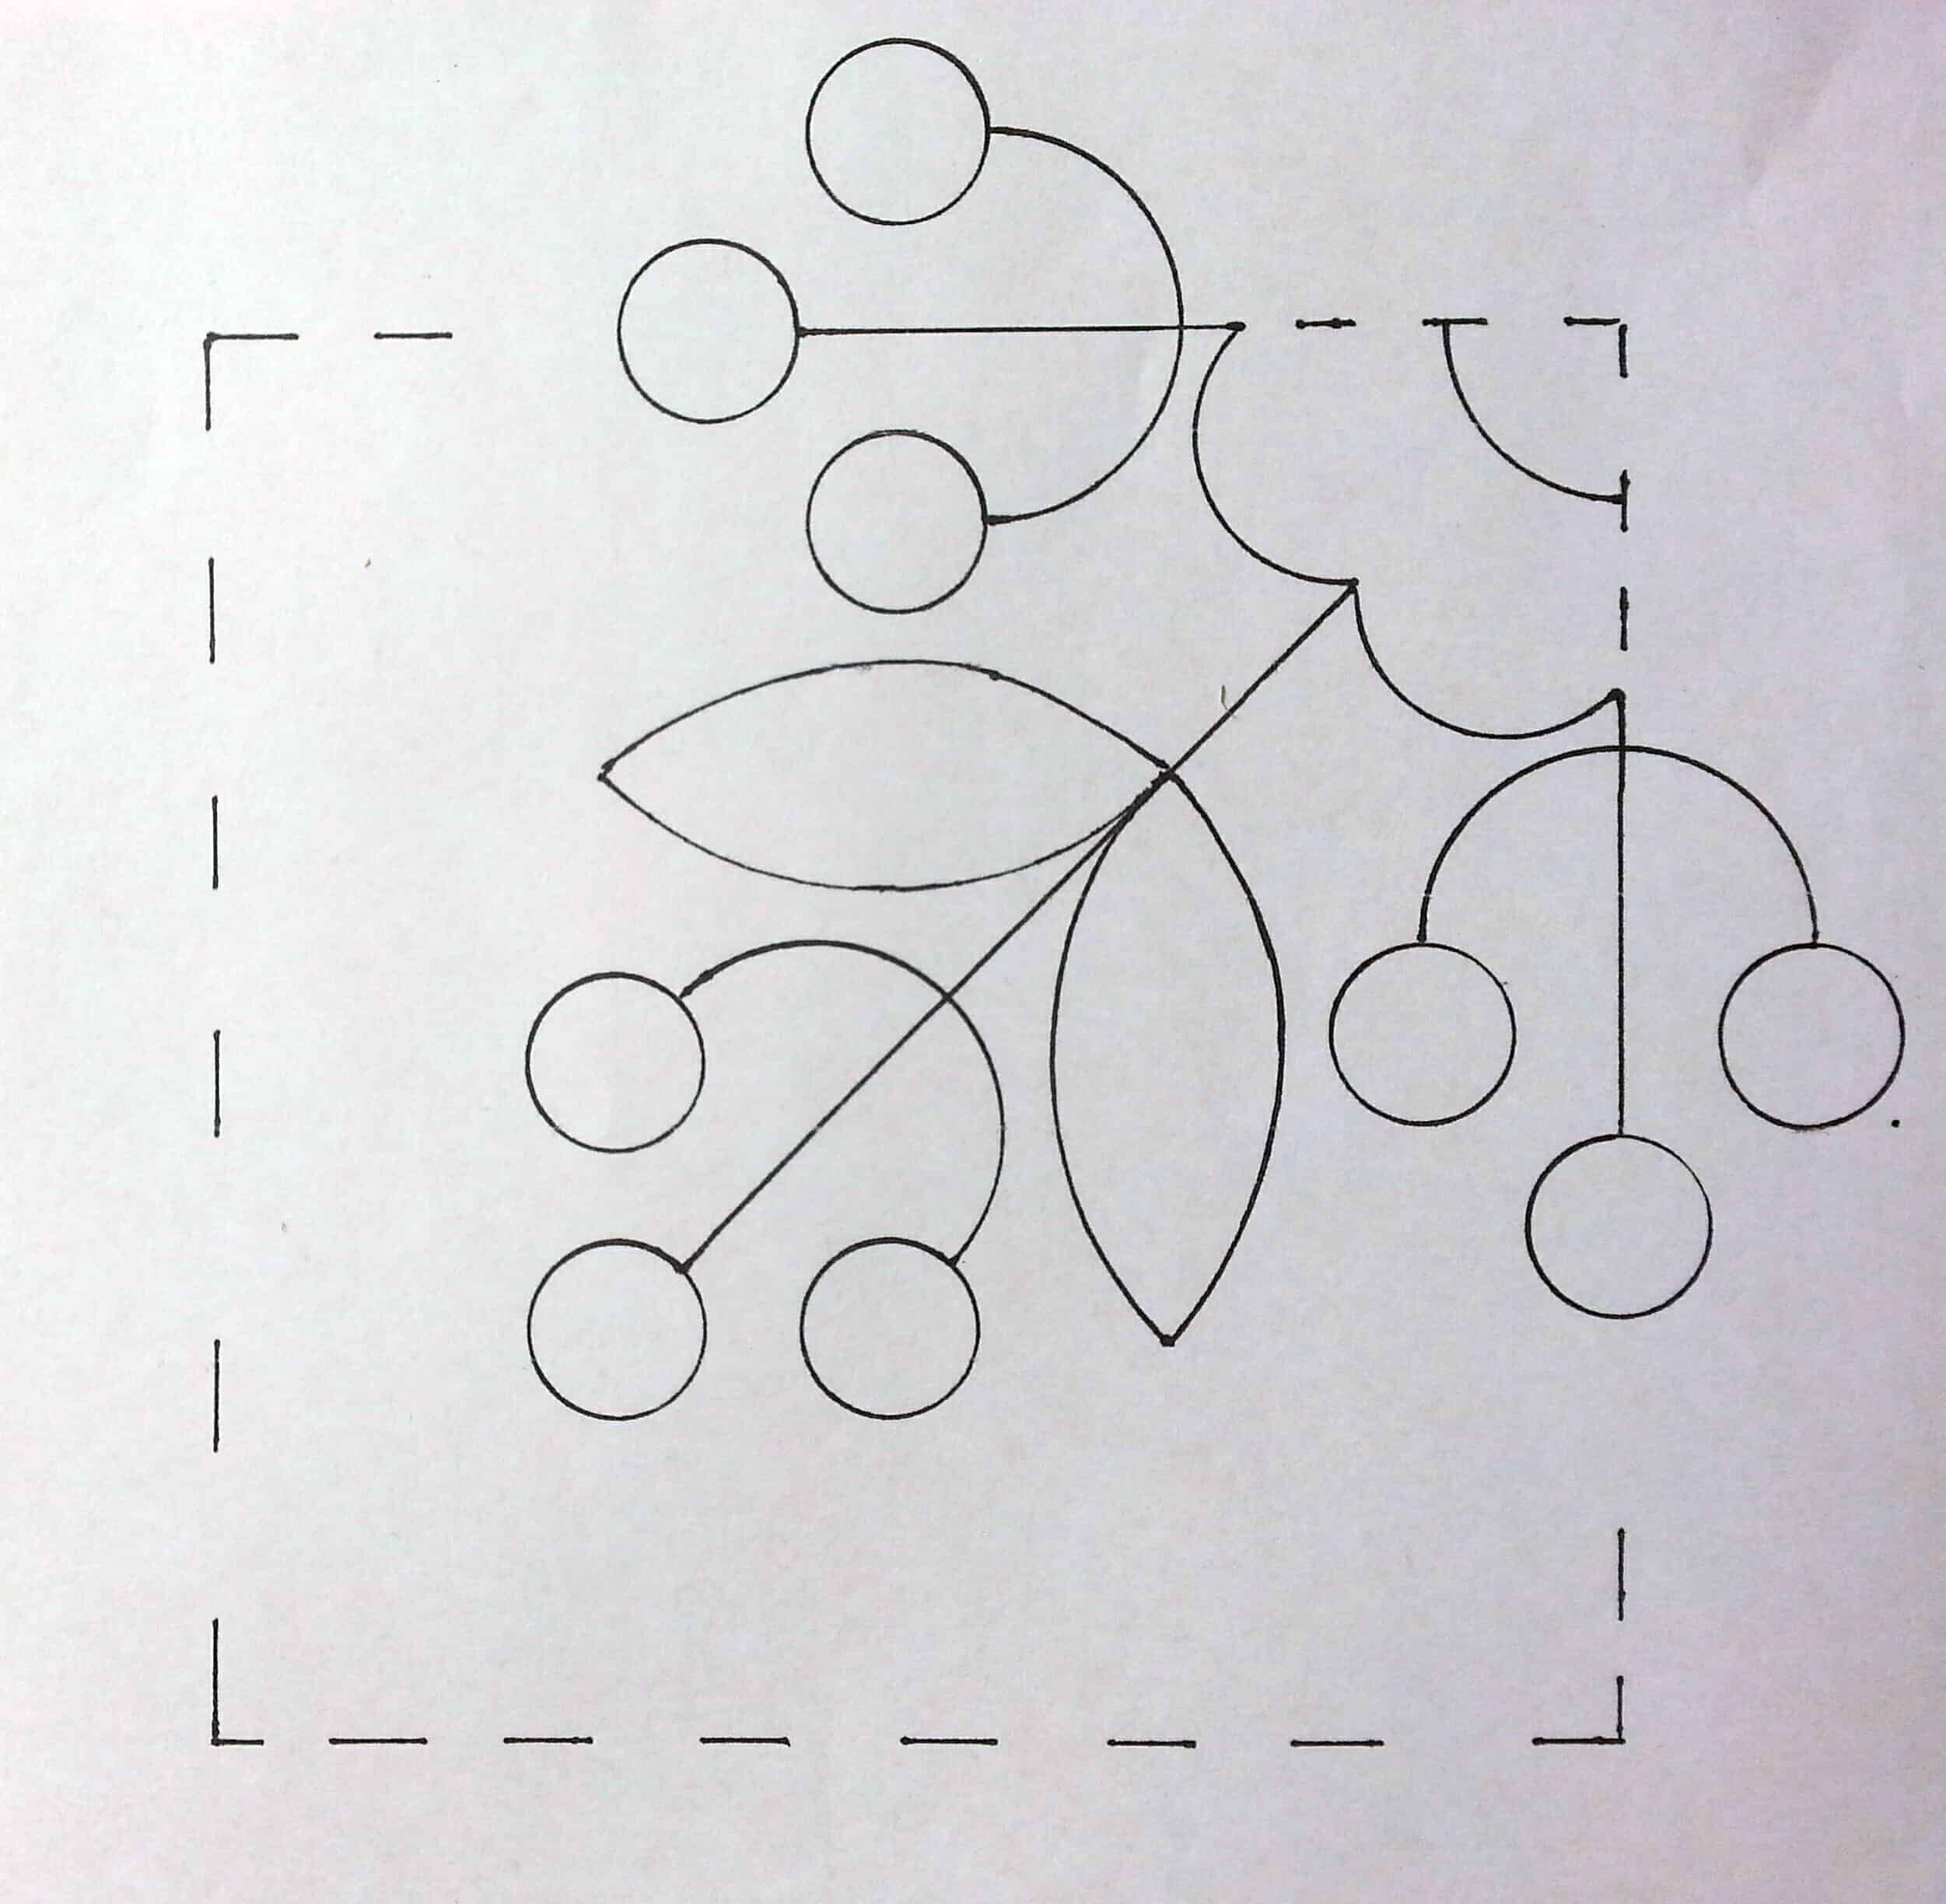
Step 1: Trace shapes onto the paper side of Wonder Fuse. Leave a bit of space between each shape. For directional shapes, reverse image before tracing. Cut out shapes slightly larger than drawn lines.
Step 2: Following package instructions, iron Wonder Fuse to the back side of fabrics.
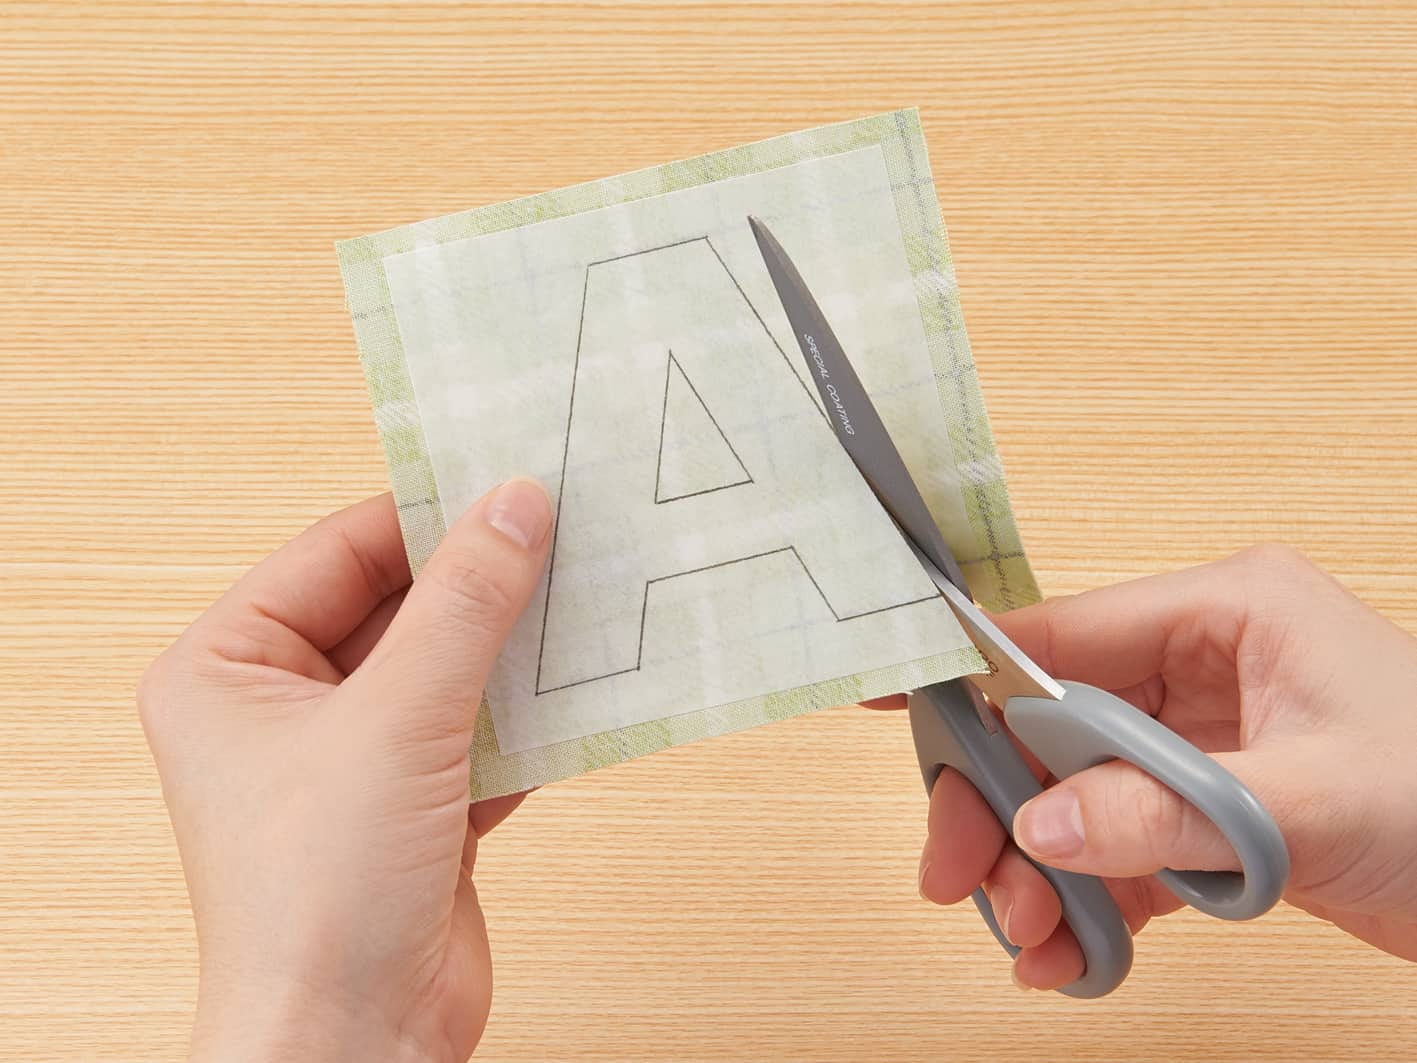
Step 3: After cooling, cut out shapes on drawn lines.
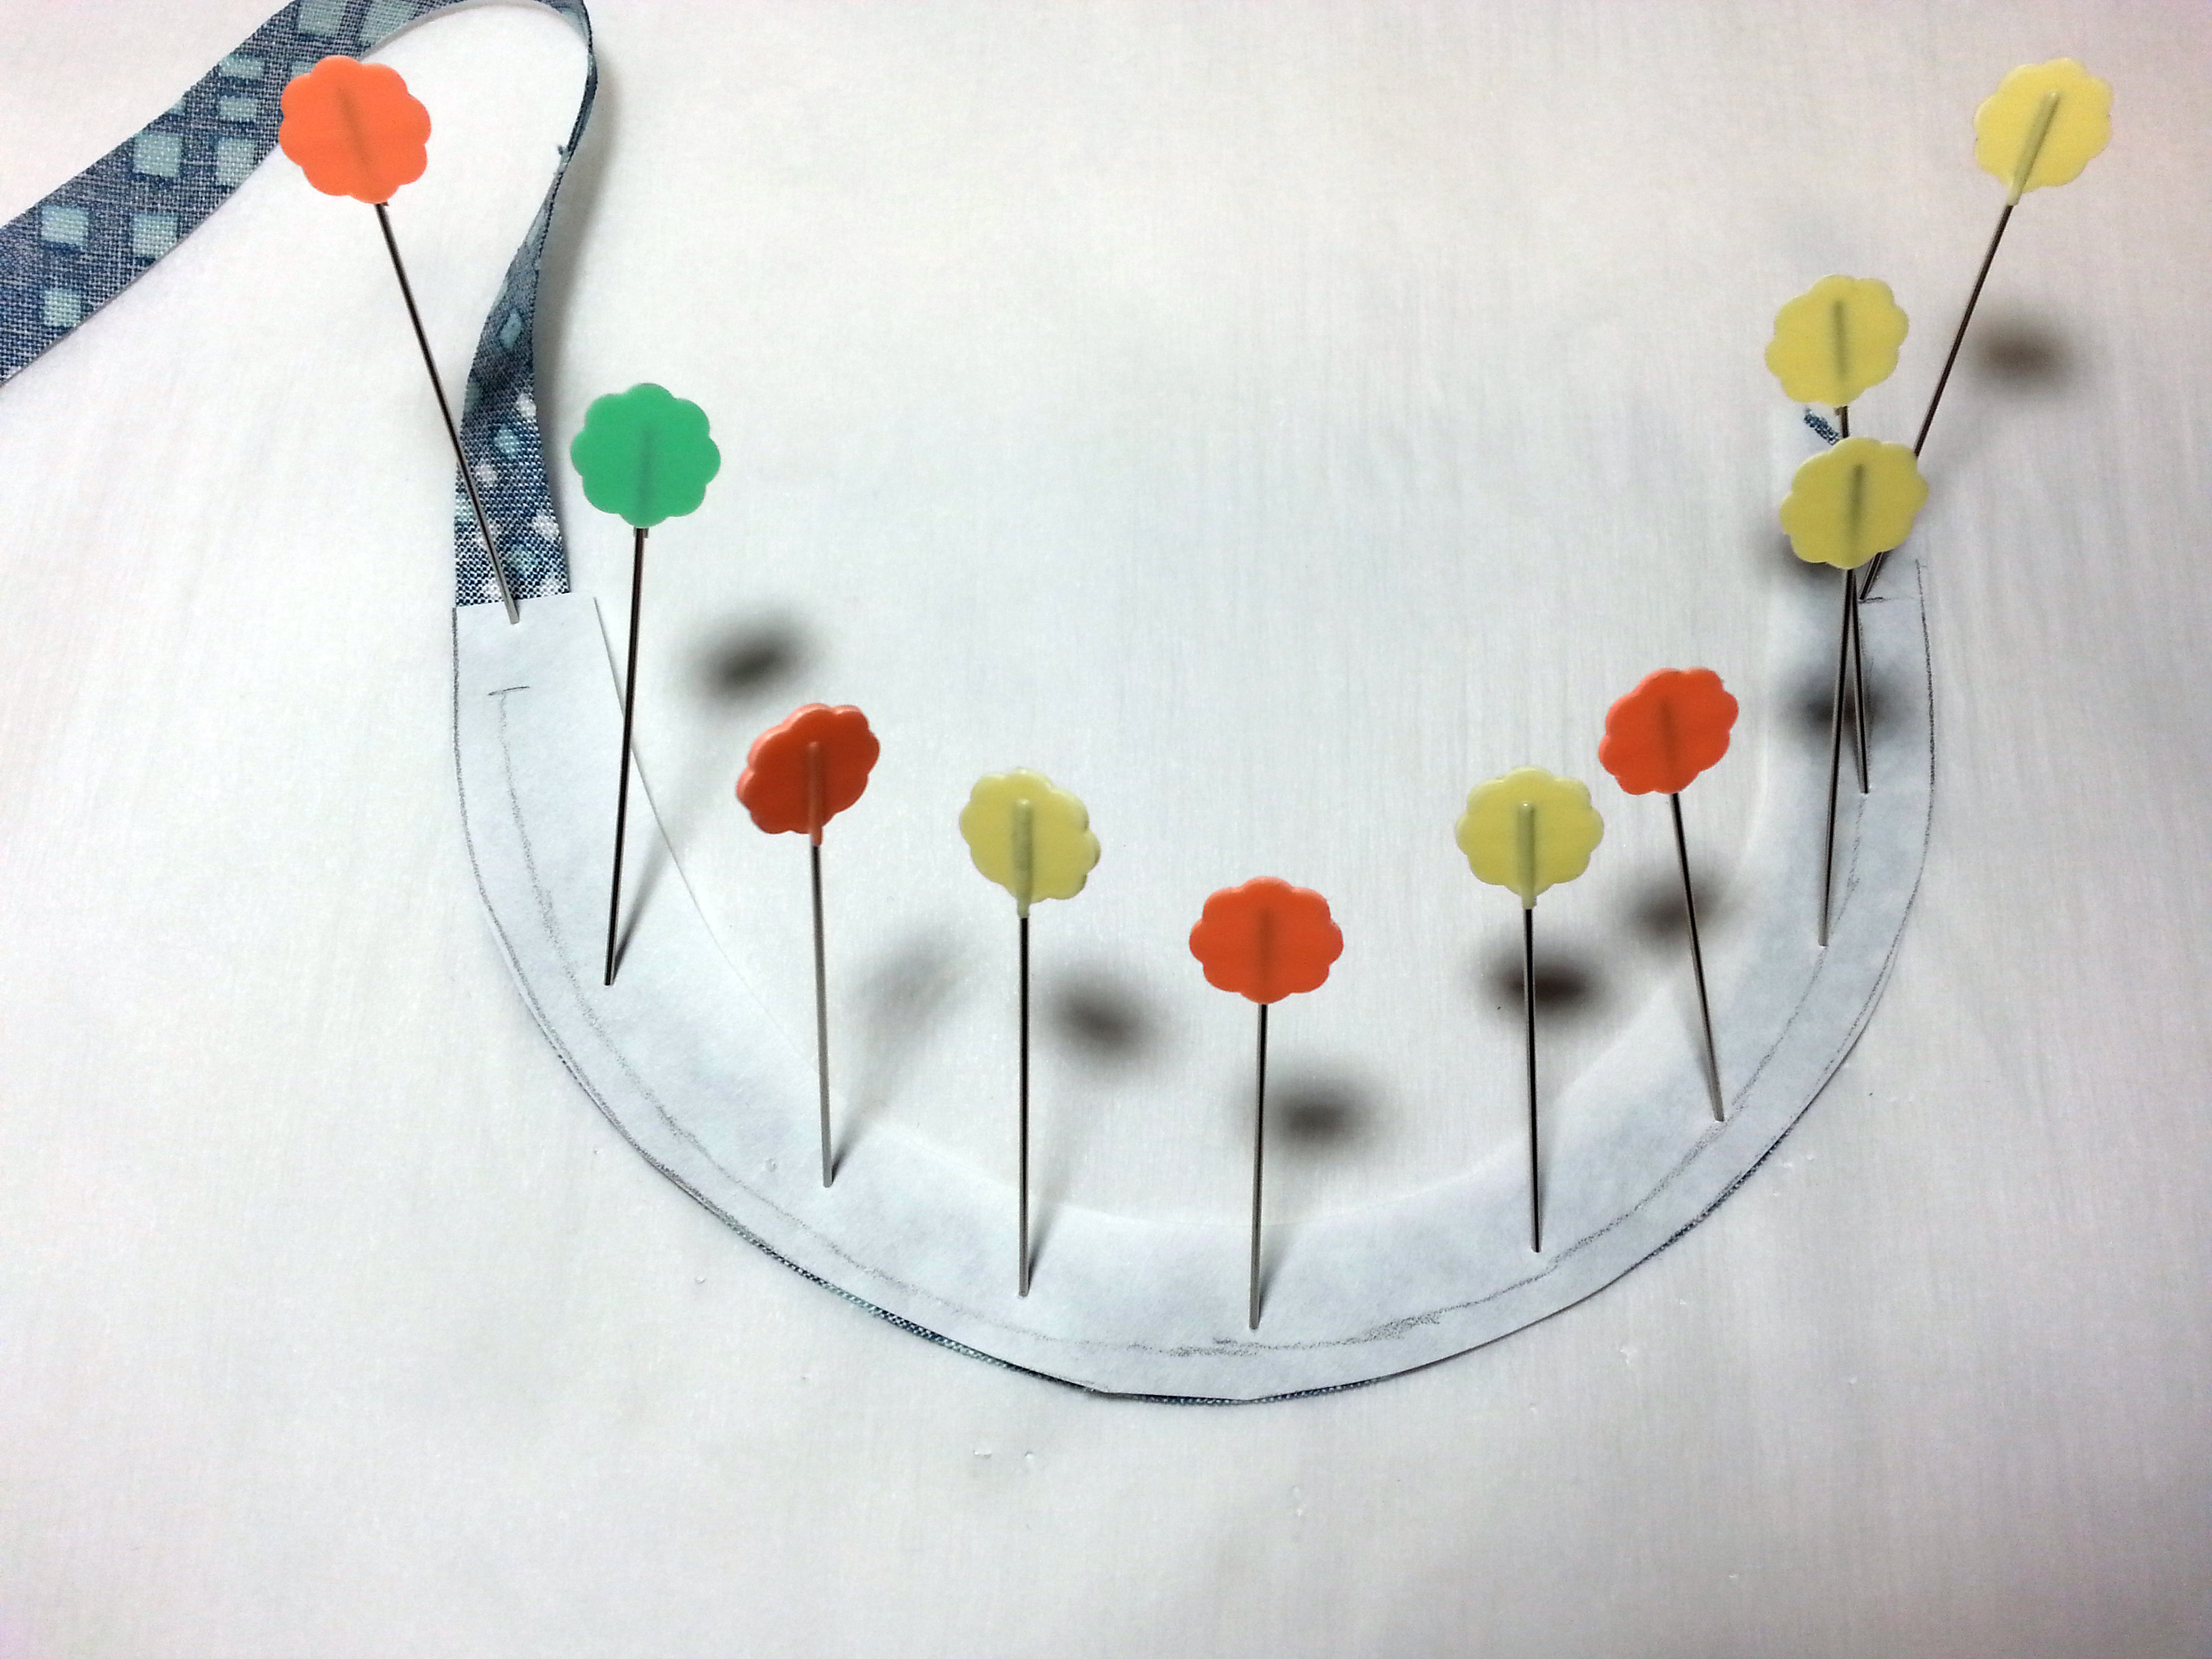
Step 4: Fold base fabric into quarters to mark, open and center over pattern. Pin to hold in place.
Step 5: If you use an embroidery hoop, trace the lines for stems and embroider.
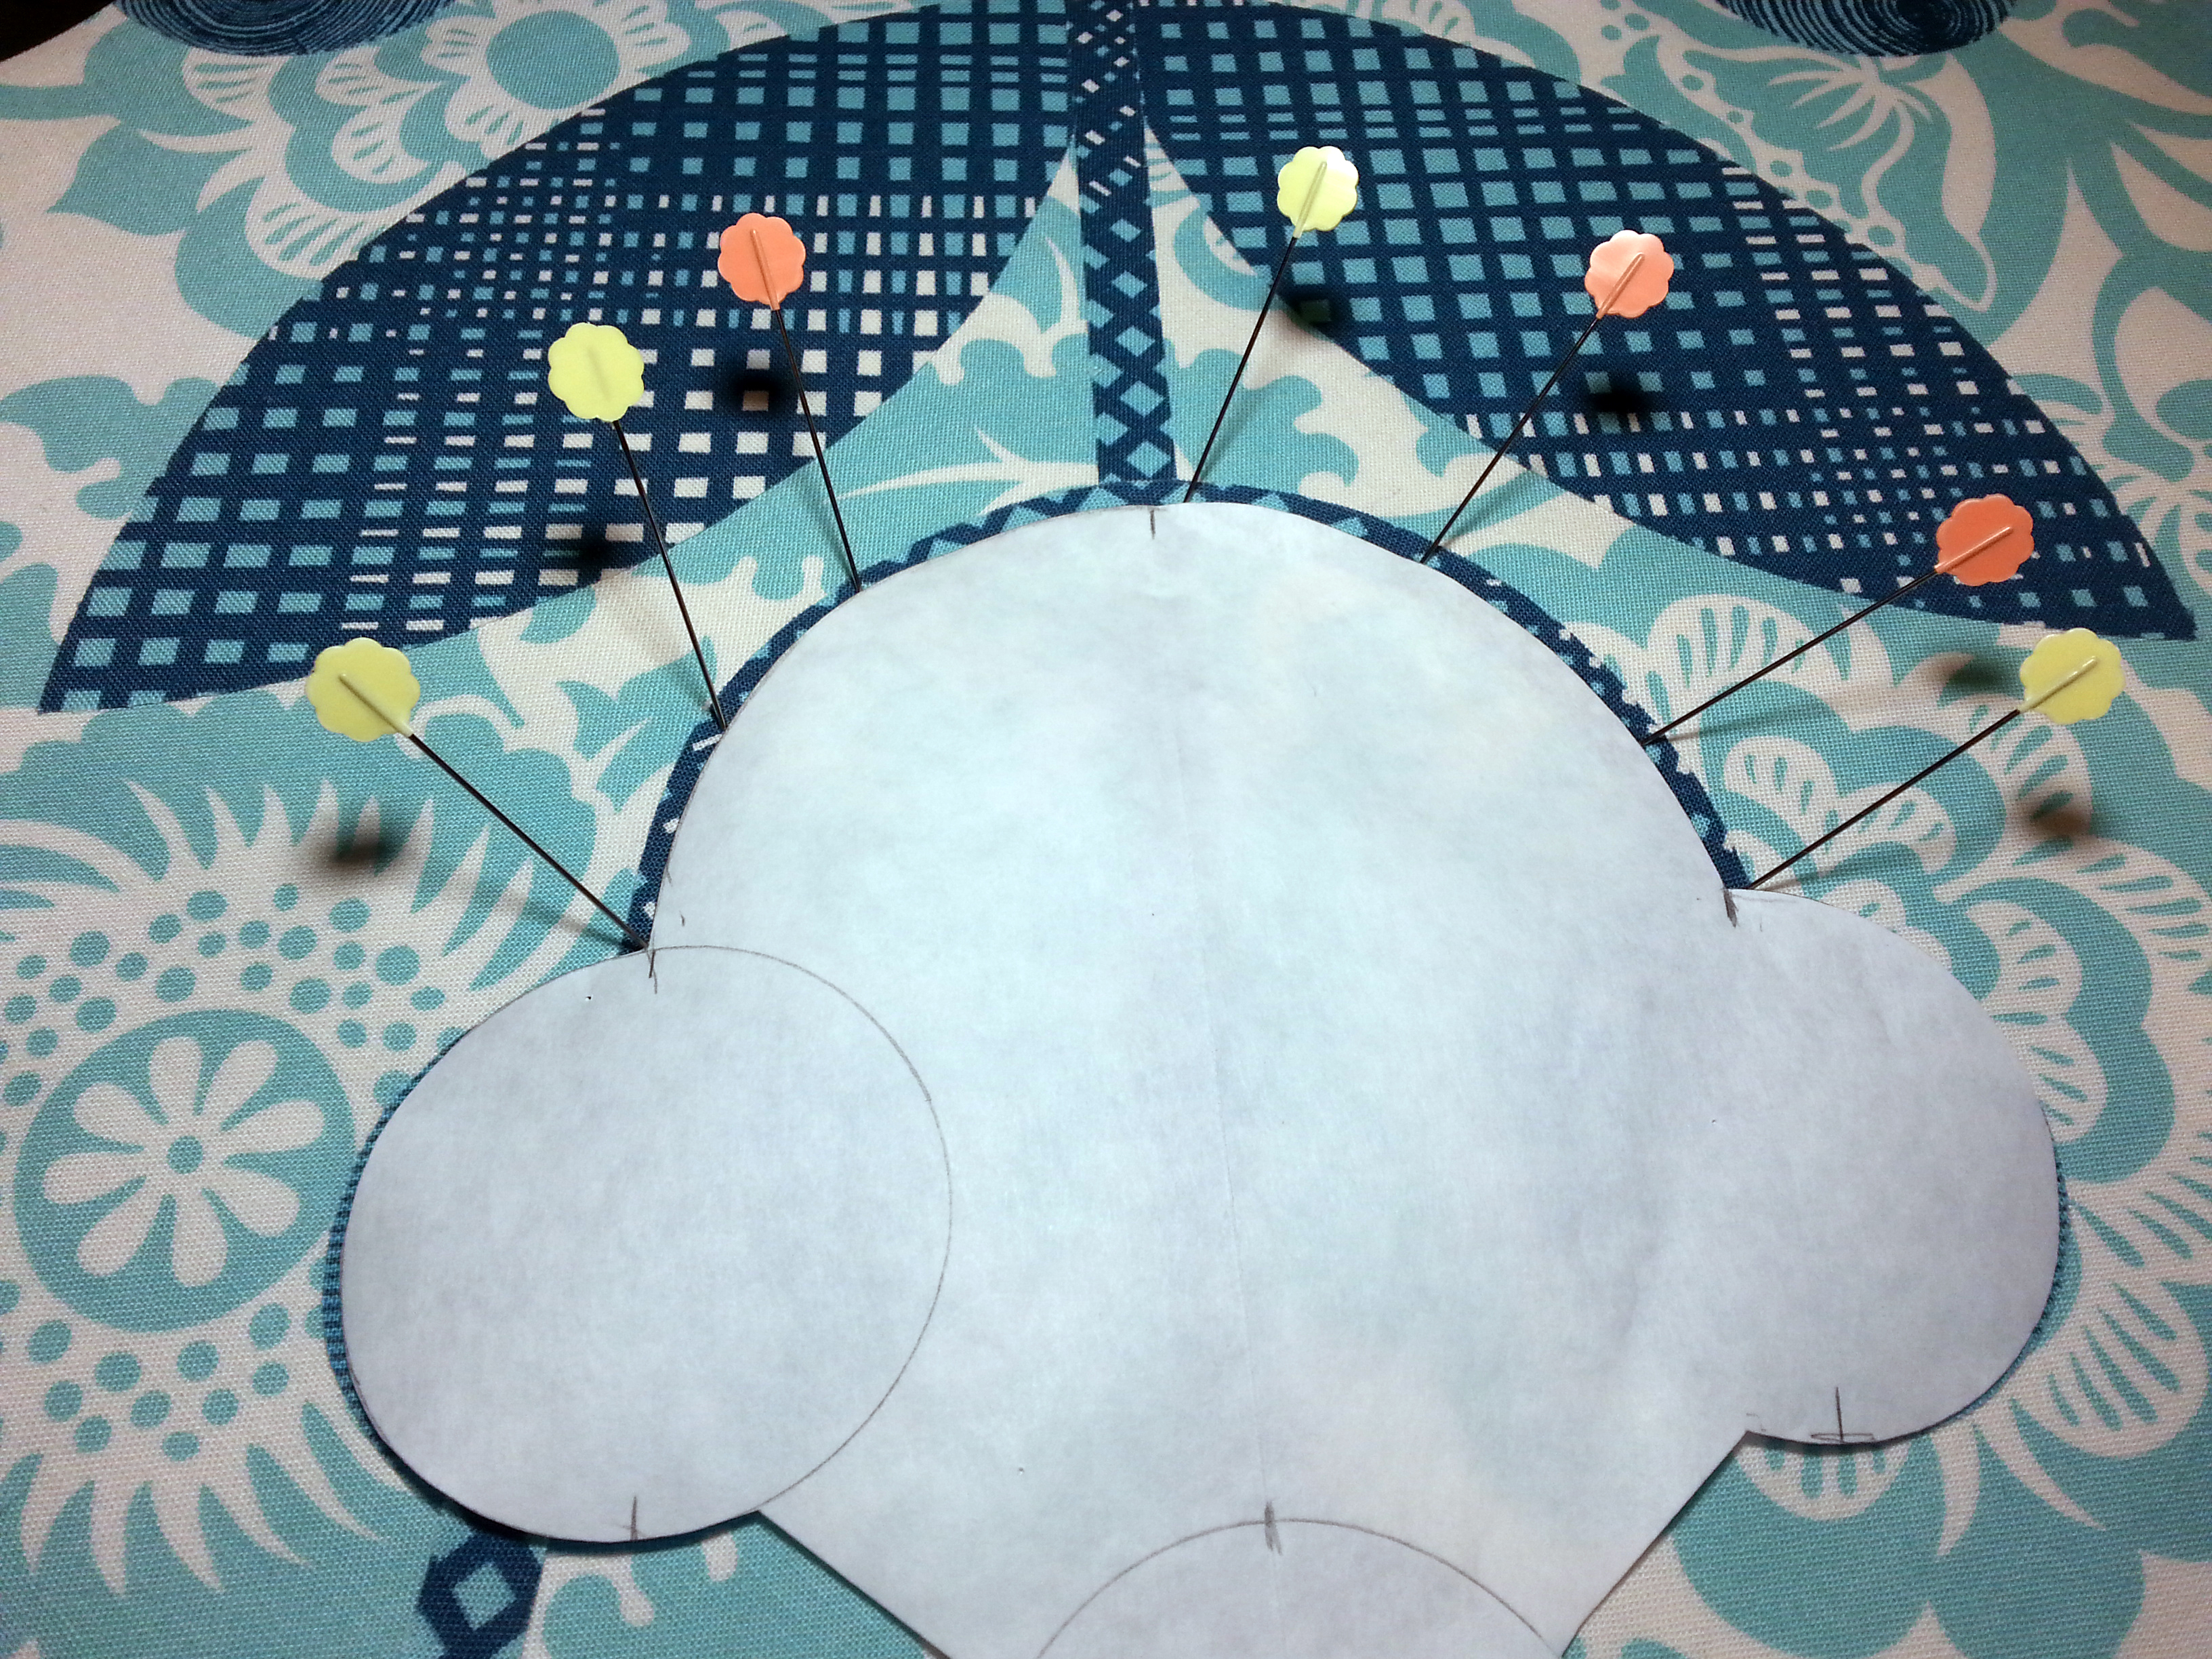
Step 6: Remove backing paper and place cut out shapes onto base fabric. Position carefully and iron according to Wonder Fuse directions. A yo-yo can be used for the flower center. Using the Clover Quick Yo-Yo maker, size large, make and stitch a yo-yo to the flower center.
Step 7: If finished product will receive frequent washing or handling, stitch around edges of shapes with a blanket stitch.
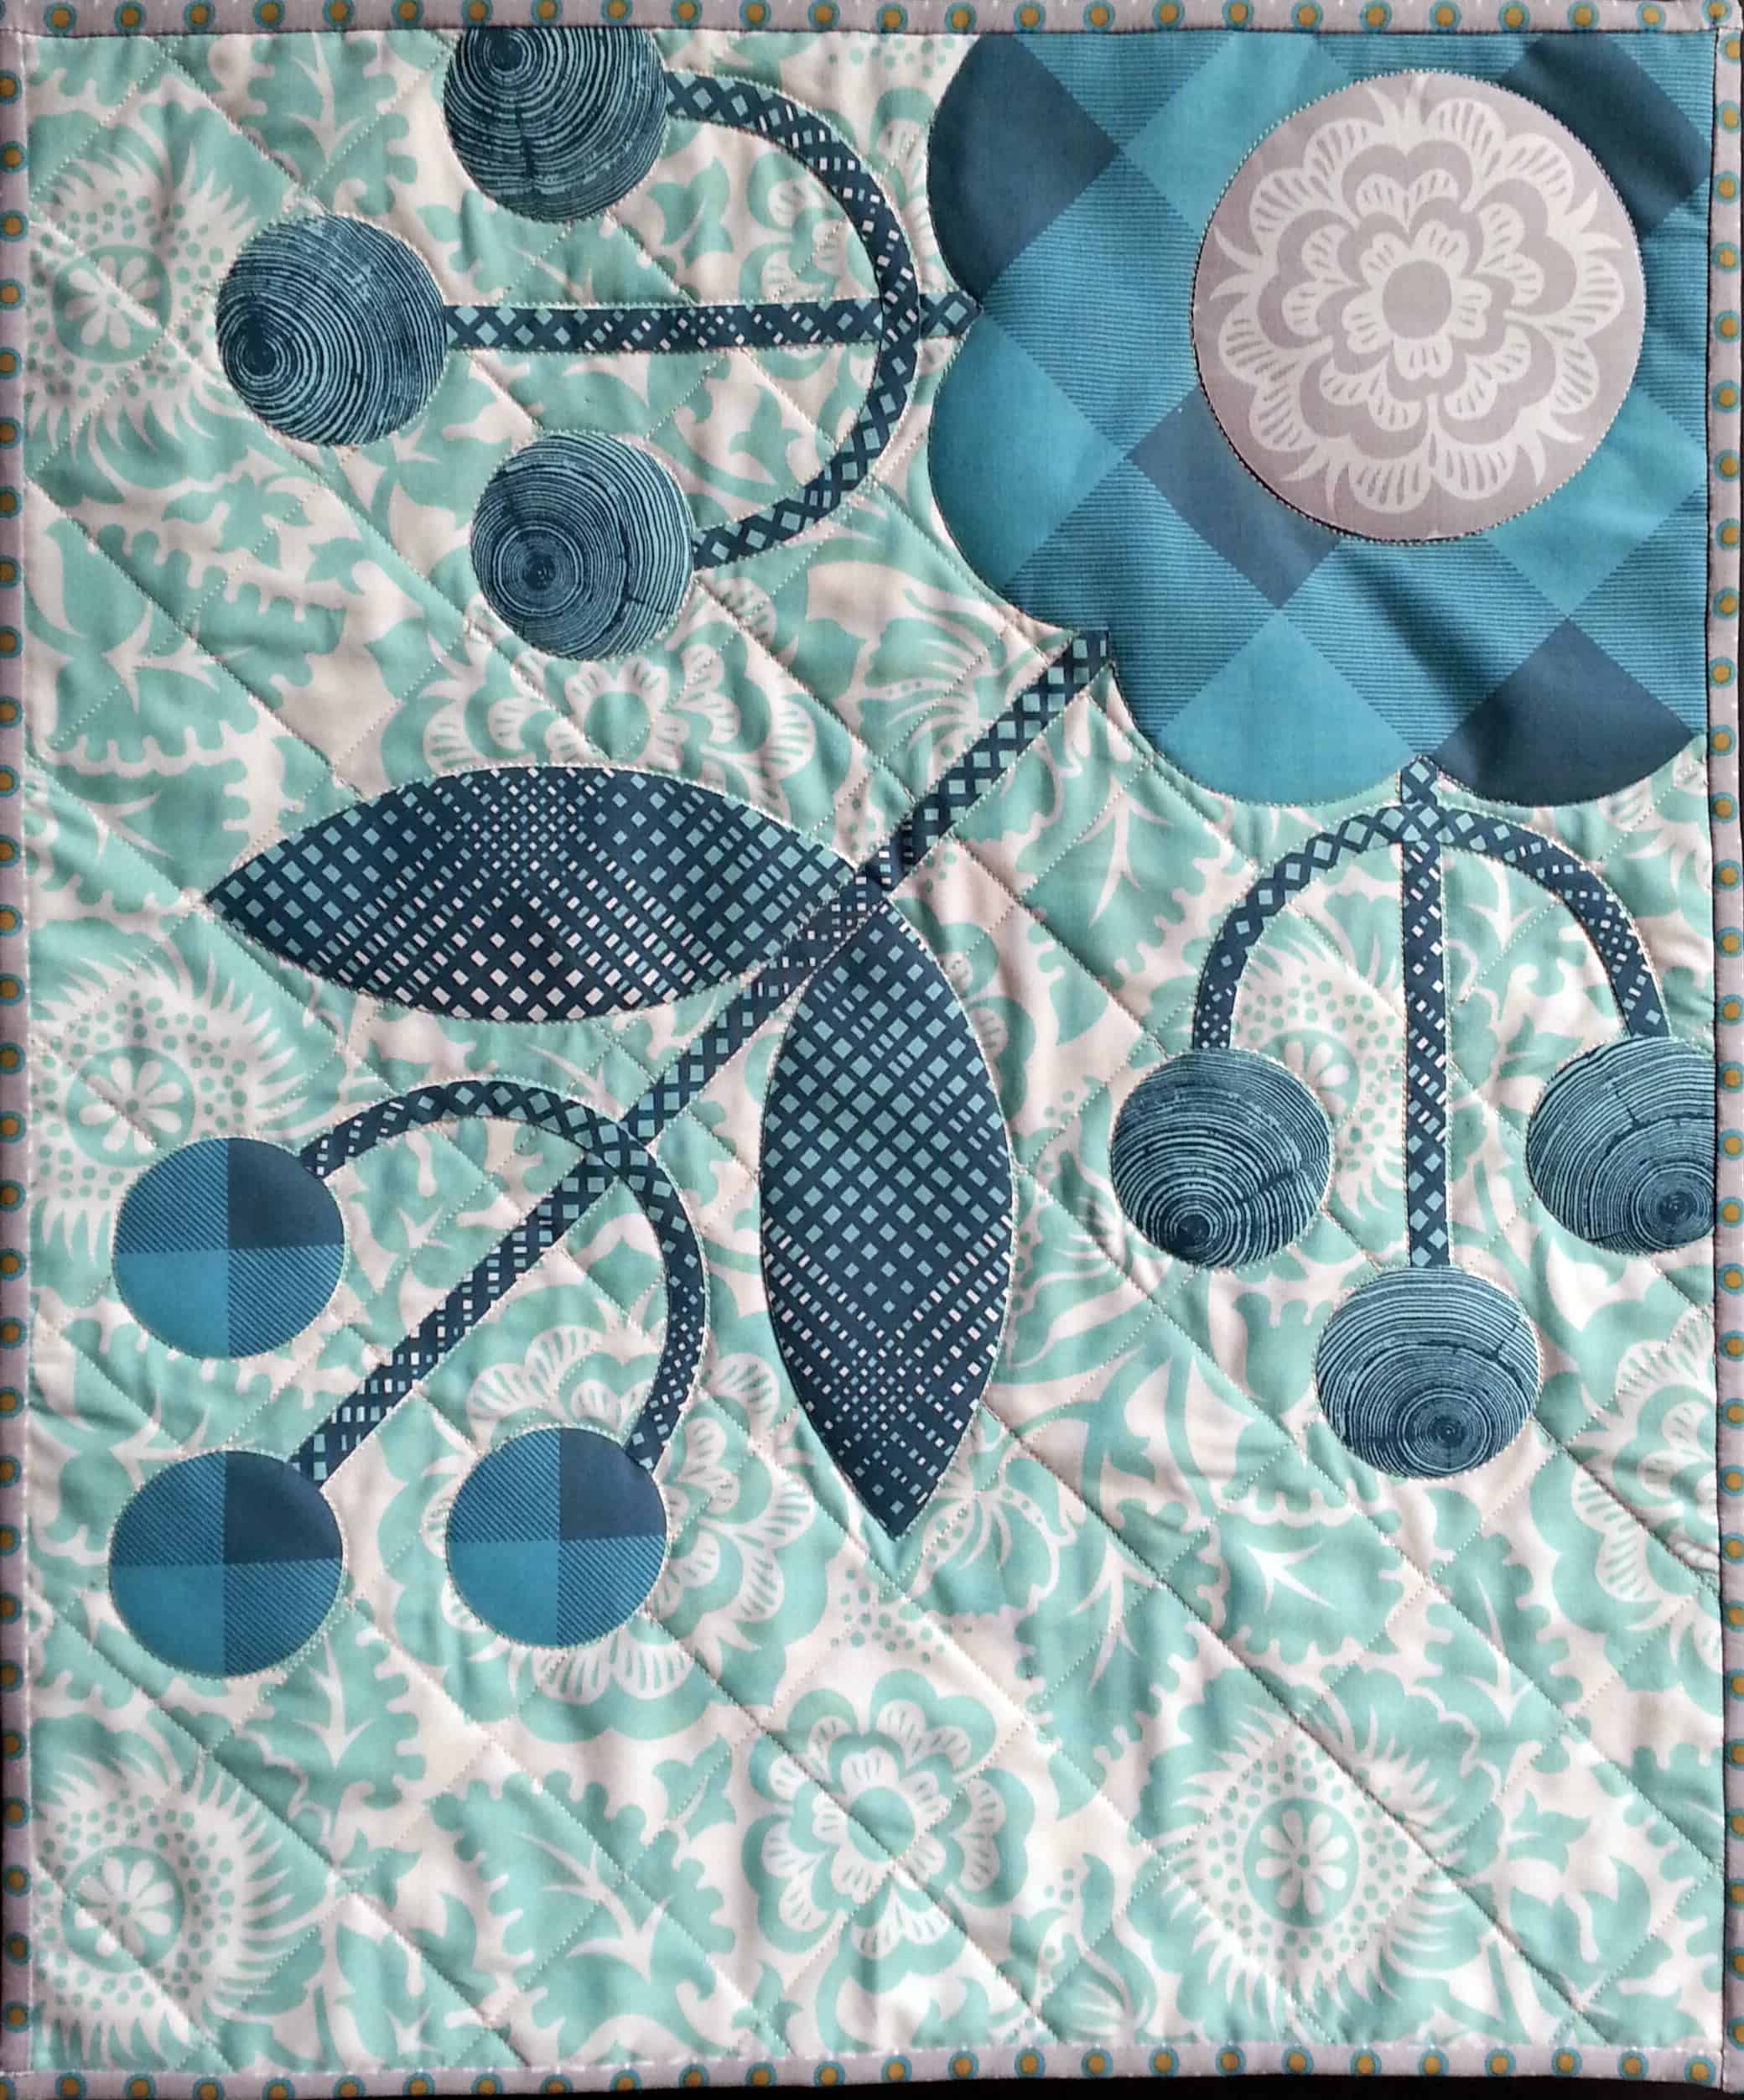
Step 8: Press completed block face down to smooth, then layer face up with batting and backing. Quilt or add more blocks for a larger piece. Trim finished piece to size and sew on binding.
NOTE: Larger pieces will require more fabric.
View Project PDF: 
Stay connected with Clover on Facebook | Twitter | Instagram | Pinterest | YouTube | Ravelry
[mc4wp_form id=”11289″]