Take Me Back Tissue Cozy

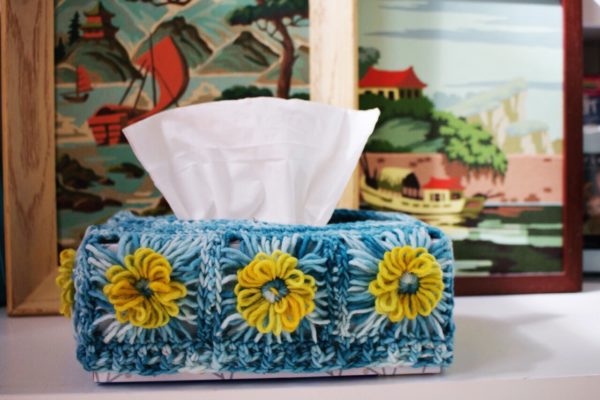
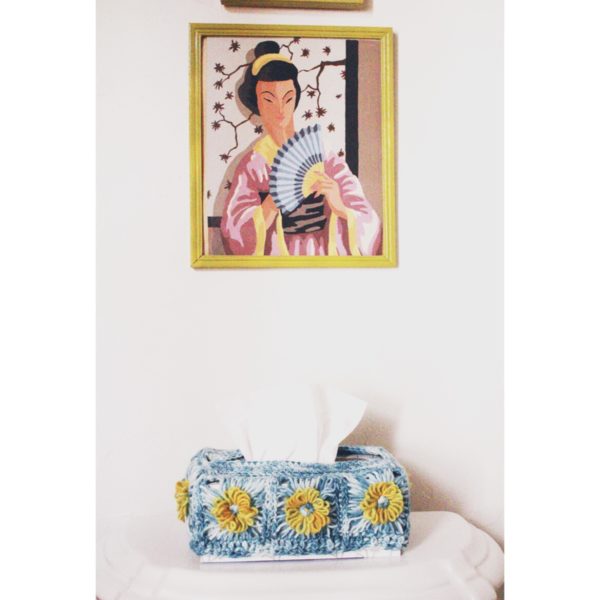
This week I went full-flower. I reveled in retro. I grasped at granny-style. That’s right, I embraced the tissue cozy. There was something in making motifs –for my weekly, Ask Me Monday live stream –using the Hana-Ami Flower Loom that had me feeling nostalgic. The sweetness of the finished blooms, the ease of their creation which had me thinking of kid crafting sessions with my mom — I don’t know, I guess I’m a sap. A crafty sap, that is!
Jump on the Take Me Back train with me with a project that is more kitsch than chic, but guaranteed to remind you of the smile-power of flowers! Here’s how.
Watch the basics of working with flower looms in the video below!
https://www.facebook.com/plugins/video.php?href=https%3A%2F%2Fwww.facebook.com%2Fvickiehowell%2Fvideos%2F929063367202213%2F&show_text=0&width=600
Take Me Back Tissue Cozy
Materials
Clover Hana-Ami Flower Loom
1 ball each worsted-weight yarn, in Color A and Color B
Size U.S. H/8 (5mm) Amour Hook
Tapestry needle
4, Clover Split Ring Markers
Large box of tissue
Special Stitch
sc3tog = single crochet 3 stitches together
Directions
Large Flower Motif (Make 8):
- Using Colors A & B, my videos as a guide, and the larger square and medium circle loom plates, make large flower motifs.
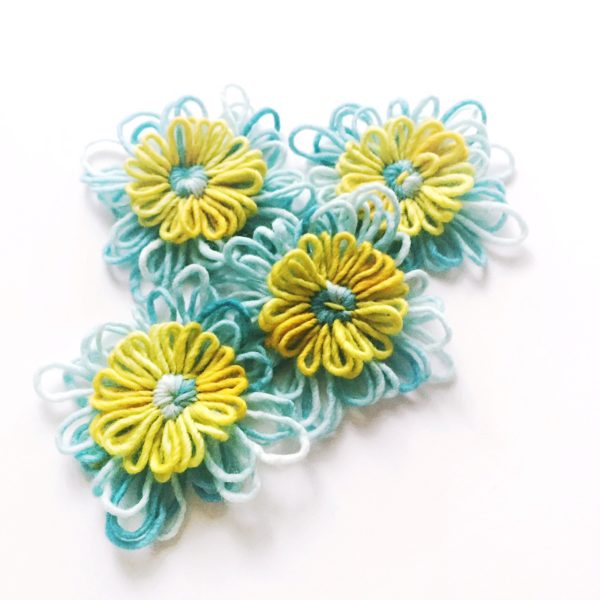
- Edging: Using hook, join yarn to corner petal, 2sc, *sc in next 7 petals**, 3 sc in next (corner) petal; rep from* twice more, rep from * to ** once more, sc in last corner. Join with a sl st. Fasten off.
Small Flower Motif (Make 4):
- Using the smallest square loom plate, Color A for the petals and Color B for the center, make small flower motifs.
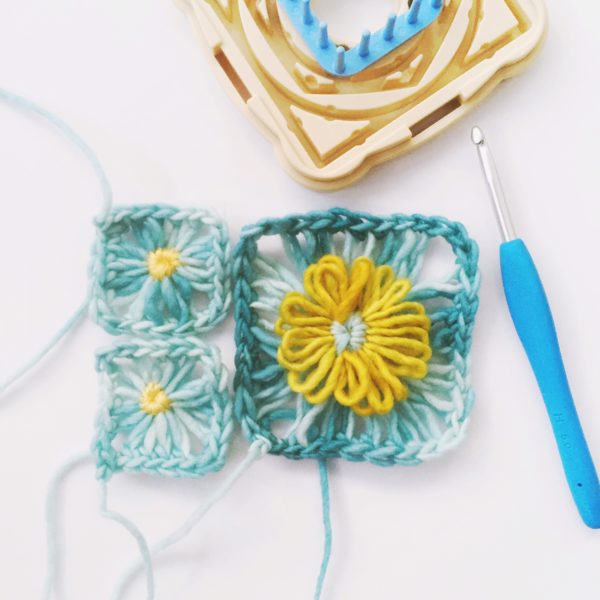
- Edging: Using hook, join yarn to corner petal, 2sc, *sc in next 3 petals**, 3 sc in next (corner) petal; rep from* twice more, rep from * to ** once more, sc in last corner. Join with a sl st. Fasten off.
ASSEMBLE COZY
- Using tapestry needle and Color A, seam motifs together into long strip as follows: 3 large motifs on each side, and 1 large motif with 2 smaller motifs (stacked) on each end.
- Seam ends together to form ring.
CROCHET TOP:
Join yarn one stitch in at any corner of piece top.
Rnd 1: Ch 1, *sc evenly across edge of top to 1 st before next corner, sk 2 corner sts (this will help initial cinching); rep from * 3 times more. Join rnd with a sl st.
Place marker on each of 4 corners (ie. on the stitch that bridges the gap between the skipped sts.)
Rnd 2: Ch1, *sc evenly across edge of top to 1 st before marker, sc3tog (replace marker on st just made); rep from * 3 times more. Join rnd with a sl st, remove marker.
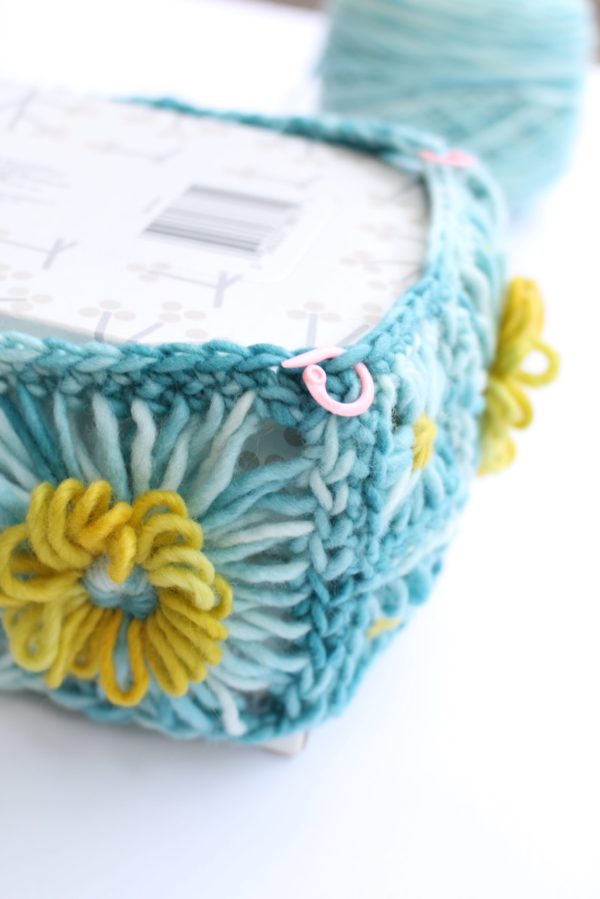
From here you go from working rounds to rows.
Flap:
Row 1: Ch 1, sc to next marker, remove marker, sc in that st. Turn.
Rows 2 & 4: Ch 1, sc across. Turn.
Row 3: Ch 3, dc in next st and across. Turn.
Row 5: Ch 1, sc across.
Fasten off.
Join yarn at opposite side where marker is. Repeat Flap instructions.
Seam flap sides down.
EDGING:
Join yarn at bottom edge of piece.
Rnd 1: Ch2, hdc evenly around. Join with a sl st.
Rnd 2: *FPhdc, BPhdc; rep from * arounf. Join with a sl st.
Fasten off.
Finishing
Weave in ends. Steam to shape.
