When you begin to dabble in to crochet and/or knitting the plethora of choices that come with the craft might seem a little overwhelming.
There is yarn of all shapes, sizes, colors, patterns and weights. Which one do you choose? Which one is beginner friendly?
After you choose your yarn, then comes deciding what size hook to use. What hooks work best with what yarn?
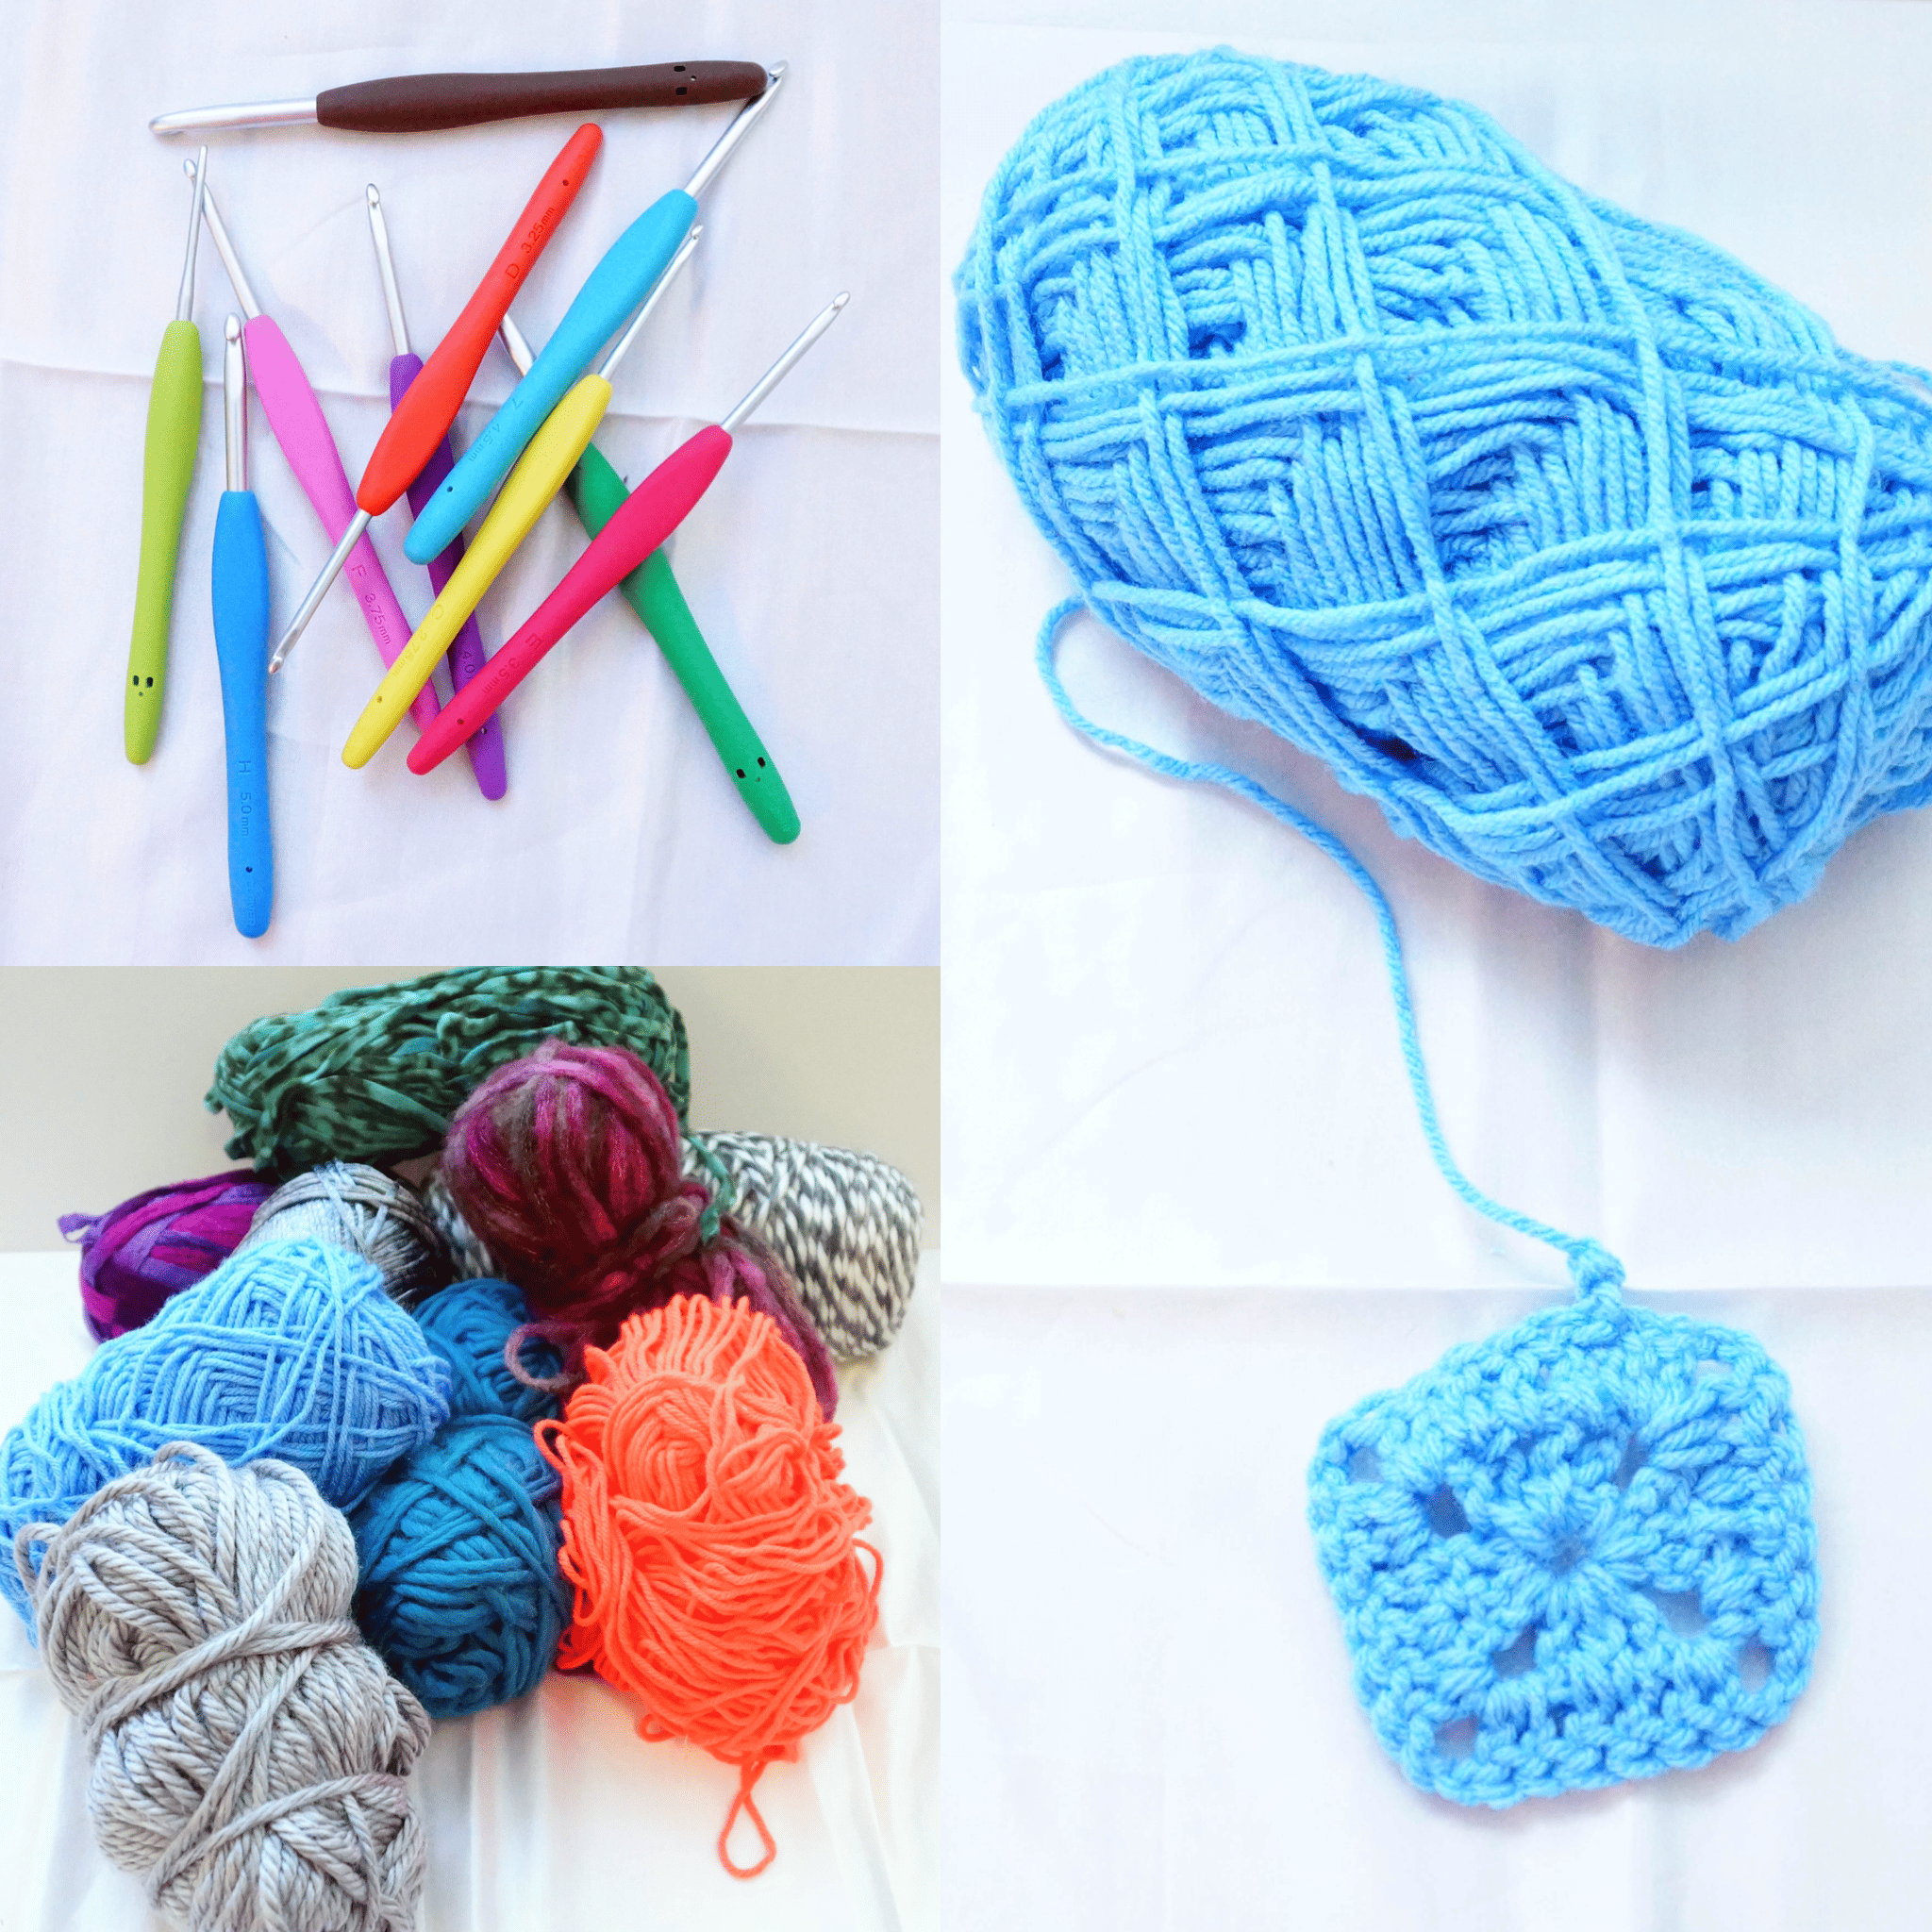
Well, for me, this was a trial and error experience. I went through a box of yarn I’ve had laying around for ages. (I kept telling myself I was going to learn to knit and crochet but hadn’t really gotten around to it…until now).
At first, I chose a super bulky yarn (#6) thinking it would be easier to crochet because the stitches would be bigger, easier to see and work with. I was wrong.
I found that the crochet hook kept getting stuck in the threads making it hard to pull the hook through between stitches.
I also started using a smaller hook thinking it would be easier to get it through the stitches because it was smaller and fit easier, I was wrong again.
I ended up choosing a medium weight yarn (#4) and a 4.5 mm crochet hook.
Thanks to my friends at Clover and their Clover Amour Crochet Hook Gift Set, I had a few options to play around with.
When learning to crochet, after finding the perfect yarn and hook for your project, you need to learn how to make a slip knot. It is not as hard as it sounds.
You loop the yarn, insert your crochet hook between the loop, twist the yarn so that a loose loop is on the hook and pull the strand through. Use your crochet hook to hook the yarn and draw it through the loop.
Then comes learning how chain stitch.
While your crochet hook is still inside the slip knot, rotate your crochet hook by about one quarter turn counterclockwise so that you can easily grab the yarn with the crochet hook.
After you’ve hooked the yarn, draw it through the slip knot.
You’ve made your first chain stitch. Now continue the same step until you have as many chain stitches as needed.
Once you have that down, you can make your granny square following the instructions in the video below, courtesy of Bella Coco.
Take a look at my in-progress granny square. It took a few attempts and a mixture of stitching and unraveling to really get this granny square to where it is.
Granny squares are fun and easy to learn. The cool thing about them is that you can make them any size or make a bunch of them and put them together and make something unique!
This is a simple project that helped me get started on my crochet journey. I am looking forward to becoming a crochet expert!
Instagram: @thesunroomuk
Stay connected with Clover on Facebook |Twitter | Instagram | Pinterest | Youtube.
