Kids Activity Bag Project by Nancy Zieman

Most fabric bags or totes for kids are rather wimpy. I remember putting toys and books in fabric bags for my boys, but the parts and pieces would often get lost in the bottom of the bag. After buying adorable finger puppets for my granddaughters, I knew they needed a home in an activity bag.
Kids Activity Bag
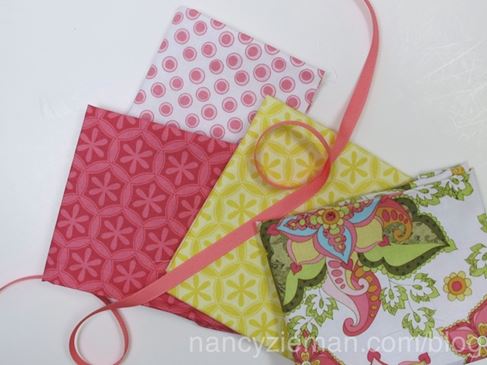
Fabrics/supplies:
- Four fat-quarters for the project.
- 3/8 yard of craft interfacing such as Pellon® Peltex®
- 2 yards of 1/4″ or 3/8″ grosgrain ribbon
- Flex ‘n Glide Bodkins
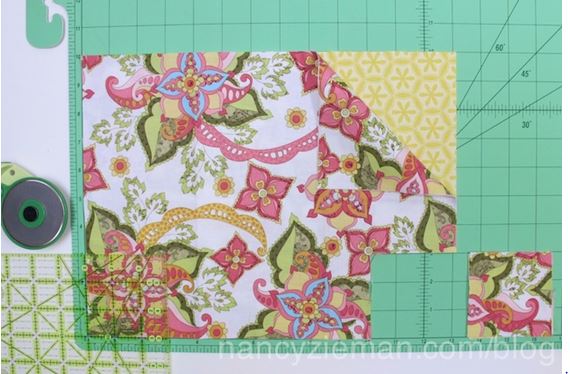
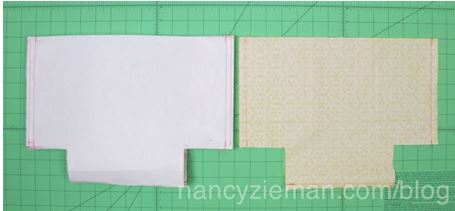
- Fold two fat quarters, meeting the short edges and trim off the selvage edges. Unfold the fabrics. These fabrics will be used as the outer and inner lower bags.
- Stack the fabrics and cut 10″ x 13″ rectangles (two outer lower bag rectangles and two for the inner lining). Trim out 3″ squares at the lower corners, as shown in photo.
- Stitch the outer bag shapes right-sides together along the lower edge. All seam allowances are 1/2″. Press seams open.
- Cut the craft interfacing, Peltex, the size of the sewn outer bag. Pin wrong sides together to the outer bag.
- Zigzag the outer bag edges to the Peltex.
- Stitch the inner lining shapes, right sides together, along the lower edge. Press seams open.
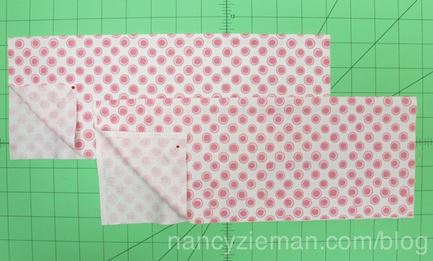
- Cut a pocket from another fat quarter, 9″ x 13″.
- Fold the rectangle, right sides together, meeting the long edges.
- Stitch the long edge, using a 1/2″ seam allowance (ends will remain open).
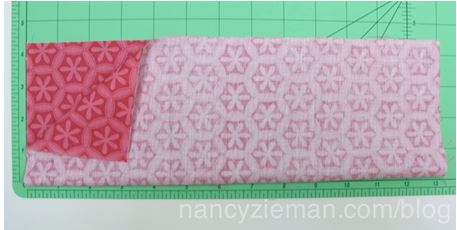
- Turn the pocket right side out; press.
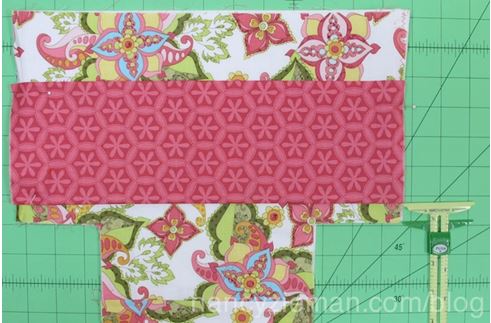
- Overlay the pocket on one half of the outer bag. Pin the lower edge of the pocket 5/8″ above the lower edge of the bag.
- Topstitch the pocket to the bag across the lower and side edges.
- Stitch the side seams of both the outer bag and the lining, using 1/2″ seam allowances.
- Press seams open.
- Pin the bag corner, stacking the side seam on top of the lower seam. Use Wonder Clipsto “pin” the thick layers.
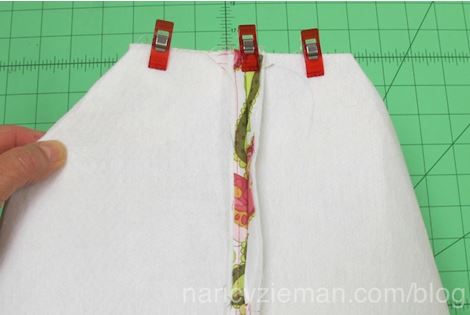
- Stitch the corner seam, using a 1/2″ seam allowance.
- Repeat pinning and stitching lining corner seams.

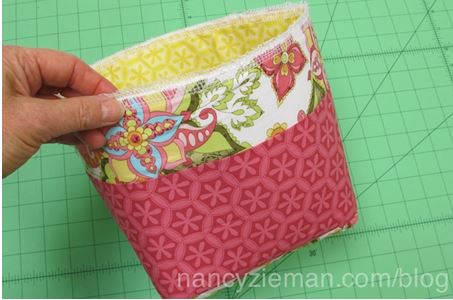
- Turn the outer bag right side out.
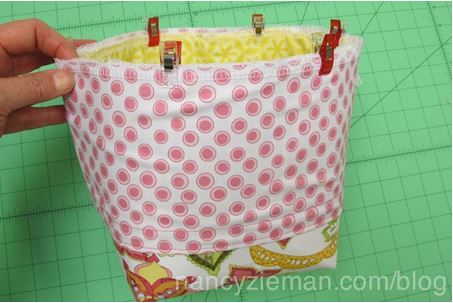
- Tuck the lining inside the outer bag, wrong sides together.
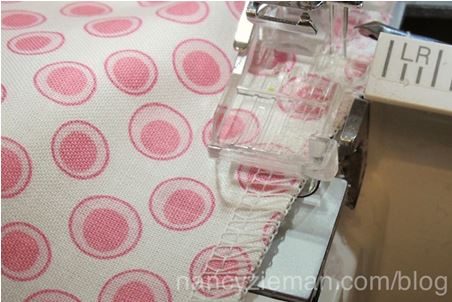
- Zigzag or serge top edge.
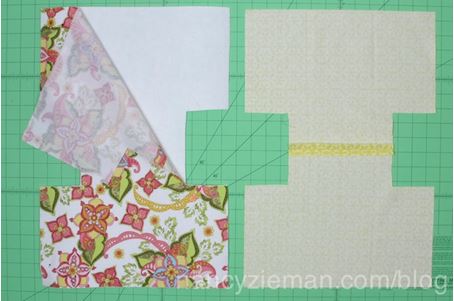
Cut upper bag fabric.
- Cut two 10″ x 13″ rectangles for the polka dot fat quarter version.
- Cut two 12″ x 13″ rectangles for the striped longer upper bag option.
- Fold the rectangles in half, wrong sides together, meeting long (13″) edges.
Press folds, pressing in a memory line for later!
- Unfold the rectangles. Align the rectangles, right sides together.
- Stitch the sides, using 1/2″ seam allowances. Press seams open.

- Turn the fabric right side out. Refold along the pressed memory line.
- Zigzag or serge the lower edges.
- Edgestitch along the fold and 1/2″ from the fold, creating a casing for the ribbon. (Make certain that the distance between the stitching is slightly wider than the ribbon.)
- Pin the upper bag over lower bag, pinning entire edge together.
- Stitch with a 1/2″ seam allowance.
- Turn the upper bag fabric right side up.
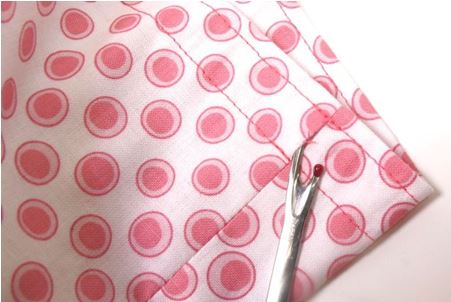
- Use a seam ripper to remove the stitches between the casing stitches.
- Cut the ribbon into two 1-yard lengths.
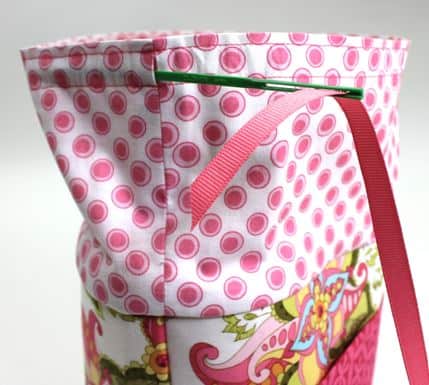
- Using Clover’s Flex ‘n Glide Bodkins, thread the ribbon through the casing. Tie the ends together.
The Flex ‘n Glide Bodkin is a long flexible bodkin featuring an elongated “eye” with grippers. The elongated eye accommodates ribbons and trims up to 1-1/2″ wide. The “grippers” hold trims and elastic in place while pulling through the casing. The handy length and flexibility allow for a smooth passage—even along curves. Purchase yours today!!

- Repeat at the other side seam, inserting the remaining 1-yard length of ribbon.
Presto, you’re done! The inside is bright and sturdy, thanks to the Peltex There will not be any lost toys in this activity bag!
Bye for now,

Nancy Zieman—author, pattern designer, businesswoman, producer, and national sewing authority—is the host of the popular TV show Sewing With Nancy®, which appears exclusively on public television stations across the United States and Canada. Follow Nancy’s Blog at NancyZieman.com/Blog and sign up to receive Nancy’s E-News for the latest news in Sewing, Quilting, & Creating.