The Clam Shell – step by step!
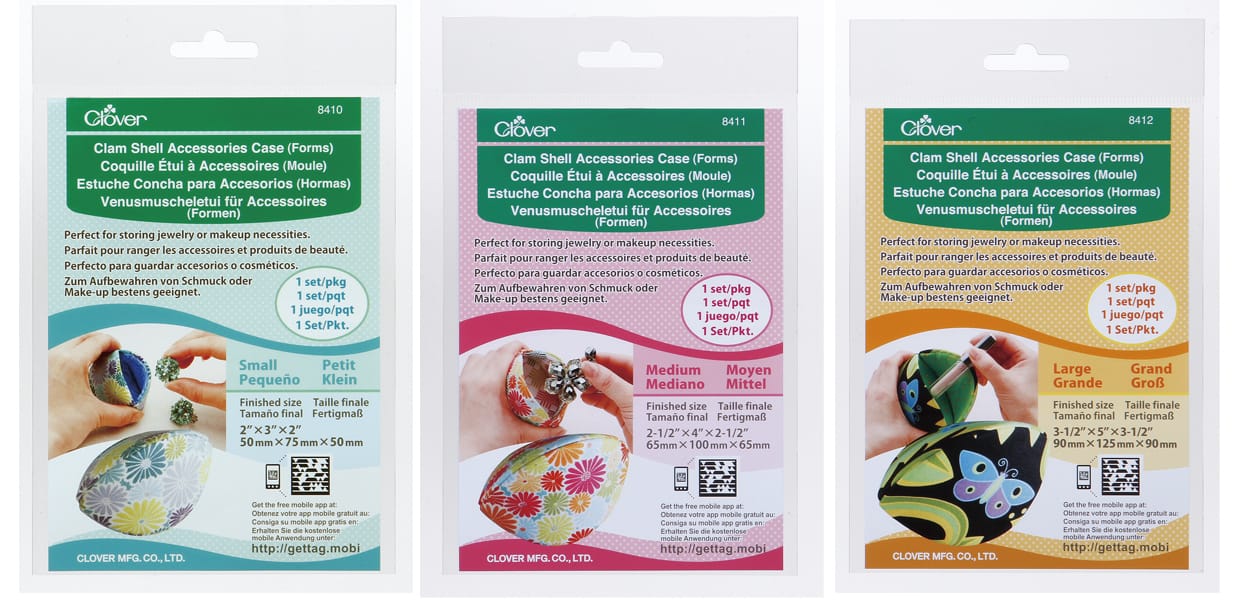
The Clam Shells come in three sizes – Large, Medium, Small.
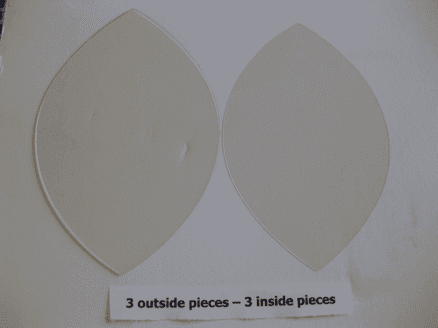
The kit contains 6 templates, 3 Outside Pieces and 3 Inside pieces – notice the Inside piece is smaller.
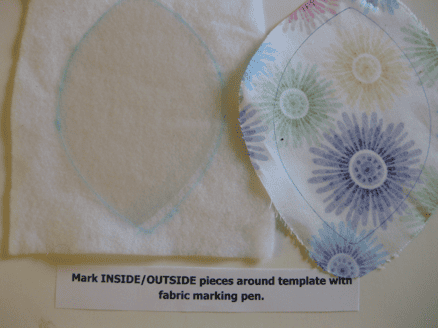
Trace around template with one of Clover’s fabric marking pencils. You will have 3 outside fabric /3 outside batting pieces – 3 inside fabric/3 inside batting pieces when finished.
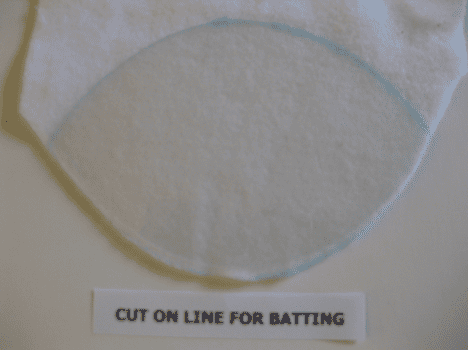
When cutting the batting pieces cut out on the line.
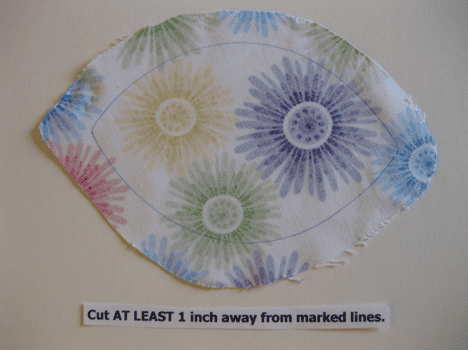
When cutting the fabric pieces cut at least 1 inch away from marked line.
Yes! I know my cutting isn’t perfect…..just remember…..this isn’t brain surgery. Save all that energy for the embellishing of your Clam Shell.
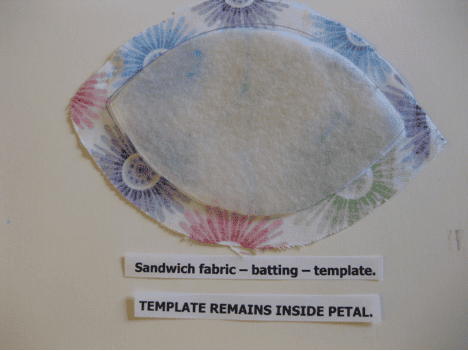
Time now to “sandwich” your fabric, batting and template….and….YES!!! ….The template STAYS INSIDE the petal.
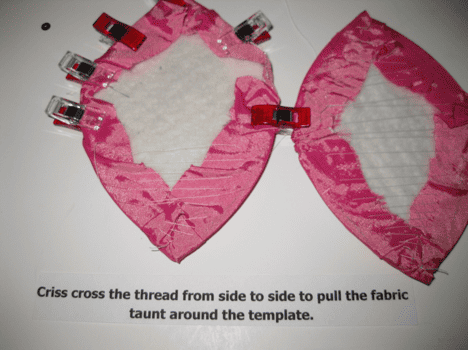
Okay….I’m not the best photographer! The wonder clips were invaluable with this part of the process. If you haven’t tried them….you MUST!!
You can see the crisscrossed stitches….just one side to the other until the fabric-batting sandwich is snug around the template.
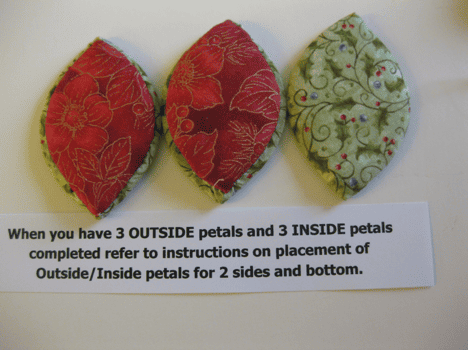
This is where you need to refer to your instruction sheet…the placement of the inner petals to the outer petals is important to the finished look. There are now two sides and a bottom piece and the inner to outer placement is important.
Now the fun begins and you will start to stitch your three petals together….please check your instructions for stitching tips and other helpful hints.
