Splash-Proof Wet Bag for Swimming
Hey Clover Fans! It’s Cataleya here!
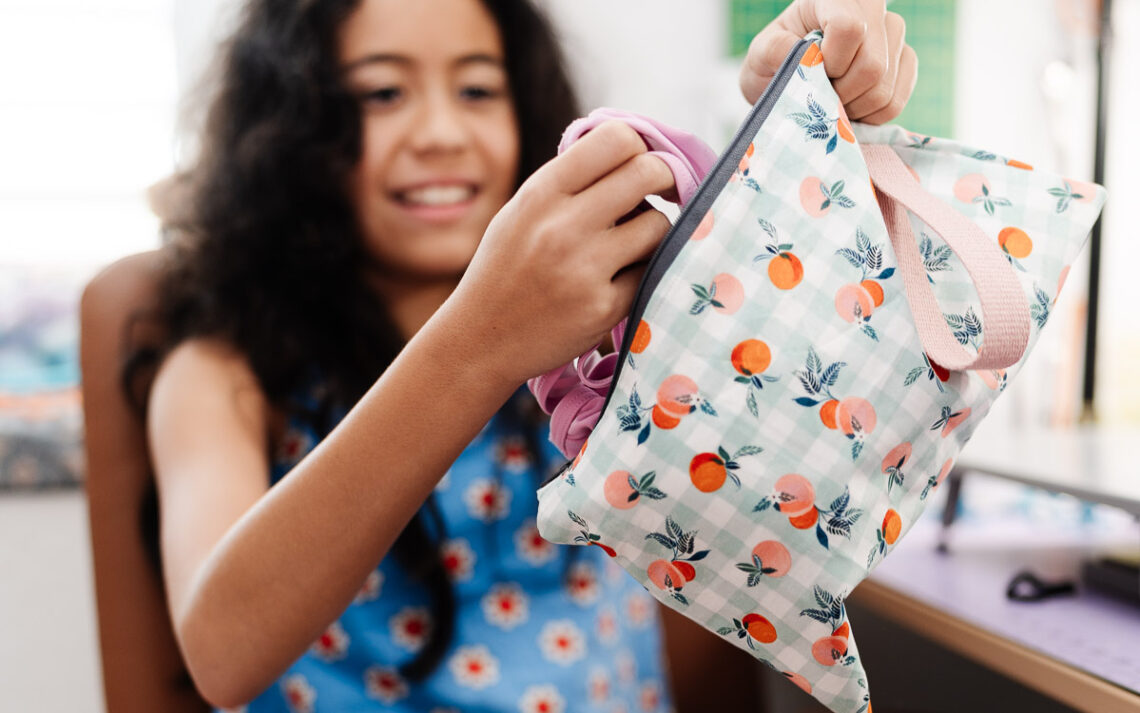
As a year-round swimmer, I have to stuff everything into one big dry bag. I absolutely hate it when my wet swimsuit leaks through the bag and gets my dry clothes wet, or when my clean clothes pick up moisture from yesterday’s wet gear. So I sat down at my machine to sew the ultimate Wet Bag. Now, I can drop my wetsuit right into my dry bag without ruining a single clean outfit!
MATERIALS:
- Clover 45mm Rotary Cutter
- Clover Metal Hera with Stylus
- Clover Roll & Press
- Clover Wonder Clips (Standard Size)
- Clover Triple Wide Wonder Clips
- Clover Point 2 Point Turner
- Clover Seam Ripper
- Clover Craft Storage Wrap (Kiku)
- exterior Fabric: 2 pieces of cotton print (8″ x 12″ each)
- interior Liner: 2 pieces of a soft, breathable, waterproof fabric (8″ x 12″ each)
- zipper: 1 nylon zipper (10″ or longer)
- zipper Tabs: 2 pieces of exterior cotton (2″ x 3″)
- strap: 1 piece of cotton webbing (1″ wide x 10″ long)
- polyester thread to match

WET BAG PATTERN:
STEP 1: Prep and Cut
Using my 45mm Rotary Cutter, I squared up and cut my exterior cotton and liner fabric into 8″ x 12″ rectangles, two of each. I cut my zipper tab fabric to 2″ x 3″ and the cotton webbing to 10″.
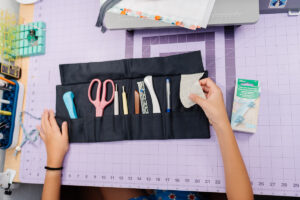
- Tip: I keep all my tools neatly tucked into the Craft Storage Wrap (Kiku) on my table so I can grab what I need in a flash!
STEP 2: Make the Zipper Tabs
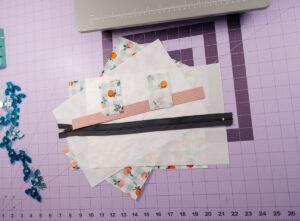
I took my 2″ x 3″ zipper tab fabric and used the Roll & Press to score and fold the fabric in half width-wise, and then folded the raw edges inward to meet the center crease. I cut this piece in half so I had two small tabs, then slid these over the ends of my 10″ zipper and stitched them in place. This gives the bag clean, non-bulky corners!

STEP 3: The Zipper Sandwich
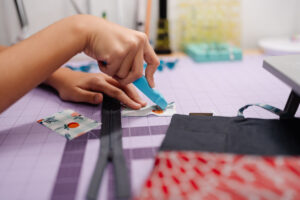
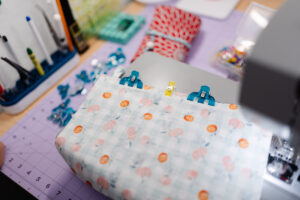
I laid one exterior cotton piece face up, placed my zipper face down along the top 12″ edge, and then placed one liner piece face down on top, sandwiching the zipper.
- My tip: Never use pins on this liner fabric; they leave permanent holes!
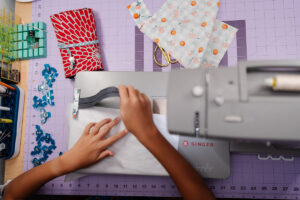
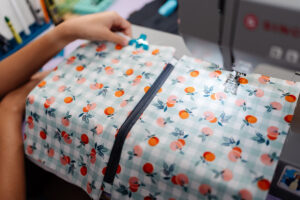
Instead, I loaded up my standard Wonder Clips and Triple Wide Wonder Clips to hold the layers firmly in place and stitched along the edge using a zipper foot, using 1/8″ seam allowance. Then, topstitched the same allowance. I repeated this process for the other side of the zipper with the remaining exterior and liner pieces.
STEP 4: Baste the Webbing Strap
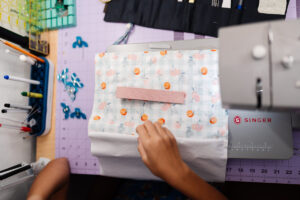
I folded my 10″ cotton webbing strap in half to form a loop. Then, I placed it on the right side of one of my exterior cotton pieces, about 2″ below the zipper, with the raw edges facing the outer raw edge of the bag. I clipped it in place and basted it down.
STEP 5: Assemble the Bag
Next, I opened my zipper halfway. Don’t forget this step, or you won’t be able to turn your bag right-side out! I flipped the pieces so the two exterior cotton pieces were right sides together, and the two liner pieces were right sides together. Since I was joining multiple layers near the zipper and the strap, I upgraded to the new Triple Wide Wonder Clips. These extra-wide clips offer an amazing grip that keeps the bulky layers perfectly aligned without slipping.

STEP 6: Sew and Turn
I sewed all the way around the outside of the bag, leaving about a 3-inch opening at the bottom of the liner for turning. If you hit a snag or misalign a seam, just reach for your trusted Clover Seam Ripper to quickly fix it like I did!

Once sewn, I reached through the opening in the liner and pulled the bag right side out. I used the Point 2 Point Turner to gently push out the corners of the exterior cotton for a beautifully sharp, professional finish.
STEP 7: Final Flourish
Finally, I tucked the raw edges of the liner opening inside and used my standard Wonder Clips to hold them flat. I topstitched the opening closed, pushed the liner back inside the bag, and gave it a good zip!
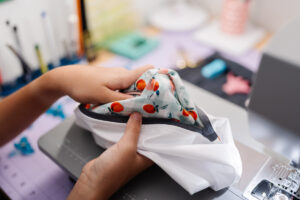
Now I can toss this wet bag right into my dry bag without a single worry! My clean clothes stay completely dry, and my wet swimsuit stays safely locked away.
What fabric combo are you going to use for your wet bag? Let me know in the comments below, and don’t forget to tag us on Instagram using your Clover tools!
Happy Sewing!— Cataleya

If you want to keep up with me, Cataleya, on social media, follow her on social media: Instagram
If you want to keep up with all things Clover, follow us on: Facebook | Twitter | Instagram | Pinterest | YouTube | Ravelry