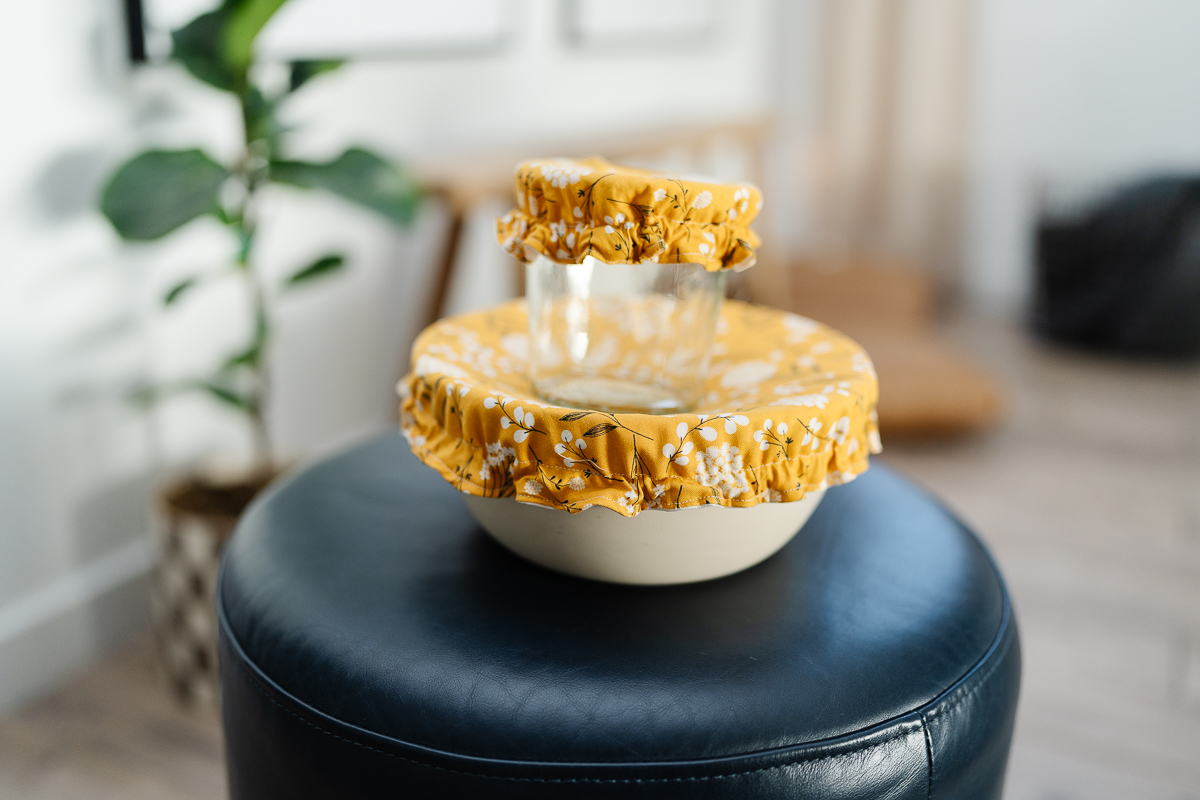
DIY Reusable Bowl Covers
Hi everyone, it’s Cataleya (@happystitches_us on IG)! My newest project solves a kitchen mess. My mom makes sourdough constantly, and she was so tired of using wet towels. I decided she needed a set of “mobile” covers for her dough that were soft, pretty, and worked perfectly! Today, I’m making two sizes: one for my mom’s starter jar and one for her proofing bowl.
MATERIALS:
- 45mm Rotary Cutter
- Water Erasable Tracing Paper
- Metal Hera with Stylus
- Double Tracing Tool
- Roll & Press
- Jumbo Wonder Clips
- Wonder Clips (standard size)
- Point 2 Point Turner
- Seam Ripper
- Clip ‘n Glide Bodkin
- if you don’t have this, you can use a safety pin but it will take longer!
- cotton fabric: two squares (one 9″ x 9″ and one 14″ x 14″)
- food-grade liner: two squares matching the cotton sizes
- 1/4″ flat elastic: 8.5″ (jar) and 20.25″ (bowl)
- thread to match
- water soluble pen
- ruler
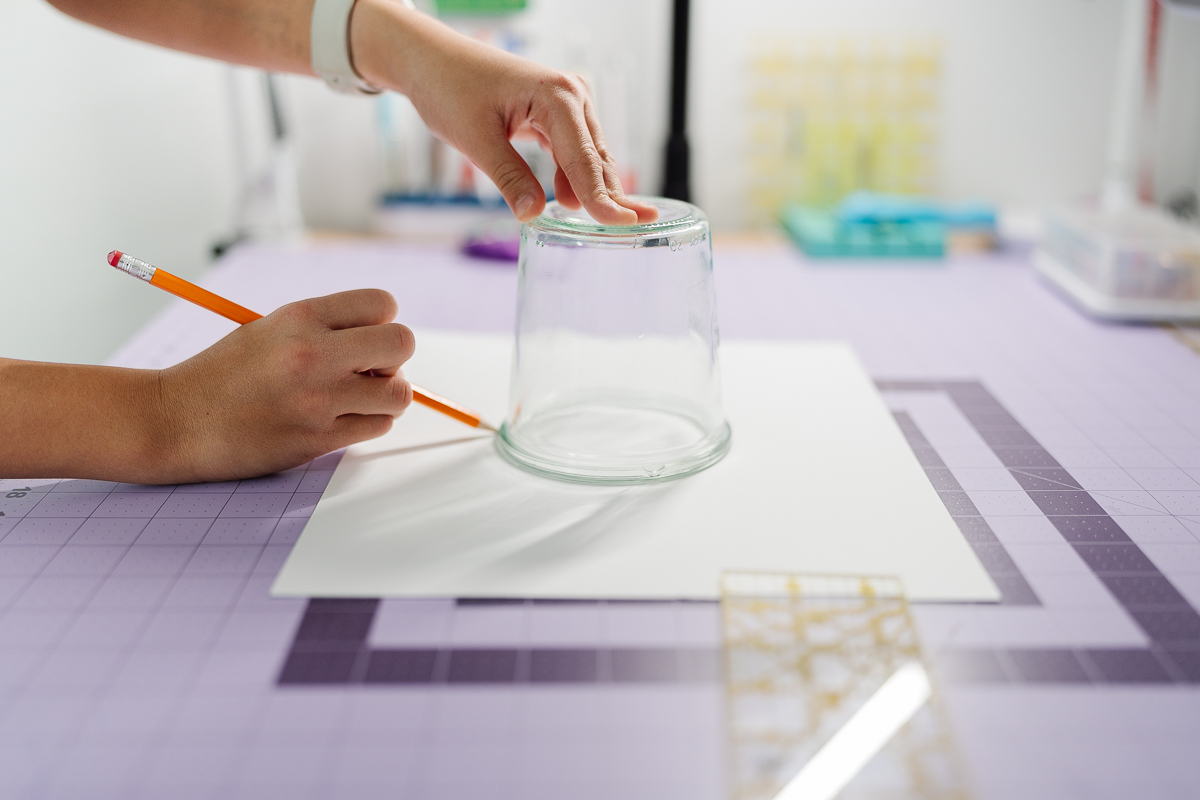
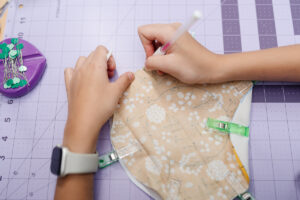
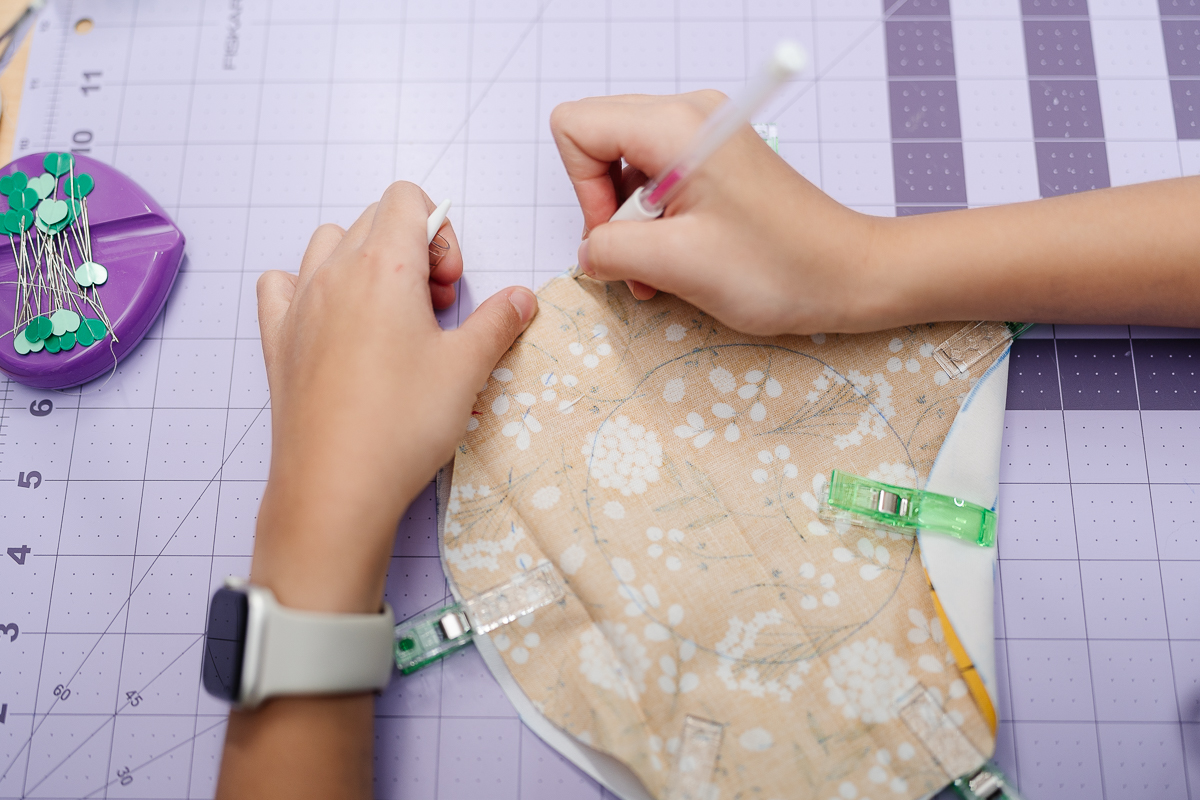
1) The “No Compass” Circle Trick
- Since I didn’t have a giant compass, I used the bowl and the jar as my stencils!
- I laid my cotton fabric down, put Water Erasable Tracing Paper (blue) on top, and set my bowl/jar on it.
- I used my Metal Hera with Stylus to trace the container. Then, I measured 1″ out to draw a dashed line (my sewing line) and another 1″ out for my cutting line.
- I went back over the light marks with a water soluble pen so they were nice and dark!
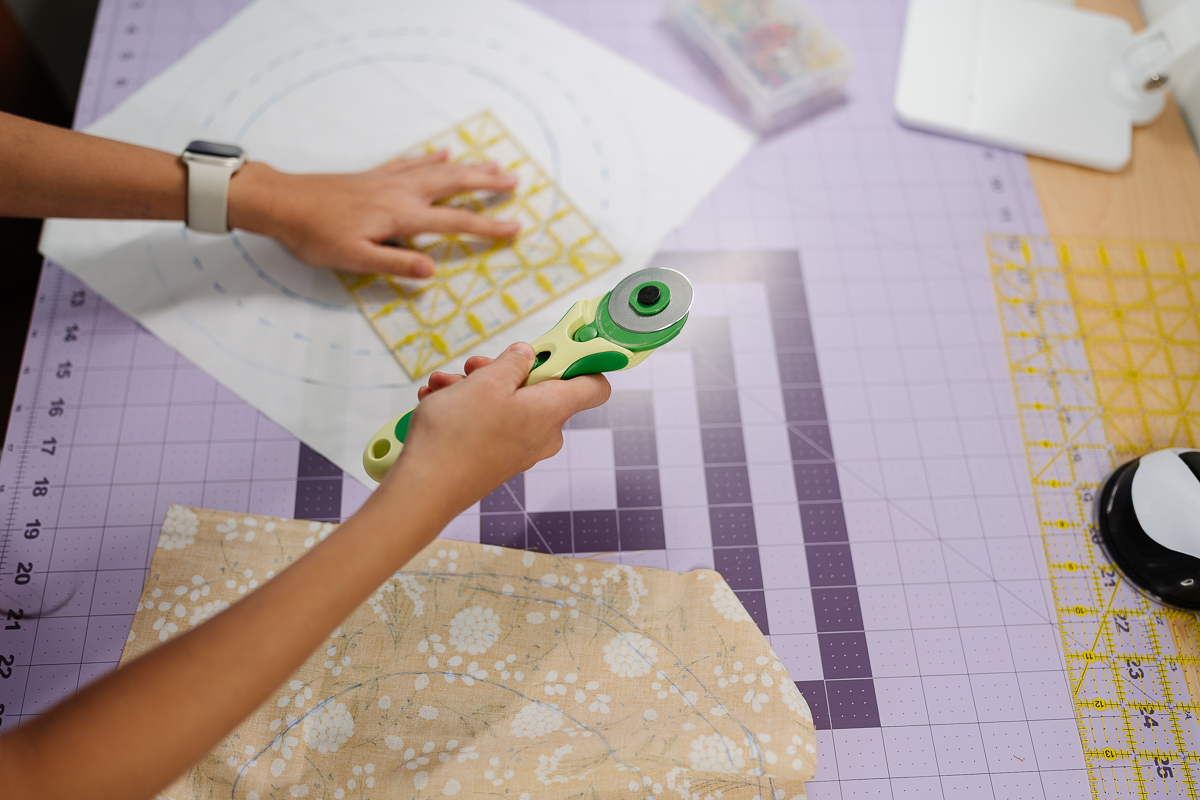
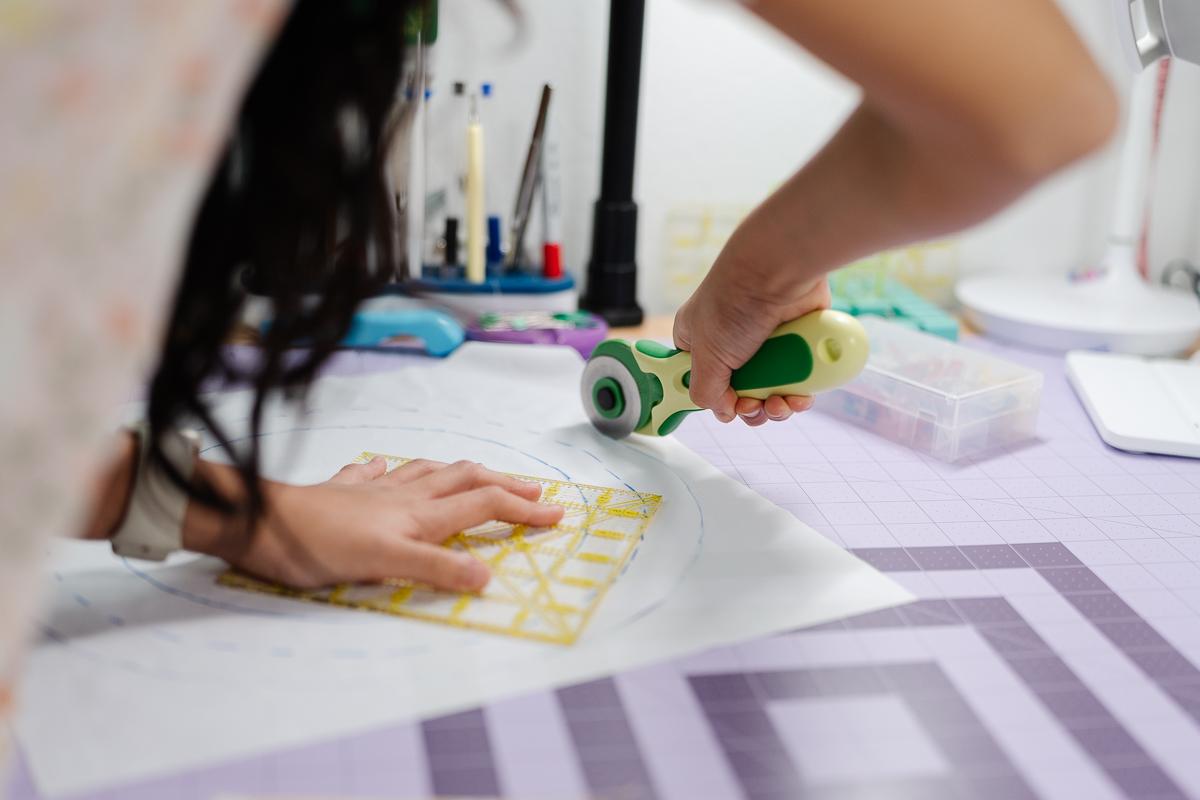
2) Safe Cutting
- To cut the circles, I used my Clover Rotary Cutter. The blade is retractable so it’s easy to prioritize safety with this product.
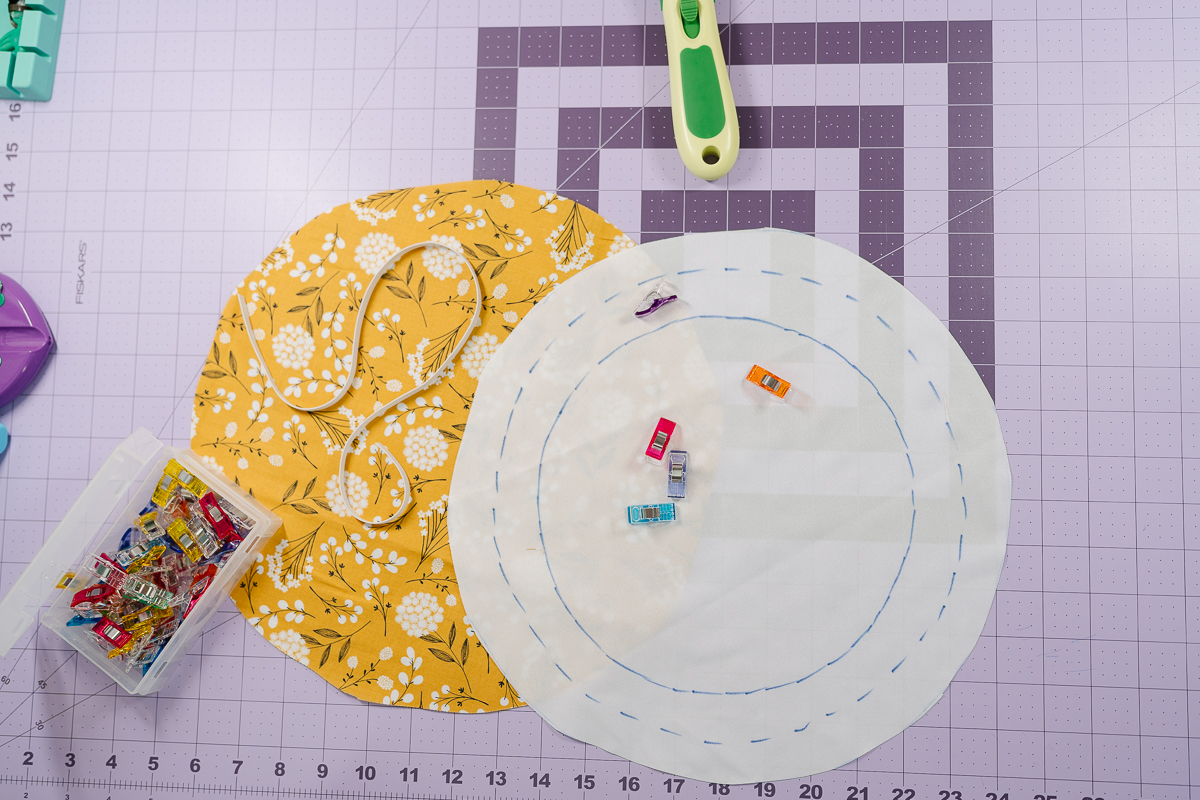
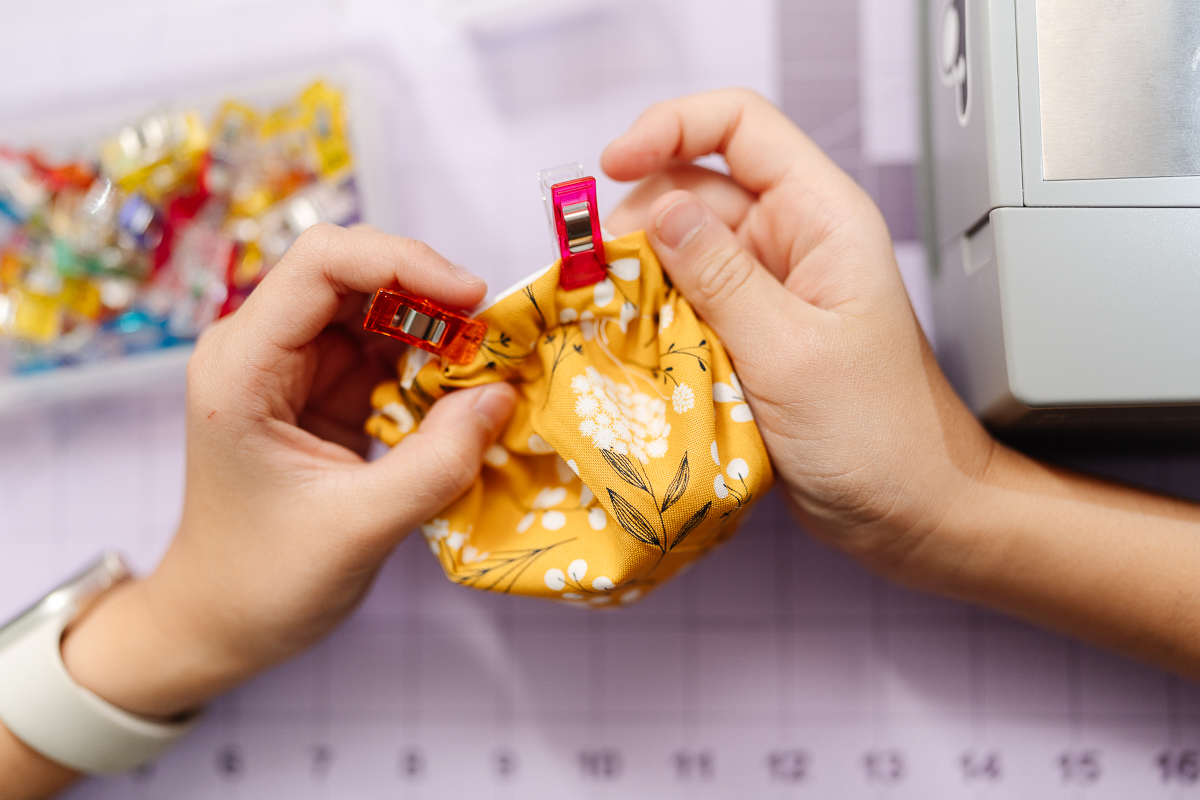
3) Clipping and Flipping
- Layer the shiny side of the liner against the pretty side of the cotton.
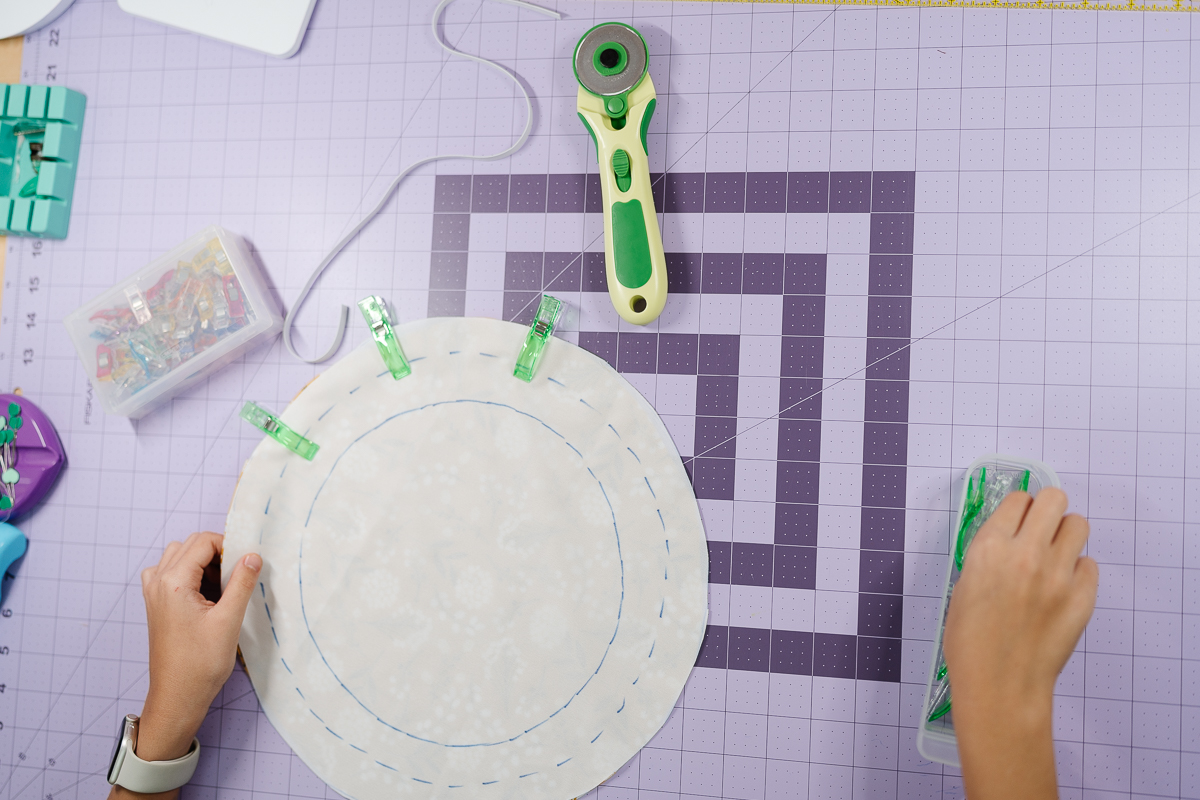
- I used the large green Wonder Clips for the big circles because they are easier for my hands to move. Plus, pins leave permanent holes in the liner!
- I sewed the edge but left a 3-finger wide gap.
- I sewed the two pieces together using a 1/8″ seam allowance, leaving a 3-finger wide gap so I could turn it.
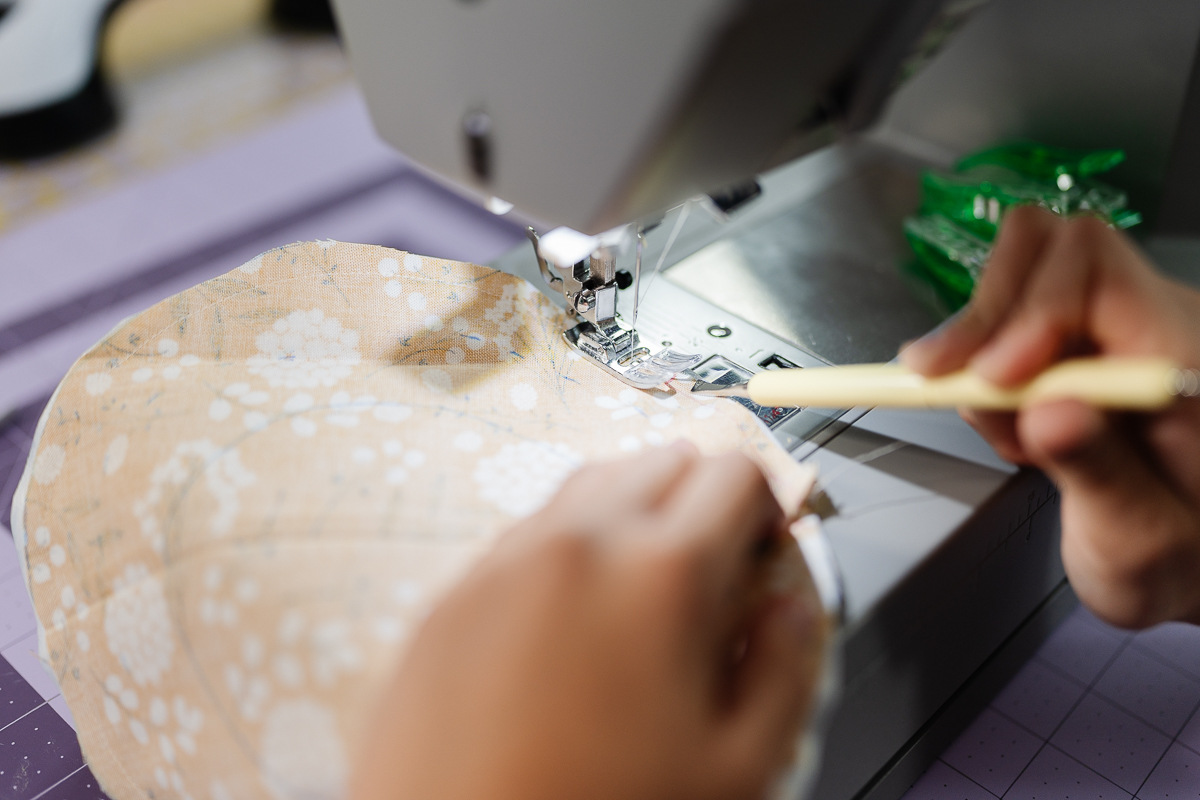
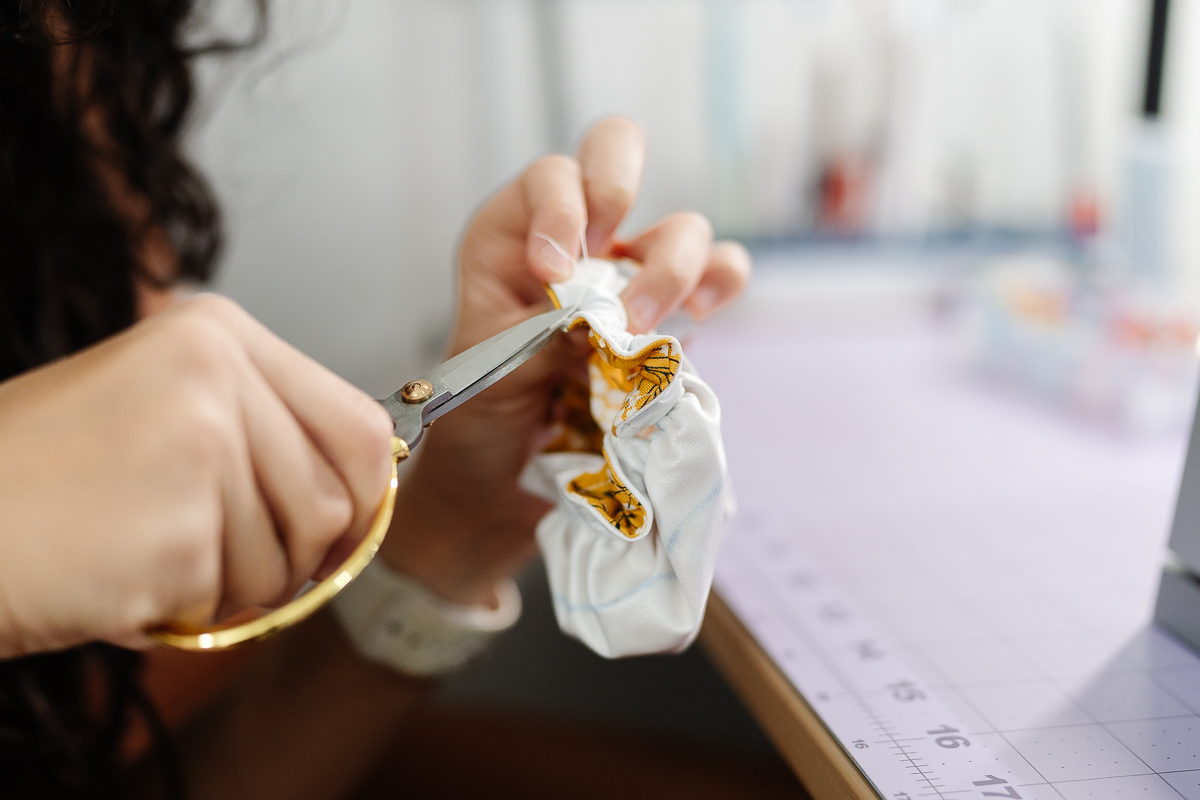
- Before flipping, I used my scissors to snip little notches into the curved edges so it wouldn’t be bulky. After flipping, I used the Turner to push the fabric out until the circle was perfectly round.
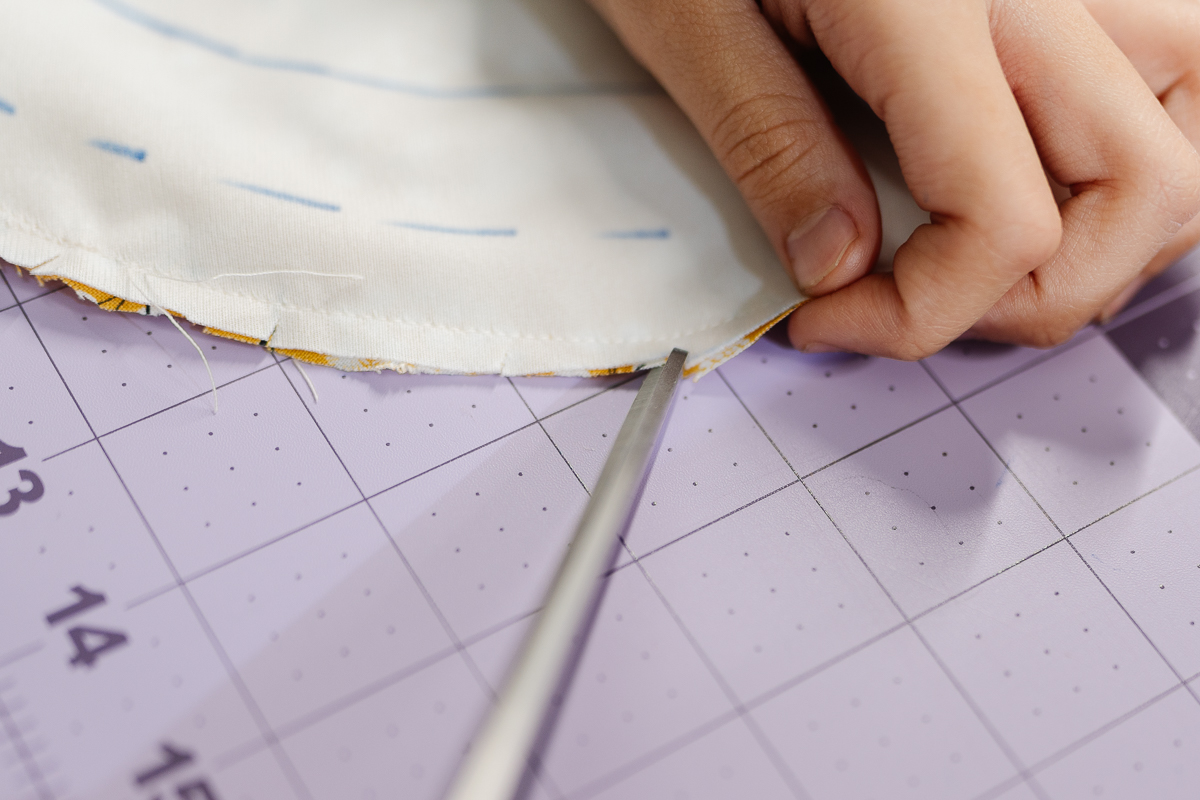
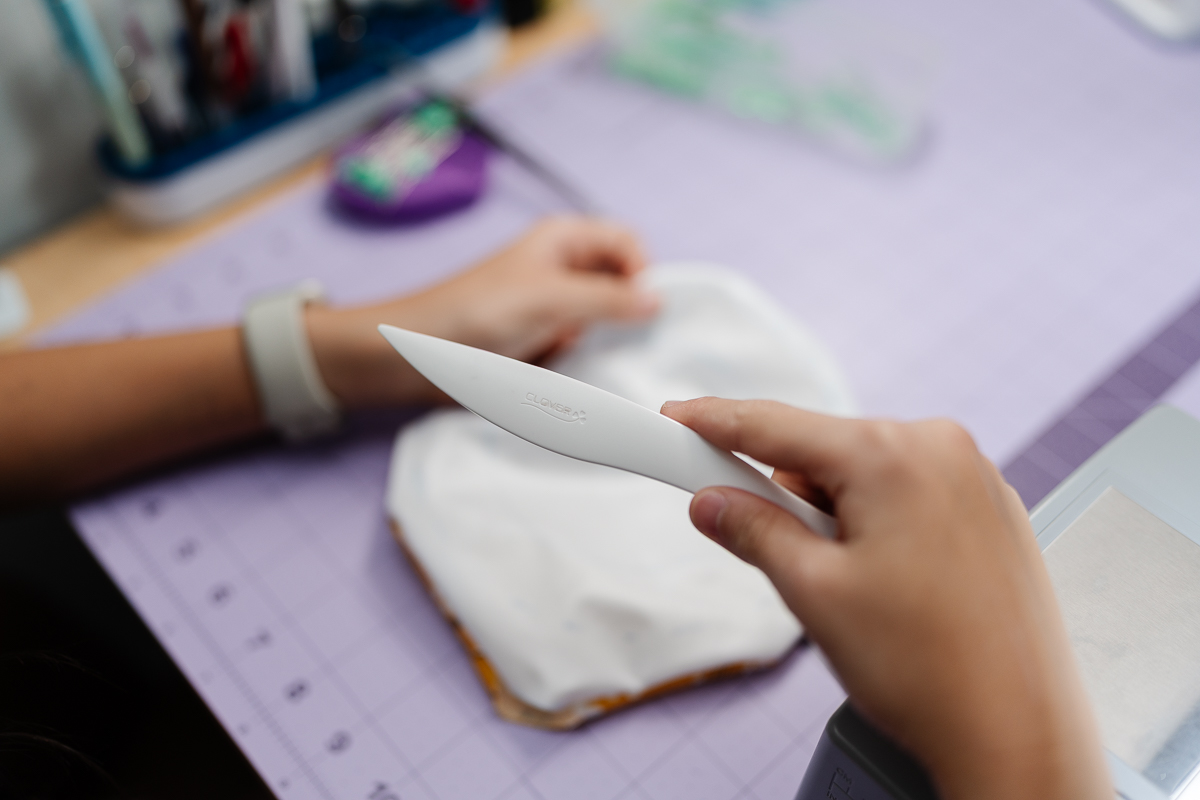
4) The Elastic Tunnel
- Do not use an iron! It will melt the liner. I used my Roll & Press to flatten the edges. Then, I sewed right along those dark dashed lines to create the tunnel for the elastic.

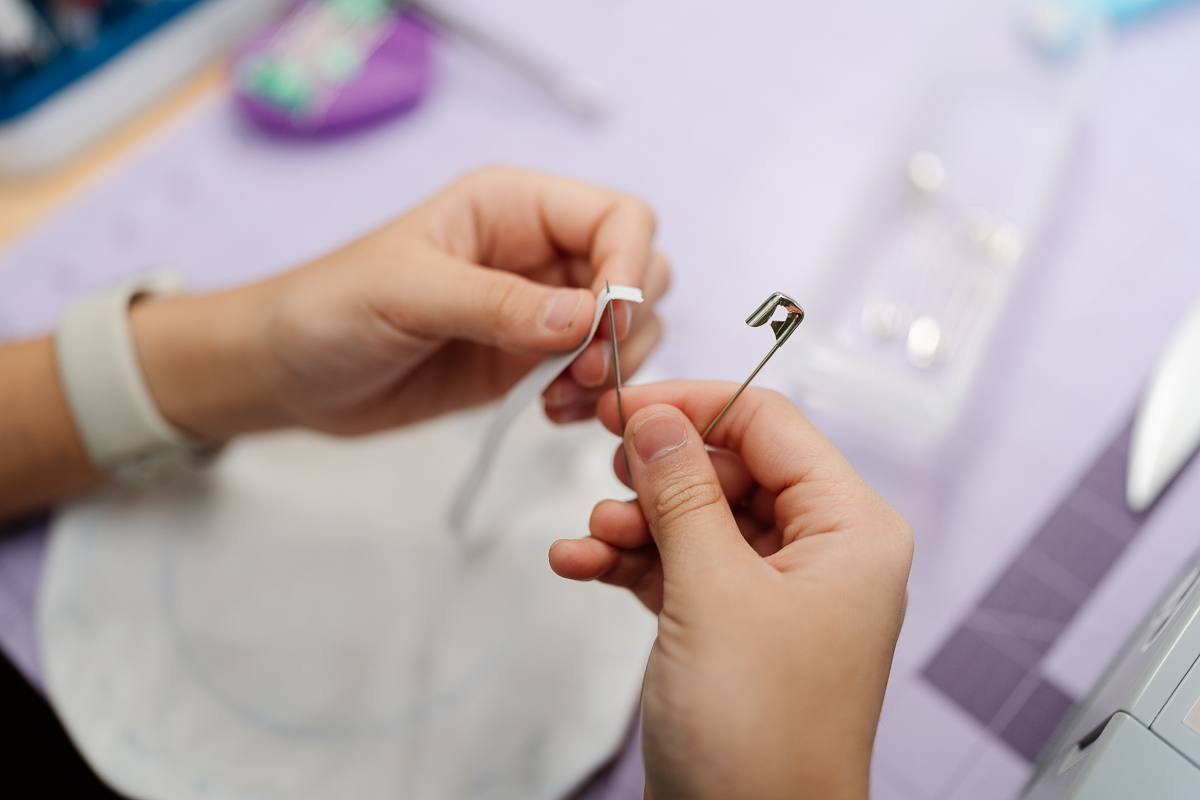
5) The Safety Pin “Scoot”
- I pinned a large safety pin to one end of the elastic and used it to scoot the elastic all the way through the tunnel. Once it came out the other side, I sewed the elastic ends together. I’ve really got to grab a Clip ‘n Glide Bodkin for next time because it would have made this part 10x faster!!!
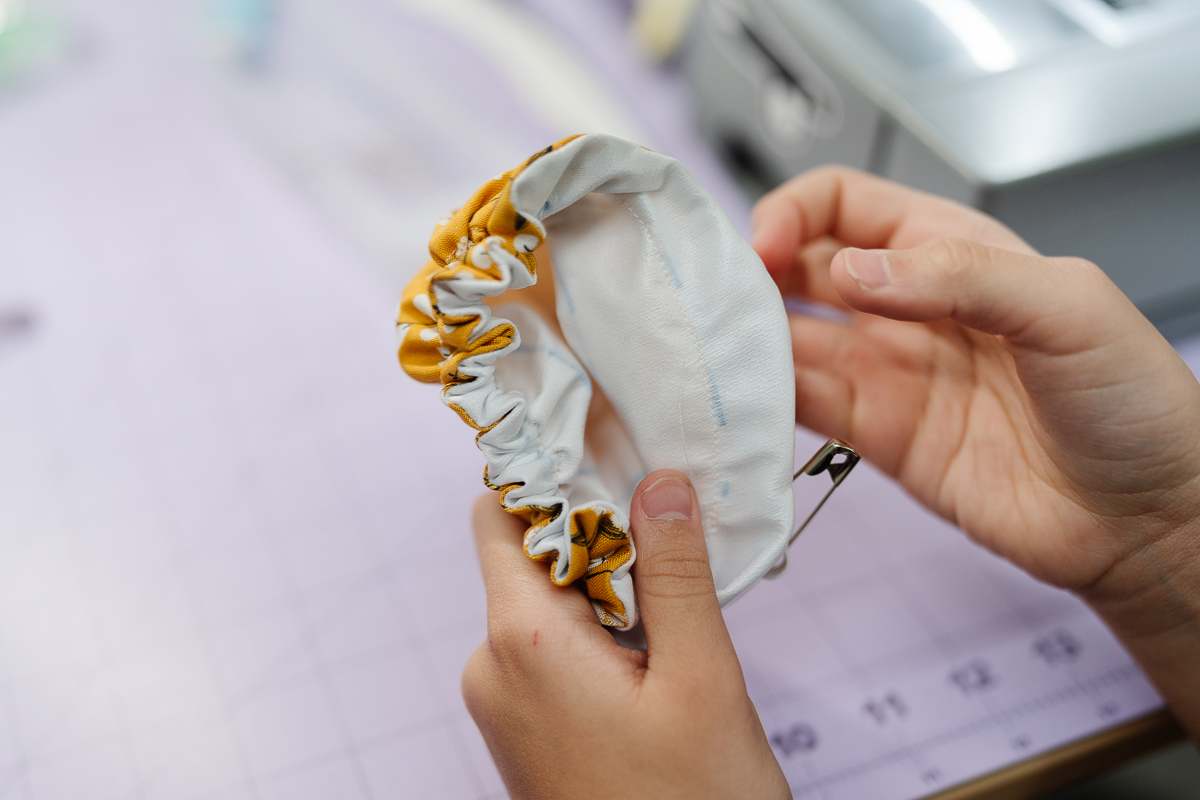
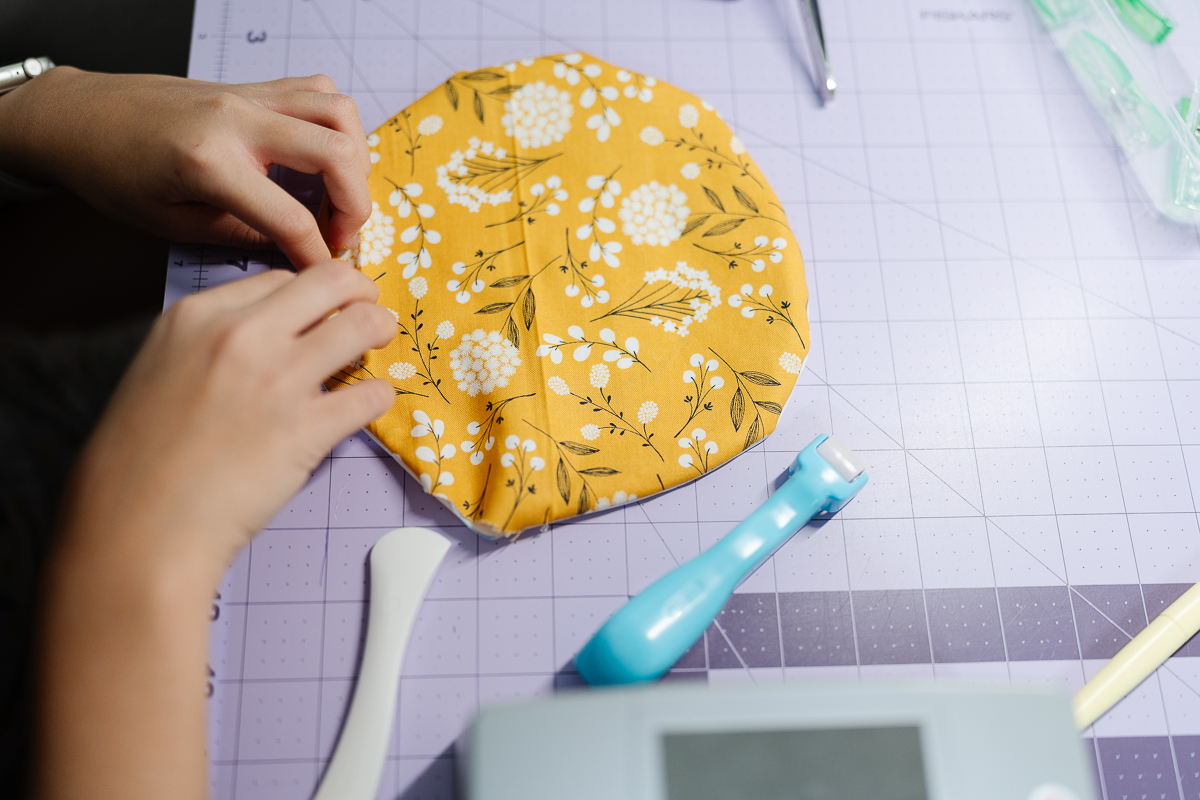
6) Almost Done!
- For the very last step, I used my smaller Wonder Clips to hold the 3-finger gap perfectly flat while I sewed it shut. Then, I topstitched all the way around the very outer edge of the circle. This closes the gap and makes the cover look super professional!
If you want to keep up with me, Cataleya, on social media, follow her on social media: Instagram
If you want to keep up with all things Clover, follow us on: Facebook | Twitter | Instagram | Pinterest | YouTube | Ravelry