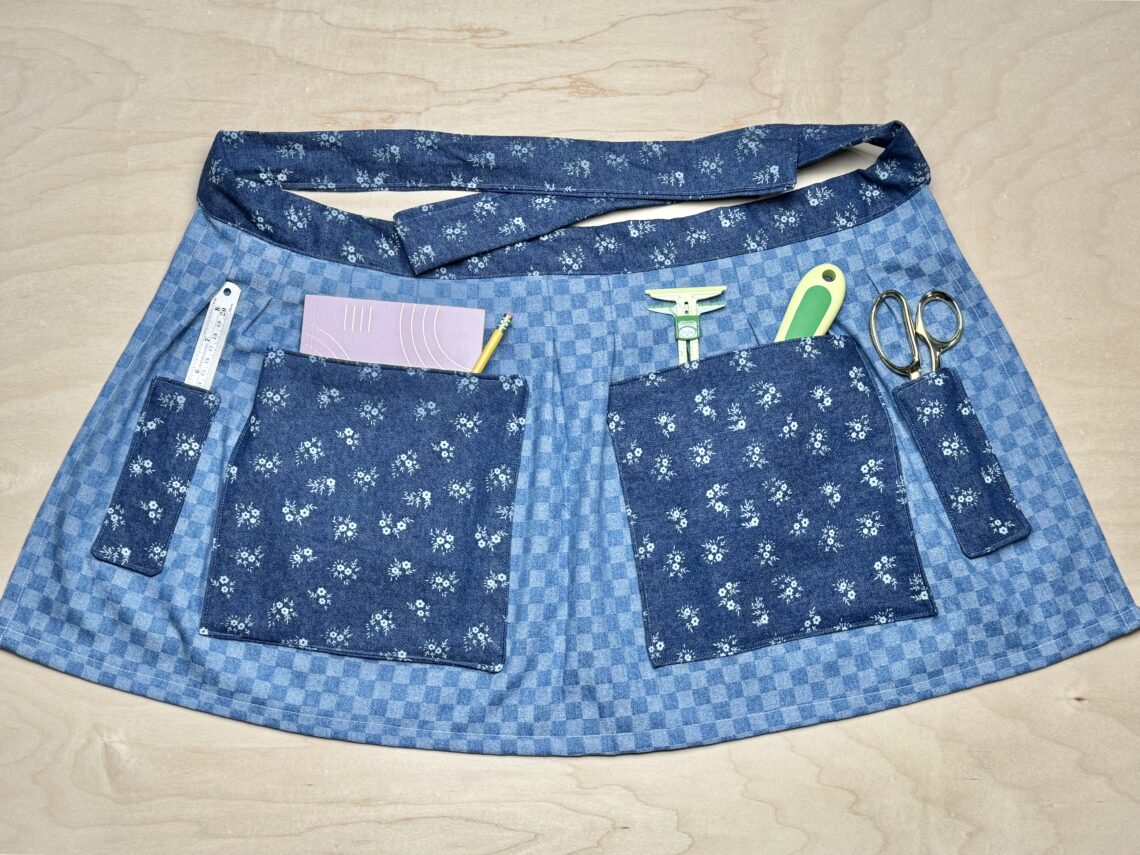
The Craft Room Apron *free sewing pattern*
If you sew regularly, you know how quickly your tools seem to disappear. One minute, your scissors are right next to you, and the next they’ve somehow vanished under fabric, patterns, or a pile of scraps! That’s EXACTLY why I decided to sew this simple half-apron. It keeps the little things (like scissors, chalk, measuring tape, and clips) RIGHT where I need them while I work. In this blog, I’ll show you how to sew a half-apron that’s equally perfect for sewing days, craft time with your kiddos, or simply anytime you would want your tools within reach! It’s simple, useful, and one of those things you’ll be VERY thankful you made once you start using it.
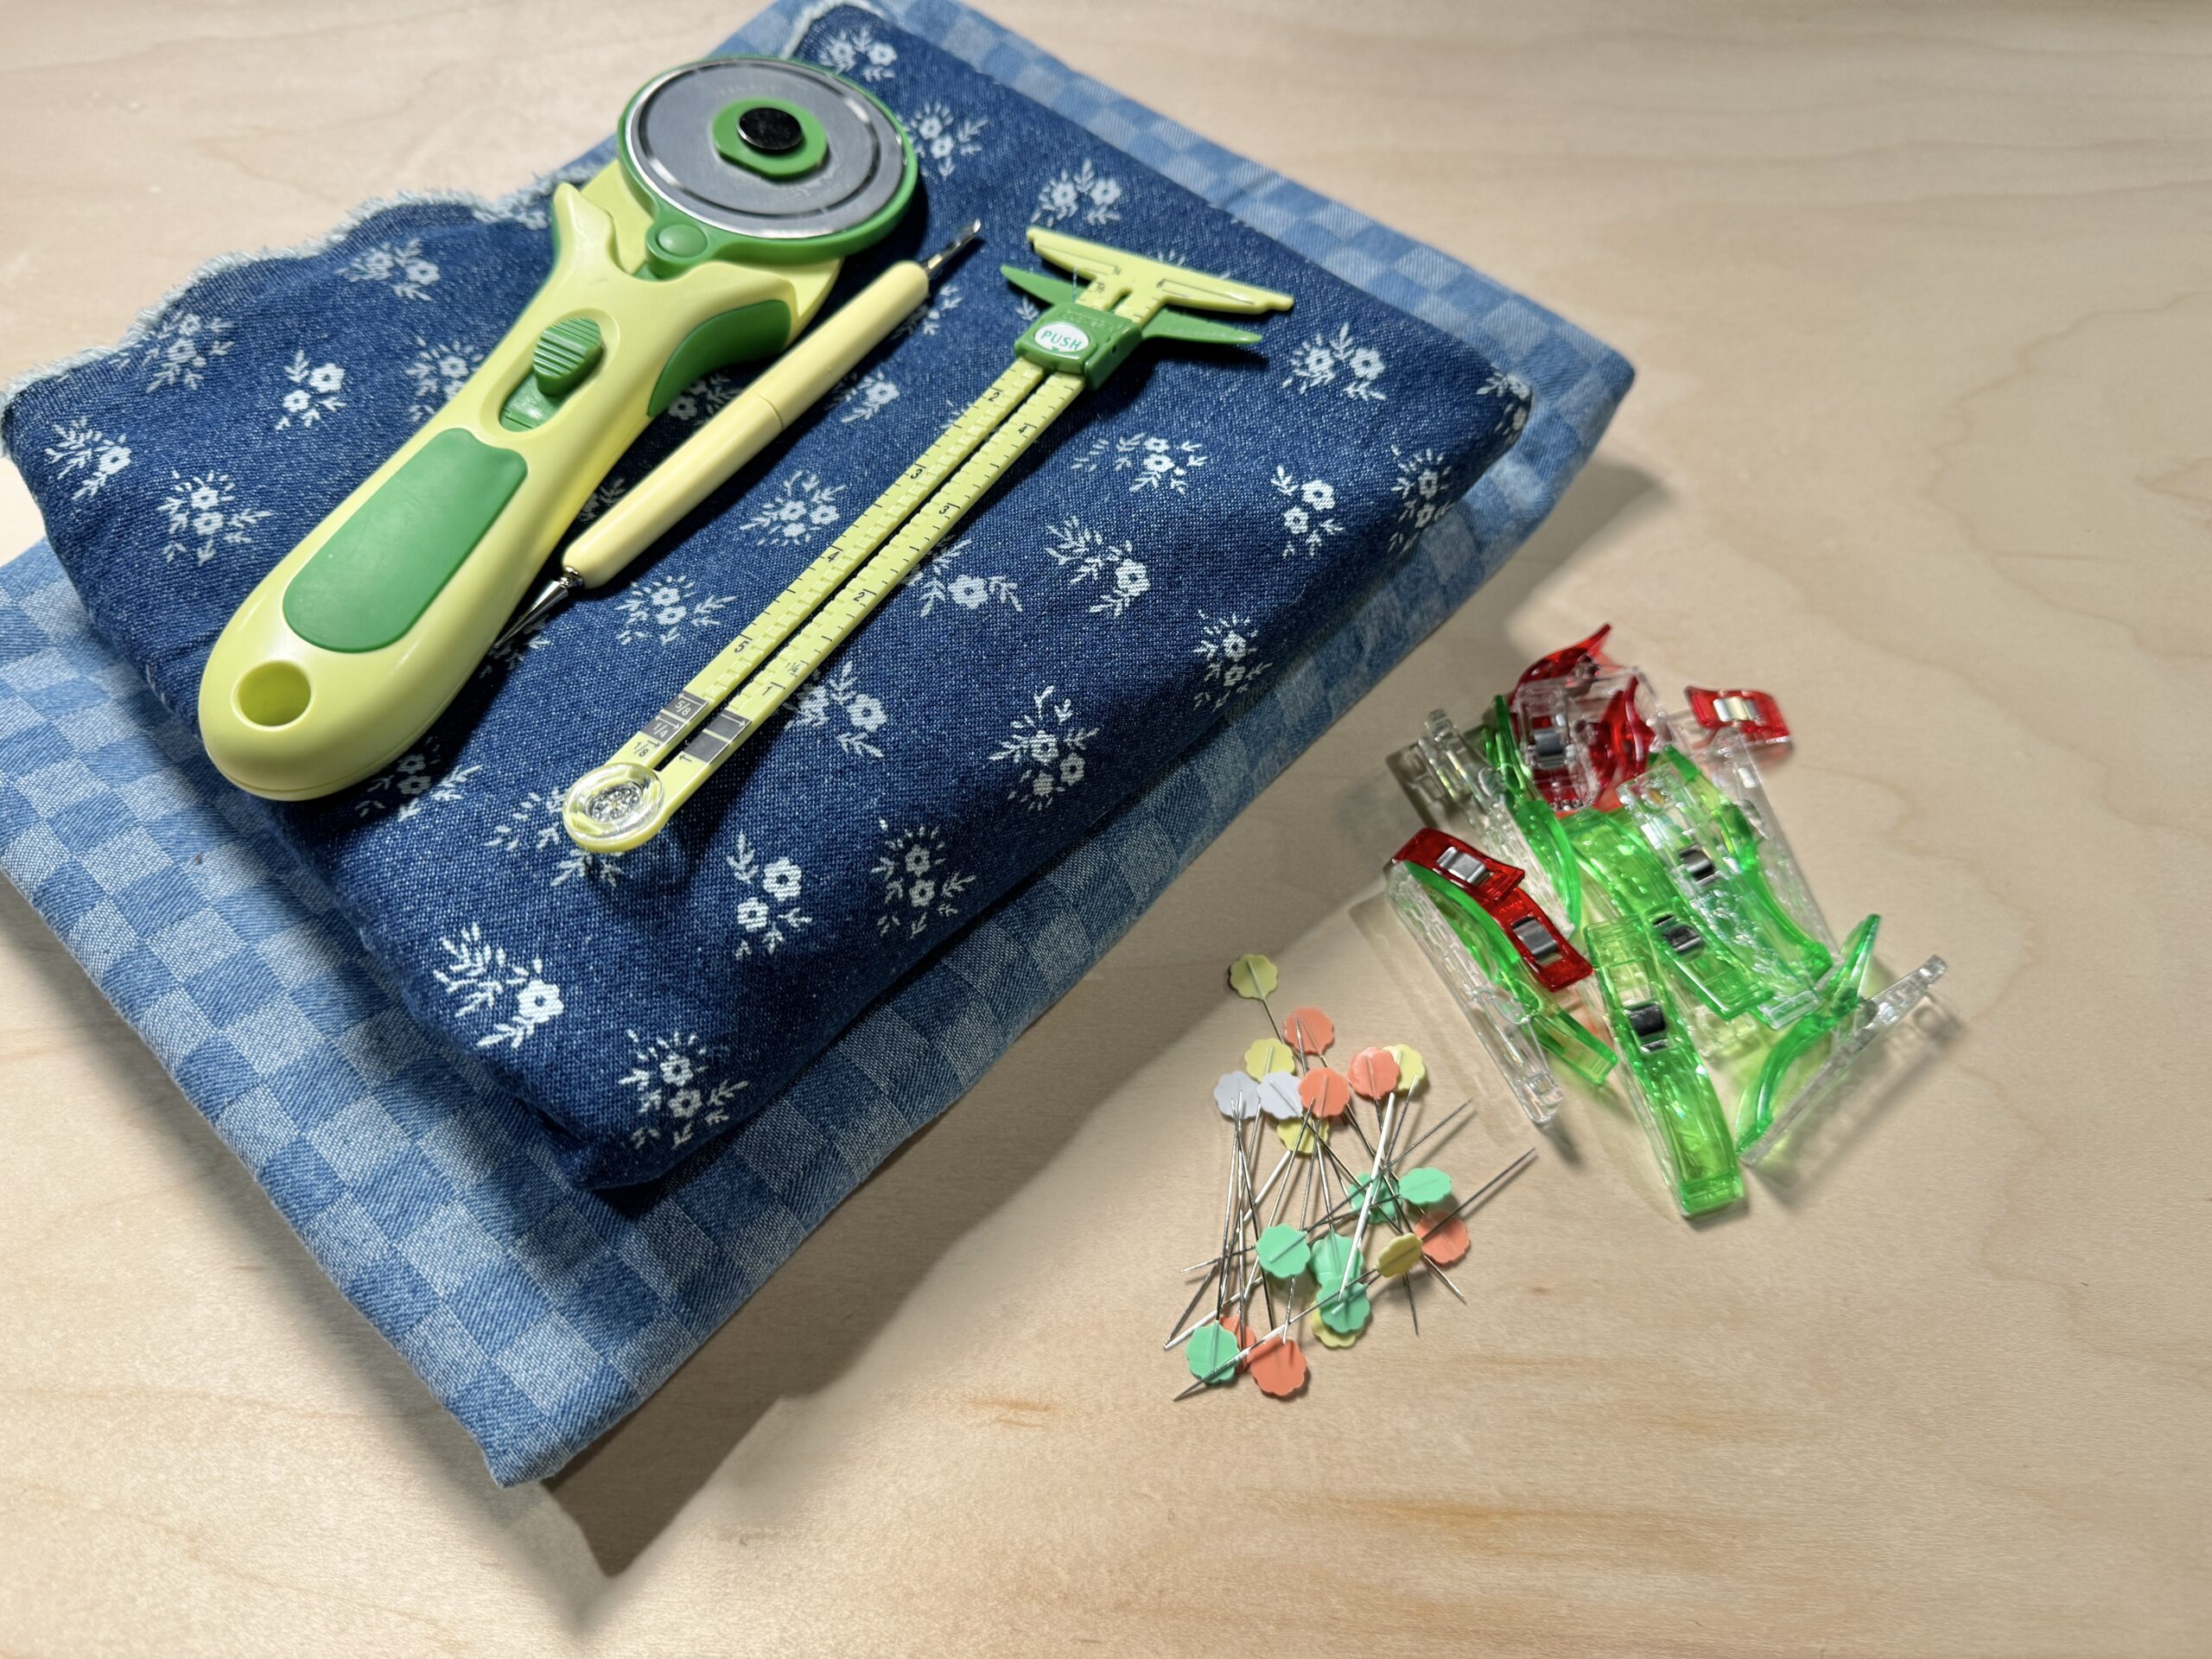
MATERIALS:
- Clover Rotary Cutter (60 mm)
- Clover Flower Pins
- Clover Wonder Clips
- Clover Metal Hera with Stylus
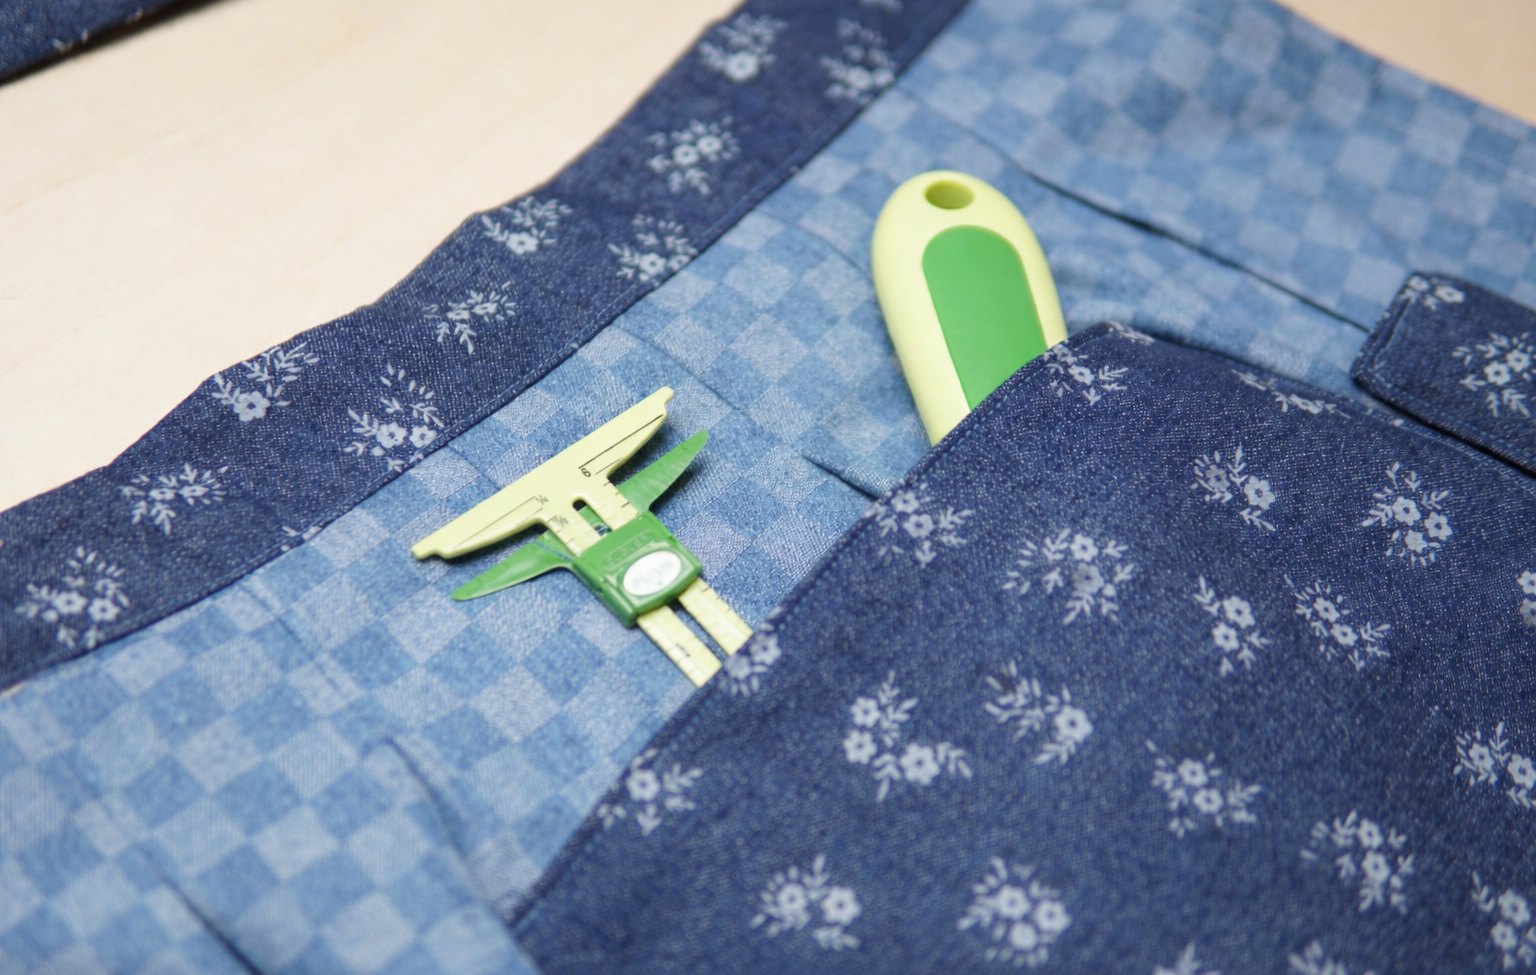
- Clover 5-in-1 Sliding Gauge
- ruler
- 1/2 yard cotton/denim fabric
- 1/4 yard cotton/denim fabric (contrast color)
TUTORIAL:
1) Using the Clover Rotary Cutter (60 mm), cut out the pieces for the apron. The measurements are:
-
- One 16″ x 37″ for the apron’s body
- One 60″x5″ for the straps
- Four 10″ x 10″ for the large pockets
- Four 6″ x 3″ for the small pockets
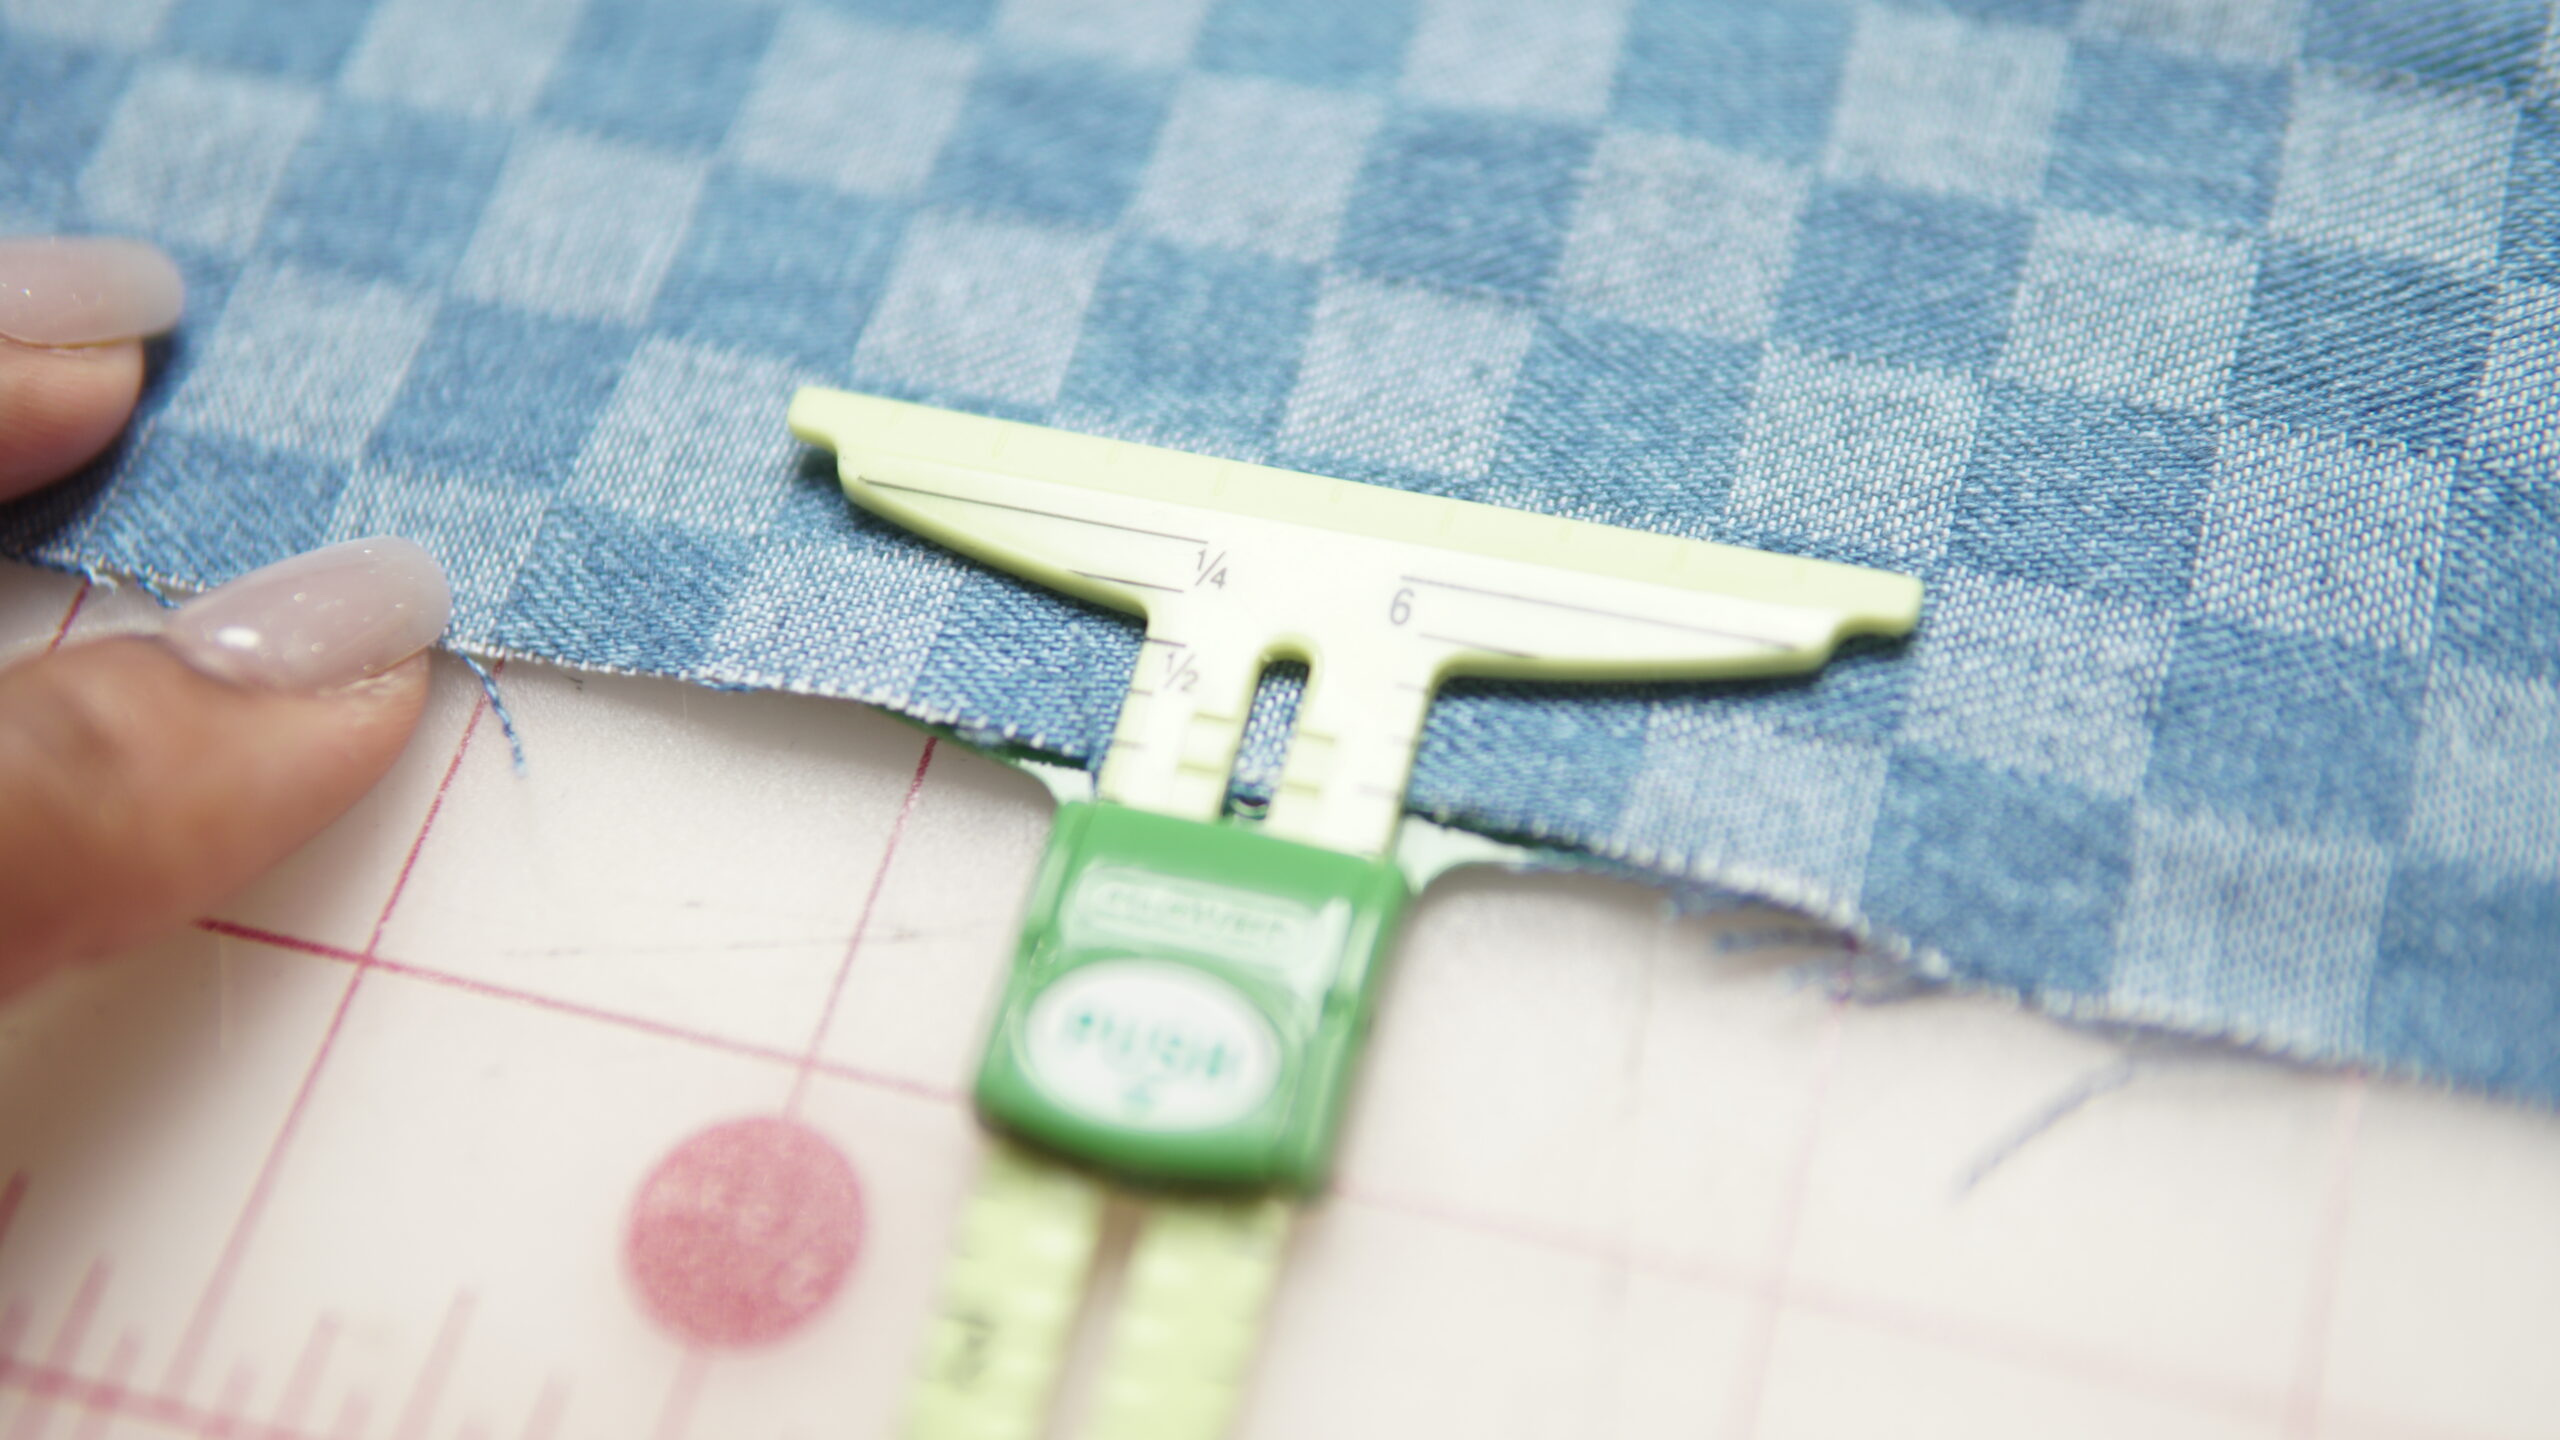
2) First, hem the apron body, leaving only one raw edge. I used the Clover 5-in-1 Sliding Gauge to mark the hem. Fold in the raw edge 1/2″ and press. Fold in again by 1/2″ and press. I used the Clover Wonder Clips to hold the hem in place. Sew the hem. The raw edge is where the straps will be placed.

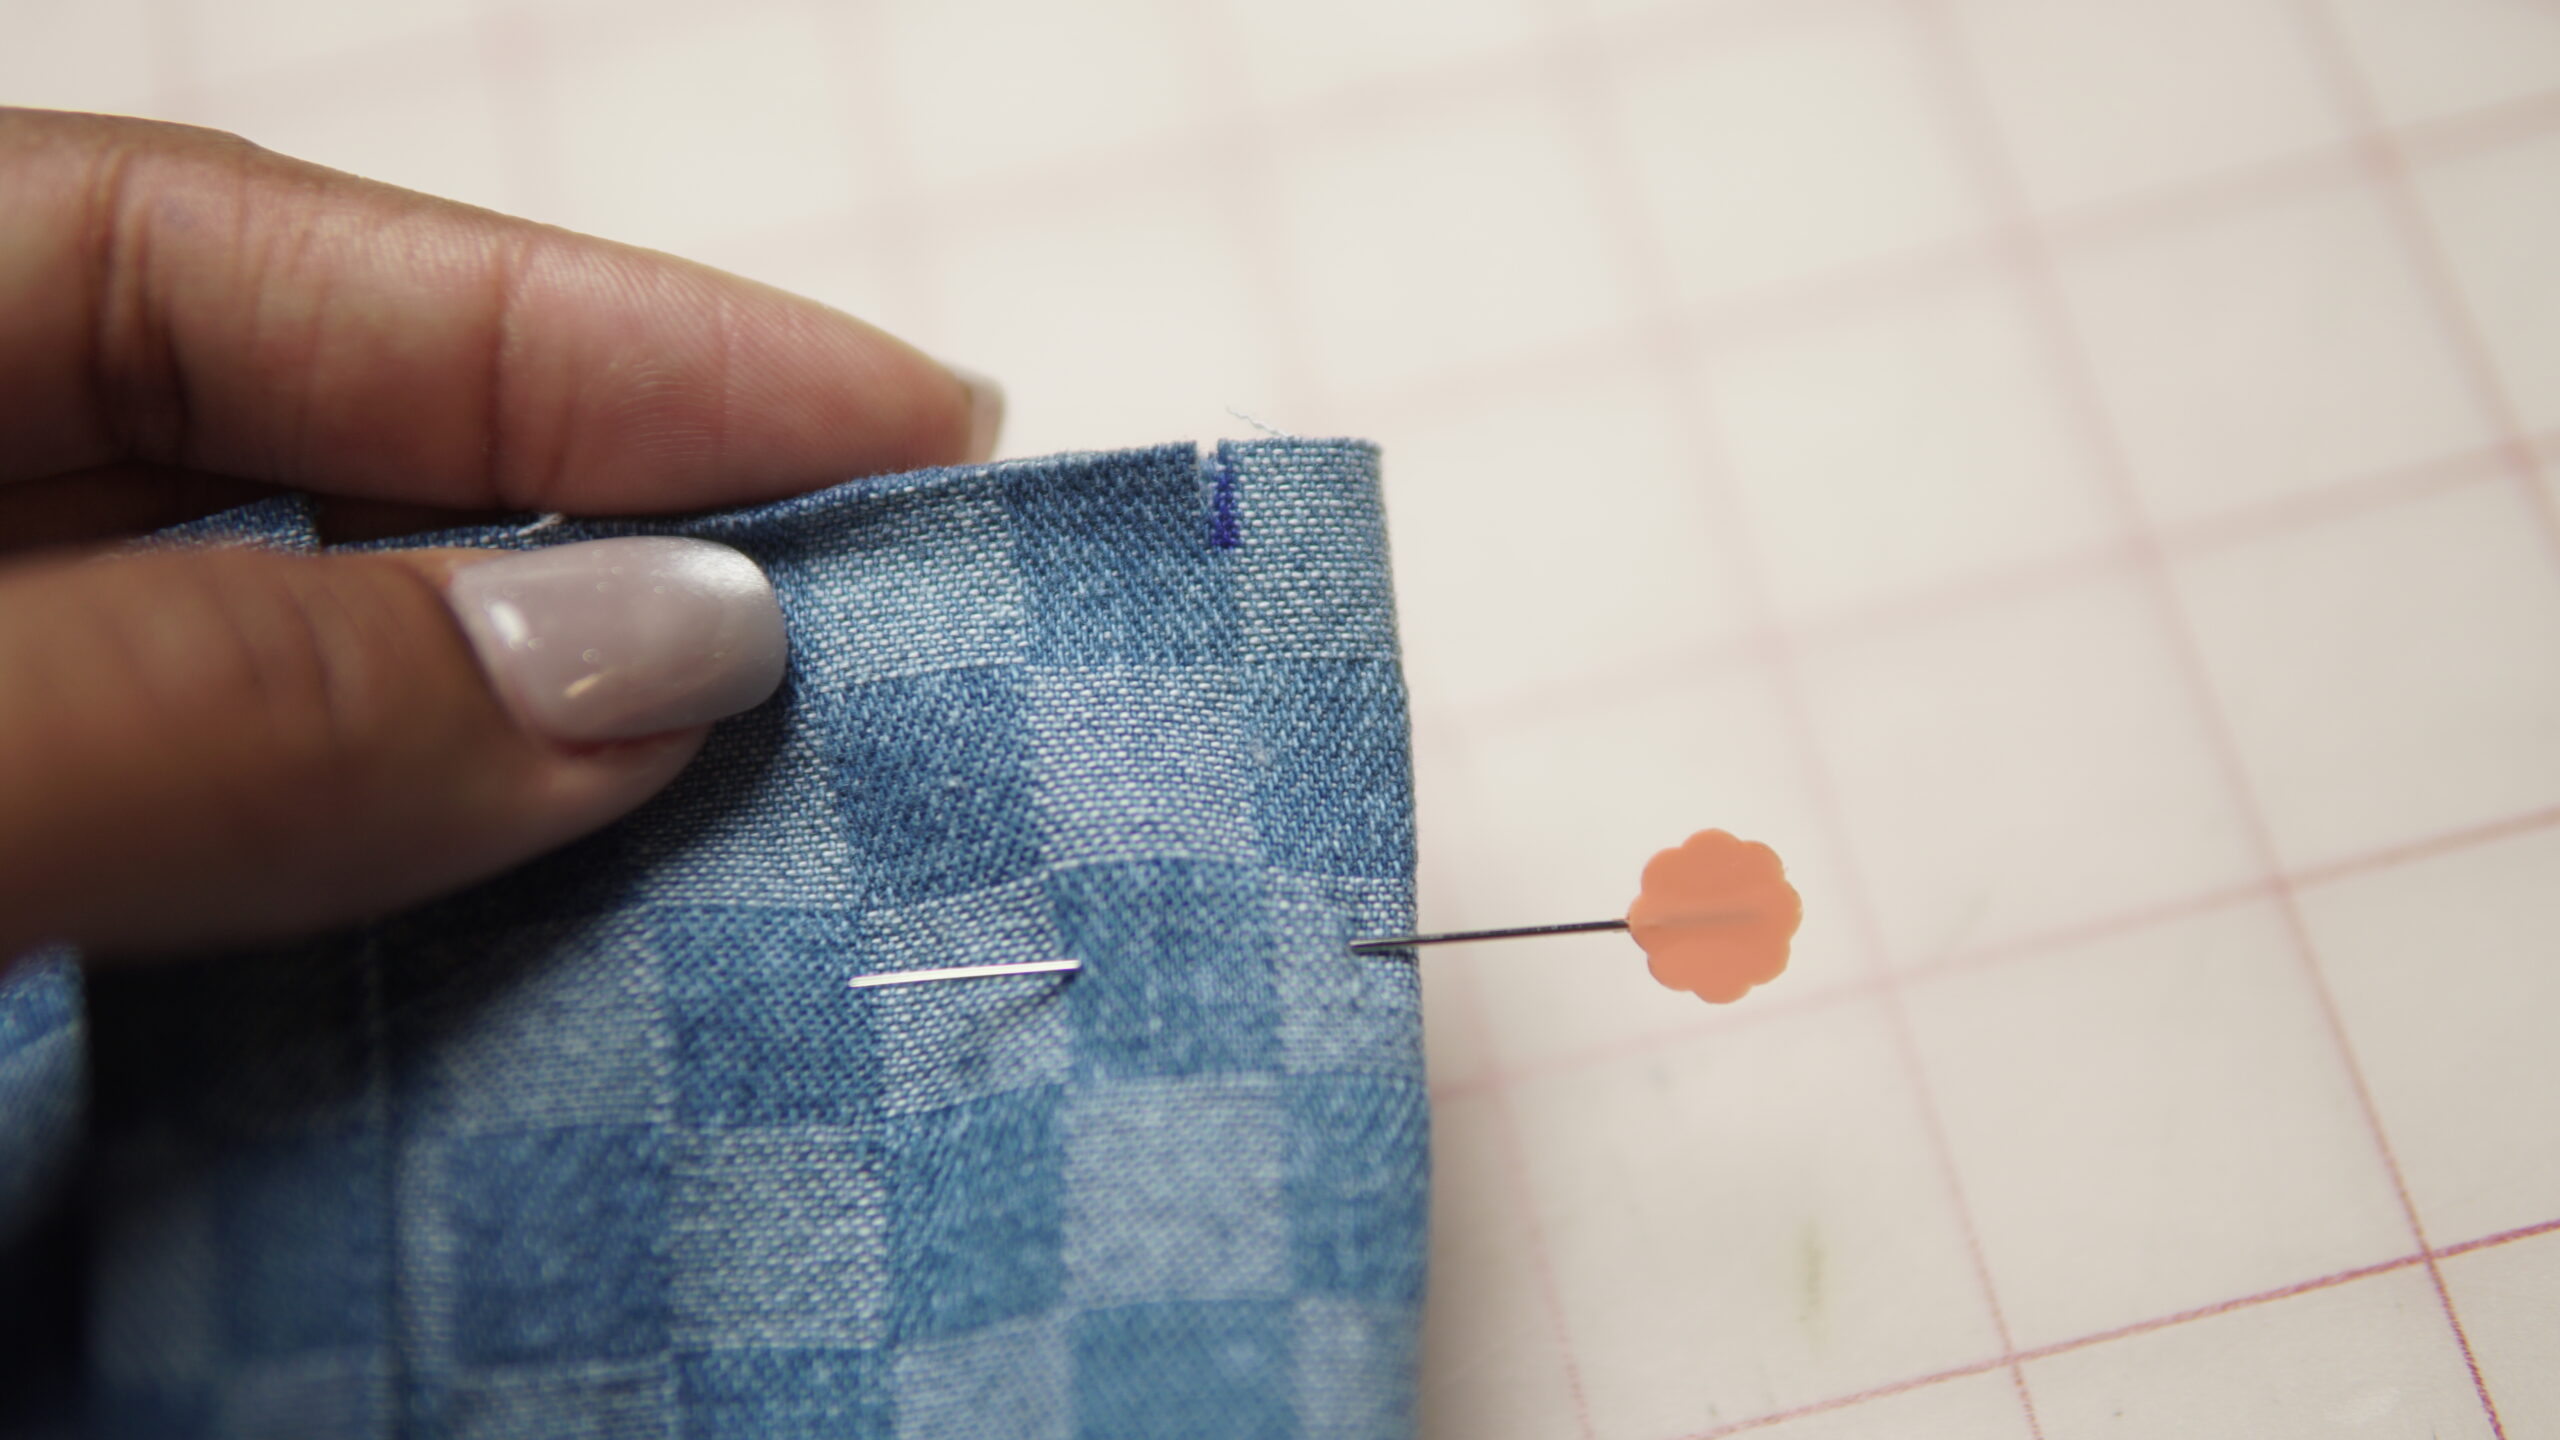
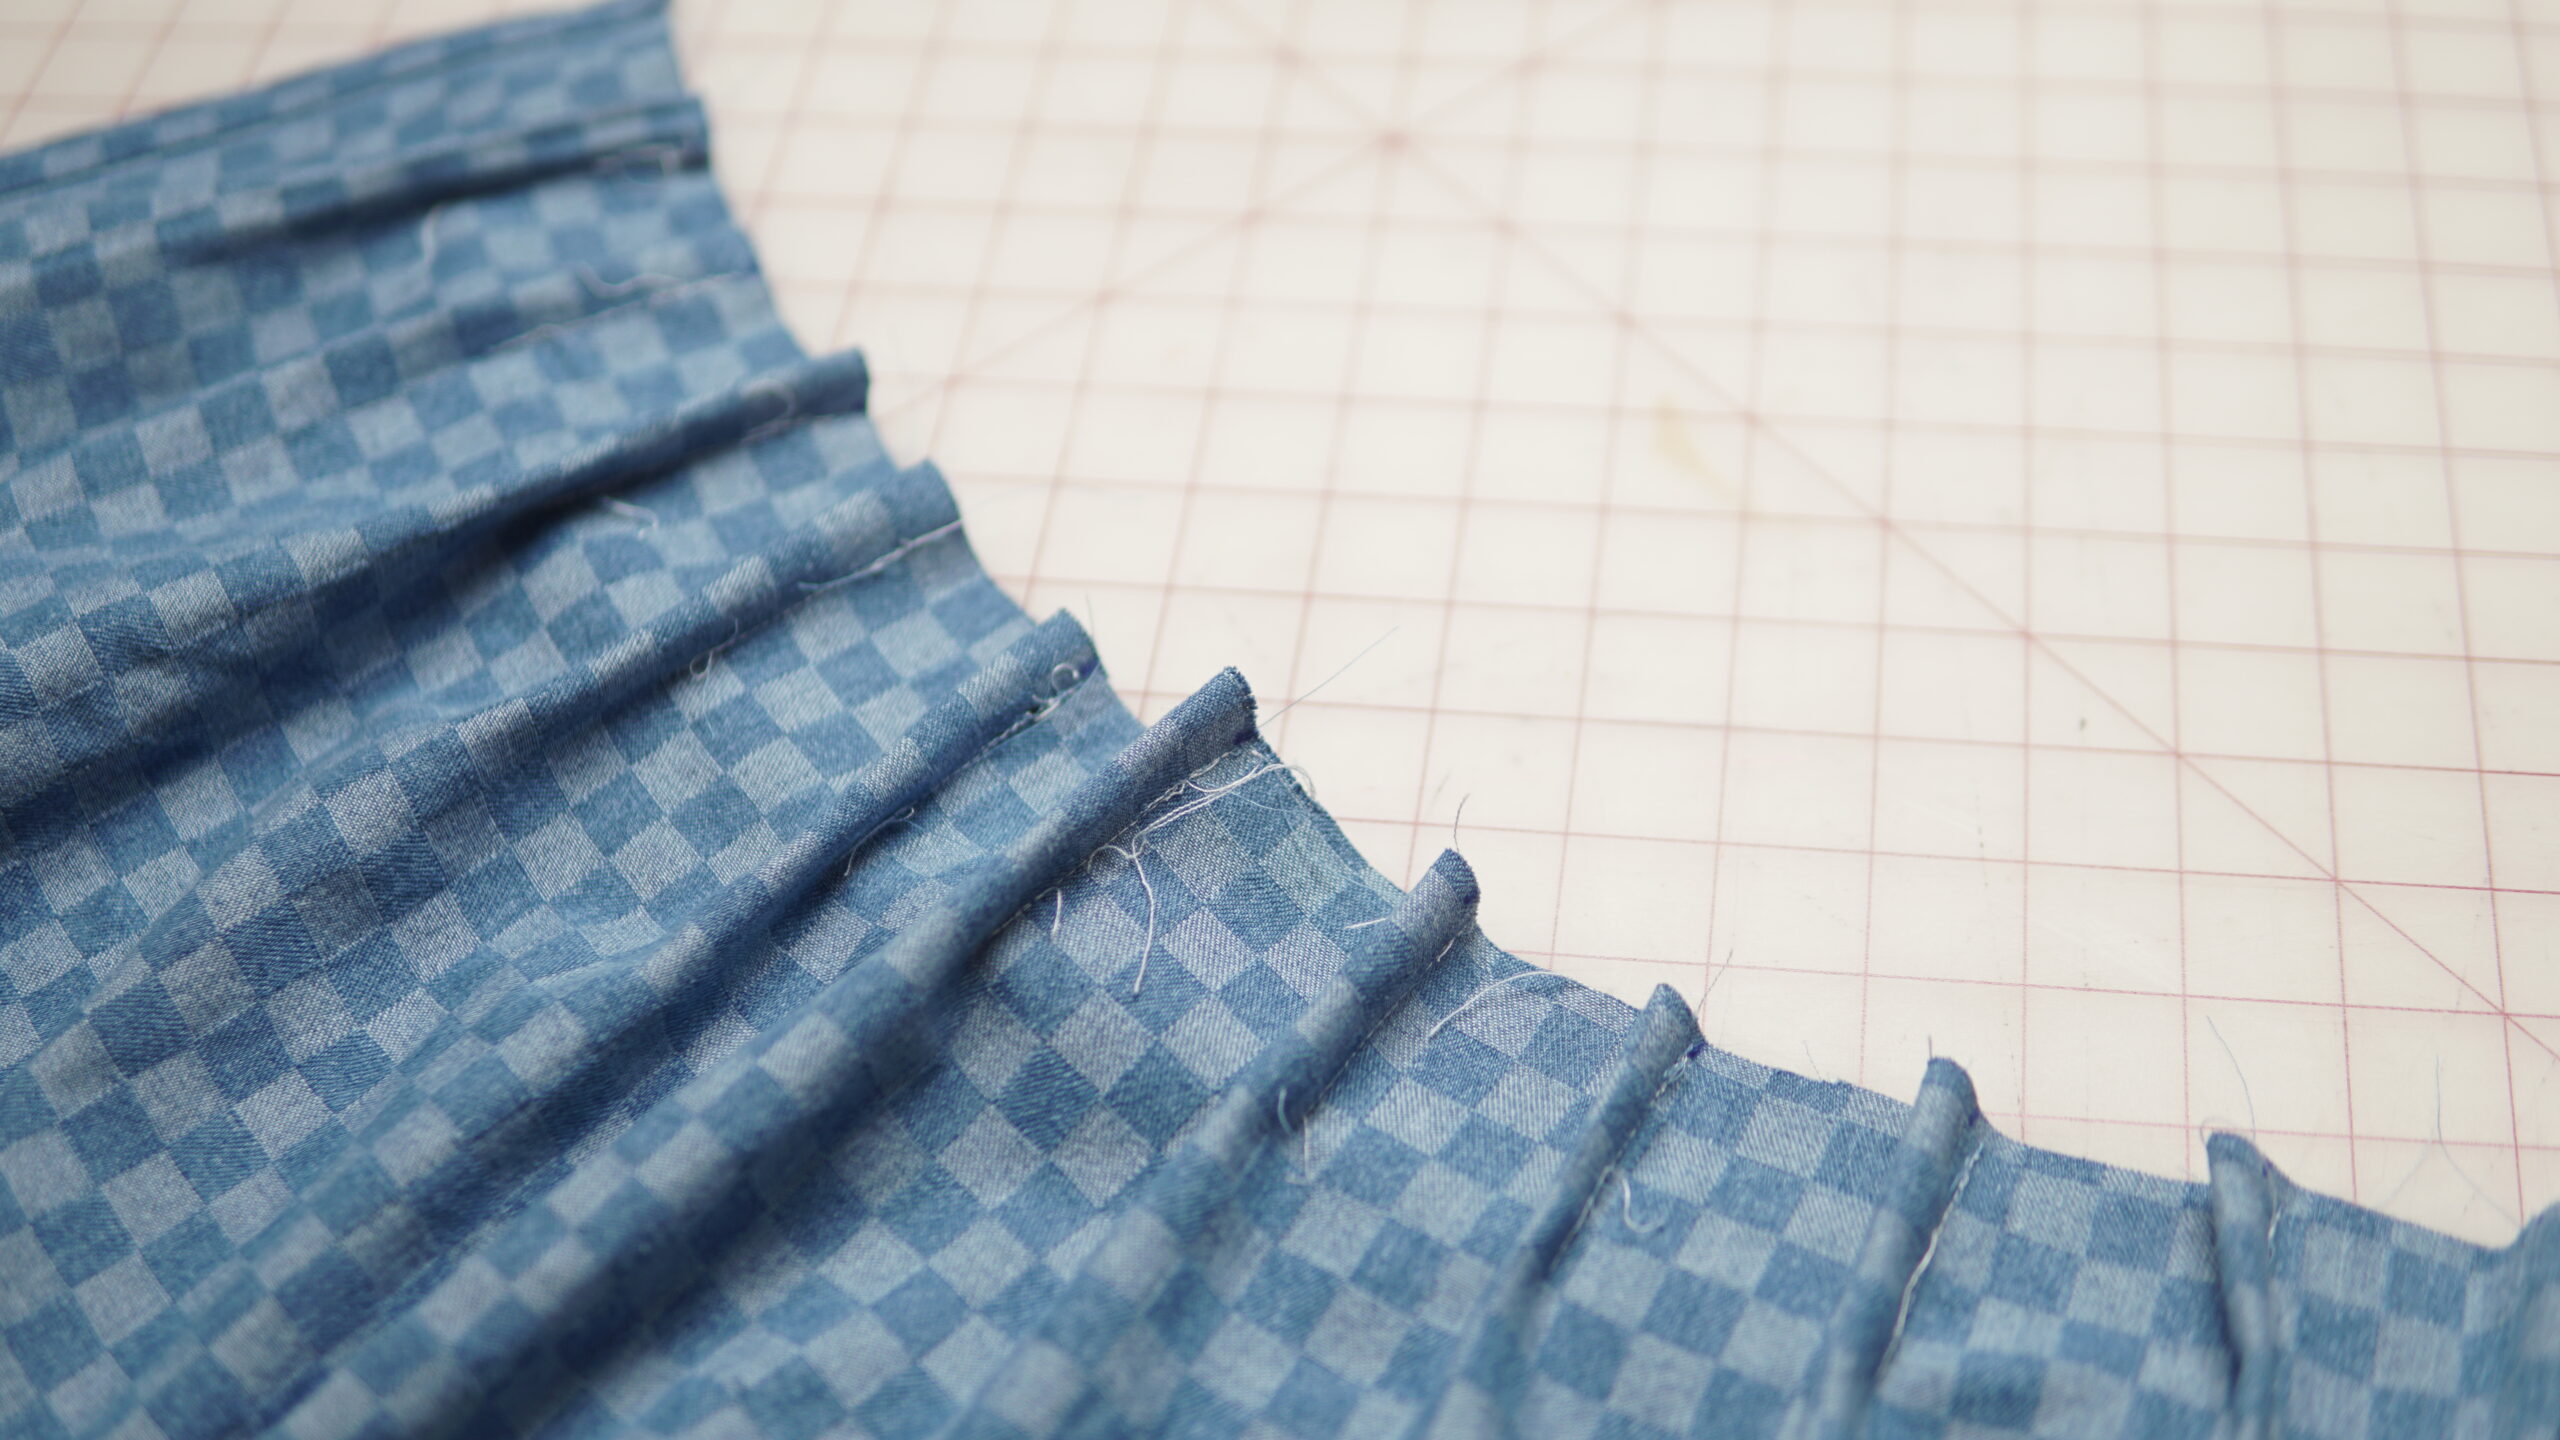
3) Pleat or gather the top of the apron. The pleats are done every 2-2.5″ for a total of 10-11 pleats. To create the pleats, I folded the apron and snipped 1/2″ from the fold. I held it in place using the Clover Flower Pins and sewed down along the folded edge about 3″.
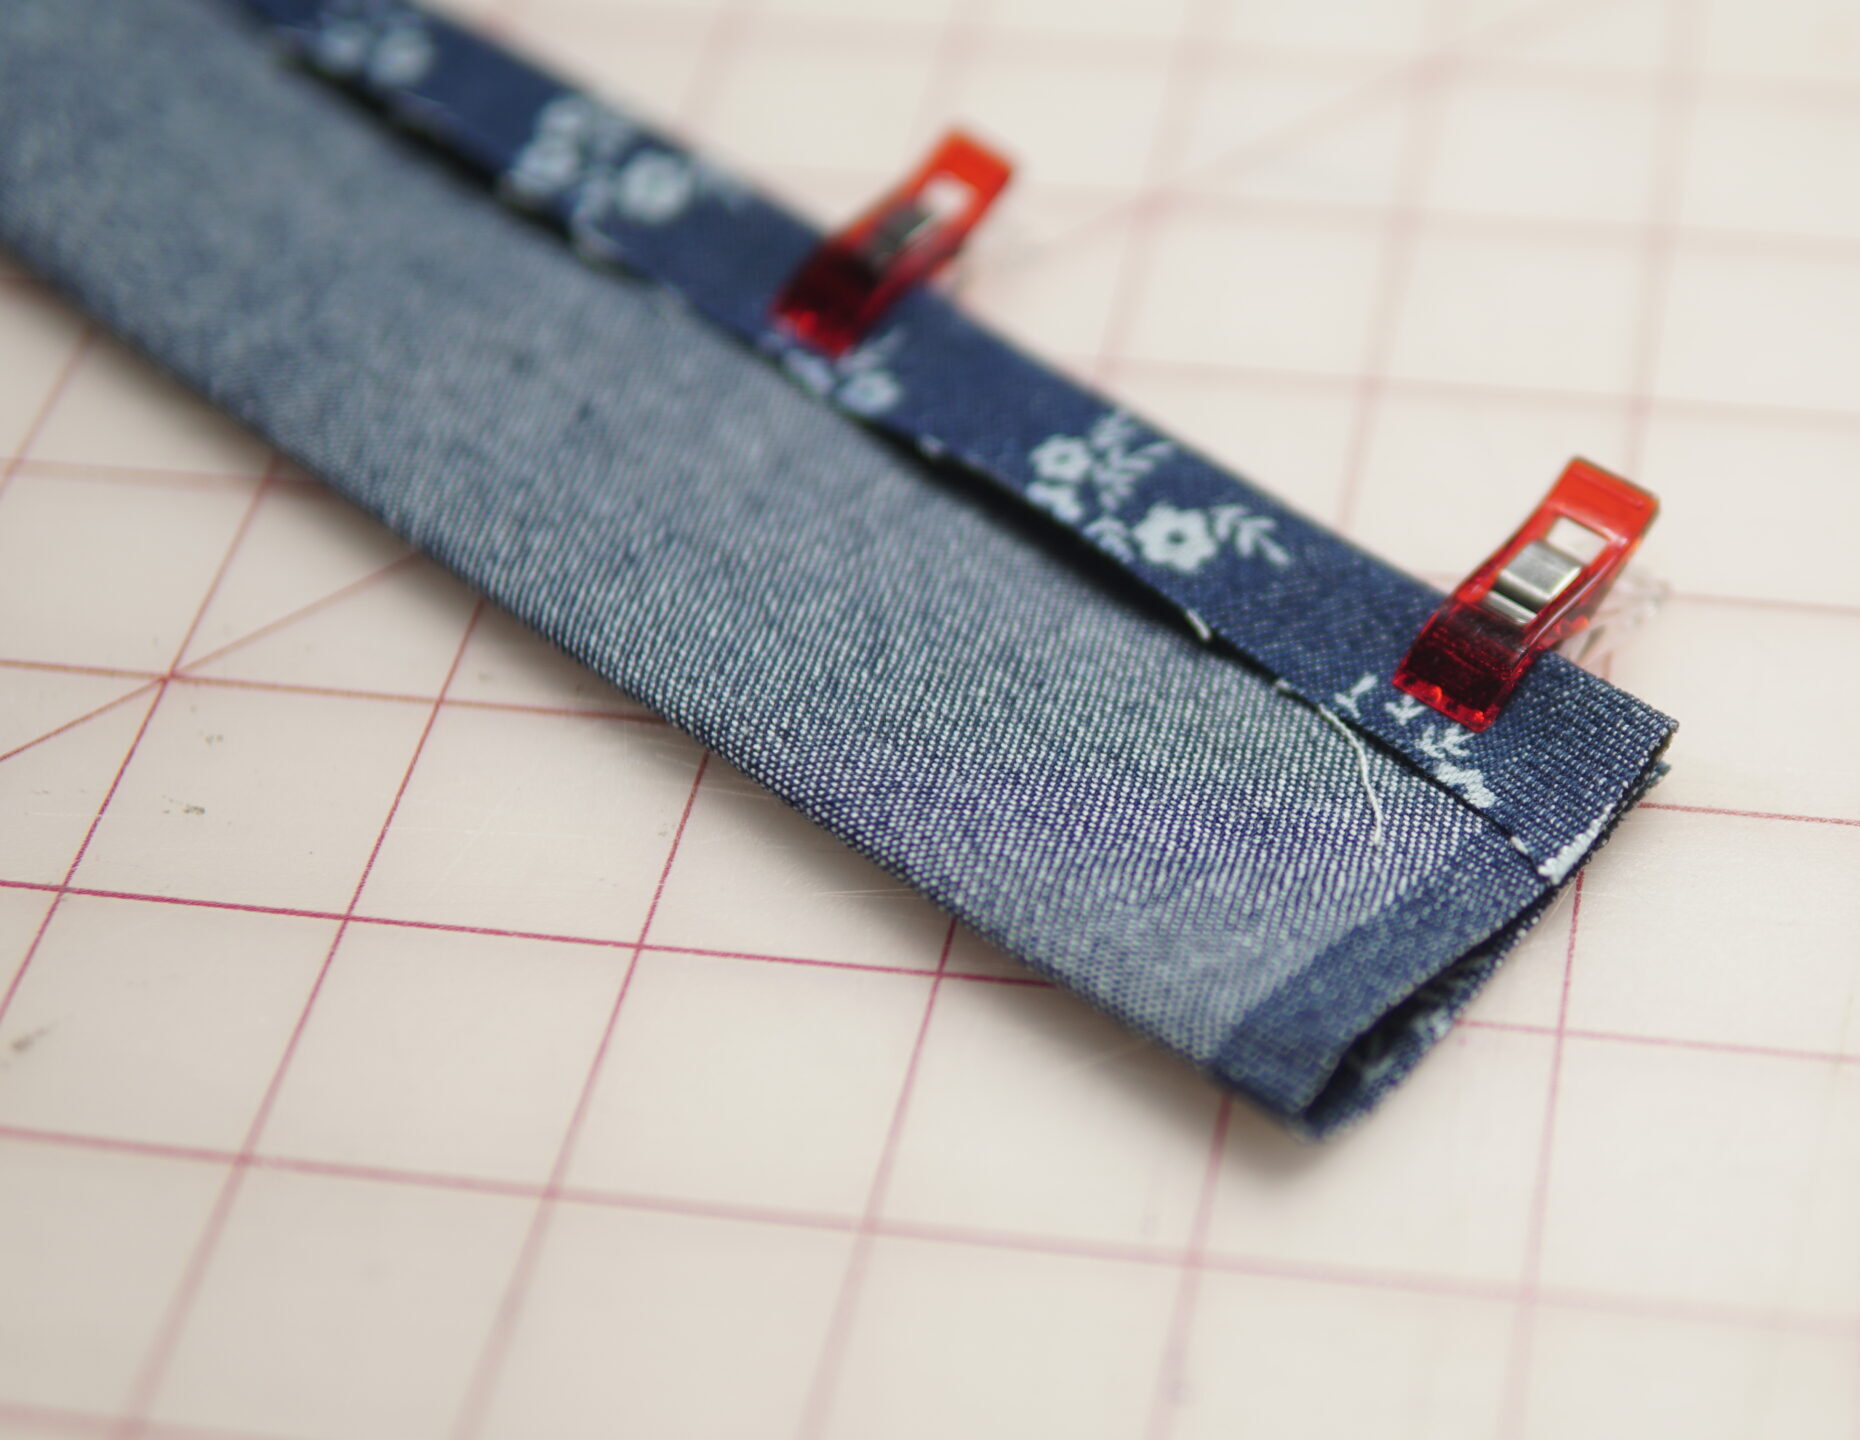
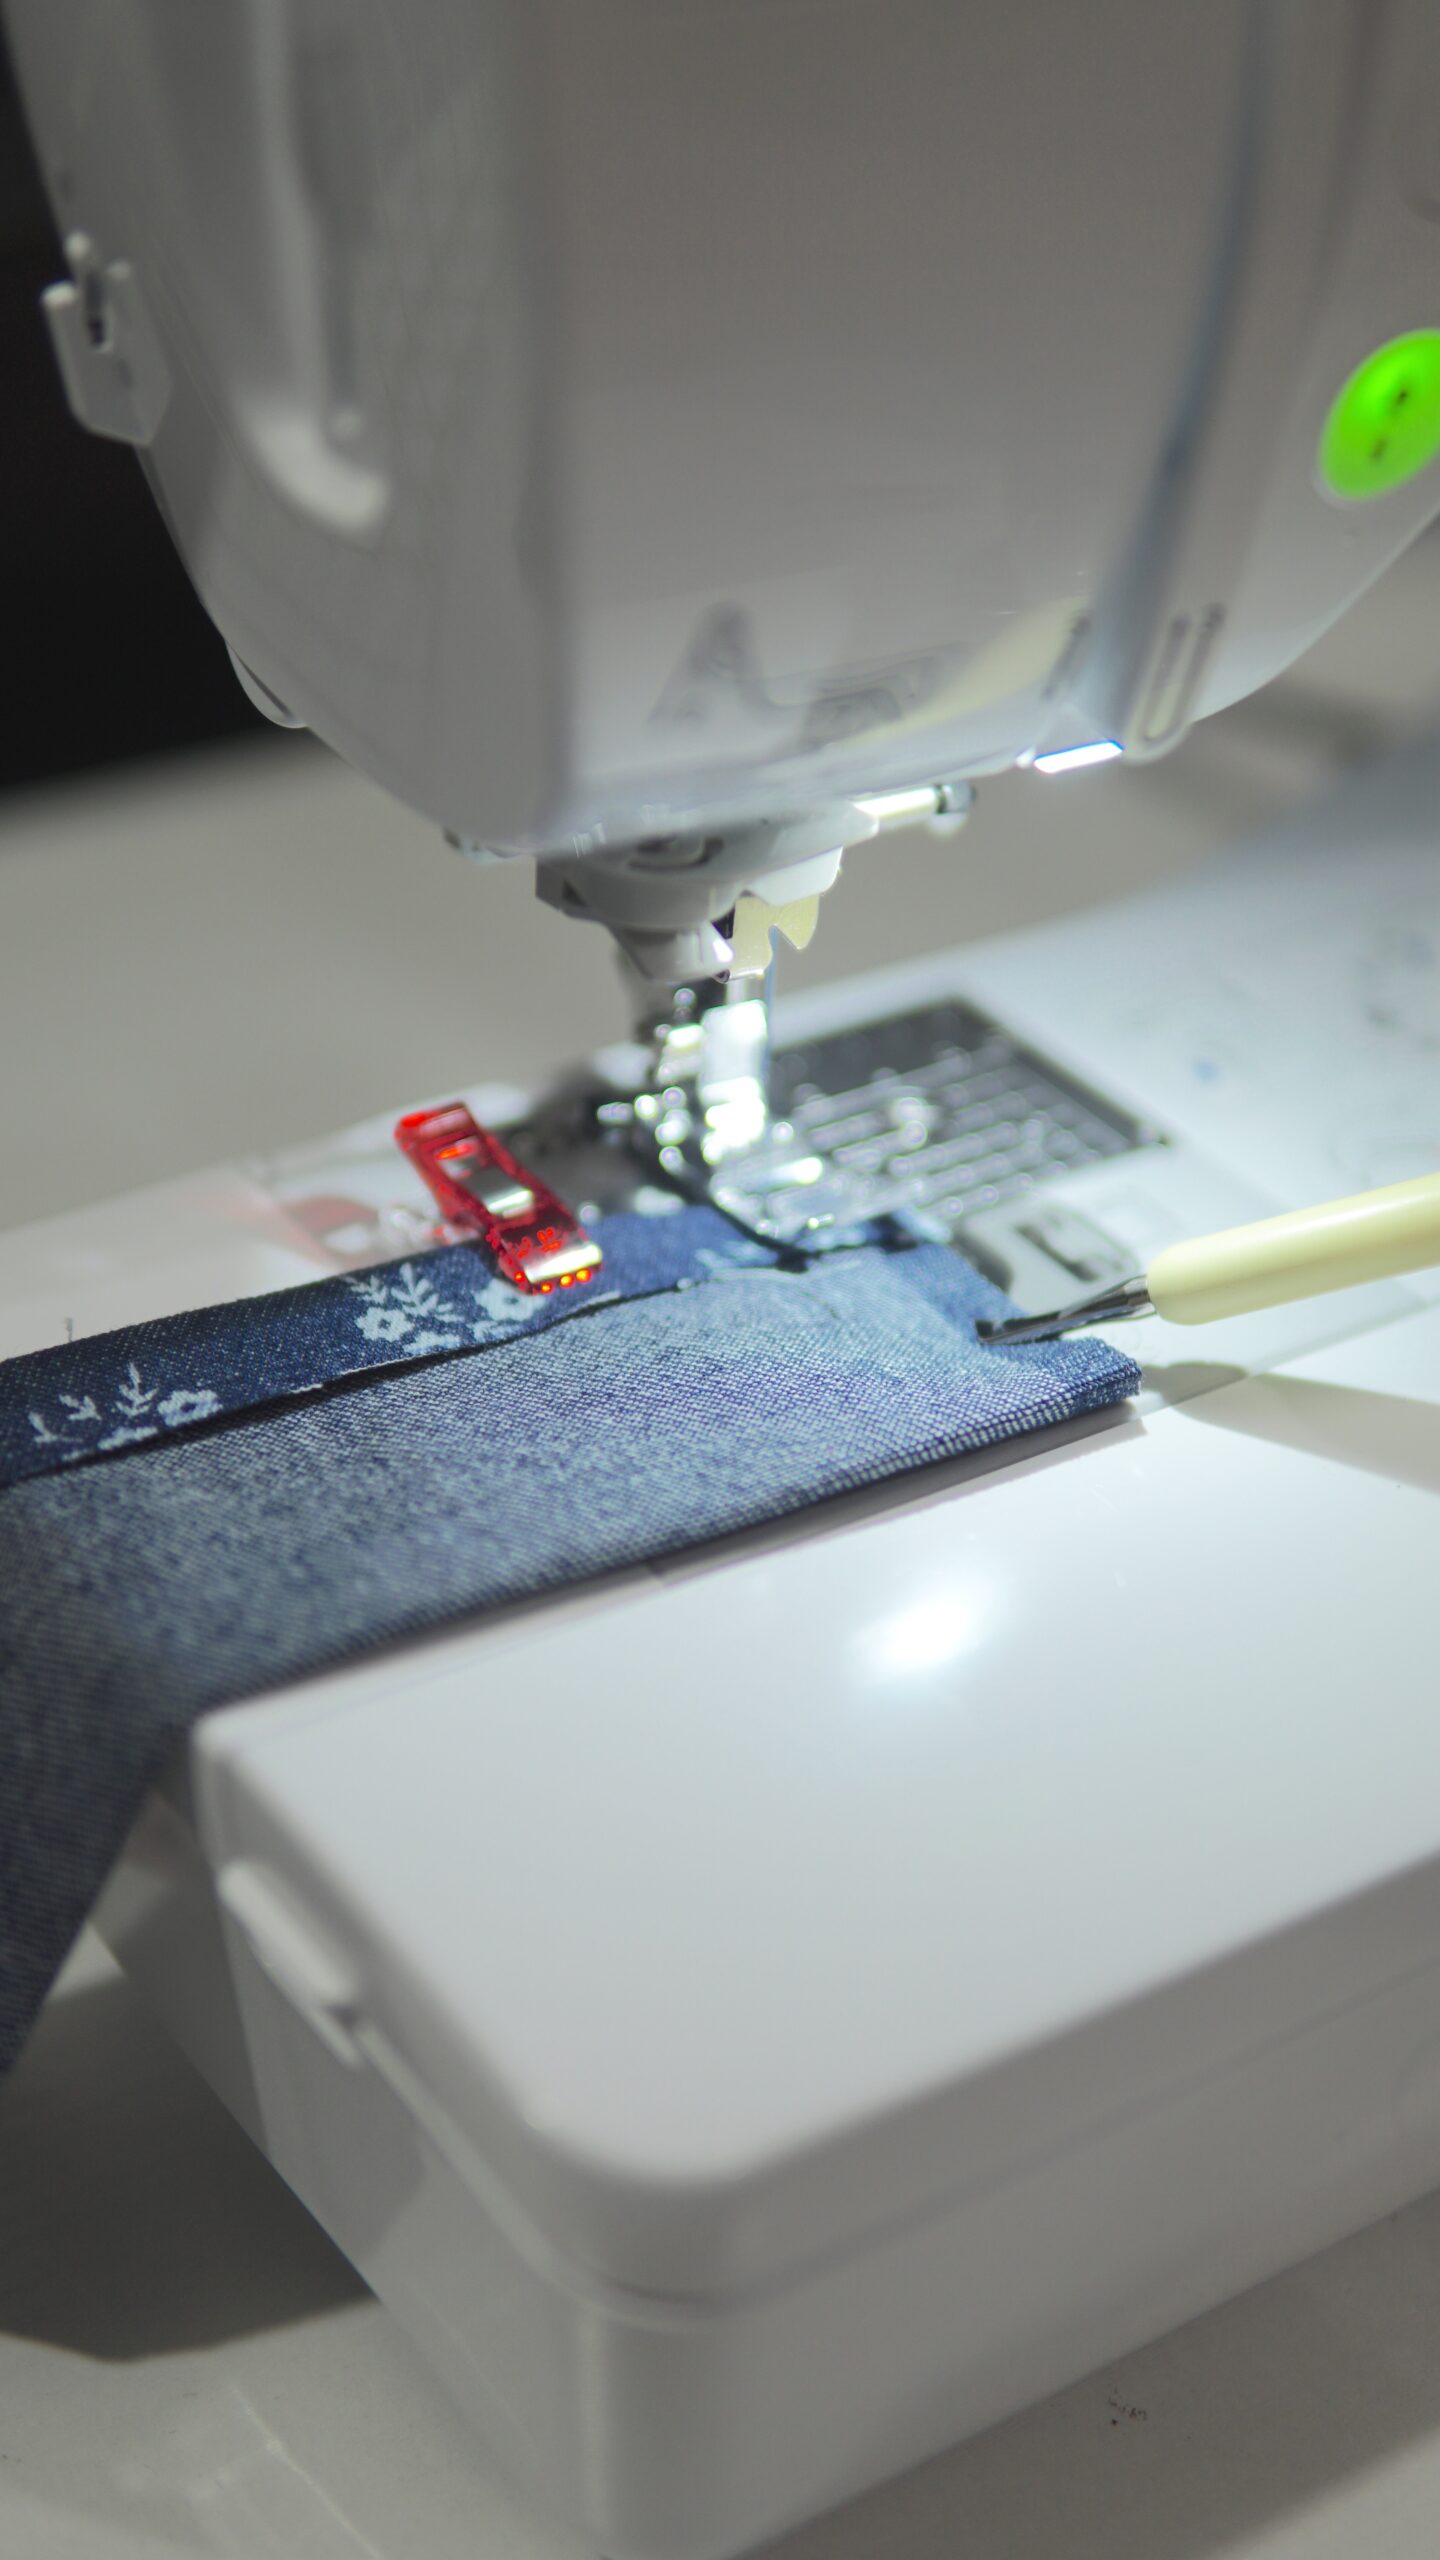
4) Fold the straps right sides facing and lengthwise. Press the raw edges up by 1/2″. Stitch the only the short ends. I love using the Clover Metal Hera with Stylus to hold my fabric in place, especially when sewing at the edge.
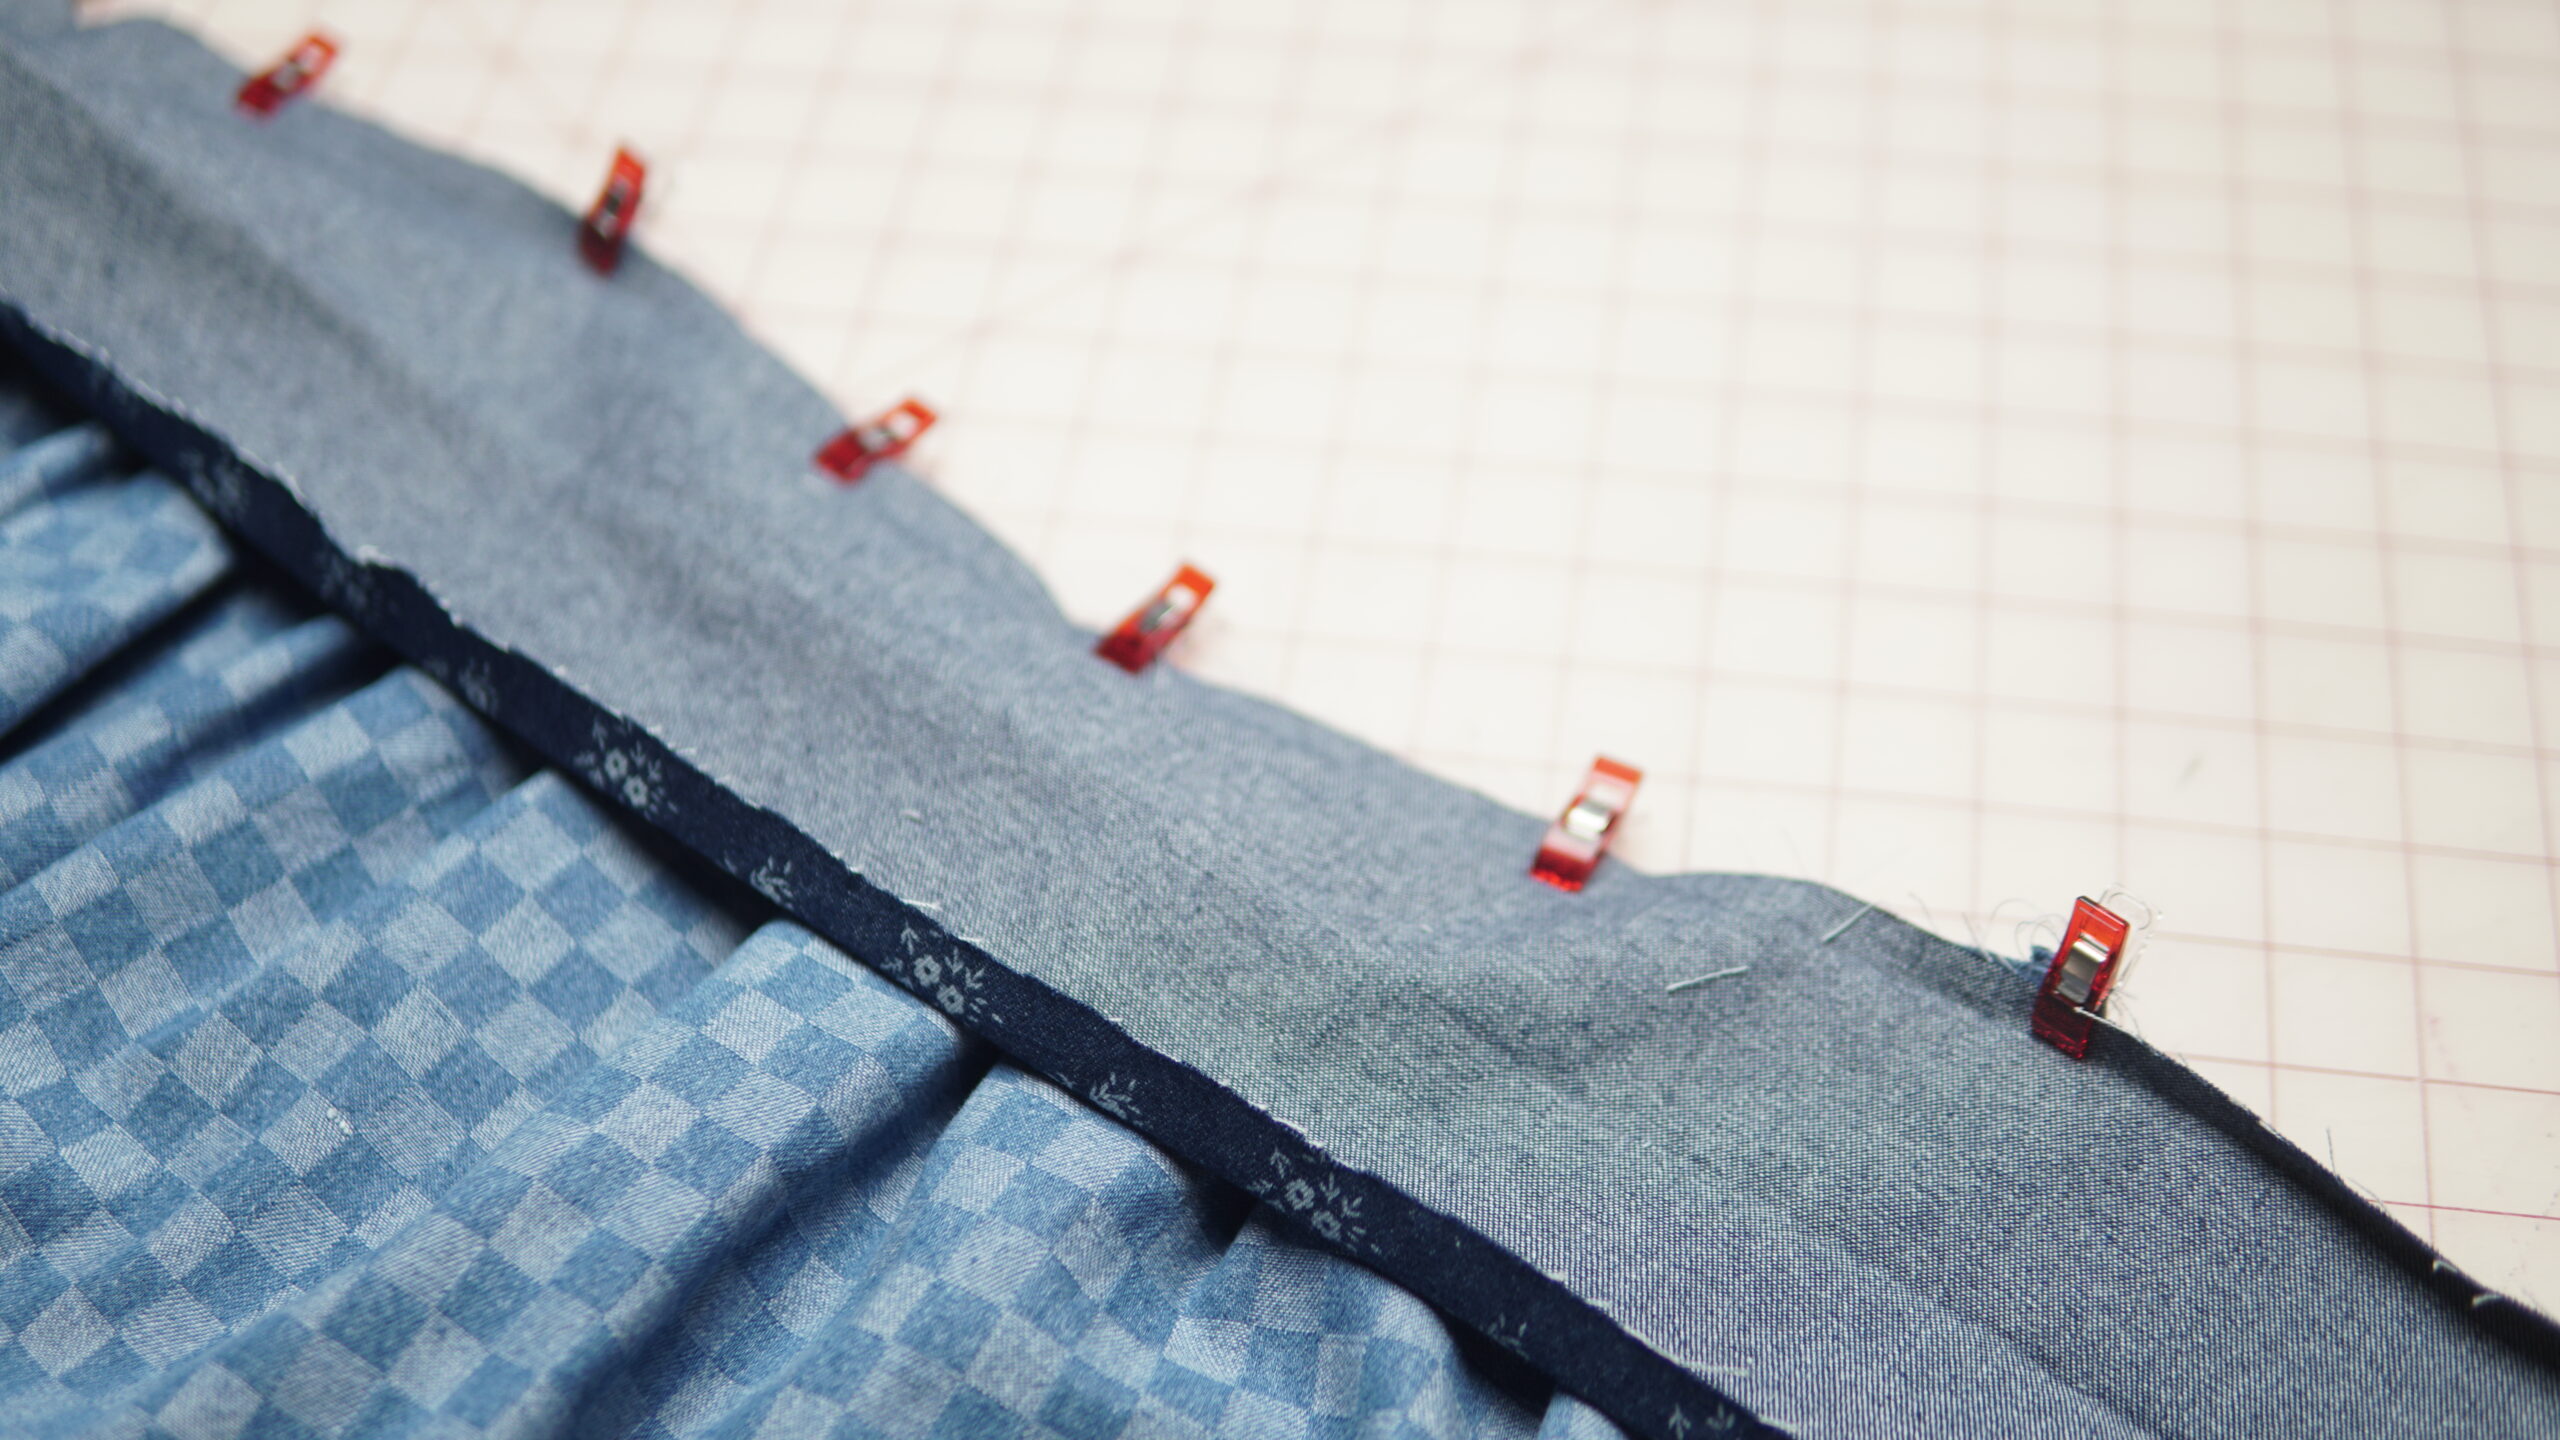
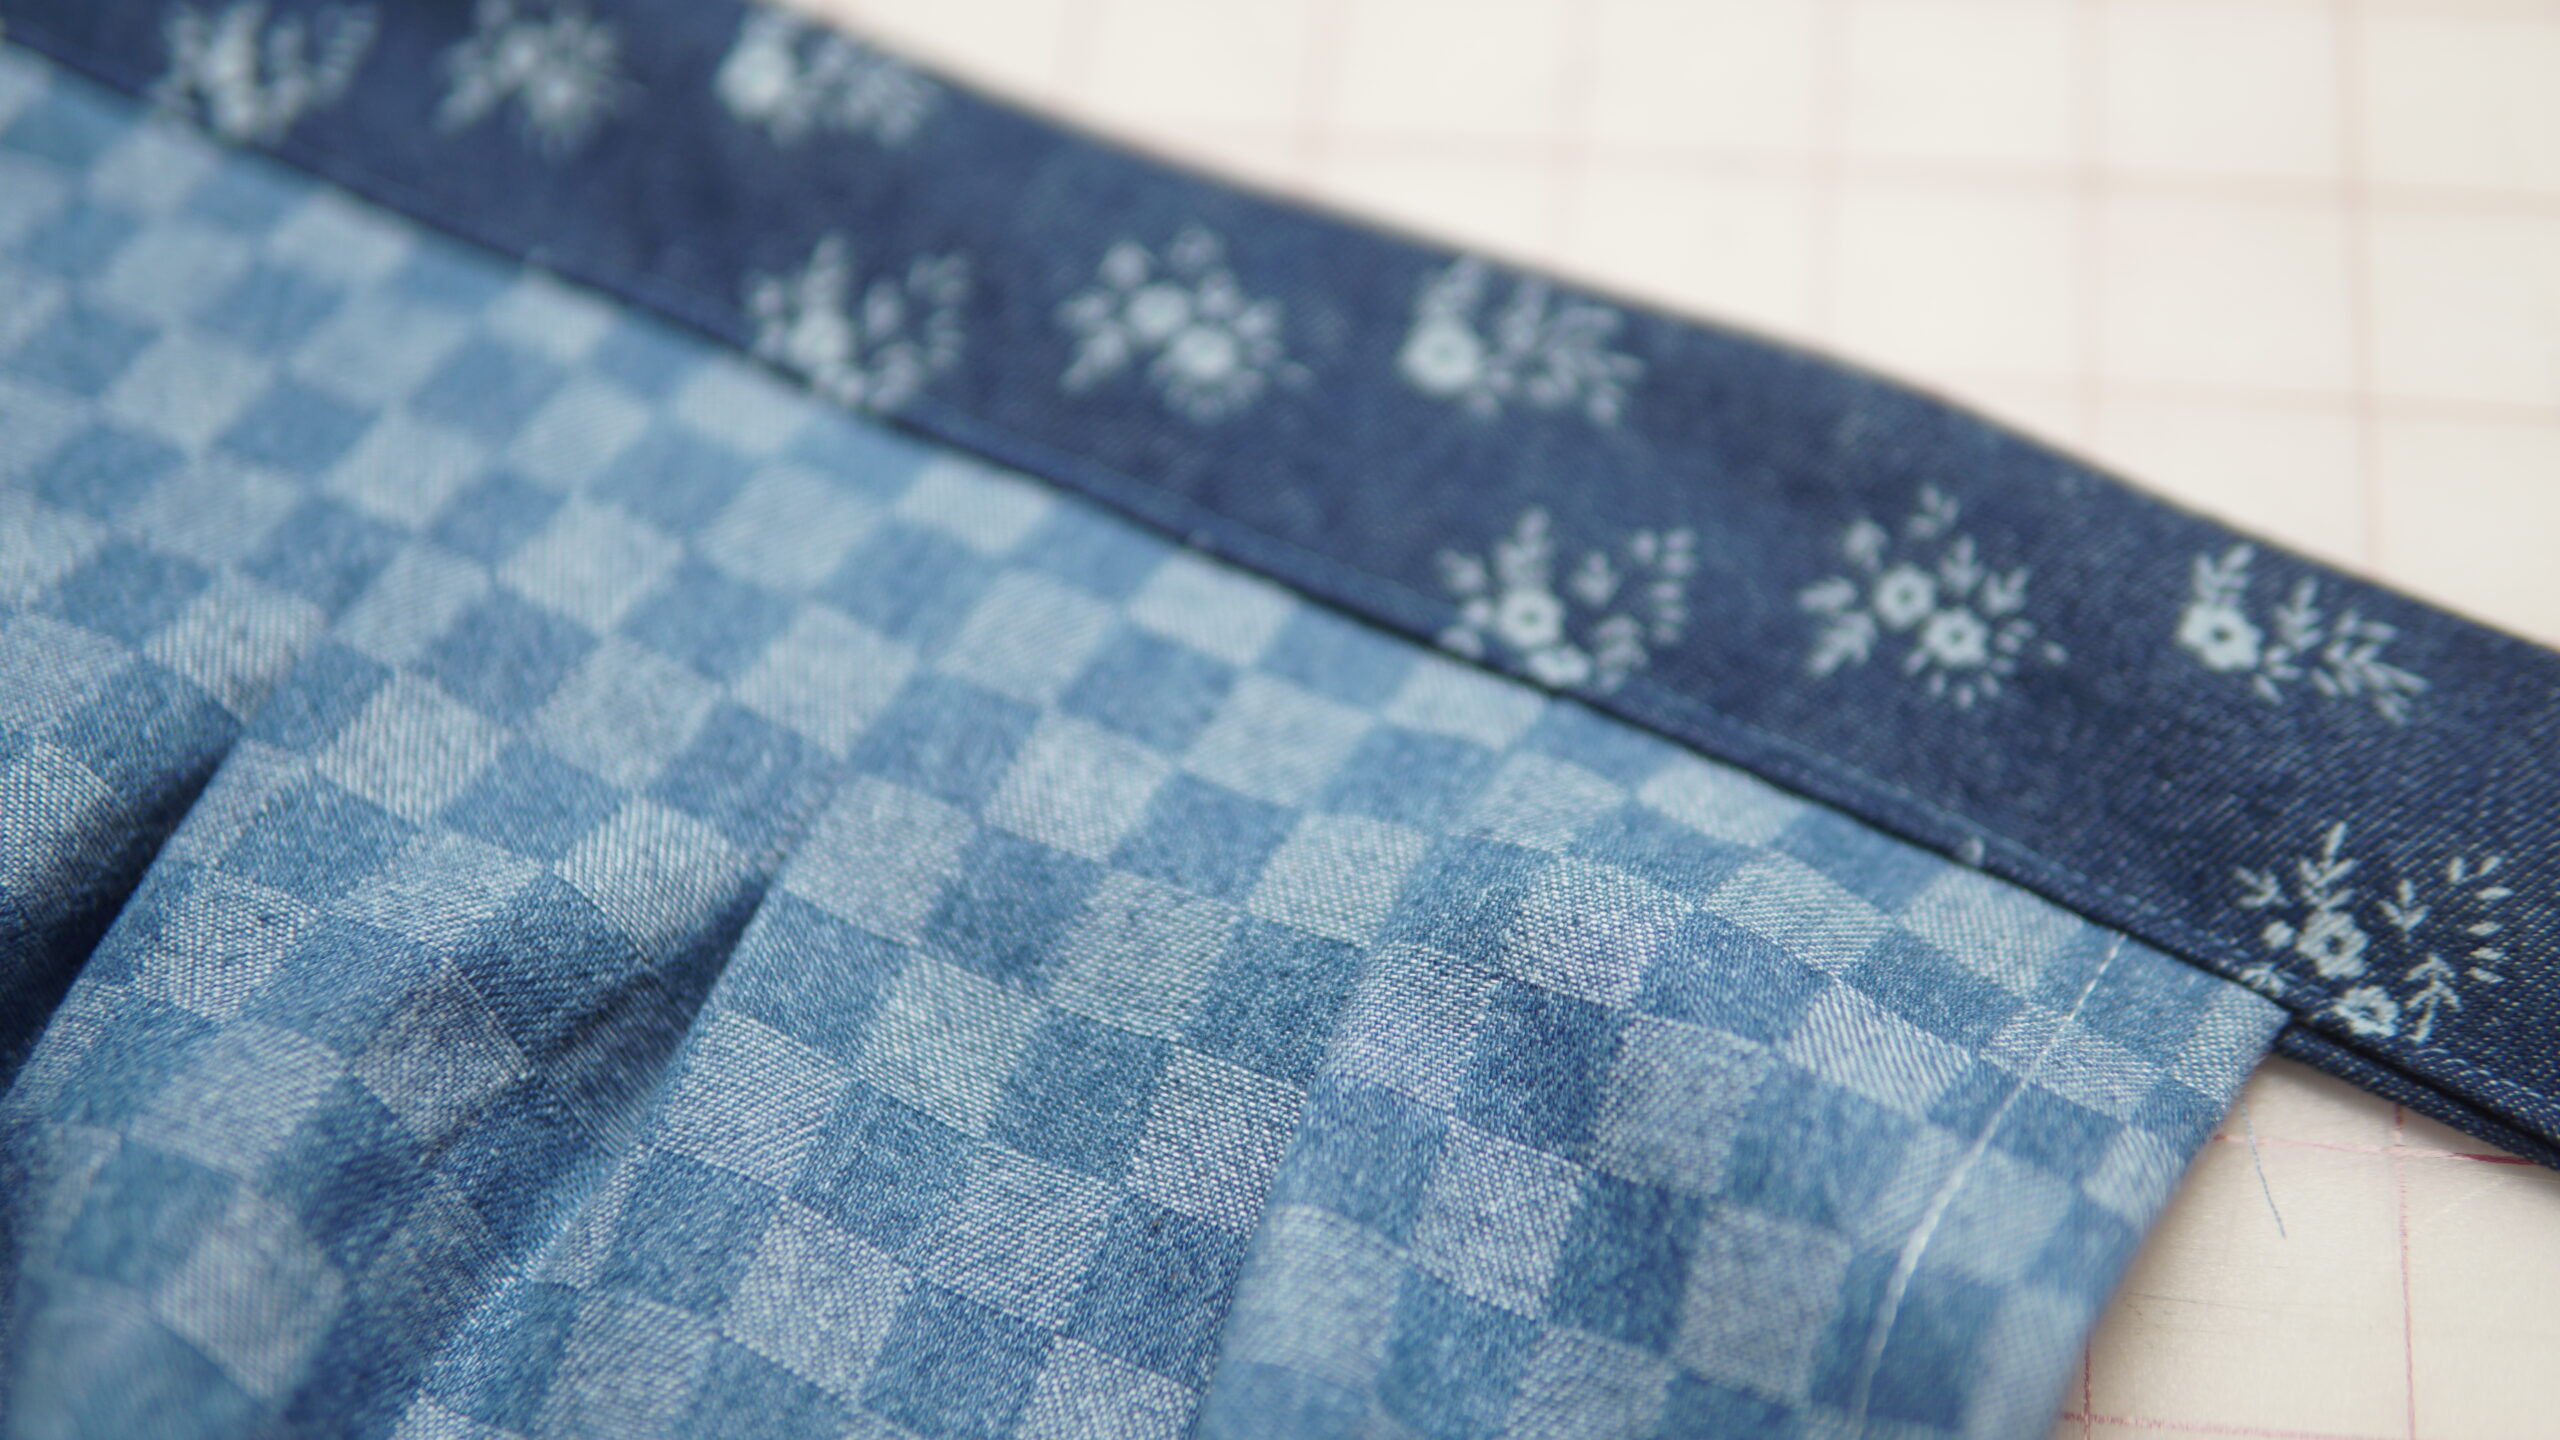
5) With right sides together, place the center of the raw edge of the strap with the center with the raw edge of the apron. Use the Clover Wonder Clips to hold in place. Sew from one end of the apron to the other. Fold over the strap and topstitch across the bottom of the strap to close the straps. Press.
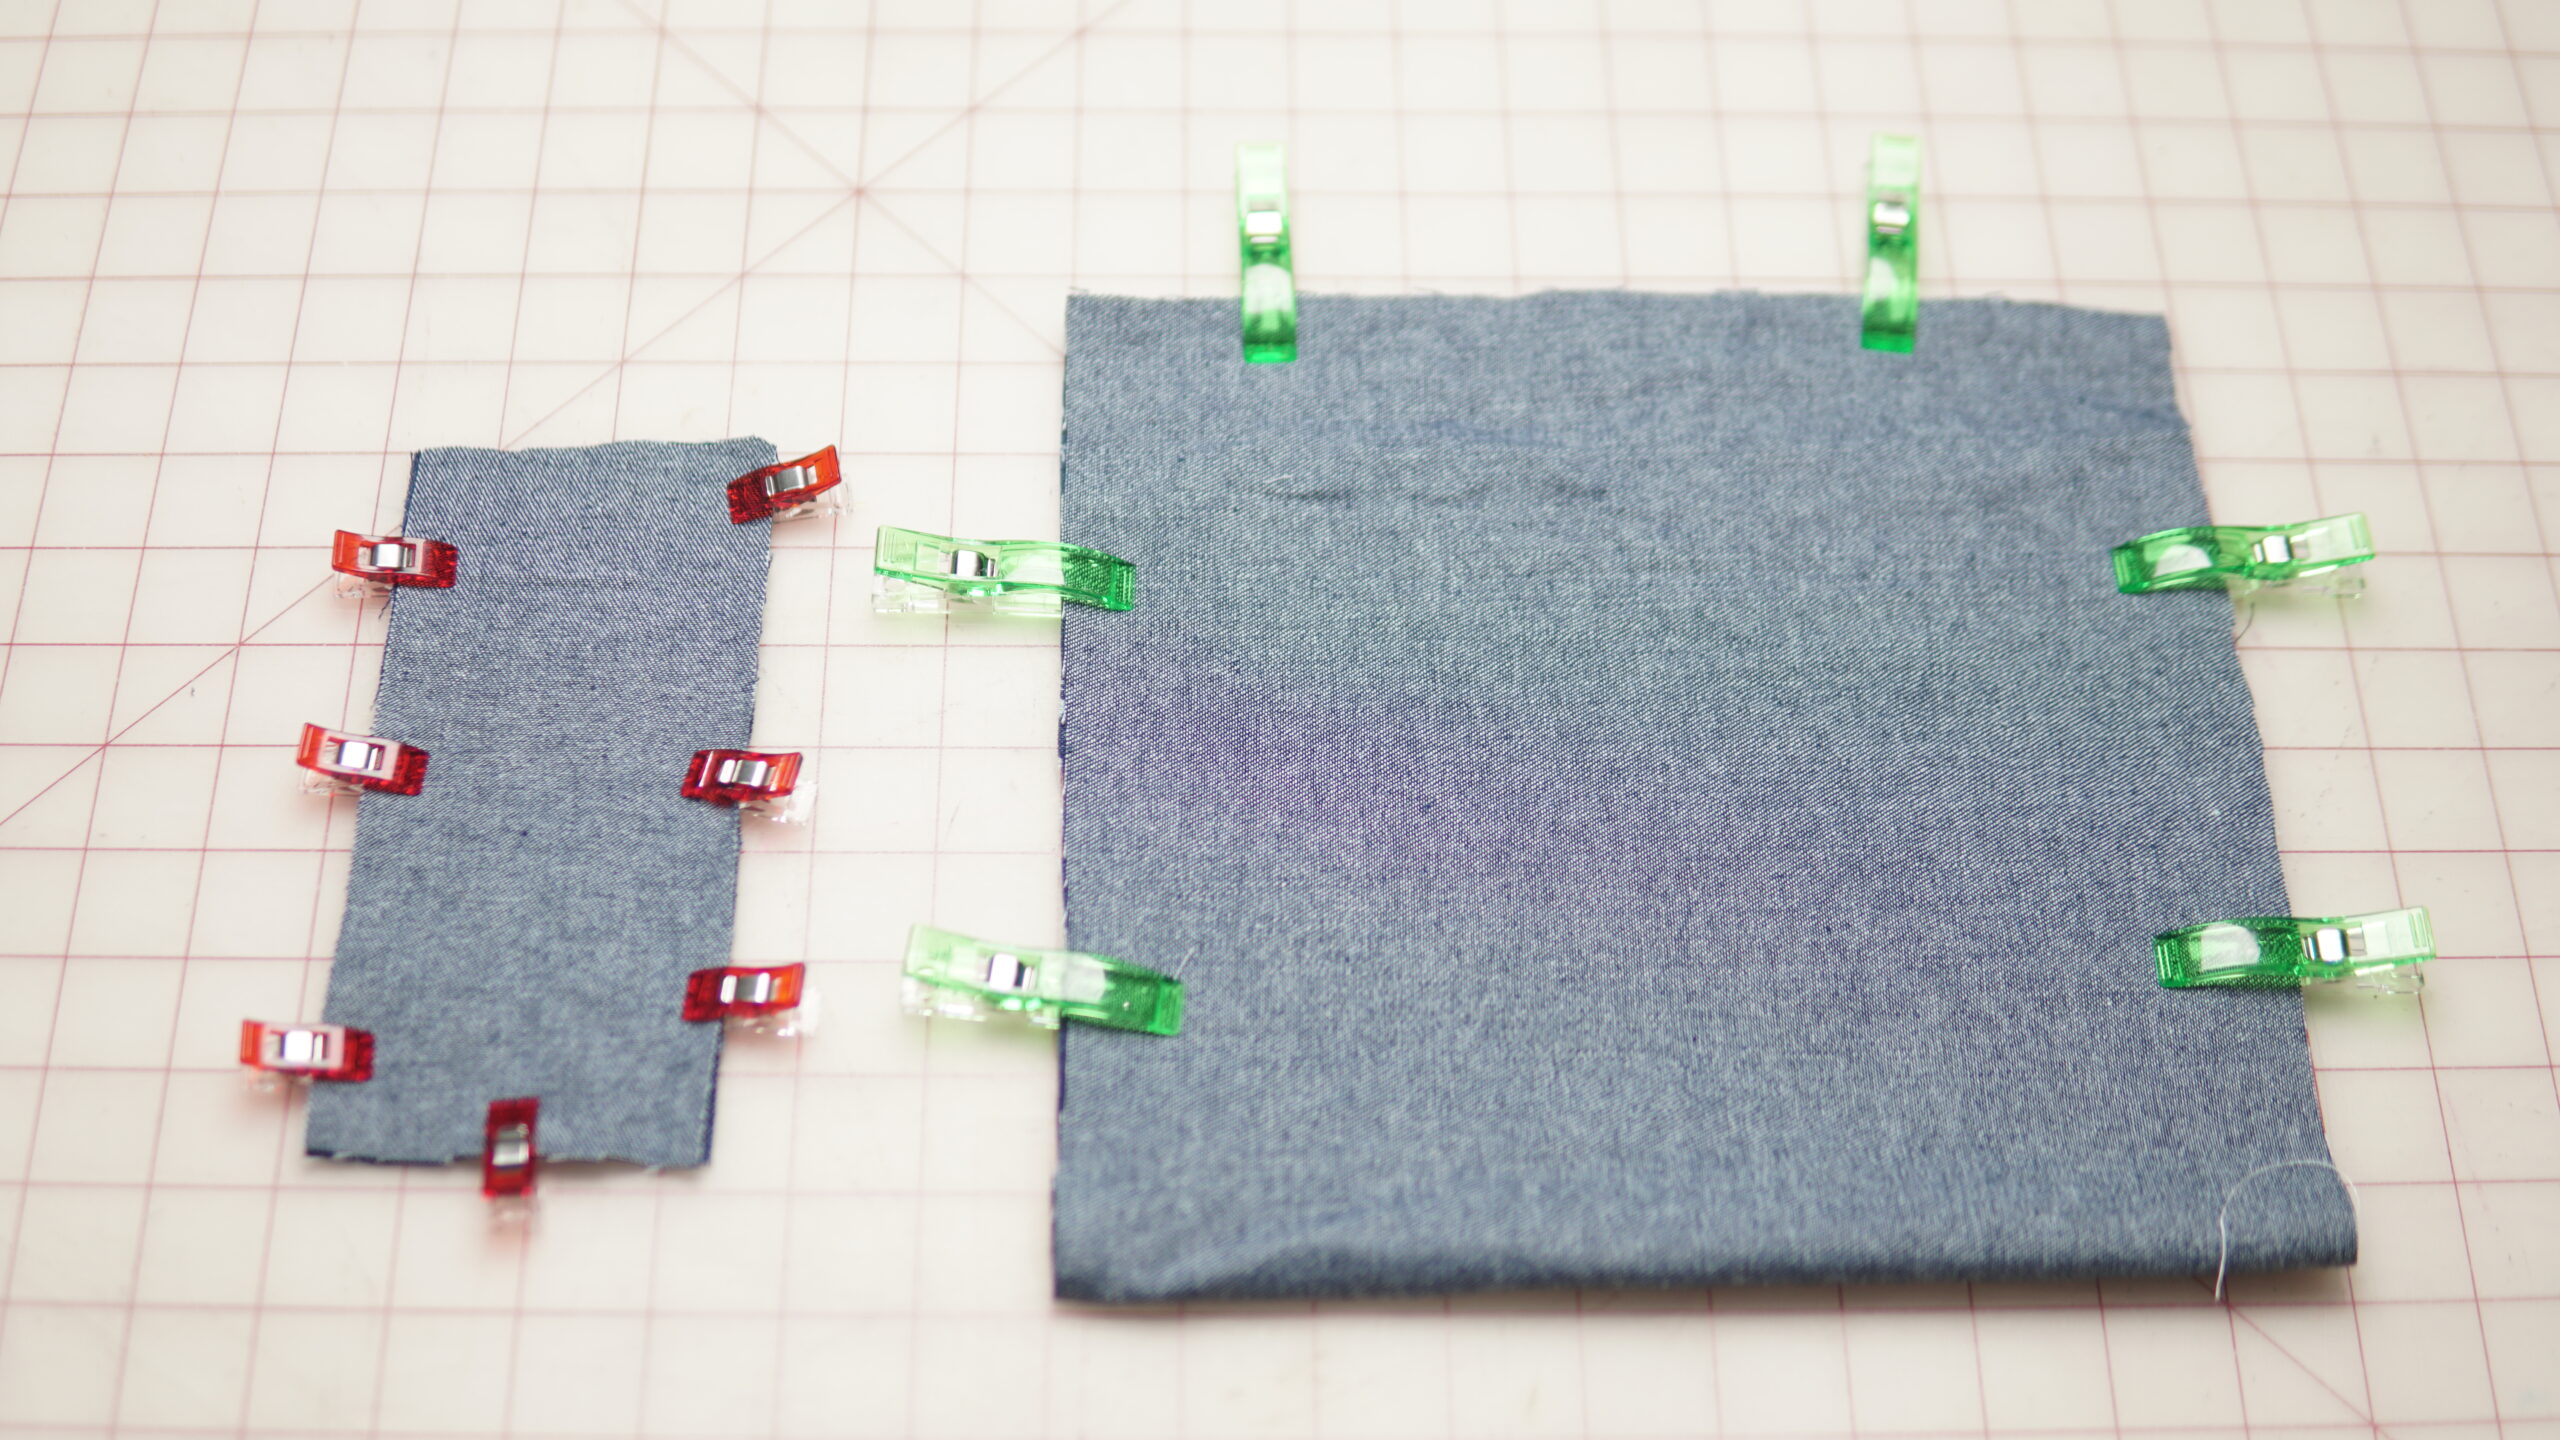
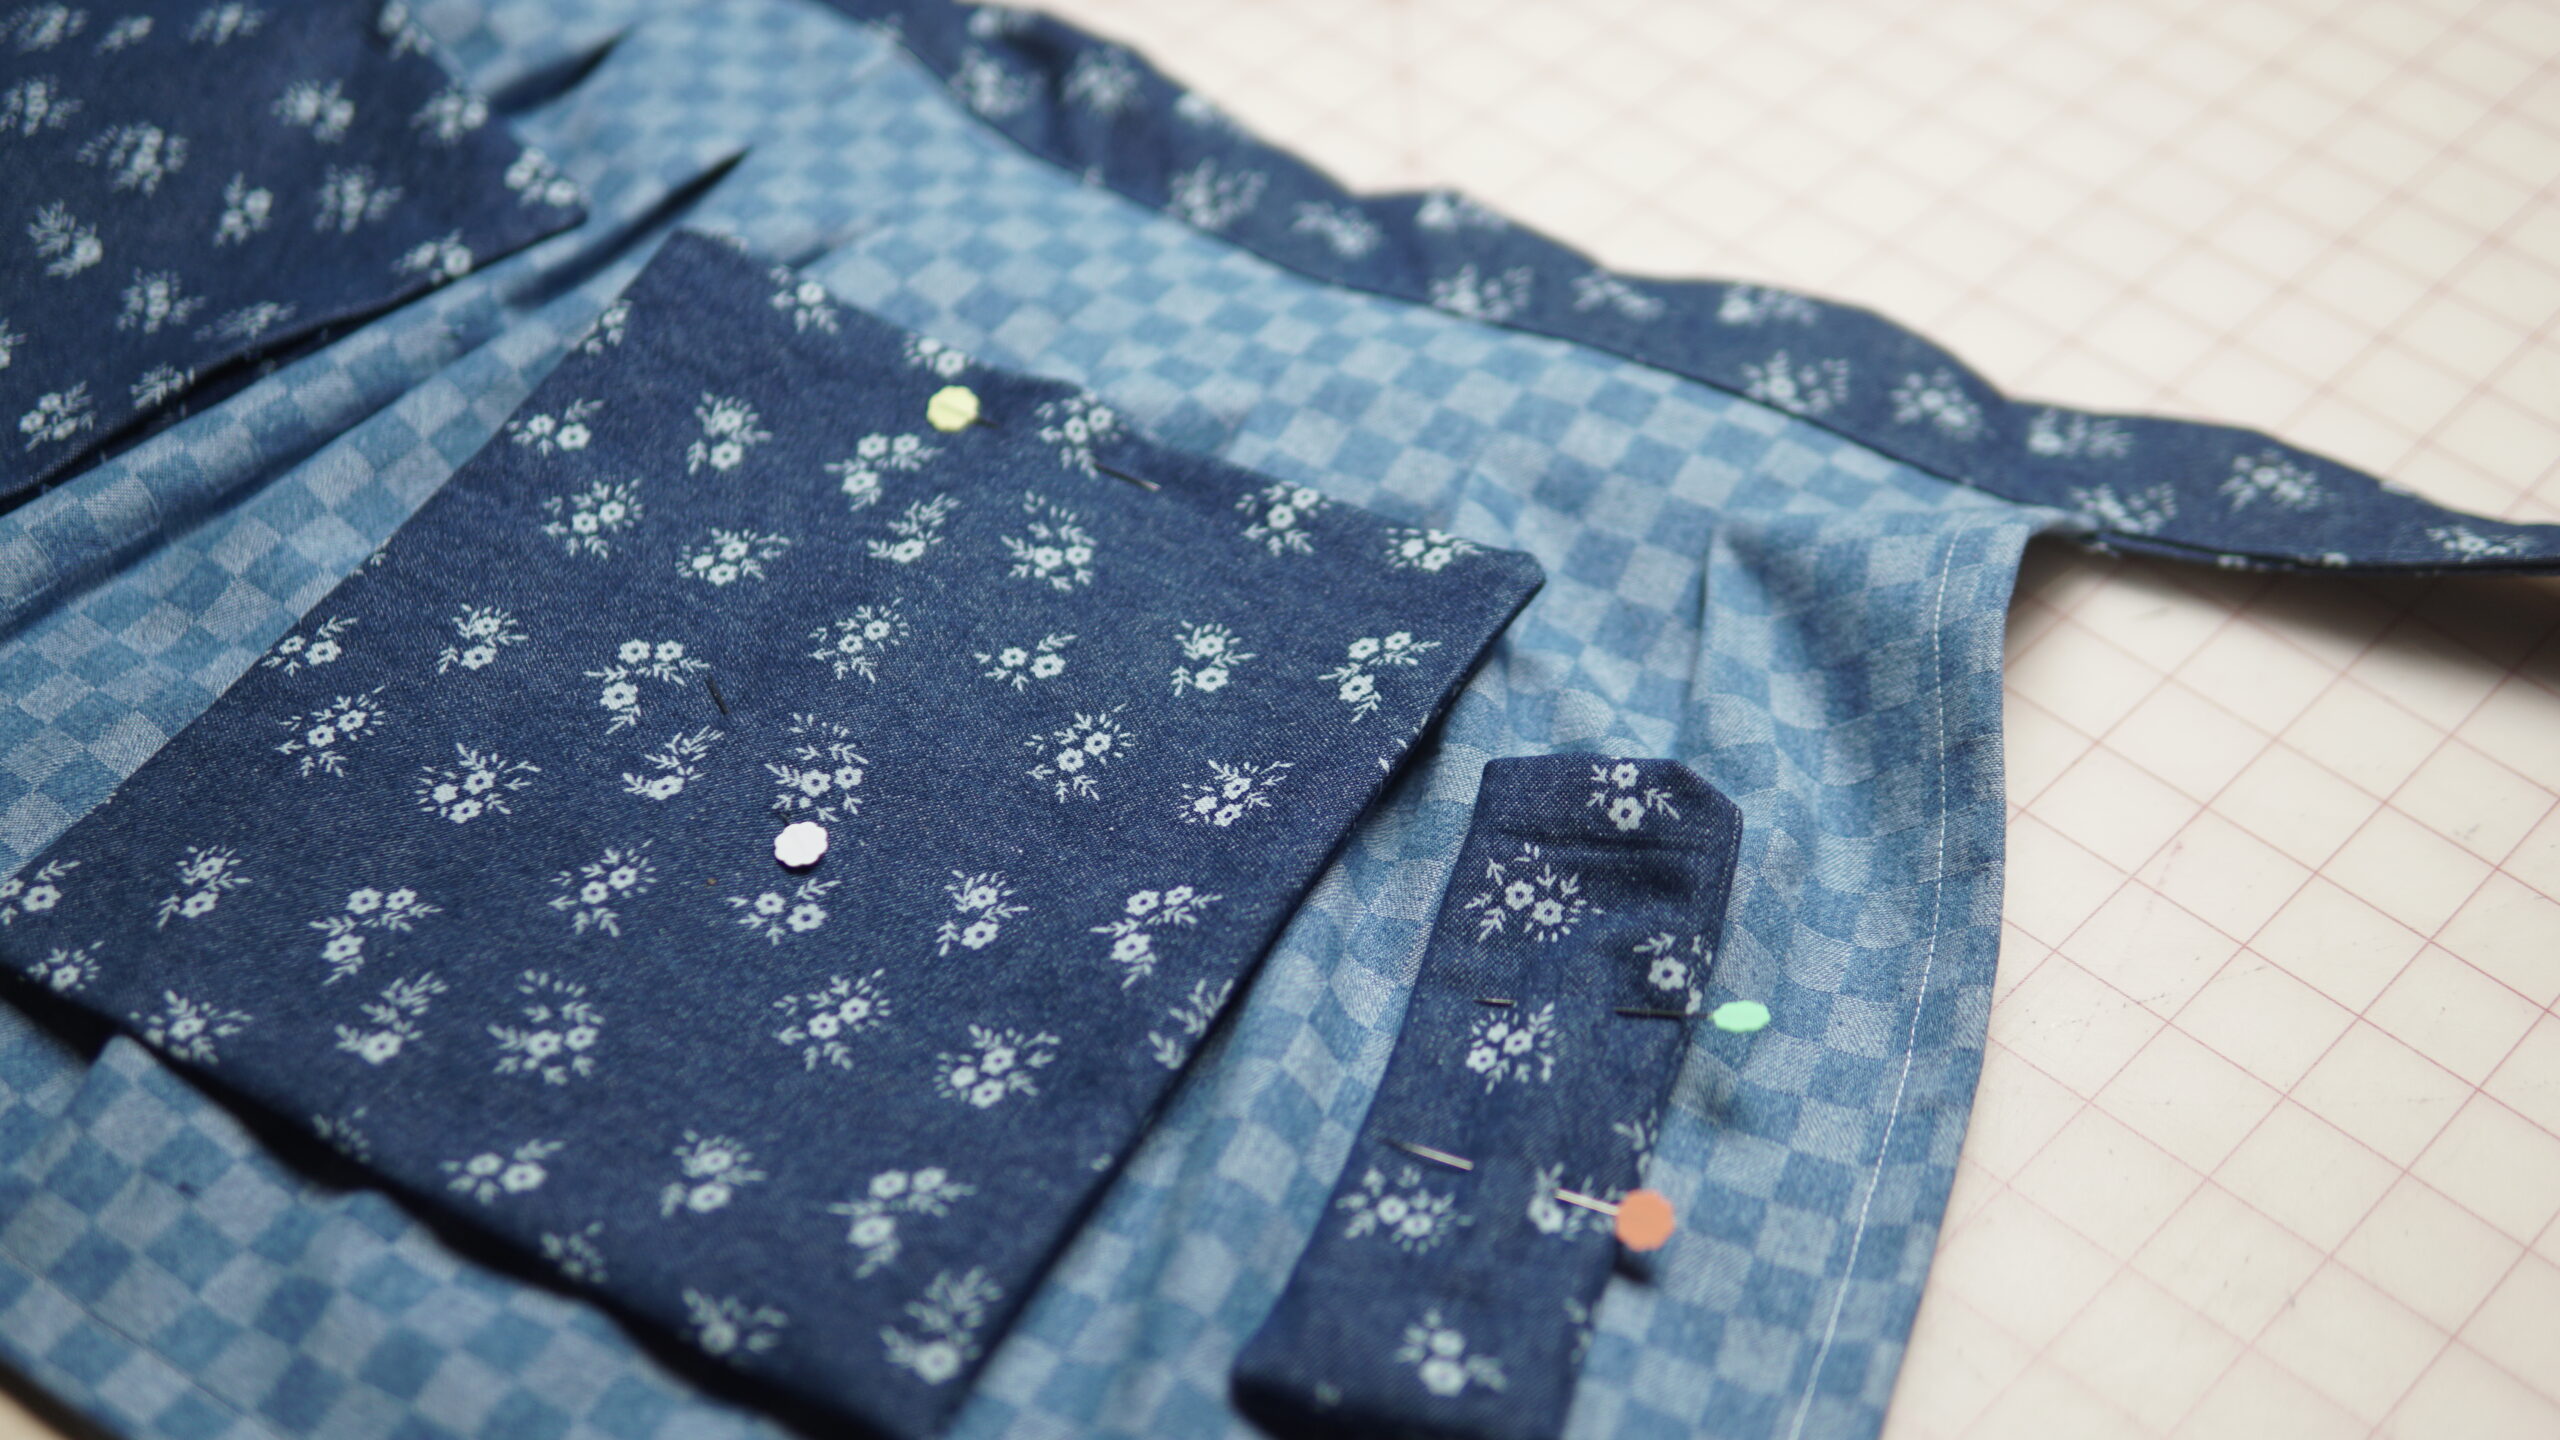
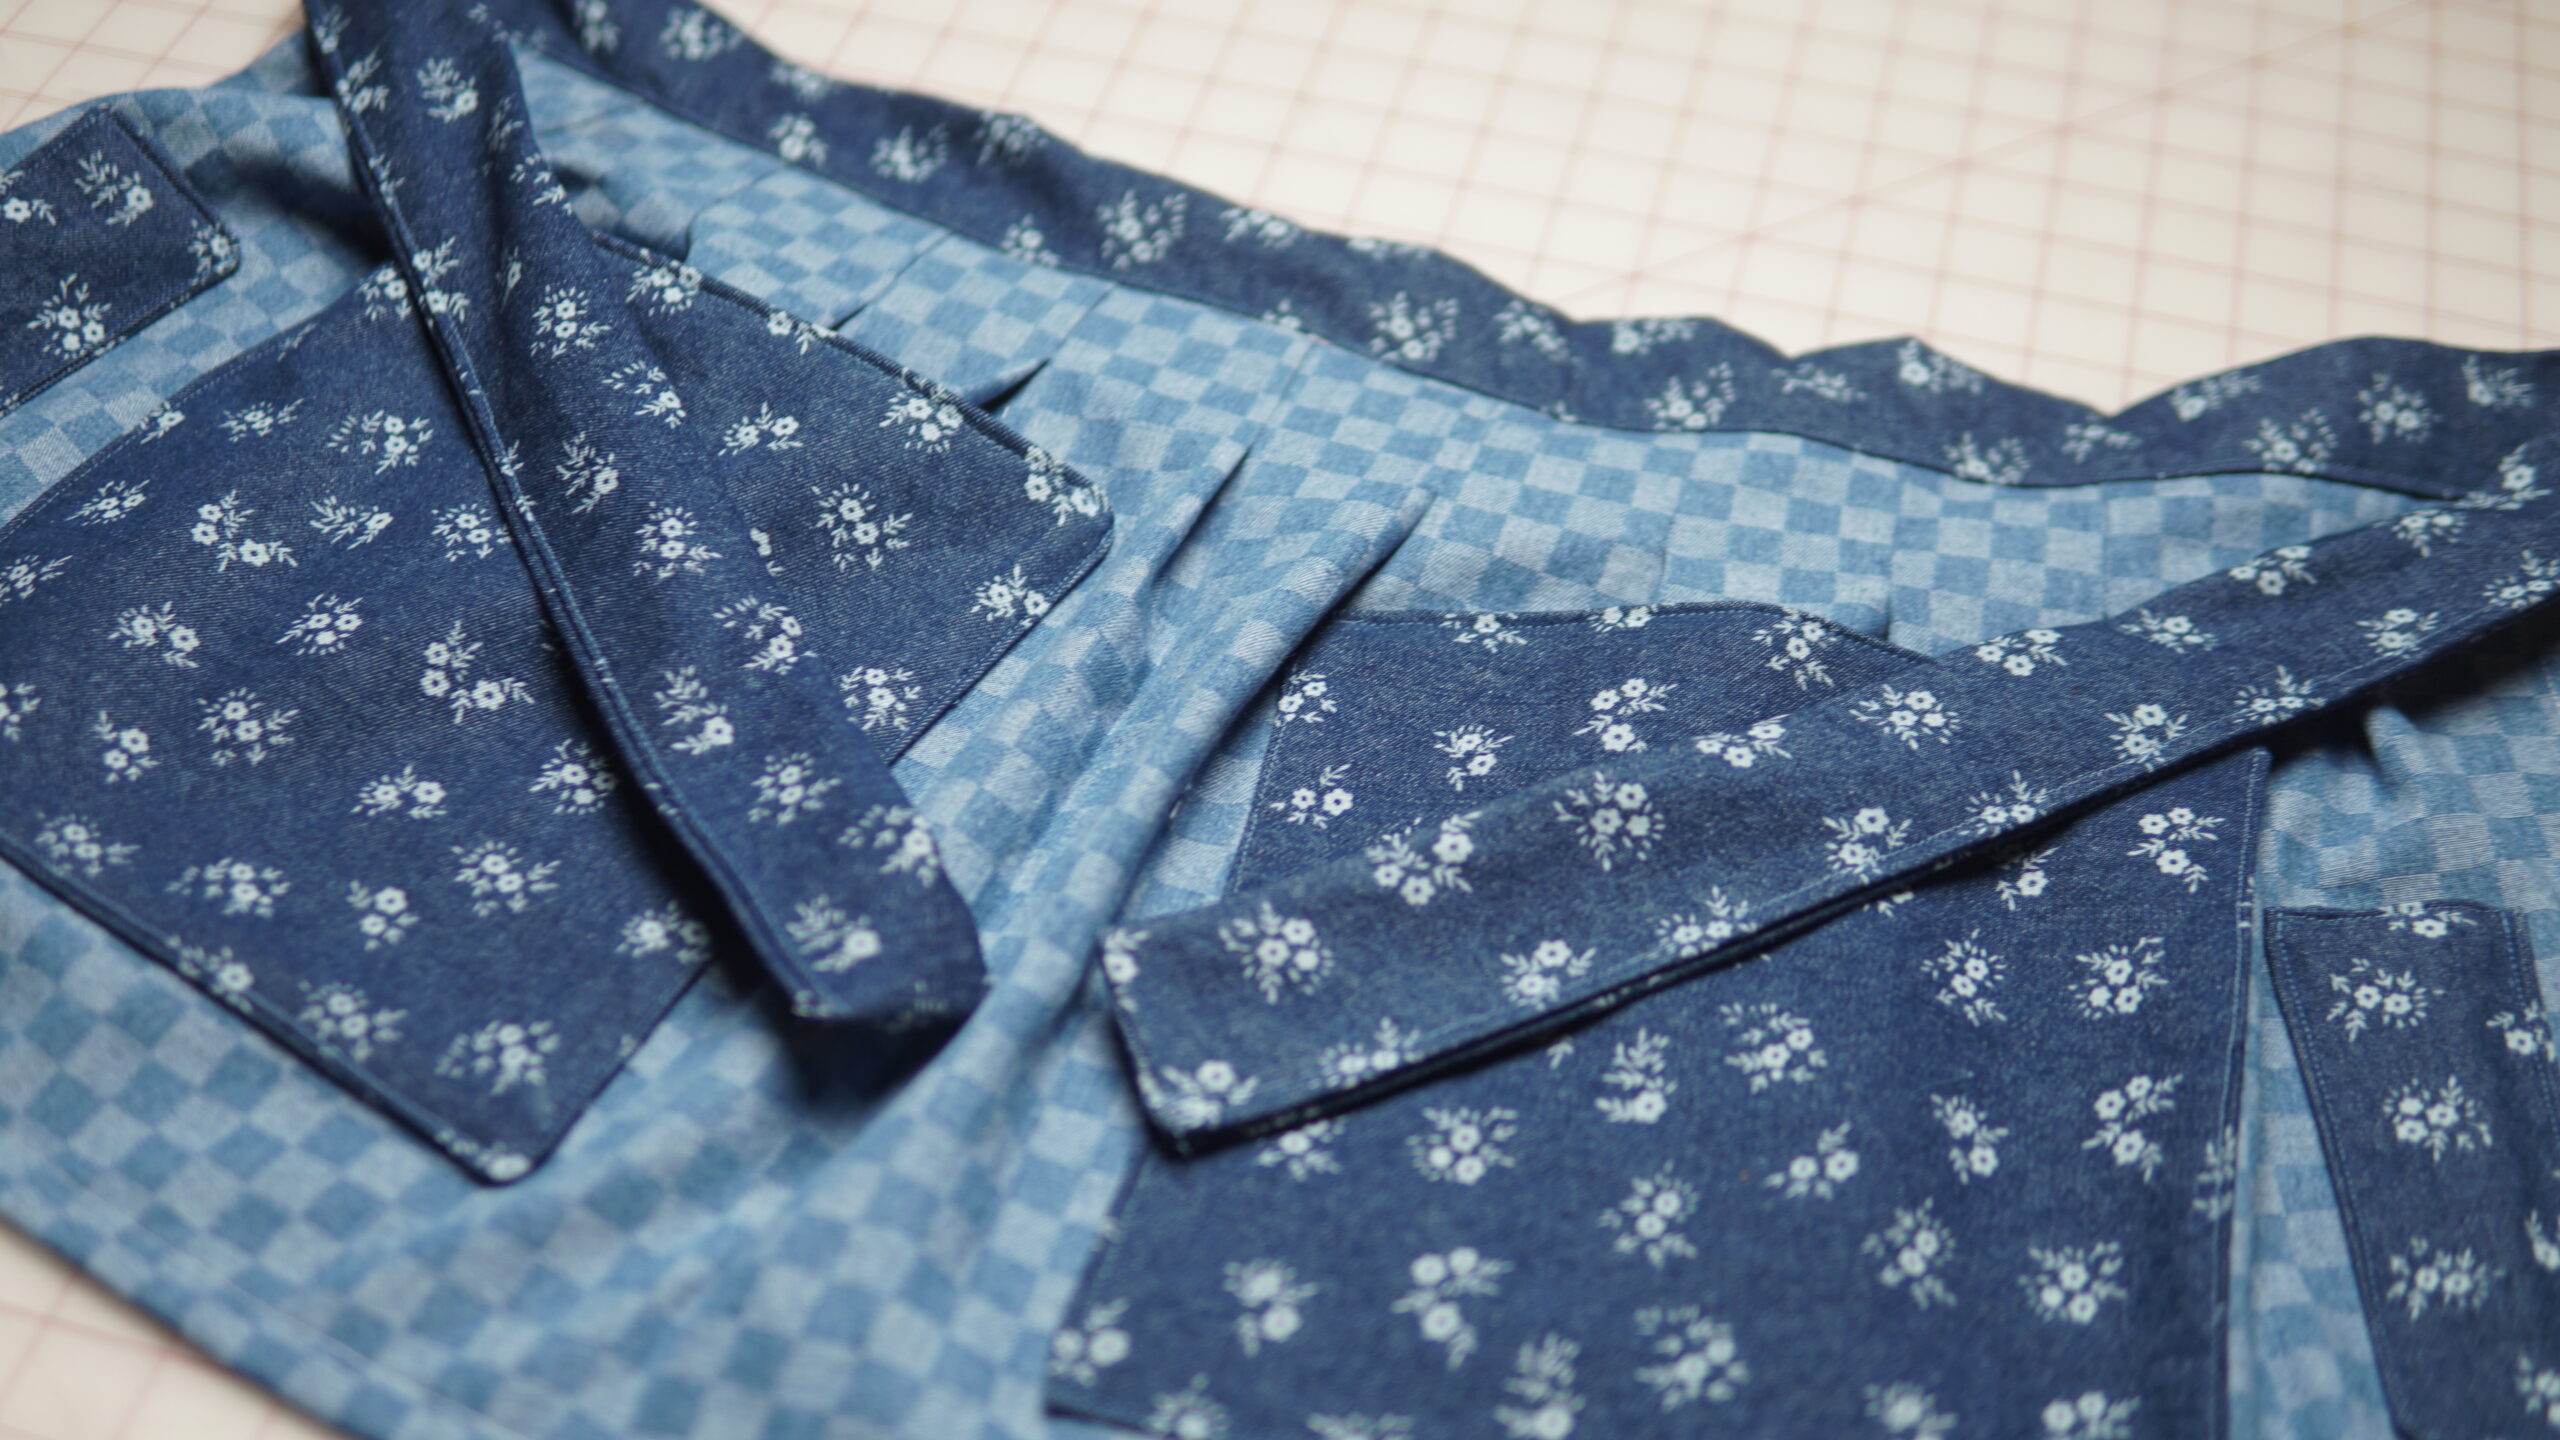
6) Take the pocket pieces and with right sides facing, use the Clover Wonder Clips to hold them in place. Sew around the pockets, leaving about a 3″ gap for turning right sides out. Sew the raw edge of the pockets closed. Place the pockets on the apron. You can choose where you want to place them, but I placed the small pockets on the outer edges and the large pockets at the left and right center sides. Topstitch around the sides and pocket of the pockets. Press apron.
And that’s it! A simple craft apron that keeps your sewing tools right where you need them. It’s one of those small projects that ends up being surprisingly useful once you start using it. Enjoy!
Thank you for creating this useful project with me! I promise, this will be one of those sewing projects you’ll have for years and look back on and be SO grateful you made it 🙂
If you want to keep up with me, Duana, on social media for other fun projects, follow me on social media: Instagram
If you want to keep up with all things Clover, follow us on: Facebook | Twitter | Instagram | Pinterest | YouTube | Ravelry