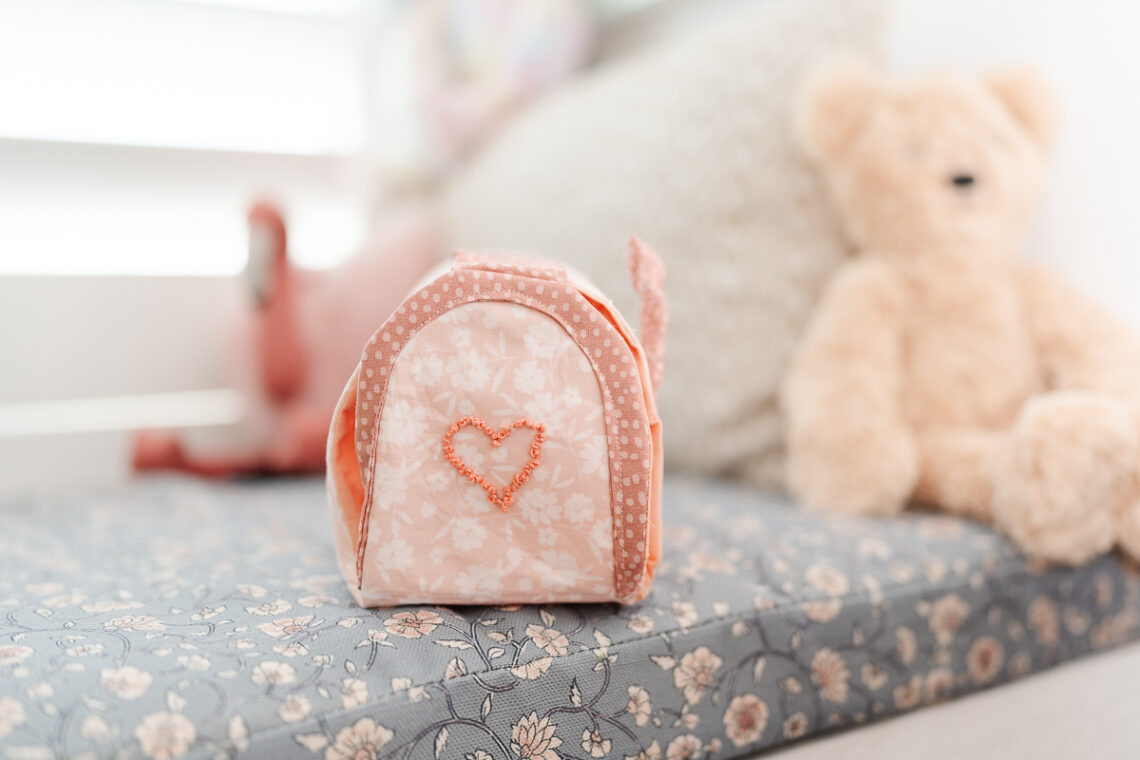
My Super Cute Valentine Mailbox!
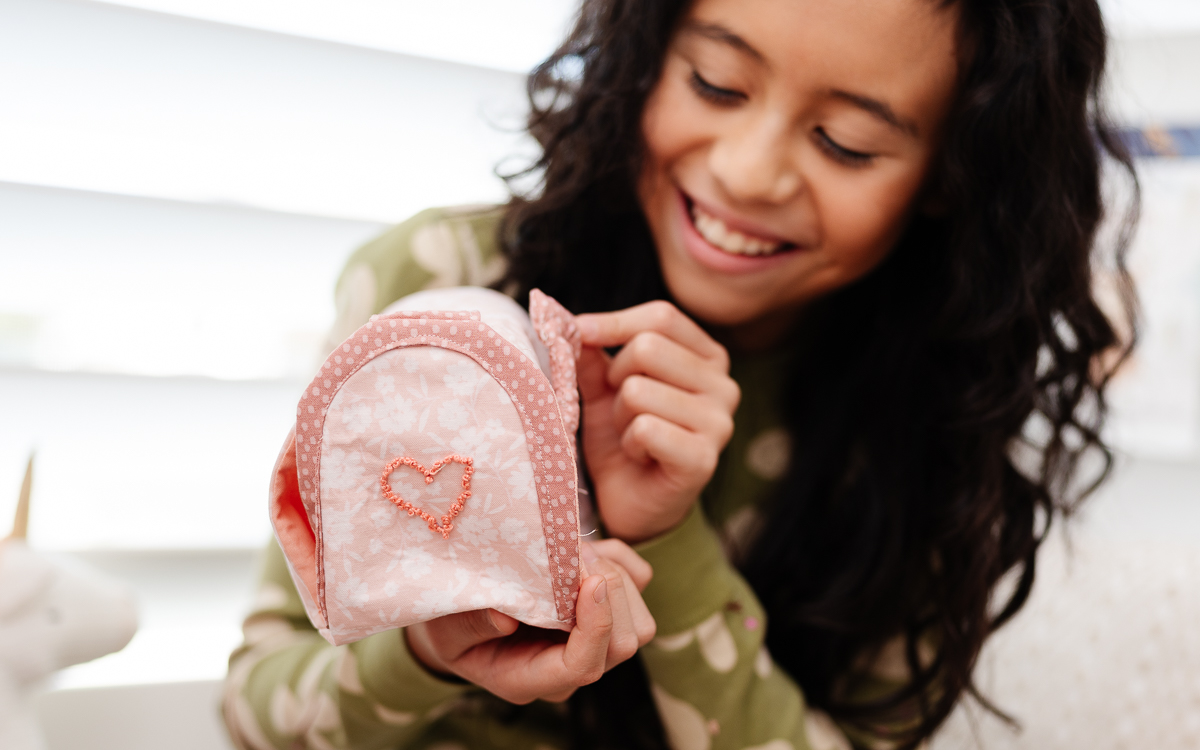
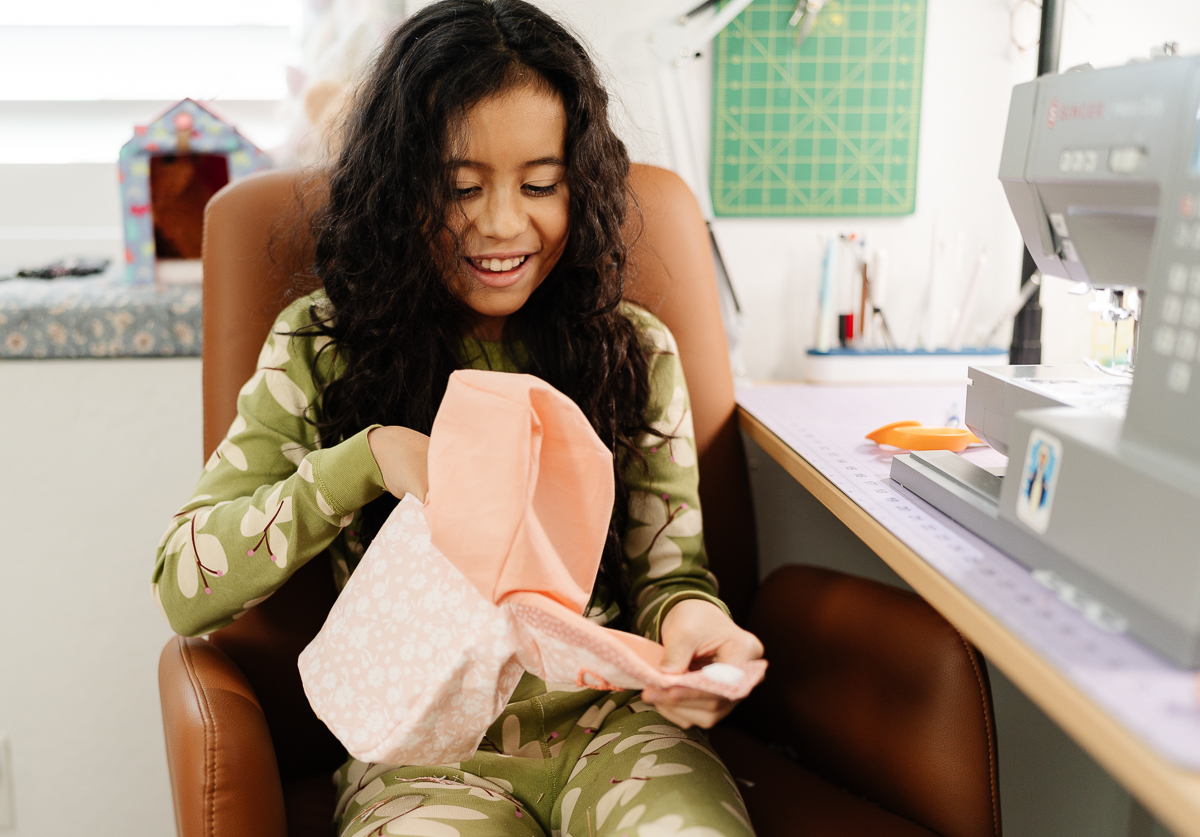
Hi everyone, it’s Cataleya (@happystitches_us on IG)! Today I’m making something so cool—a Valentine’s Day Mailbox!
I got the idea from my mom. She told me that when she was little, her whole class would decorate old tissue boxes for Valentine’s Day. I wanted to make a version out of fabric that I can keep forever! I picked out the prettiest light pink fabric with white flowers for the outside, a solid pink for the lining, and a touch of pink polka dots for the details.
MATERIALS:
- Main Body (piece A):
- 16″ x 4.75″ rectangle of floral fabric (make 1)
- 16″ x 4.75″ rectangle of solid pink lining (make 1)
- 16″ x 4.75″ Pellon 808 (make 1)
- 16″ x 4.75″ Pellon 985F (make 1)
- Side Panels (piece B):
- 12″ x 6″ rectangles of floral fabric (make 1)
- 12″ x 6″ rectangles of solid pink lining (make 1)
- 12″ x 6″ Pellon 808 (make 1)
- 12″ x 6″ Pellon 985F (make 1)
- Rainbow Trim (piece C):
- 5″ x 5.5″ piece of pink polka dot fabric (make 1)
- The Flag (piece D):
- 4.25″ x 2″ piece of pink polka dot fabric (make 1)
- Velcro Tabs (piece E):
- 3″ x 2″ rectangles of pink polka dot fabric (make 2)
- pink embroidery thread
- x1 pink metal fastener
- 1″ velcro strip
- thread to match
- ruler
- heat pen
- compass
- Rotary Cutter
- Water Erasable Tracing Paper
- Metal Hera with Stylus
- Double Tracing Tool
- Roll & Press
- Wonder Clips
- Heart-Shaped Pins
- Patchwork Scissors (mini)
- Magnet Pin Caddy
- Point 2 Point Turner
- Seam Ripper
- Straight Tailor’s Awl
MAILBOX TUTORIAL:
Step 1: Let’s cut the fabric into the right shapes. You have to turn your long rectangle for Piece A into a pill shape with rounded ends using my Rotary Cutter. Here is how to find those half-circle ends:
- First, find the center point. On each of the short ends, find the exact middle and make a tiny mark at 2.375″.
- Next, set your compass. Put your compass point on that middle mark and set the pencil to the edge of the fabric (2.375″).
- Now it’s time to draw the half-circle. Swing the compass to draw a half-circle on both ends of the rectangle.
- In order to achieve the pill shape, cut along those curvy lines, and now your Pattern A looks like a long pill!
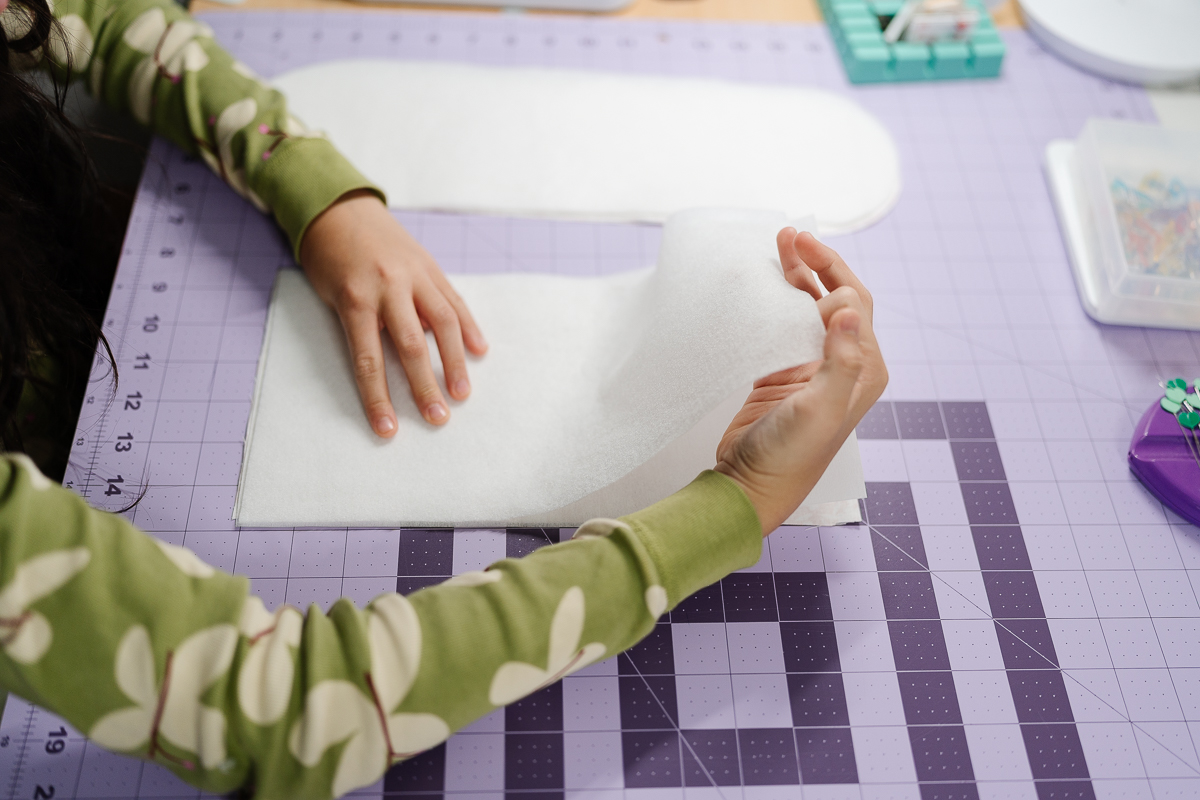
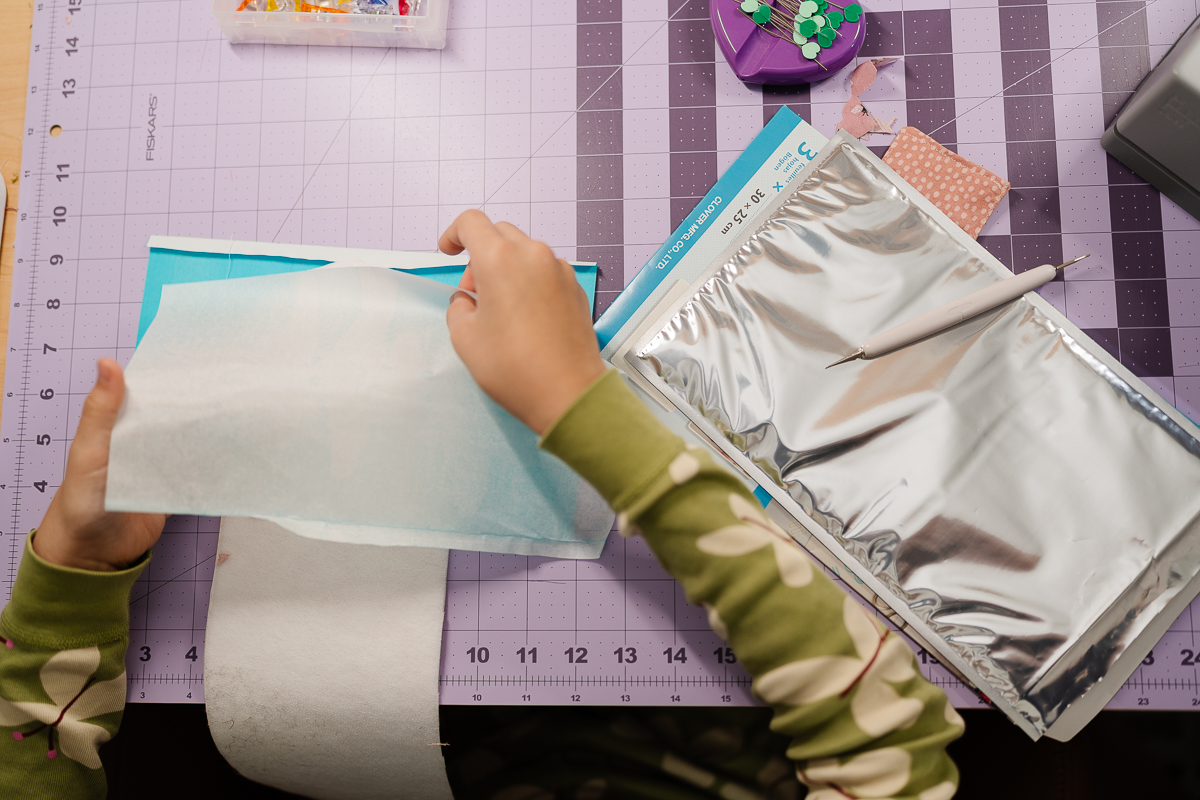
Step 2: Now we need to make the fabric strong so the mailbox doesn’t just flop over.
- Grab your Piece A (the floral outside fabric). Lay it face down, put the Pellon 808 (stiff) on top, and then the Pellon 985F (squishy) on top of that. Iron them until they’re all stuck together.
Step 3: Before we build the mailbox, we have to finish the “extra” pieces!
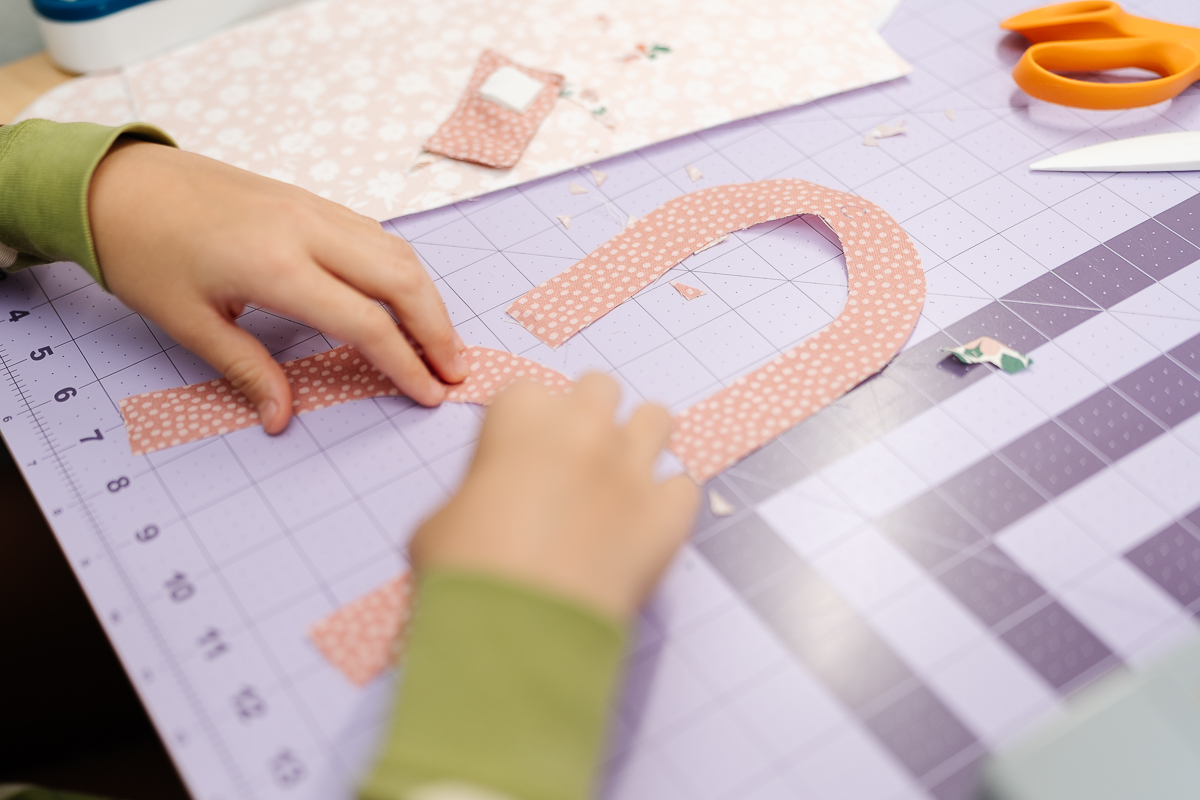
- The Big U (Piece C): Grab your 5″ x 5.5″ polka dot rectangle.
- Let’s find the target spot. Lay your fabric down. Measure 2.5 inches over from the side and 3 inches up from the bottom. Mark that spot with a tiny dot.
- In order to achieve the big curve, put your compass point on that dot. Set your compass to 2.5 inches and swing it from side to side to make the outer edge of your “U.”
- In order to achieve the small curve, keep your compass on the same dot, but change the setting to 1.5 inches. Swing it again to draw the inside edge.
- Then, cut it out. Now you have a polka dot “U” that is exactly 1 inch wide all the way around!
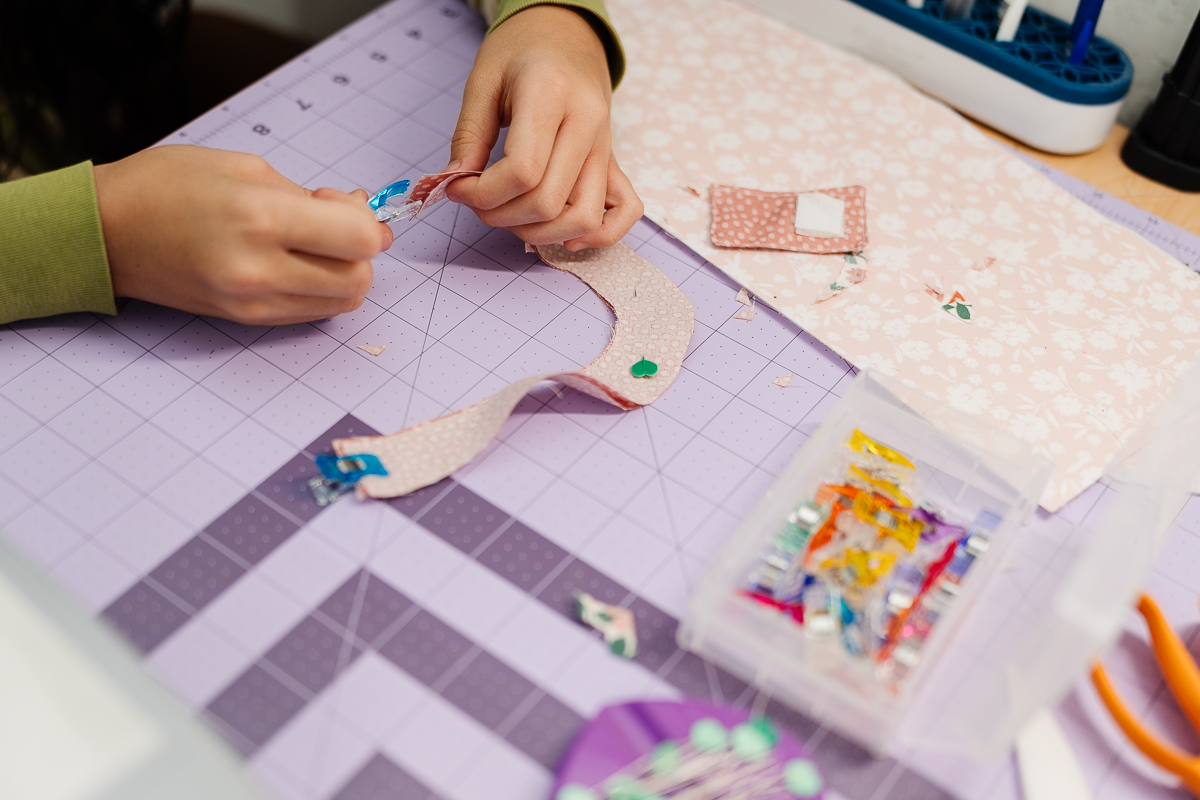
- Now it’s time to sew the U. Put your two polka dot “U” pieces together (pretty sides touching!). Sew along the inside curve and the bottom edges only.
- Let’s flip and press! Use the Clover Point 2 Point Turner to flip it right-side out and flatten it with the Clover Roll & Press.
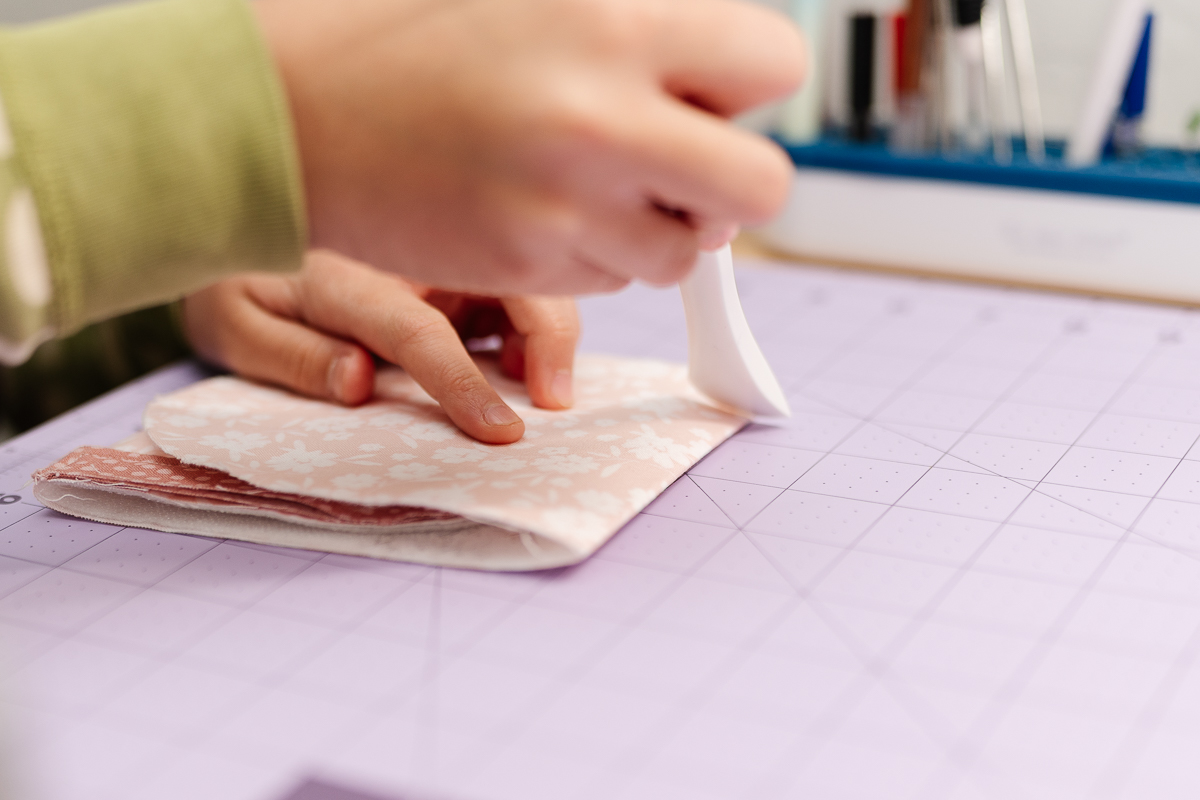
Step 4: It’s time to make the creases!
- Use your ruler and the Clover Point 2 Point Turner to press two deep lines into your pill-shaped Piece A. To find the right spot, measure 5 inches down from the top of the curve on both ends and mark it. This is where your mailbox will bend to make the floor!
- Note: Sew a straight line right on top of those creases! This helps the fabric fold easily so the mailbox stays in a perfect U-shape.
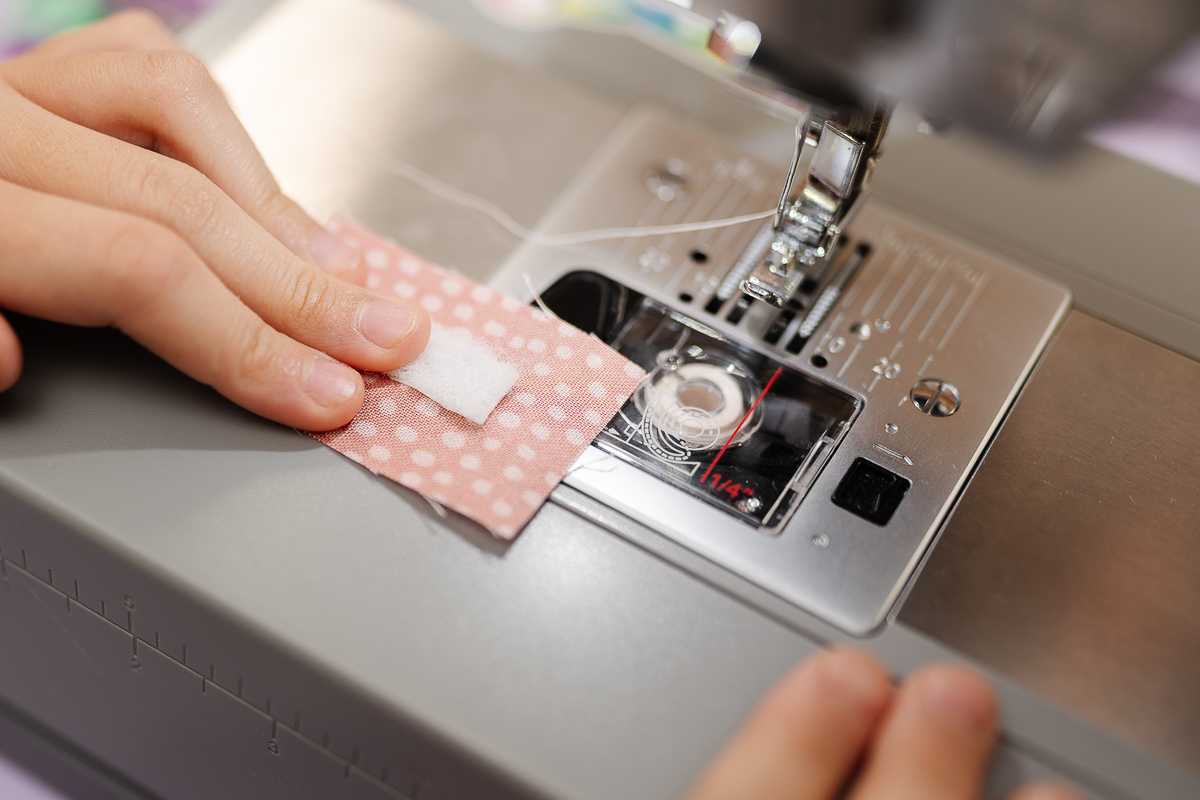
Step 5: Let’s make the closure tabs.
Before we can attach them, we have to make our Piece E rectangles look like real tabs.
- Let’s do some folding! Take your two 3″ x 2″ polka dot rectangles. Fold them in half the long way (hot dog style!) with the pretty sides touching.
- Sew along the long side and one short side. Leave the other short side open so you can turn it!
- Now let’s flip. Use your Clover Point 2 Point Turner to poke the corners out so they are nice and sharp.
- Now, sew a small square of Velcro onto the end of tab.
Step 6: We’re going to get the flag ready now, but we’ll keep it on the side until the mailbox is totally finished!
-
Cutting the “L” Shape:
-
Take your Piece D rectangles.
-
Draw a line 1 inch in from the left side, starting from the top and stopping 1 inch from the bottom.
-
Cut that section out so you have a perfect “L” shape! Repeat for both pieces.
-
-
Put the two “L” pieces together (pretty sides touching). Sew all the way around, but leave a small gap at the bottom of the “L.” I heavily relied on my Metal Hera (with stylus) to guide fabric pieces through the feed dogs.
-
Flip it right-side out. Stuff it with your leftover fabric scraps until it’s nice and puffy, then sew the gap closed. Set this aside for the very last step!
Step 7: Now we’ll be adding the “U” trim & heart details!
-
Attach the trim. Lay your finished Piece C “U” shape onto the front of Piece A. Sew along the inner edge only.
-
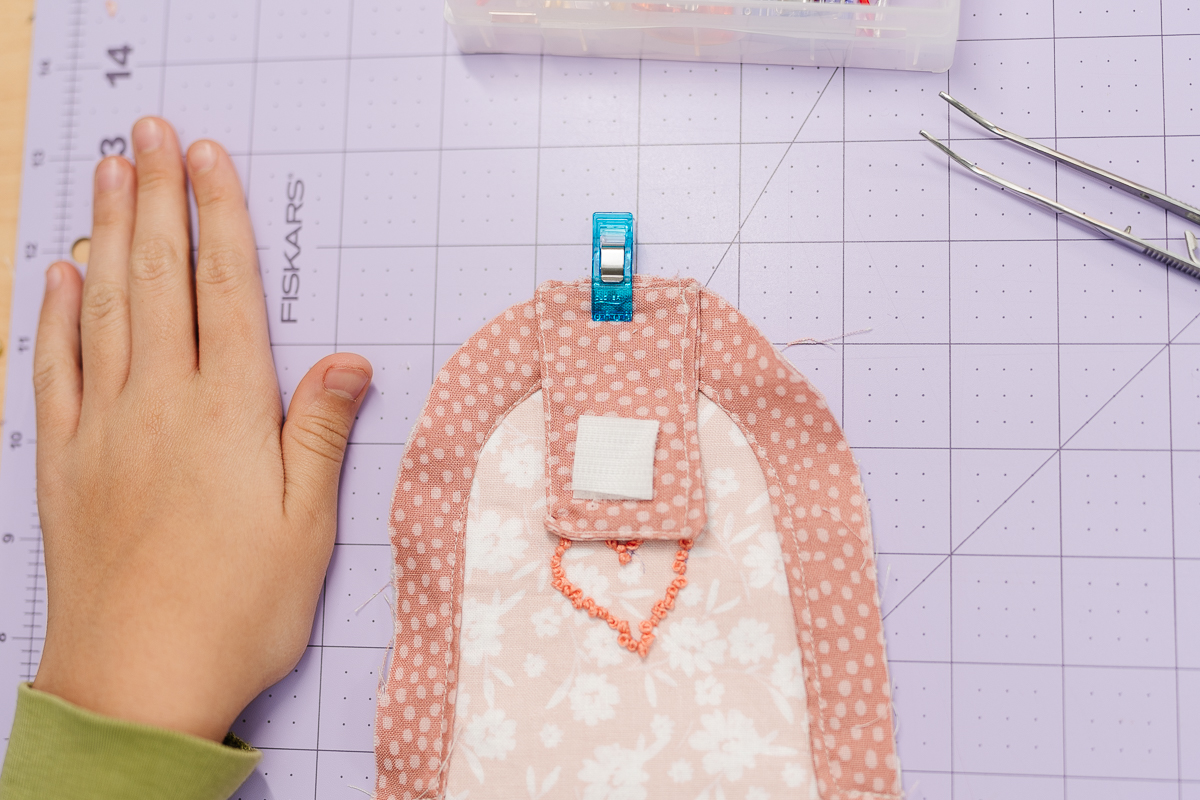
Let’s add the heart detail. Use the Clover Water Erasable Tracing Paper and Double Tracing Tool to trace a heart onto the front. Sew French knots along the outline with embroidery thread.

Step 8: Sew one Velcro square facing downward at the very top of the arch on the polka dot “U” trim. This is where your tabs will meet!
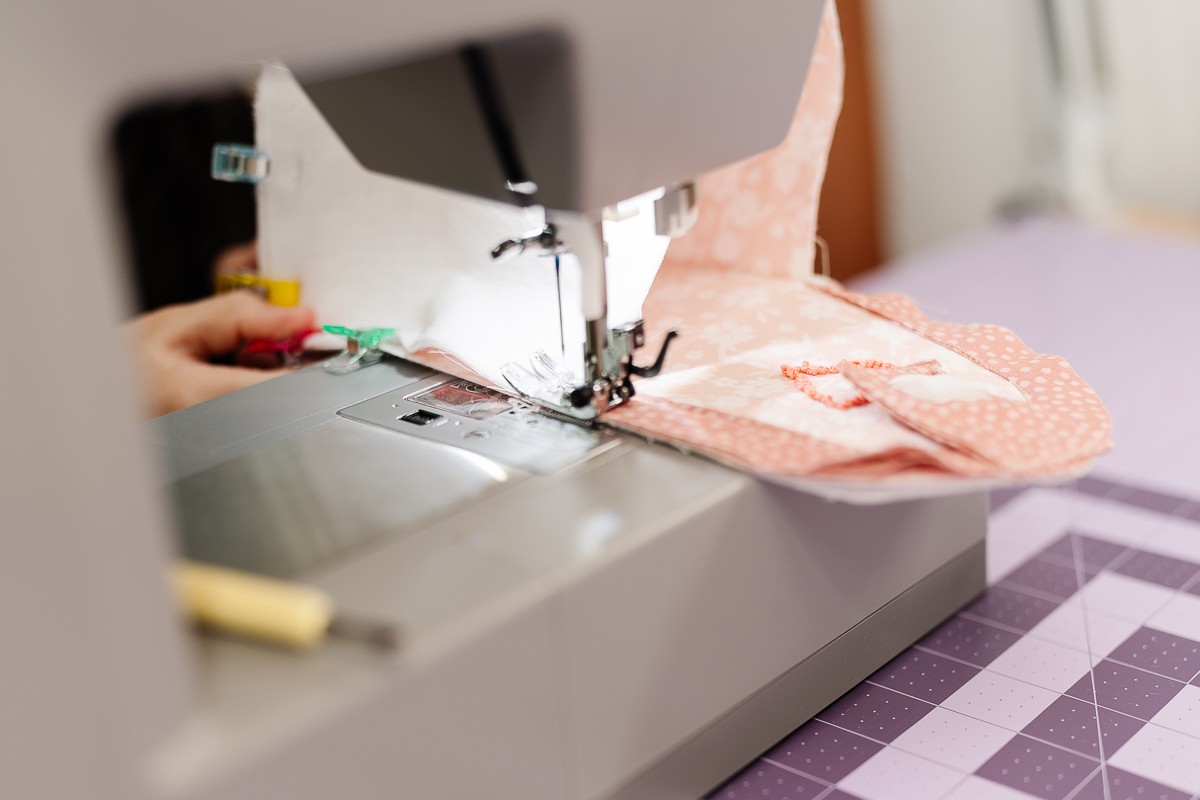
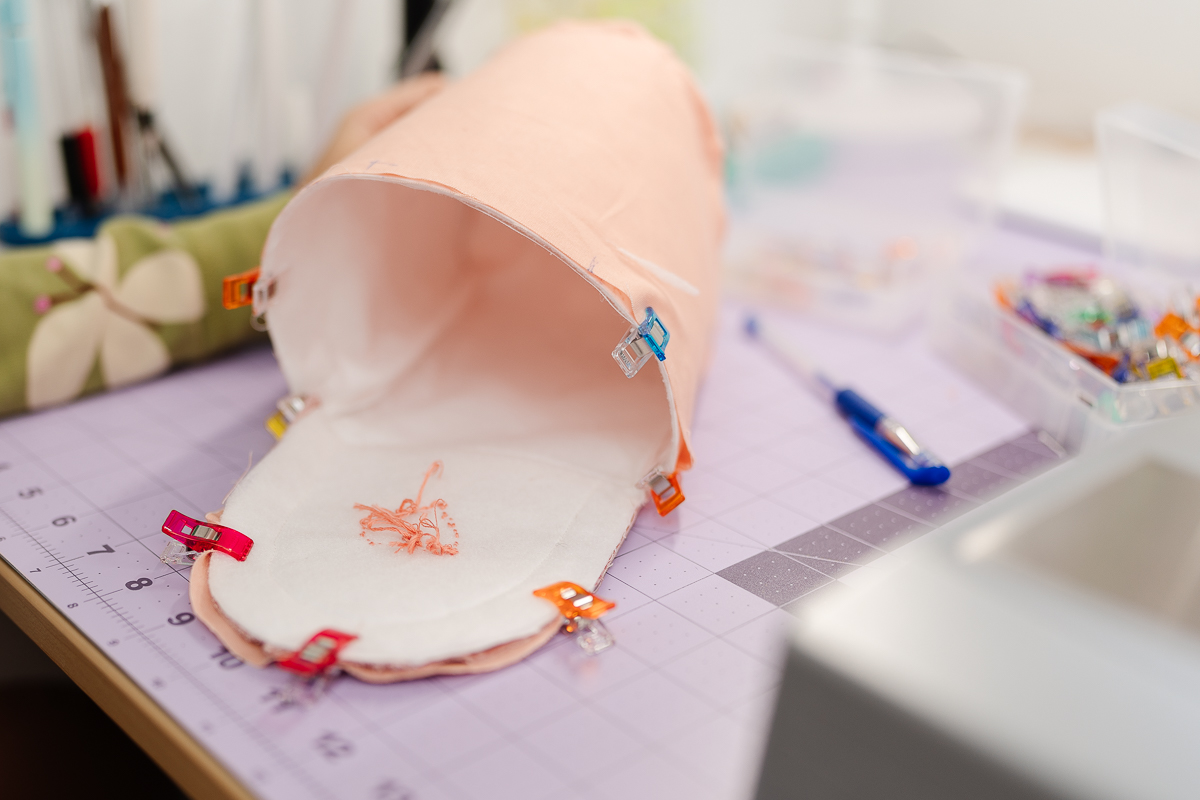
Step 9: Finally, let’s put together the outside of the mailbox.
-
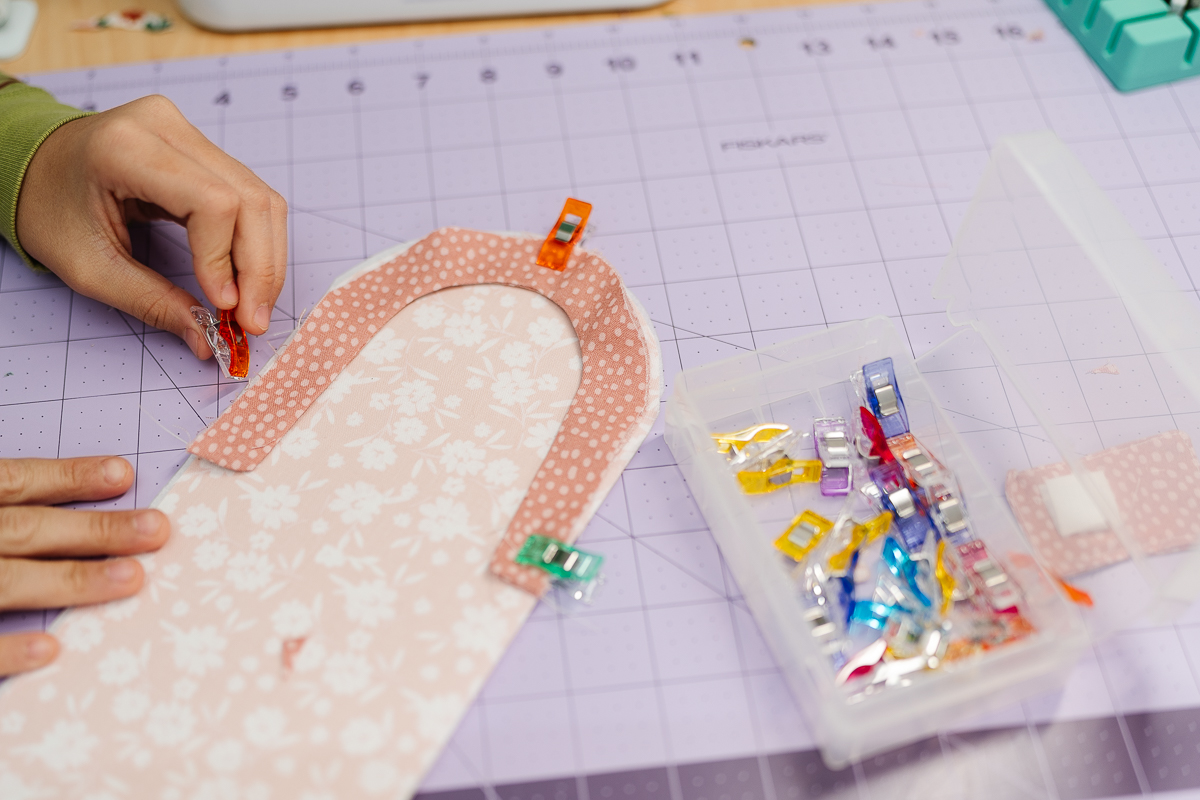
Clip your floral Piece B rectangles to the curved edges of Piece A (over the trim).
-
Sew the curves slowly, then sew the bottom edge of Piece B to the straight sides of Piece A. Now it stands up!

Step 10: Time to sew the lining. Repeat the build with your pink lining pieces, but only sew the back wall and the floor. Leave the front open.
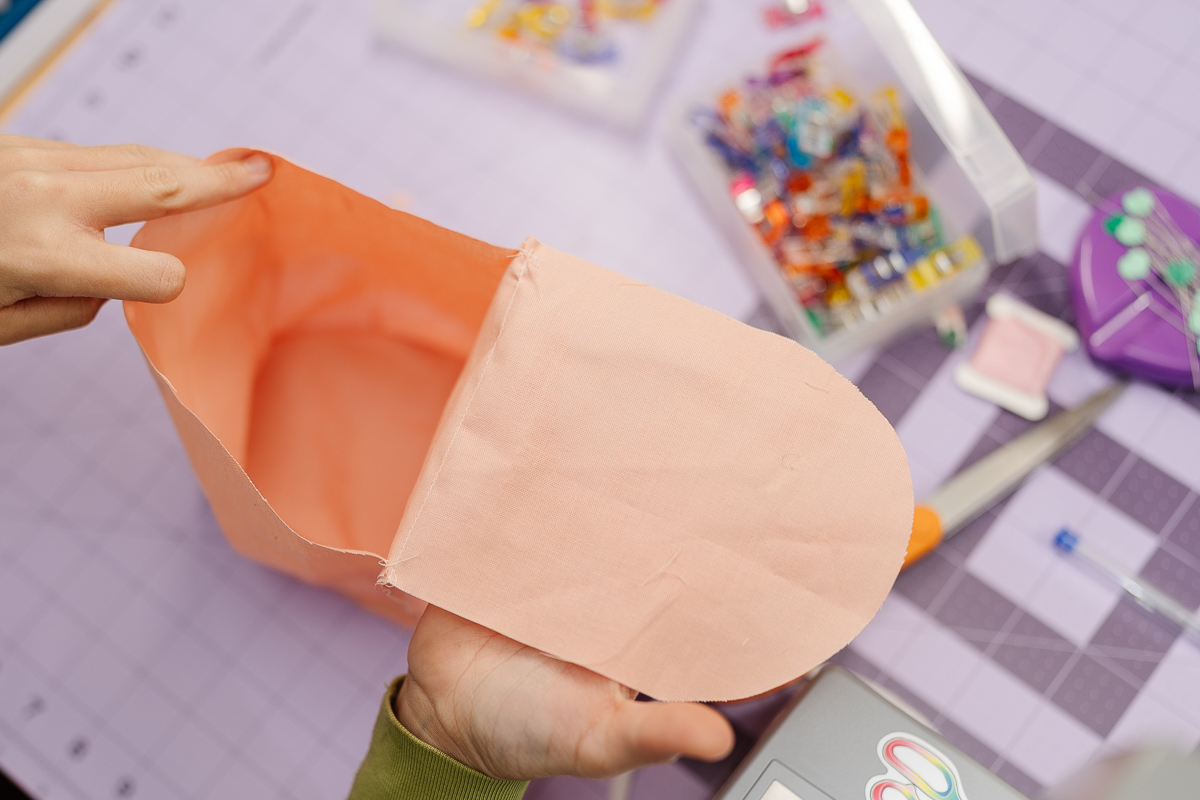
Step 11: Let’s quickly join together all the layers!
-
Slide the floral mailbox inside the lining with the right sides touching.
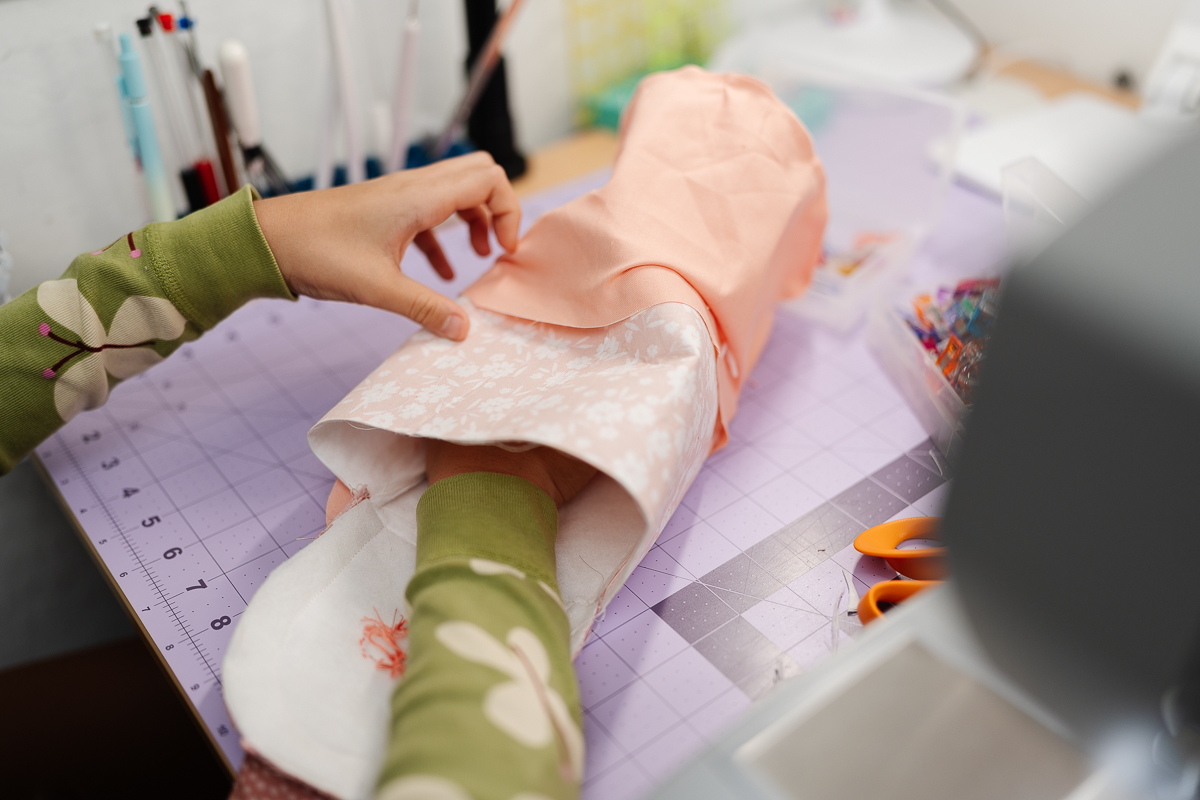
-
To create the front seam, sew around the front “U” opening, leaving a 3-inch gap at the very top.
-
Pull the bag through the 3 inch hole.
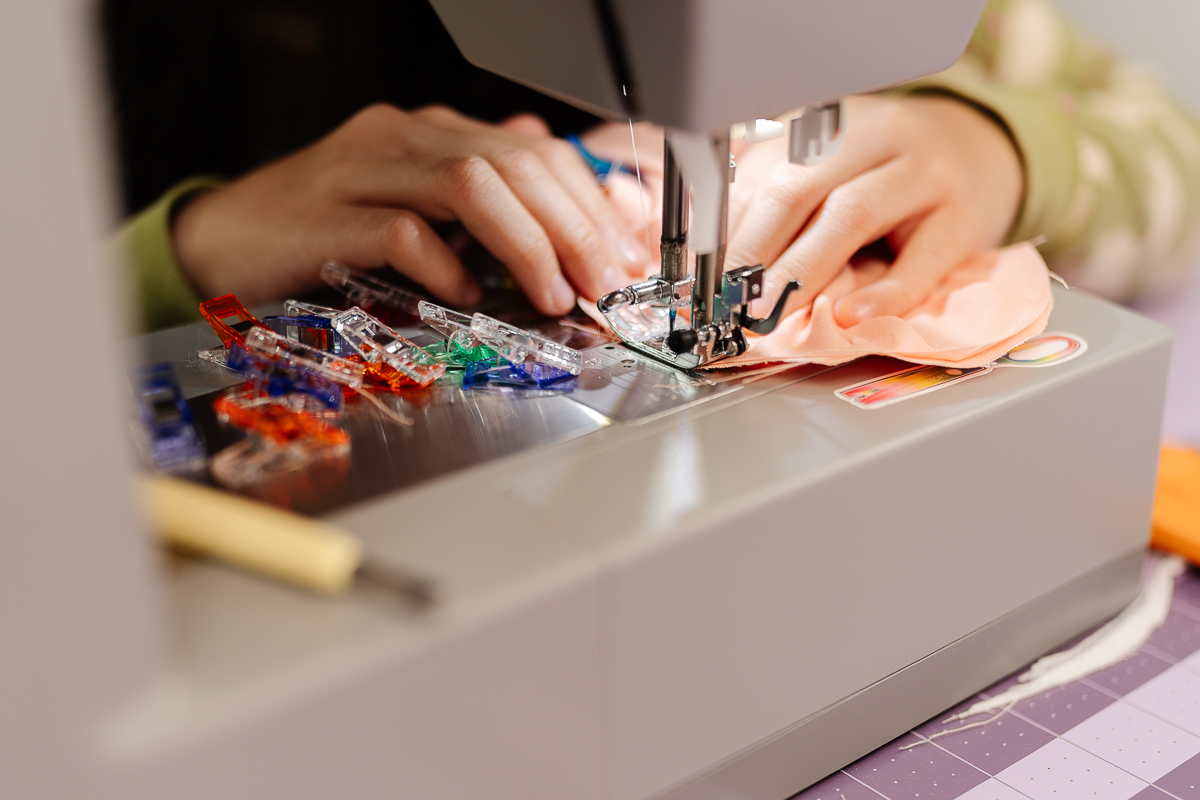
 Step 12: Tuck the lining inside. Use the Free Arm on your machine to sew that 3 inch gap closed. It’s so much cleaner than hand-sewing!
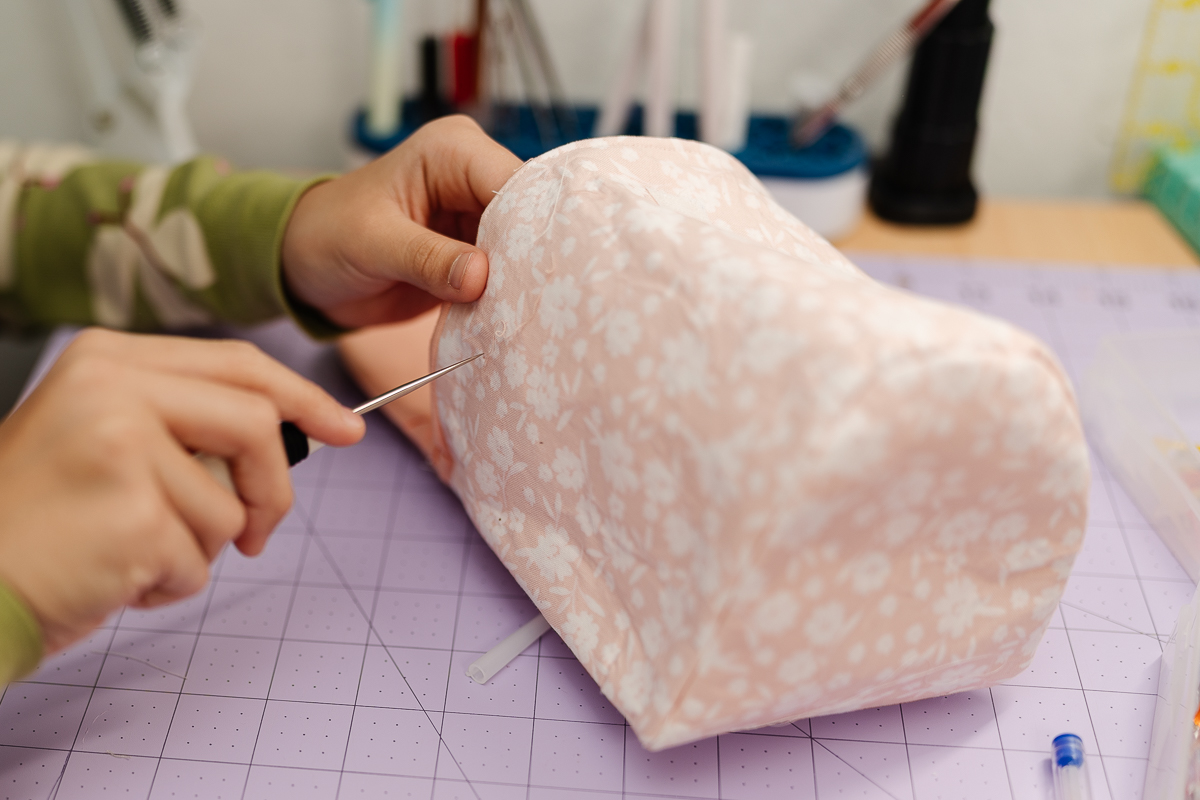
Step 13: Use your Clover Awl to poke a hole through the puffy flag and the side of the mailbox. Push your fastener through and spread the tabs inside.
You’re officially done and have created a super cute mailbox for all your Valentine letters or just for adorable decoration!
If you want to keep up with me, Cataleya, on social media, follow her on social media: Instagram
If you want to keep up with all things Clover, follow us on: Facebook | Twitter | Instagram | Pinterest | YouTube | Ravelry