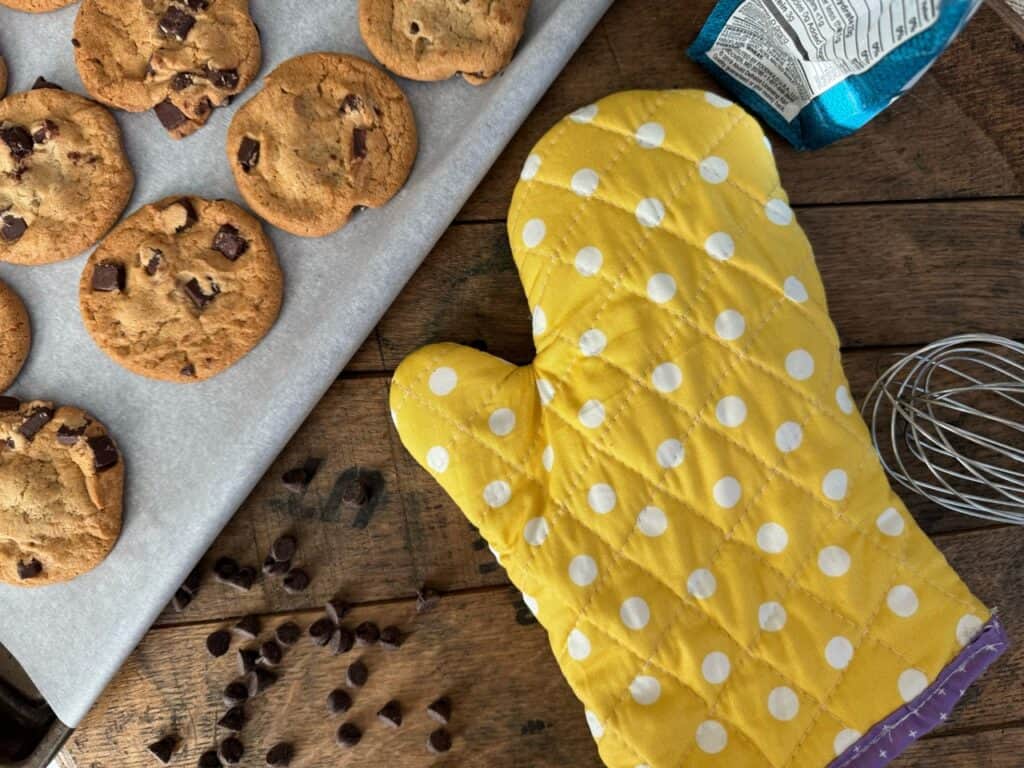
Hello everybody! It’s Duana with @duana_m_chandler and @duanastudio, and the holidays are here! For me, that means that there will be a lot of baking and spending time with family. Every year, my favorite things to bake during the holidays are cookies and cakes, and with Thanksgiving around the corner, I am going to share an oven mitt (inspired by Made Everyday) and pot holder that I made to add a little joy to the season. It is easy and even a great gift for the bakers in your life. Let’s get started!
MATERIALS:
- Clover Rotary Cutter (60 mm)
- Clover Flower Pins
- Clover Wonder Clips
- oven mitt pattern print
- 1 fat quarter of fabric for the outer layer
- 1 fat quarter of fabric for the lining layer
- ½ yard of batting
- double fold bias tape (or 1.5” wide strip of fabric to make it)
- contrast color thread
INSTRUCTIONS:
1. Layer the fabric in a sandwich and using Clover Flower Pins, pin together in this order:
Lining fabric (right side facing down on the table) –> 2 layers Quilt batting –> Outer fabric (right side facing up)
2. Quilt the layers together with stitched lines. You can use a contrast color thread or a matching thread. I chose white because it would stand out more and will complement all the fat quarter fabric colors that I used.
3. Pin the pattern to the quilted layers. Cut (2) mirror images of the pattern from the quilt layers using Clover Rotary Cutter (60 mm).
4. With right sides facing, pin around the edges of the oven mitt, leaving the area where your hands are going through open. Stitch around using a 3/8″ seam allowance.
5. Turn the oven mitt right sides out. Create or use double fold bias tape. Use the Clover Wonder Clips to hold the double fold bias tape onto the raw edge of the oven mitt.
6. To make the pot holder, follow steps 1-3 and 5, but you are using a 6″ x 6″ square. You can adjust the size as needed. I started with a larger size and cut it down to the size that I wanted.
Happy Stitching! I hope whoever you gift this to loves it as much as I do 🙂
If you want to keep up with me, Duana, on social media for other fun projects, follow me on social media: Instagram
If you want to keep up with all things Clover, follow us on: Facebook | Twitter | Instagram | Pinterest | YouTube | Ravelry

