

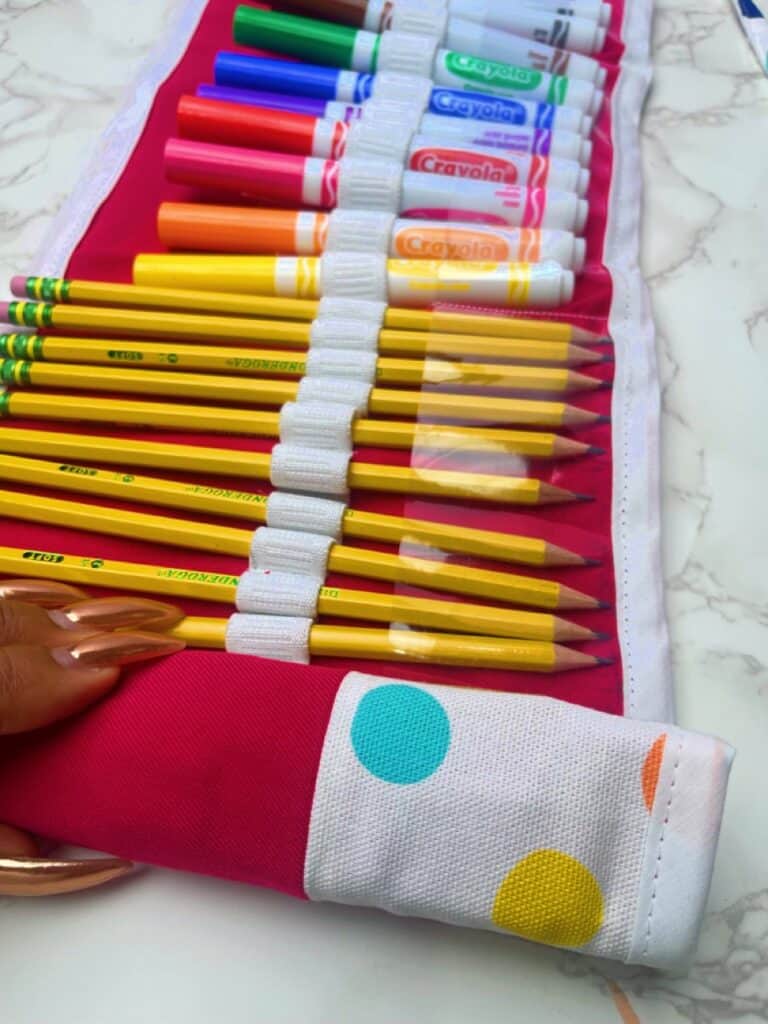
Hello, it’s Duana with @duana_m_chandler and @duanastudio and we are headed back to school this month! So if you’re looking for a creative project to help keep you or your child organized, here’s one that will ensure you don’t lose your pencils, pens, markers, etc. This is a great project for teachers, students, or even a home crafter! I was inspired by Erica Arndt on Youtube with a few slight changes. I love that you can make this for your own needs! If you don’t need to store pencils or writing utensils, you can also make it to store crochet hooks or knitting hooks. Well, I’m excited to create this pencil scroll, so let’s get started 🙂
MATERIALS:
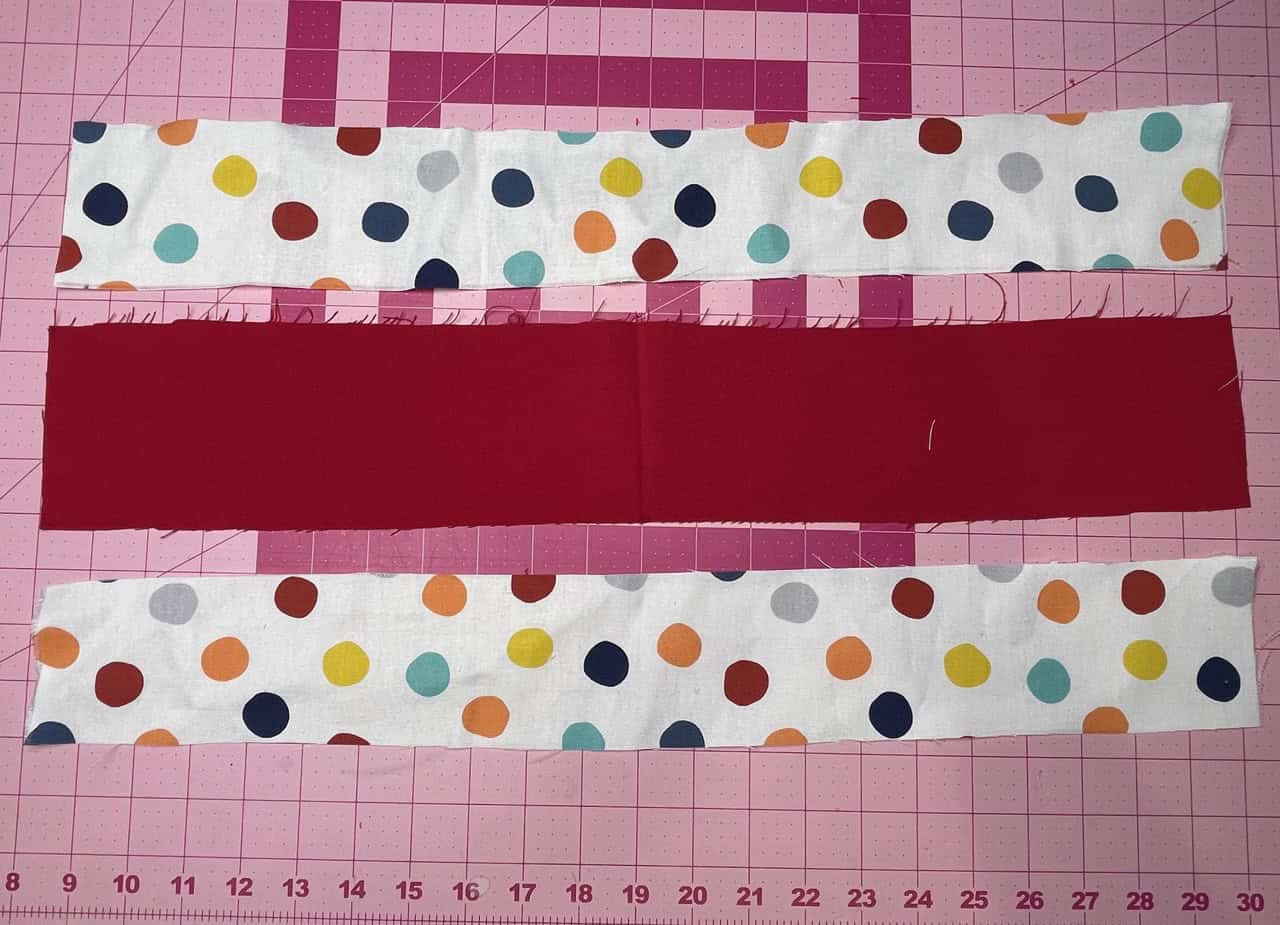
- Outside fabric: (1) 8.5″ x 22″ OR (2) pieces 3″ x 22″ and (1) piece 3.5″ x 22″
- Lining fabric:: (1) 8.5″ x 22″
- Vinyl: (1) 2.5″ x 22″ (Pencil flap)
- Tie: Cut one strip 1.5″ x 38″
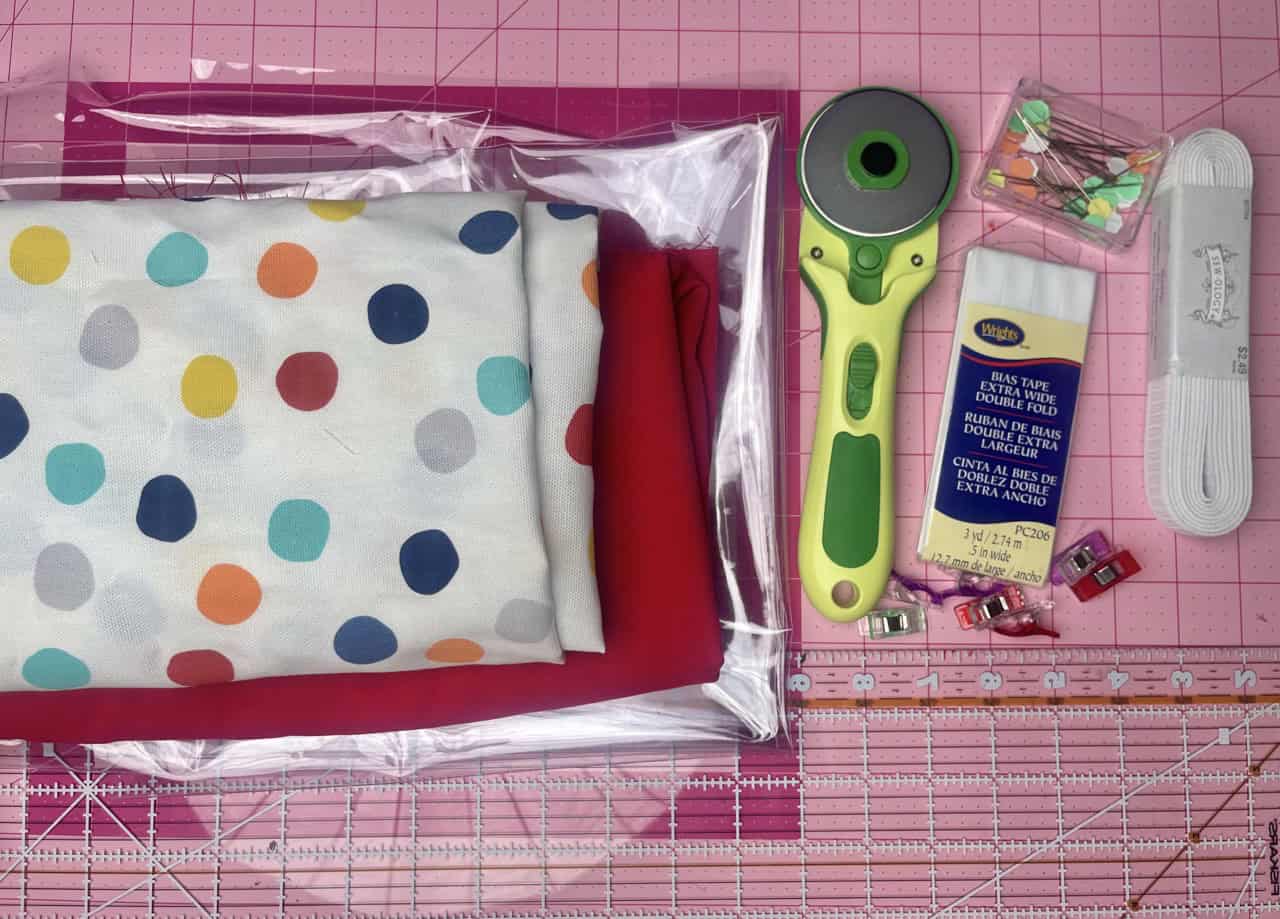
- Double fold bias tape
- ¾” or 1” elastic
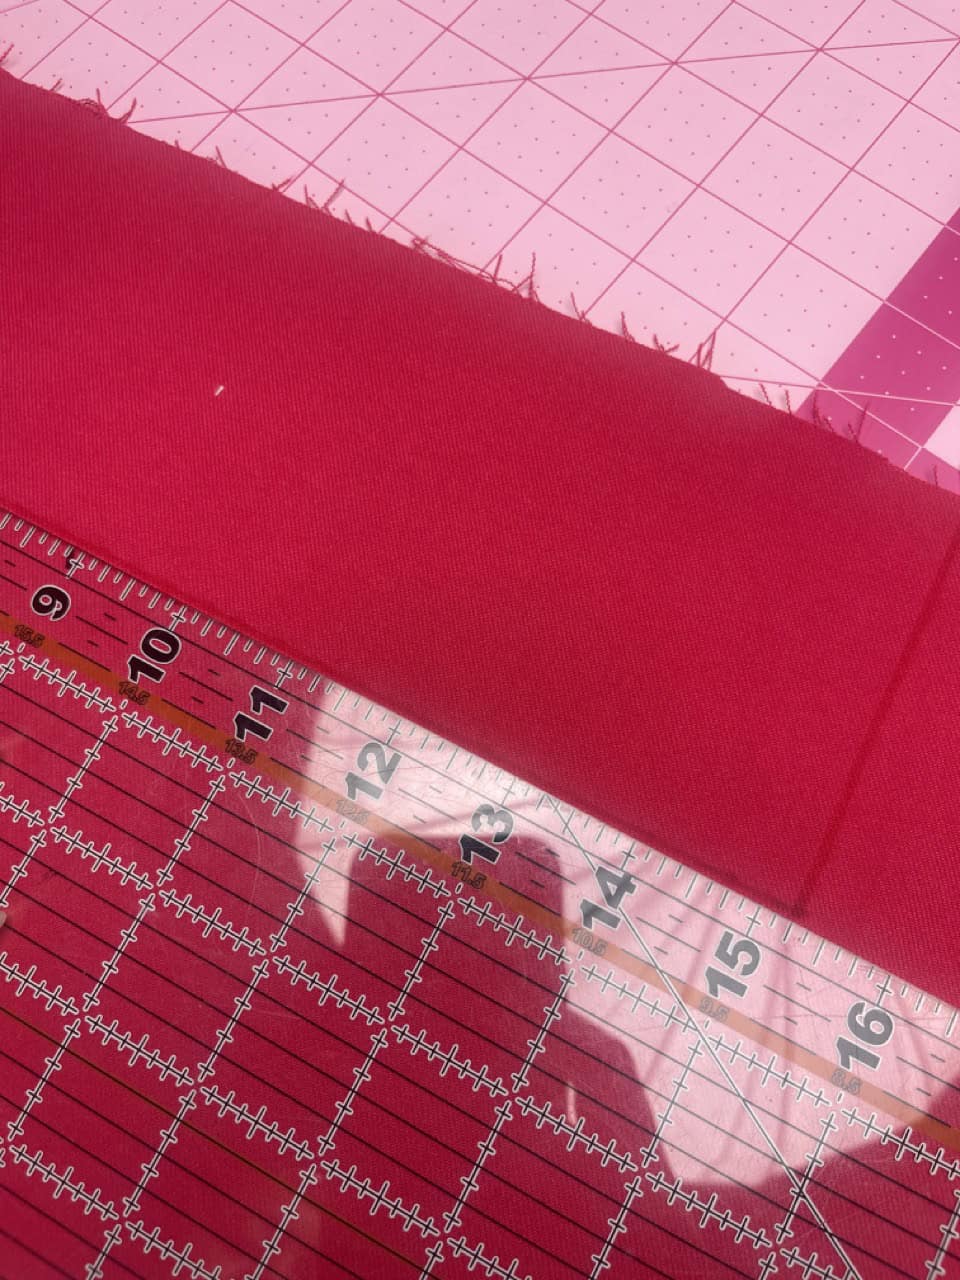
- Clover Rotary Cutter
- Clover Flower Pins
- Clover Wonder clips
- ruler or measuring tape
INSTRUCTIONS:
1. Using the Clover Rotary Cutter, cut the fabric based on the measurements in the materials. The rotary cutter makes the cutting so much easier, especially with the straight lines.

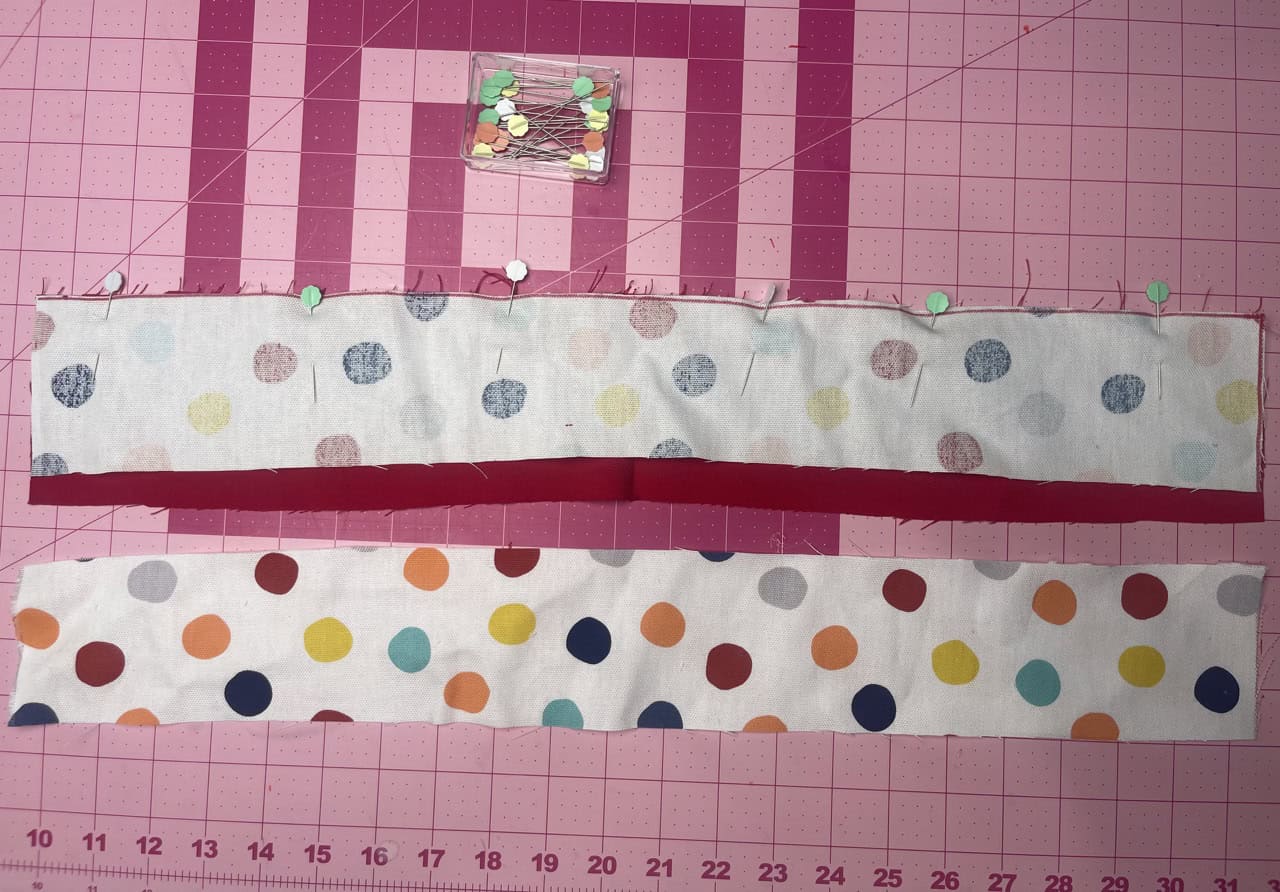
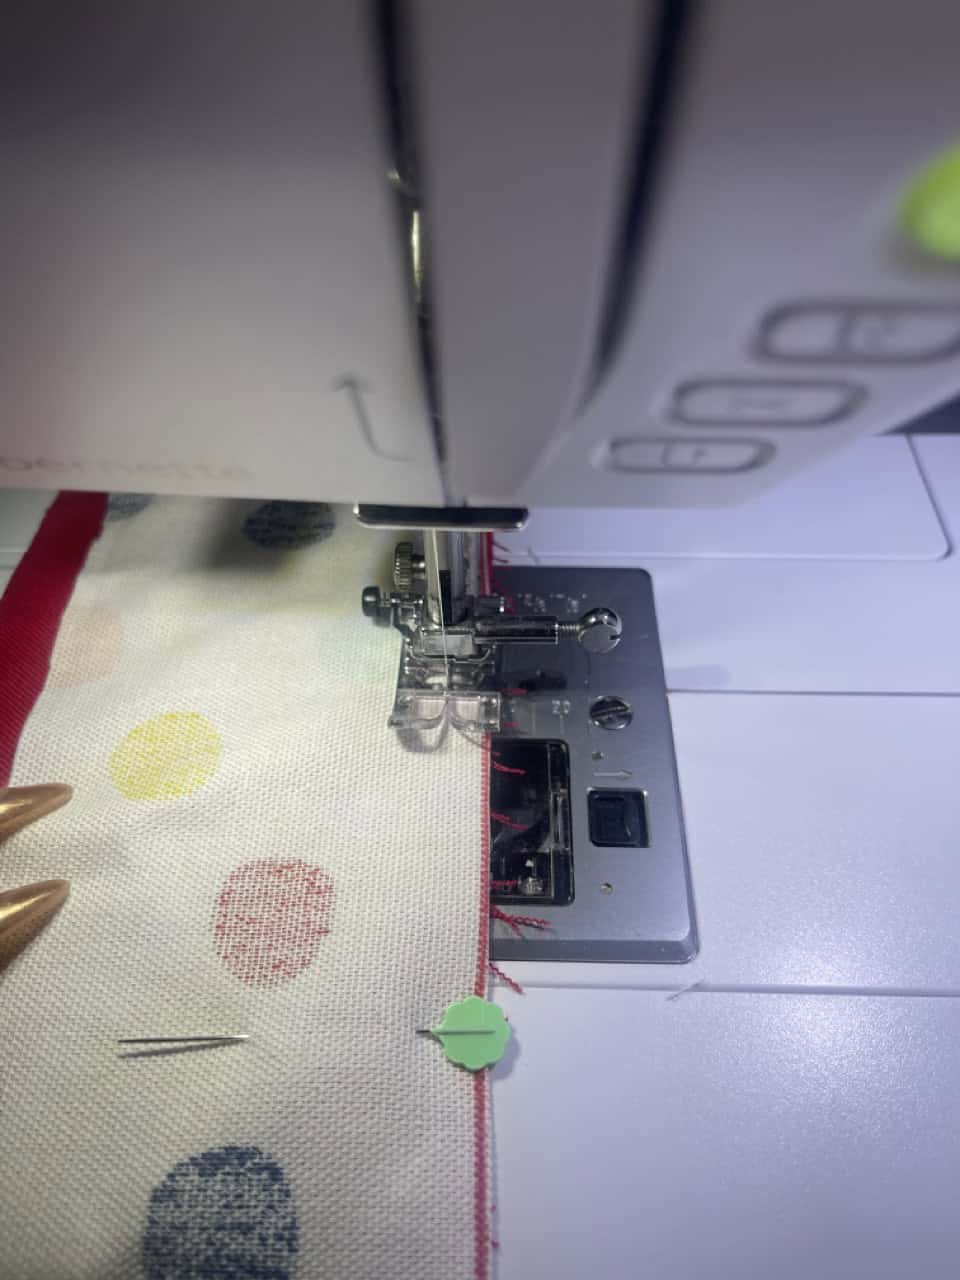
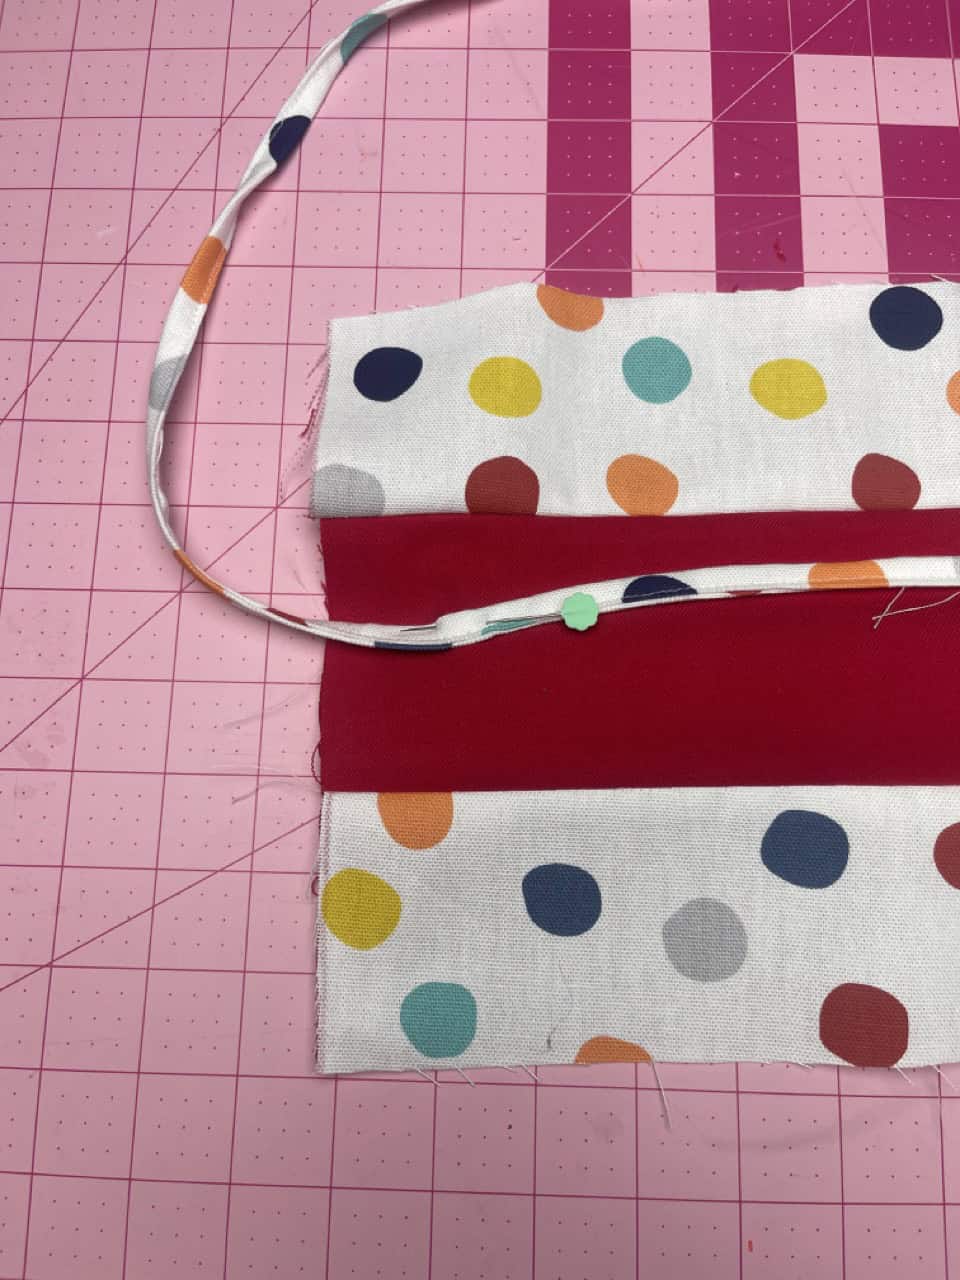
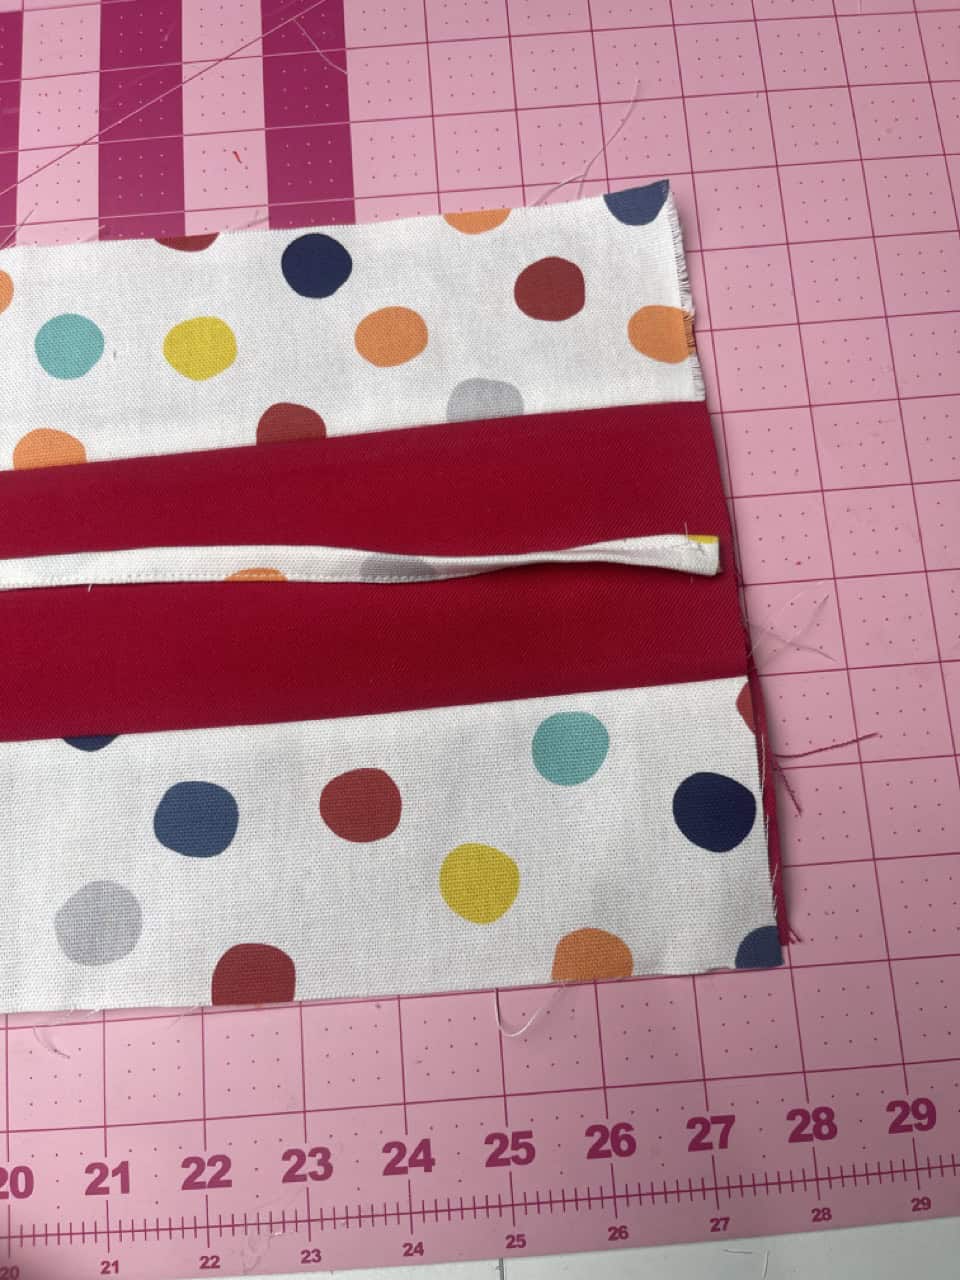
2. For the outside fabric, if you are doing the three separate pieces, pin the pieces right sides facing using the Clover Flower Pins and then stitch. Press seams open.
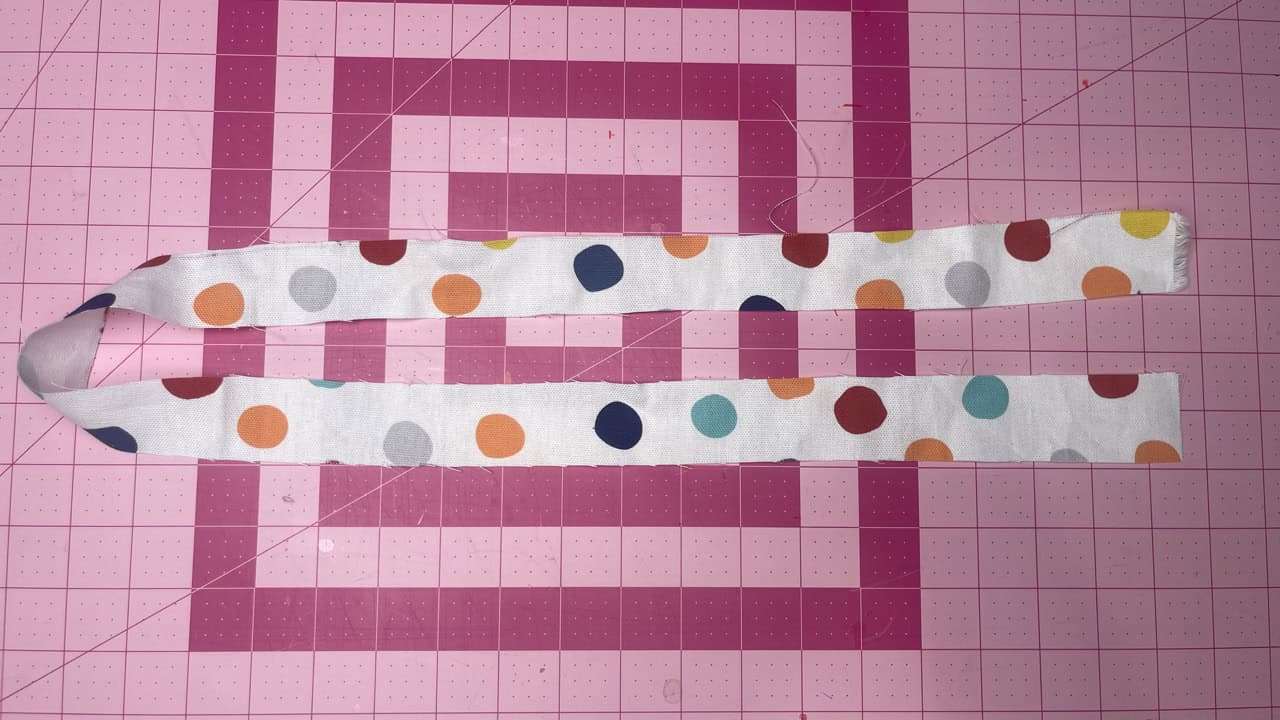
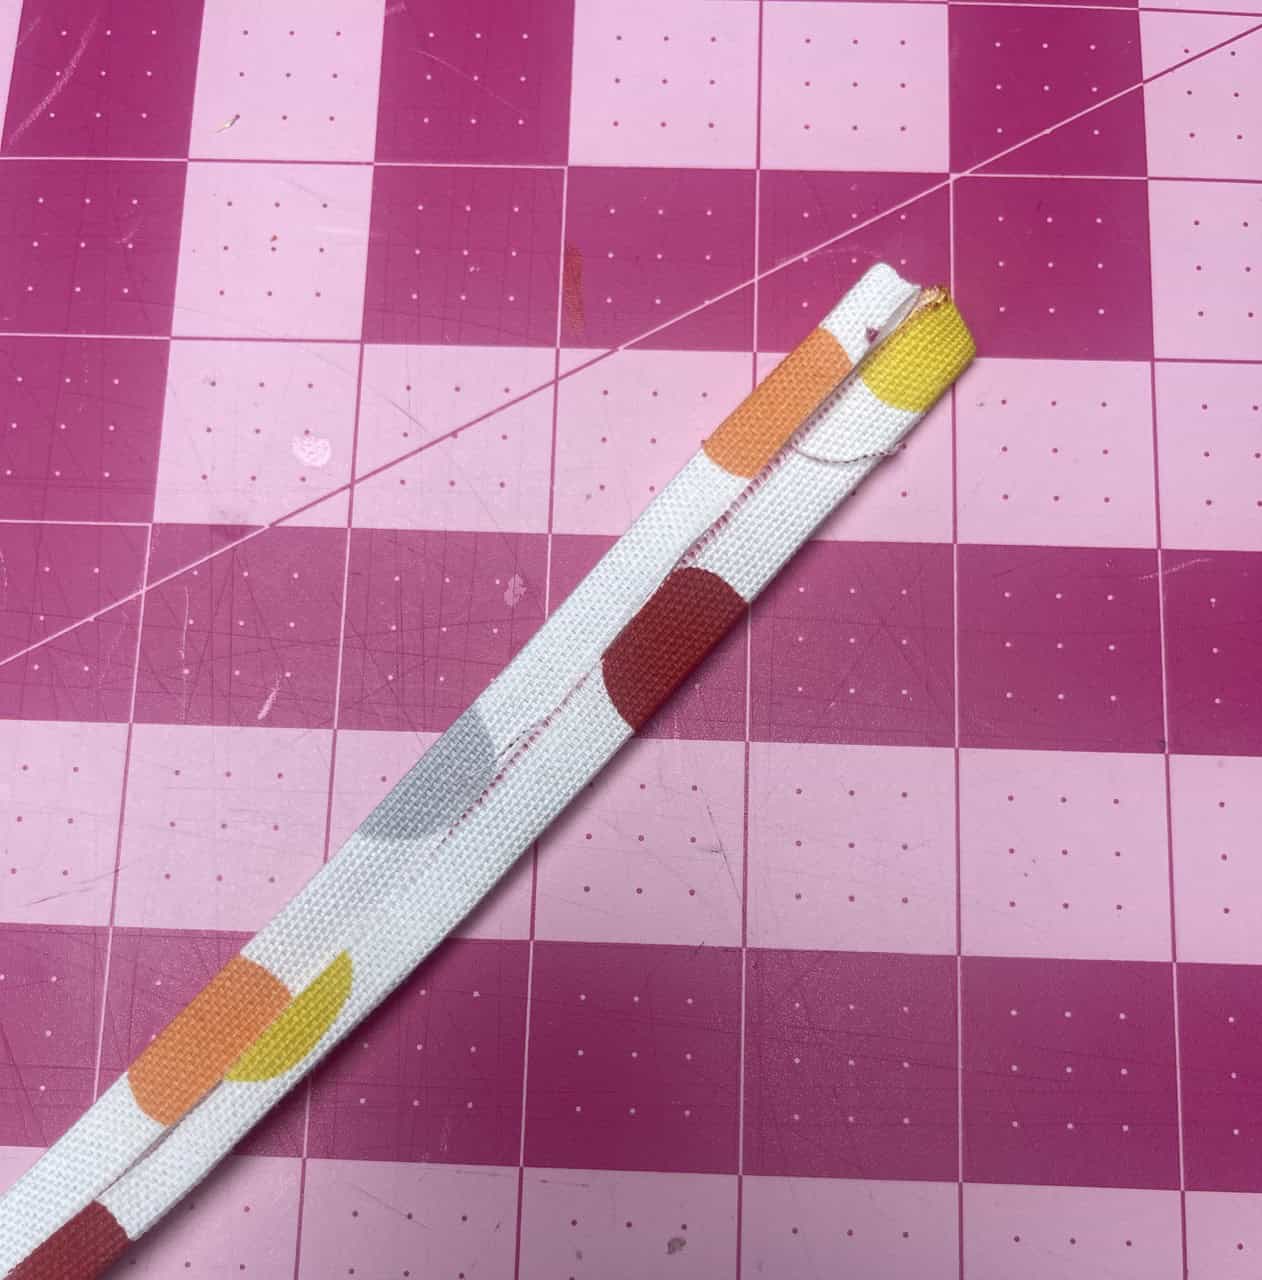
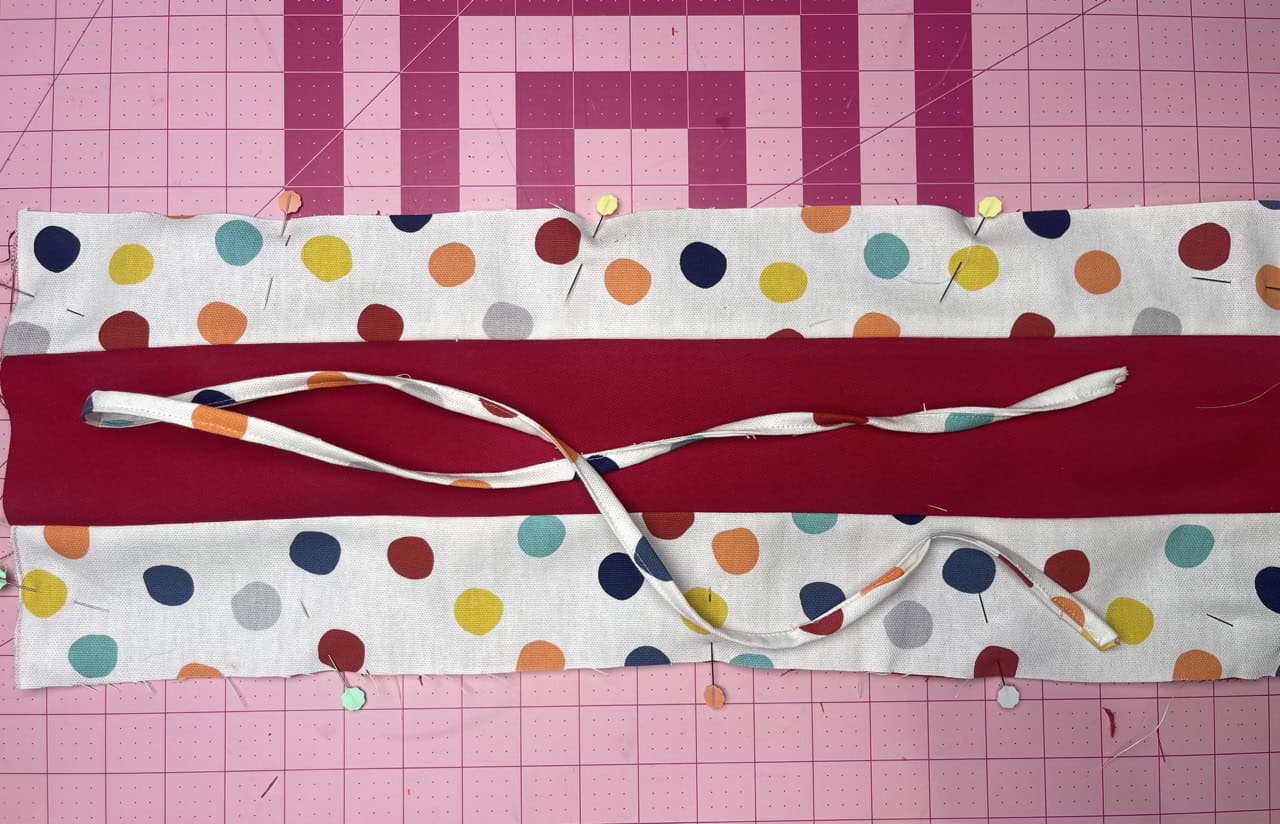
3. Next, grab the pieces you cut for the ties. Take the short end of the ties and fold them in. Press. Then fold the sides in towards the middle. Press. And then, fold again in the middle. Press one final time and use the Clover Wonder Clips to hold them in place, removing them as you stitch across the edge. Set aside.
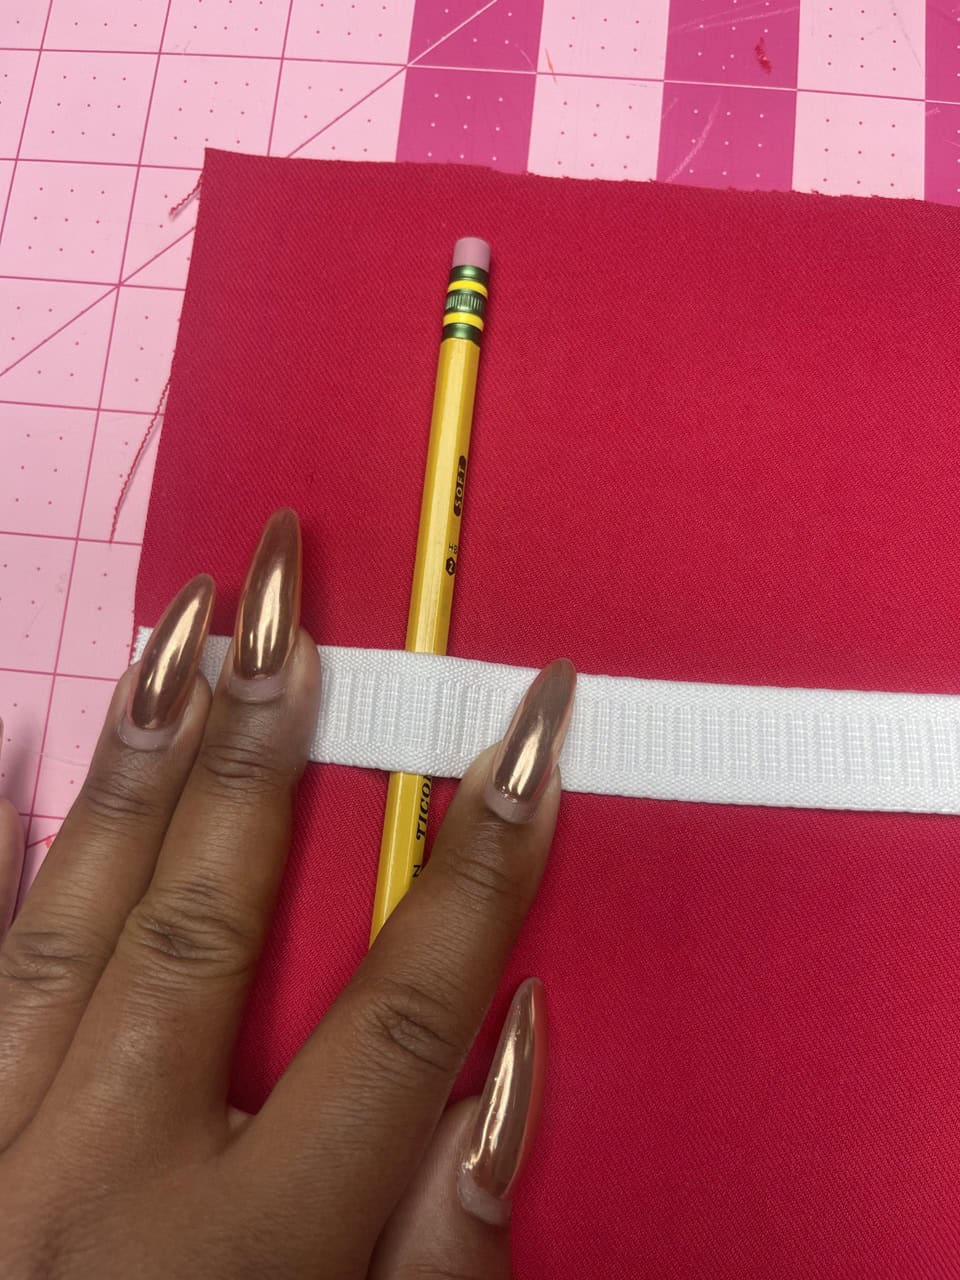
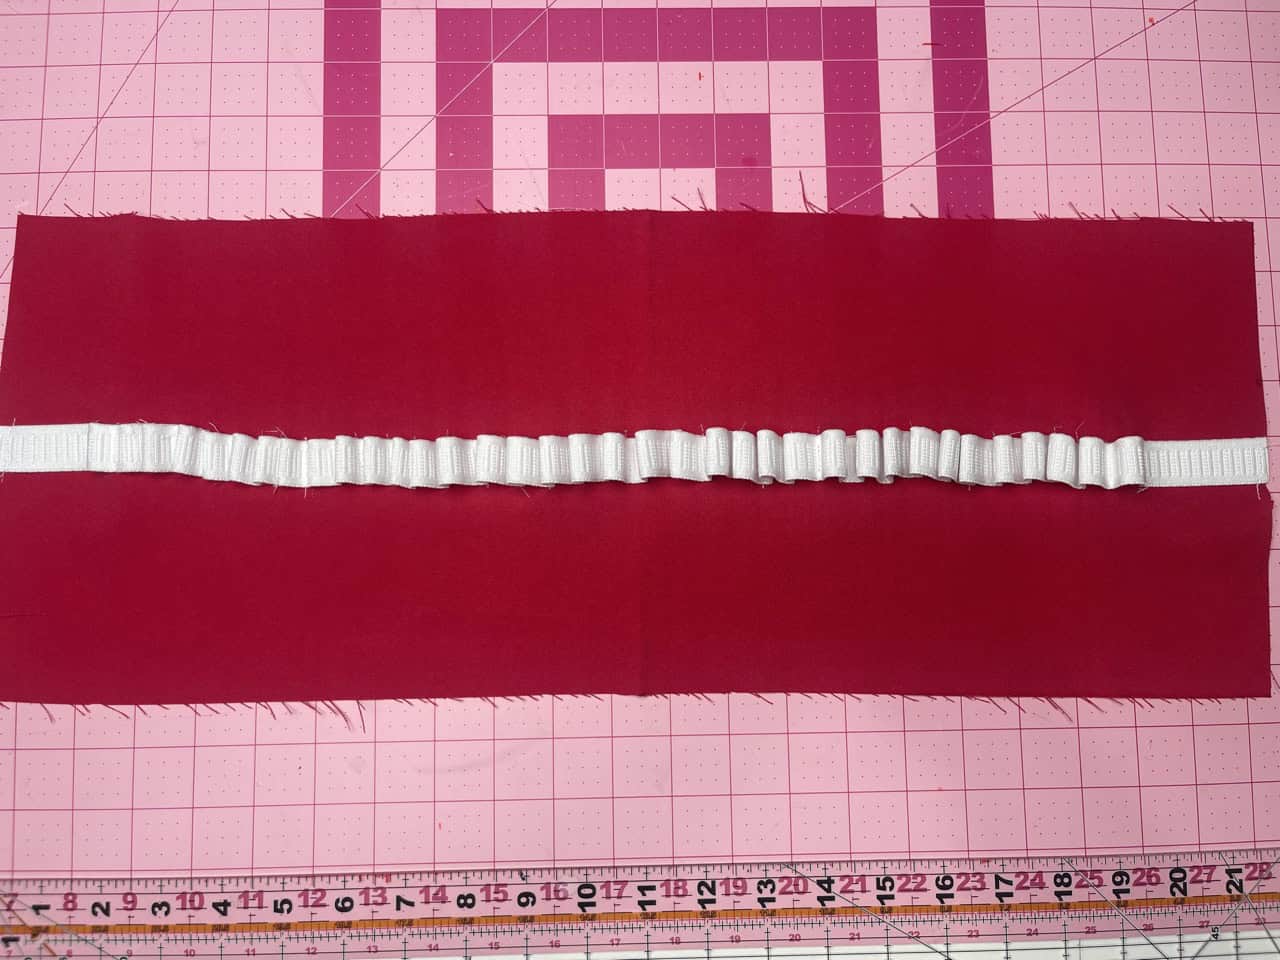
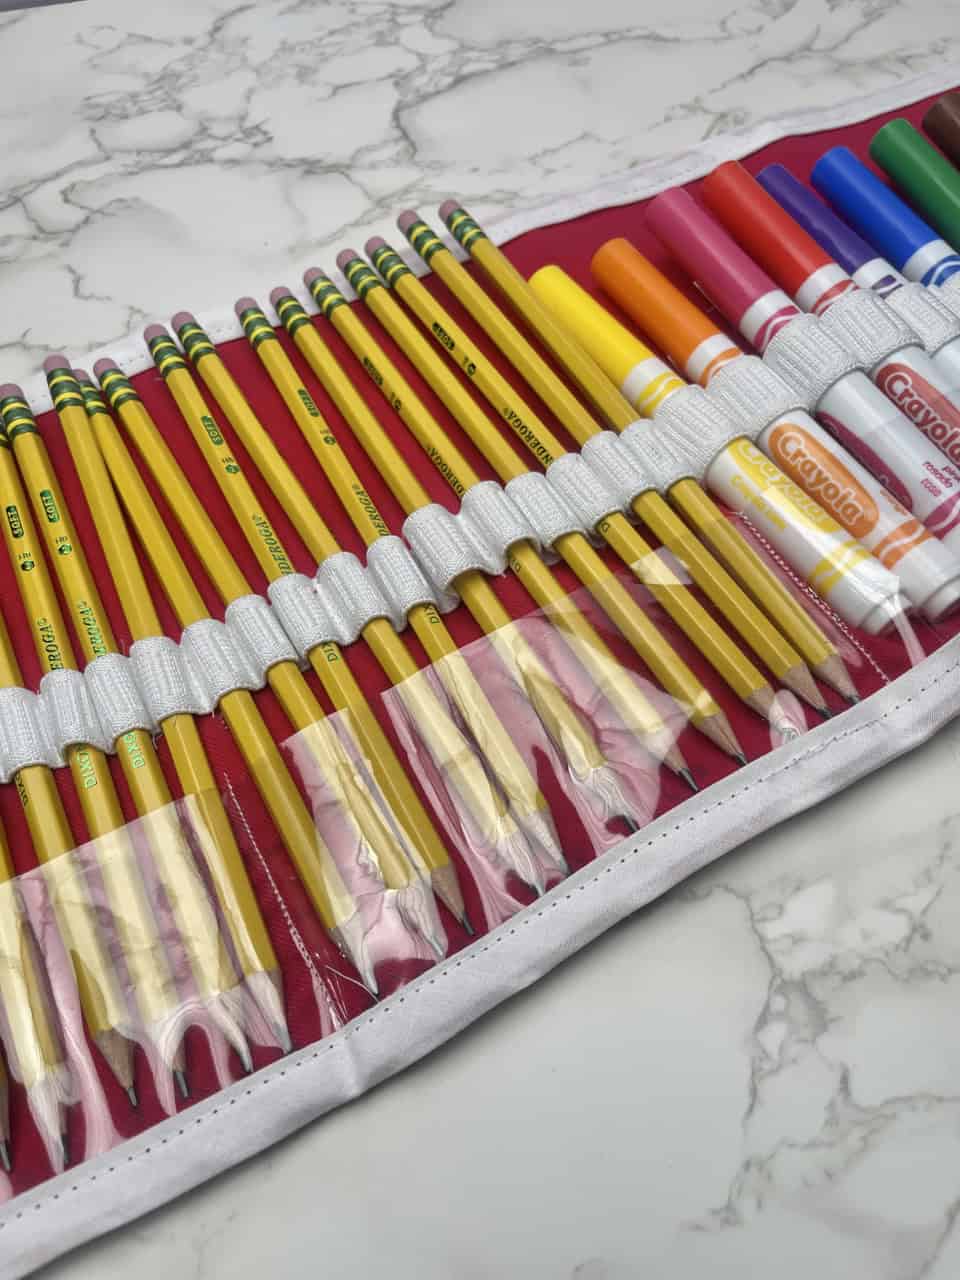
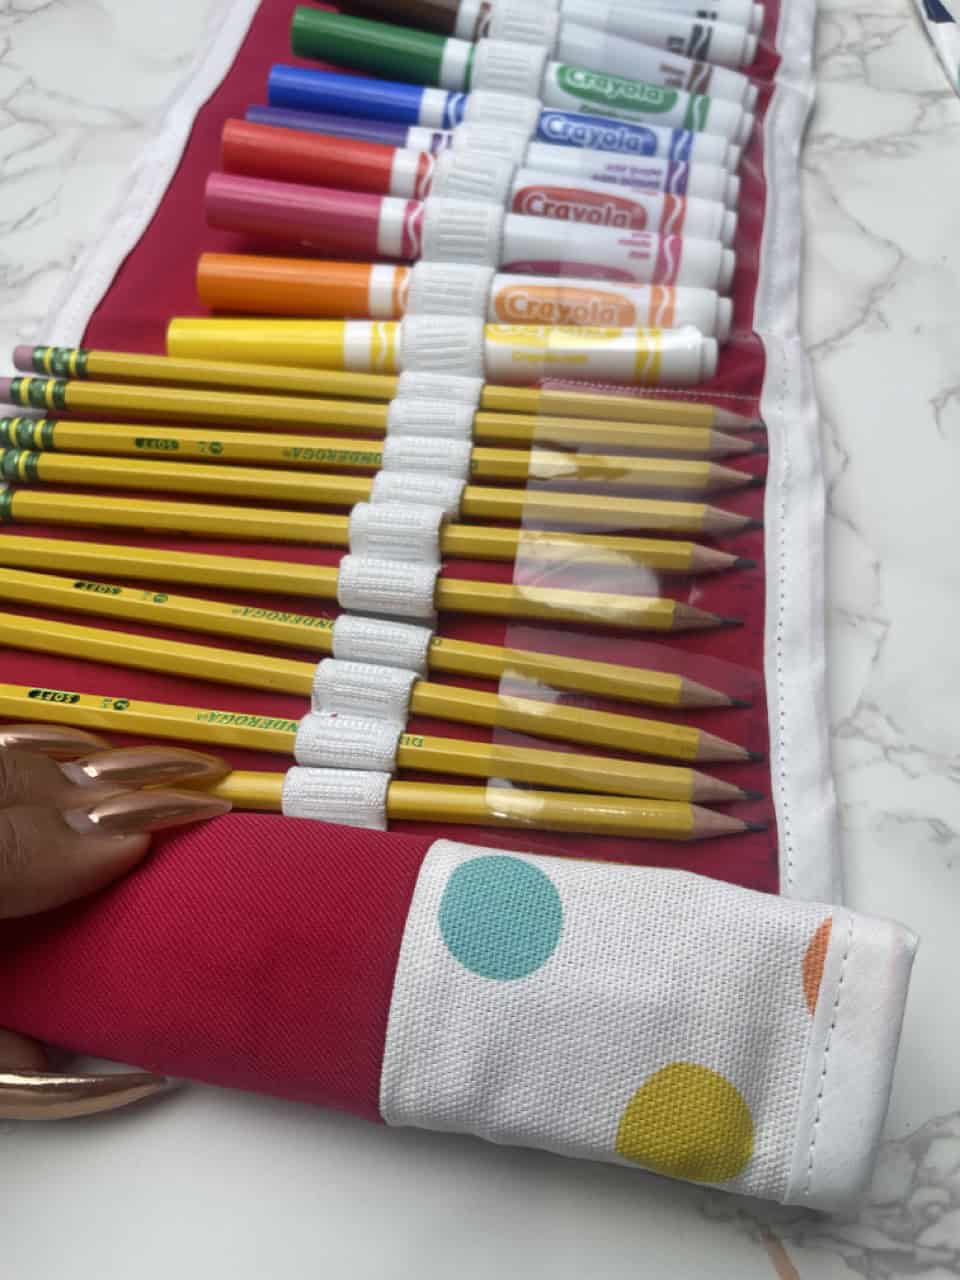
4. Grab your lining piece and using your ruler, mark a straight line about 4.25 inches away from the bottom. Start about two inches in and make your first mark. Then, mark every 3/8″ or 1/2″ for a pencil or 3/4″ for markers. Take your elastic and place it right at the middle of the line. Using a wonder clip to keep it in place. Stitch it in place. You can use a pencil to know how wide to make the elastic band. Continue stitching the elastic to form loops until you get 2″ from the other end. Cut remaining elastic and stitch the raw edge and the other end.

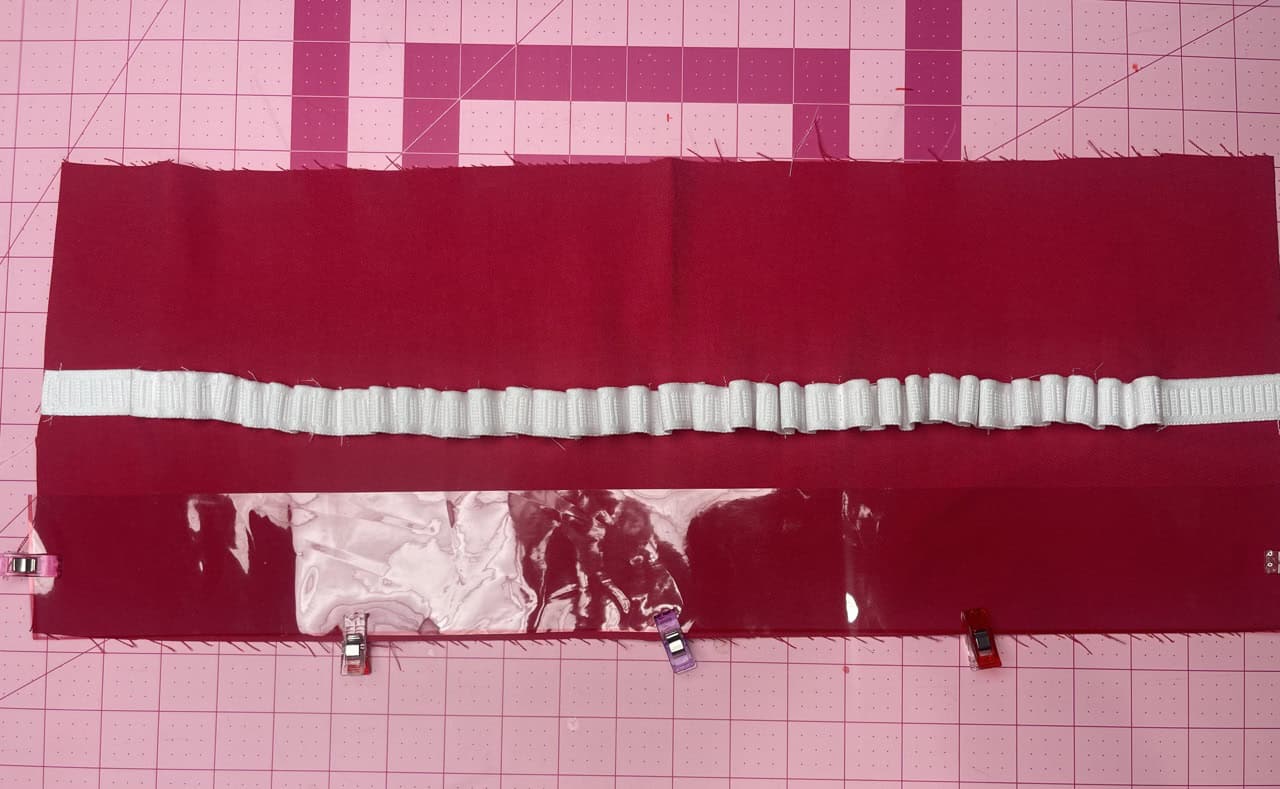
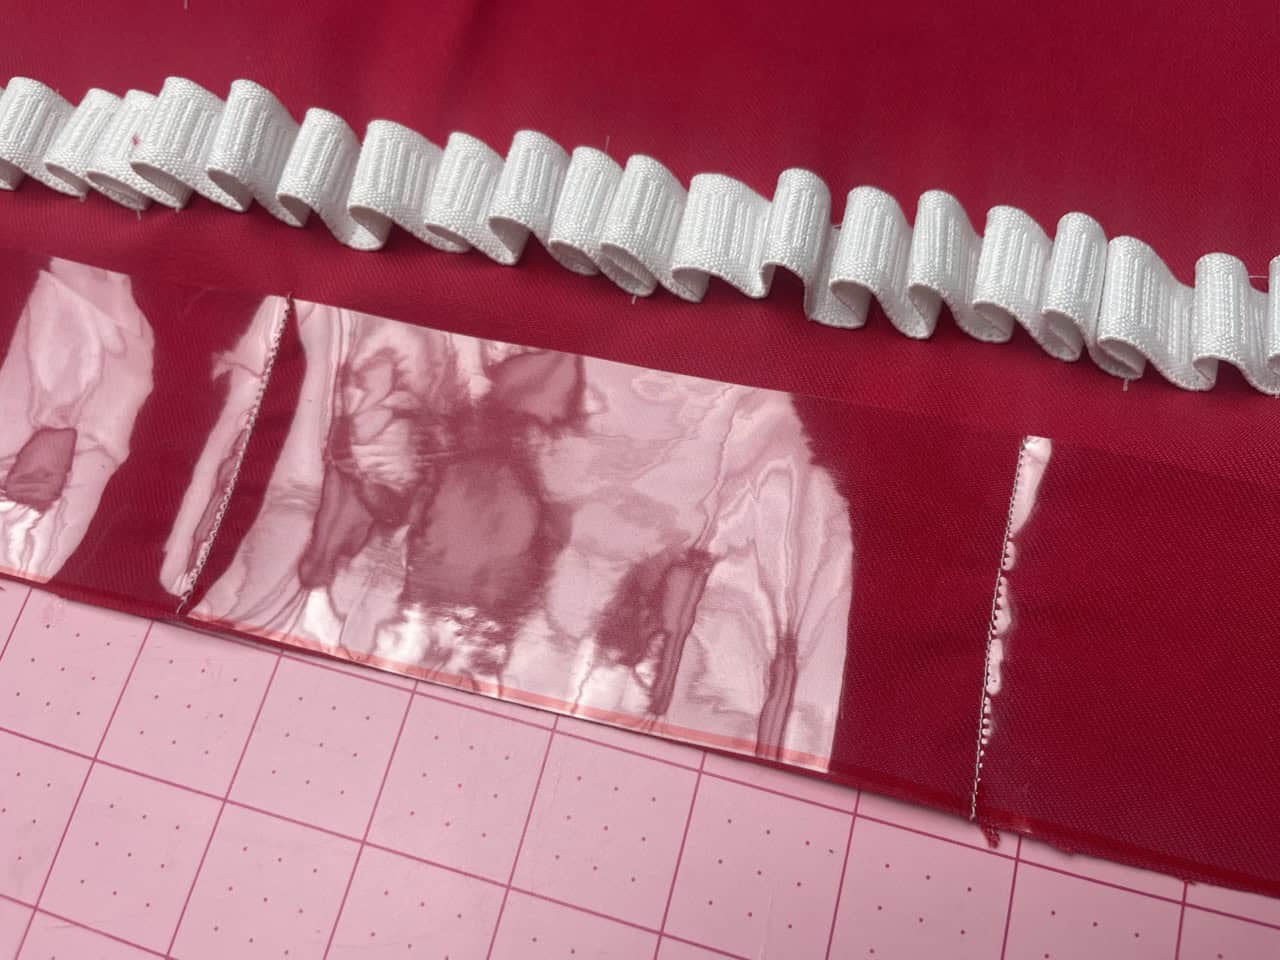
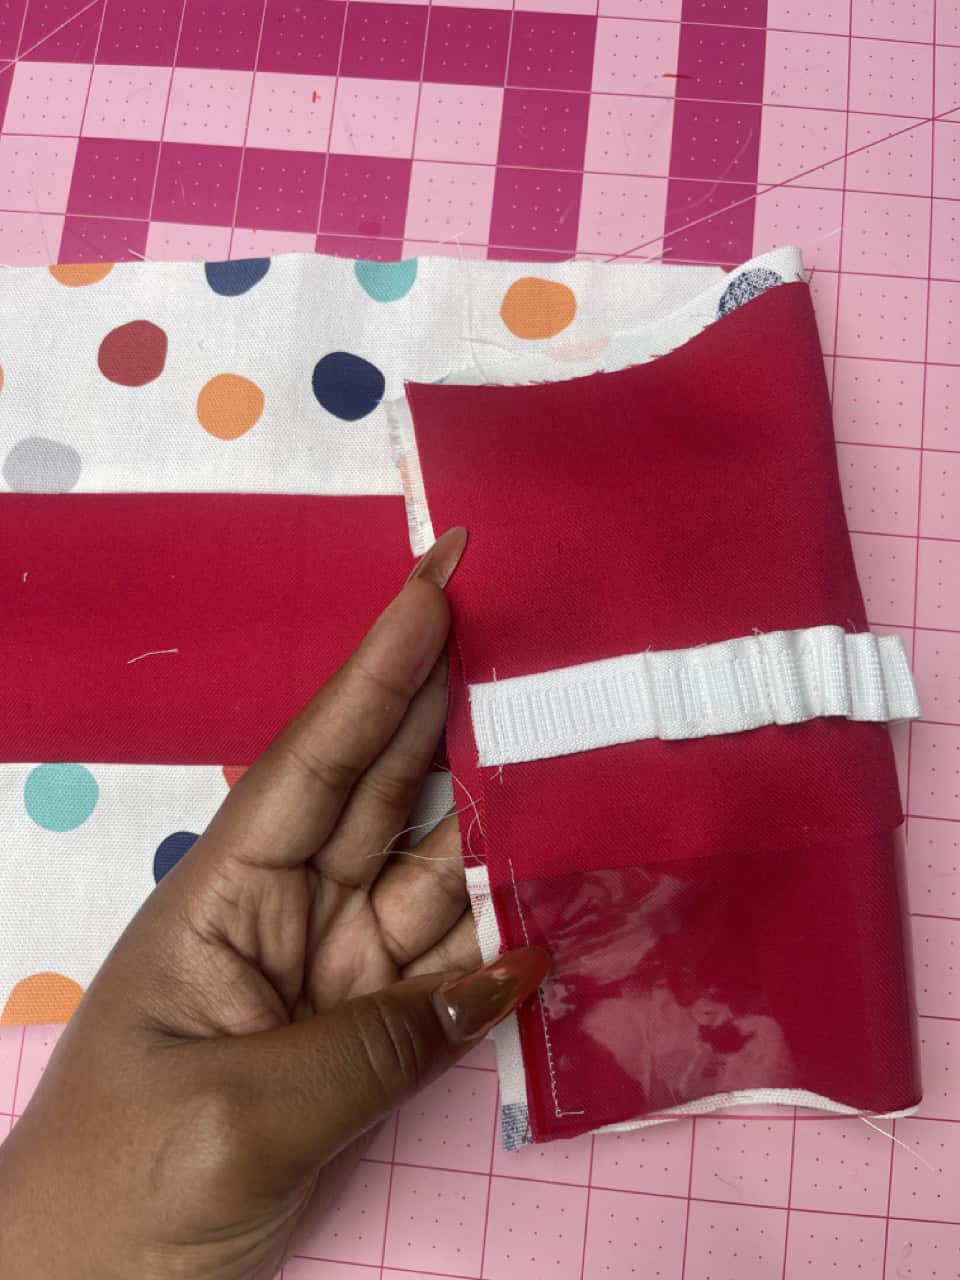
5. Take the vinyl piece and place it at the bottom of your lining fabric. Stitch about 5.5 inches from the edge and continue until you get to the end. Stitch it in place. This is to keep the flap from unrolling when you roll the scroll.
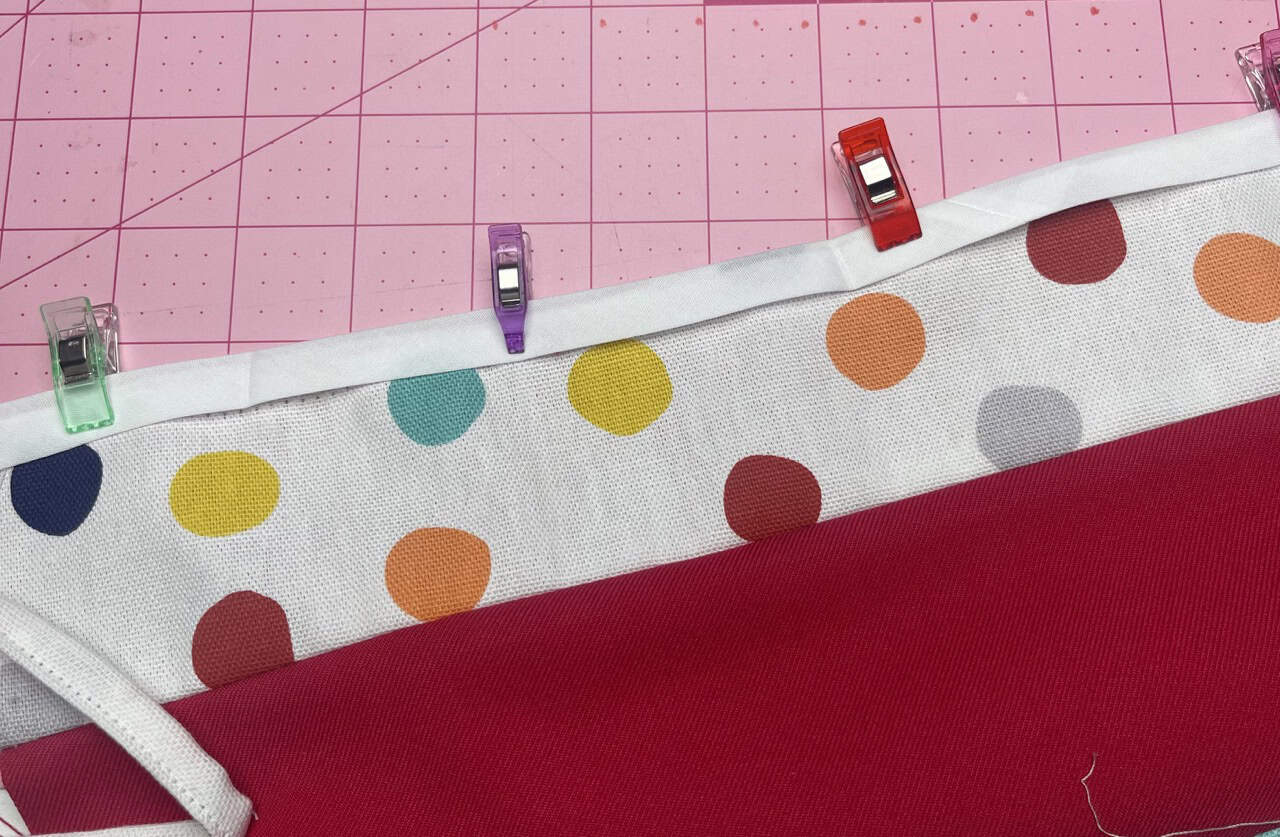
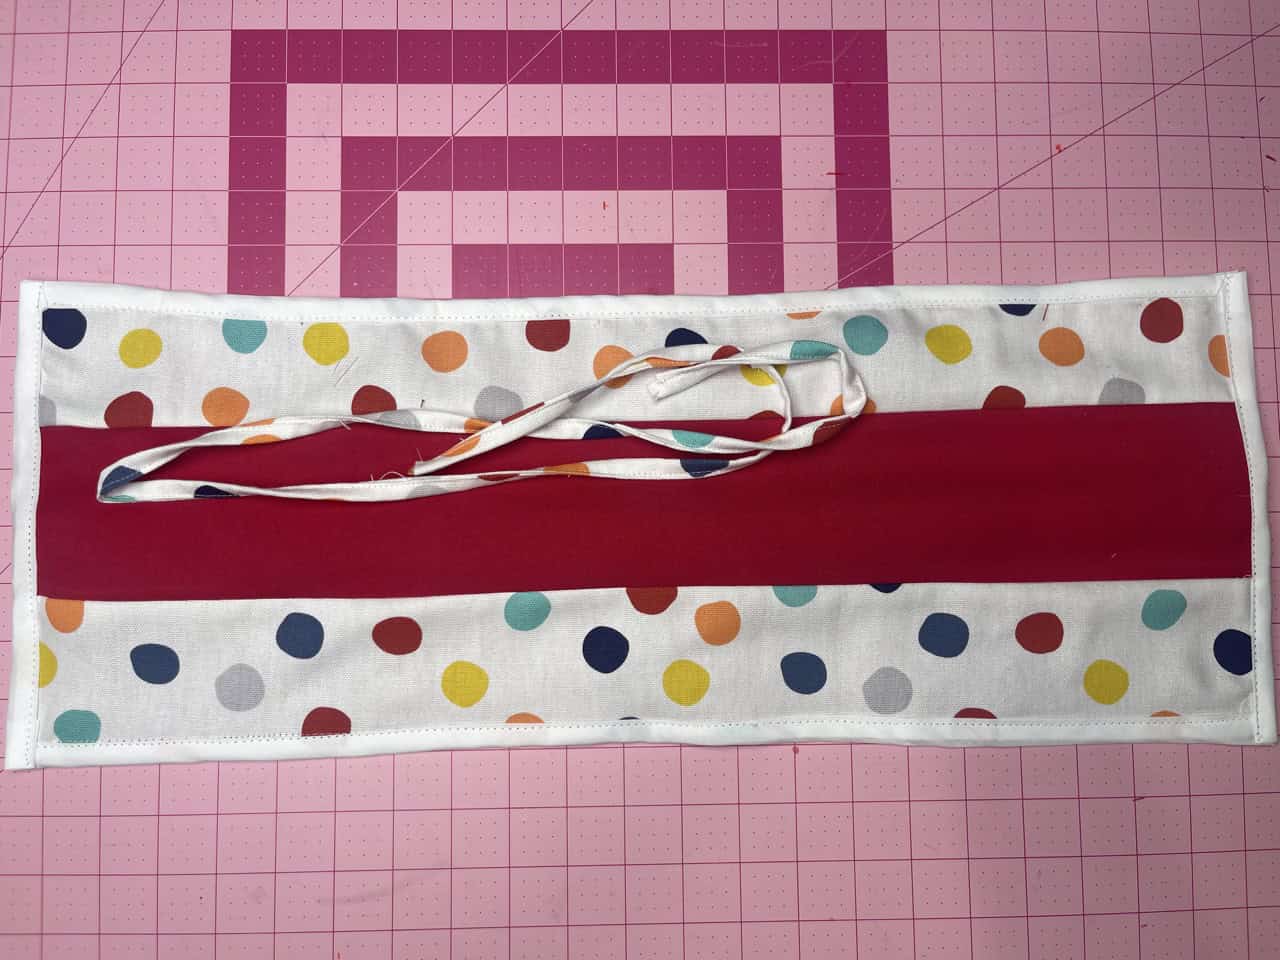
6. With wrong sides together, place your outside fabric and lining fabric together. Take your ties again and take one of the tie ends and line it up at the middle to one of the edges of the outside fabric. Then place the other about 1.5″ away from the other edge and stitch in place.
7. We are almost done! Stitch around the edges of your scroll to keep it in place. Grab your bias tape and stitch it around the edges of the pencil scroll. It gives it a nice clean look.
8. Last thing is now adding your pencils, markers, or whatever you decide to use it for 🙂
Hope you enjoyed this quick and easy tutorial and if you’re a teacher going back to school or have a student going back to school, hope you have a GREAT school year! Happy Stitching!
If you want to keep up with me, Duana, on social media for other fun projects, follow me on social media: Instagram
If you want to keep up with all things Clover, follow us on: Facebook | Twitter | Instagram | Pinterest | YouTube | Ravelry