
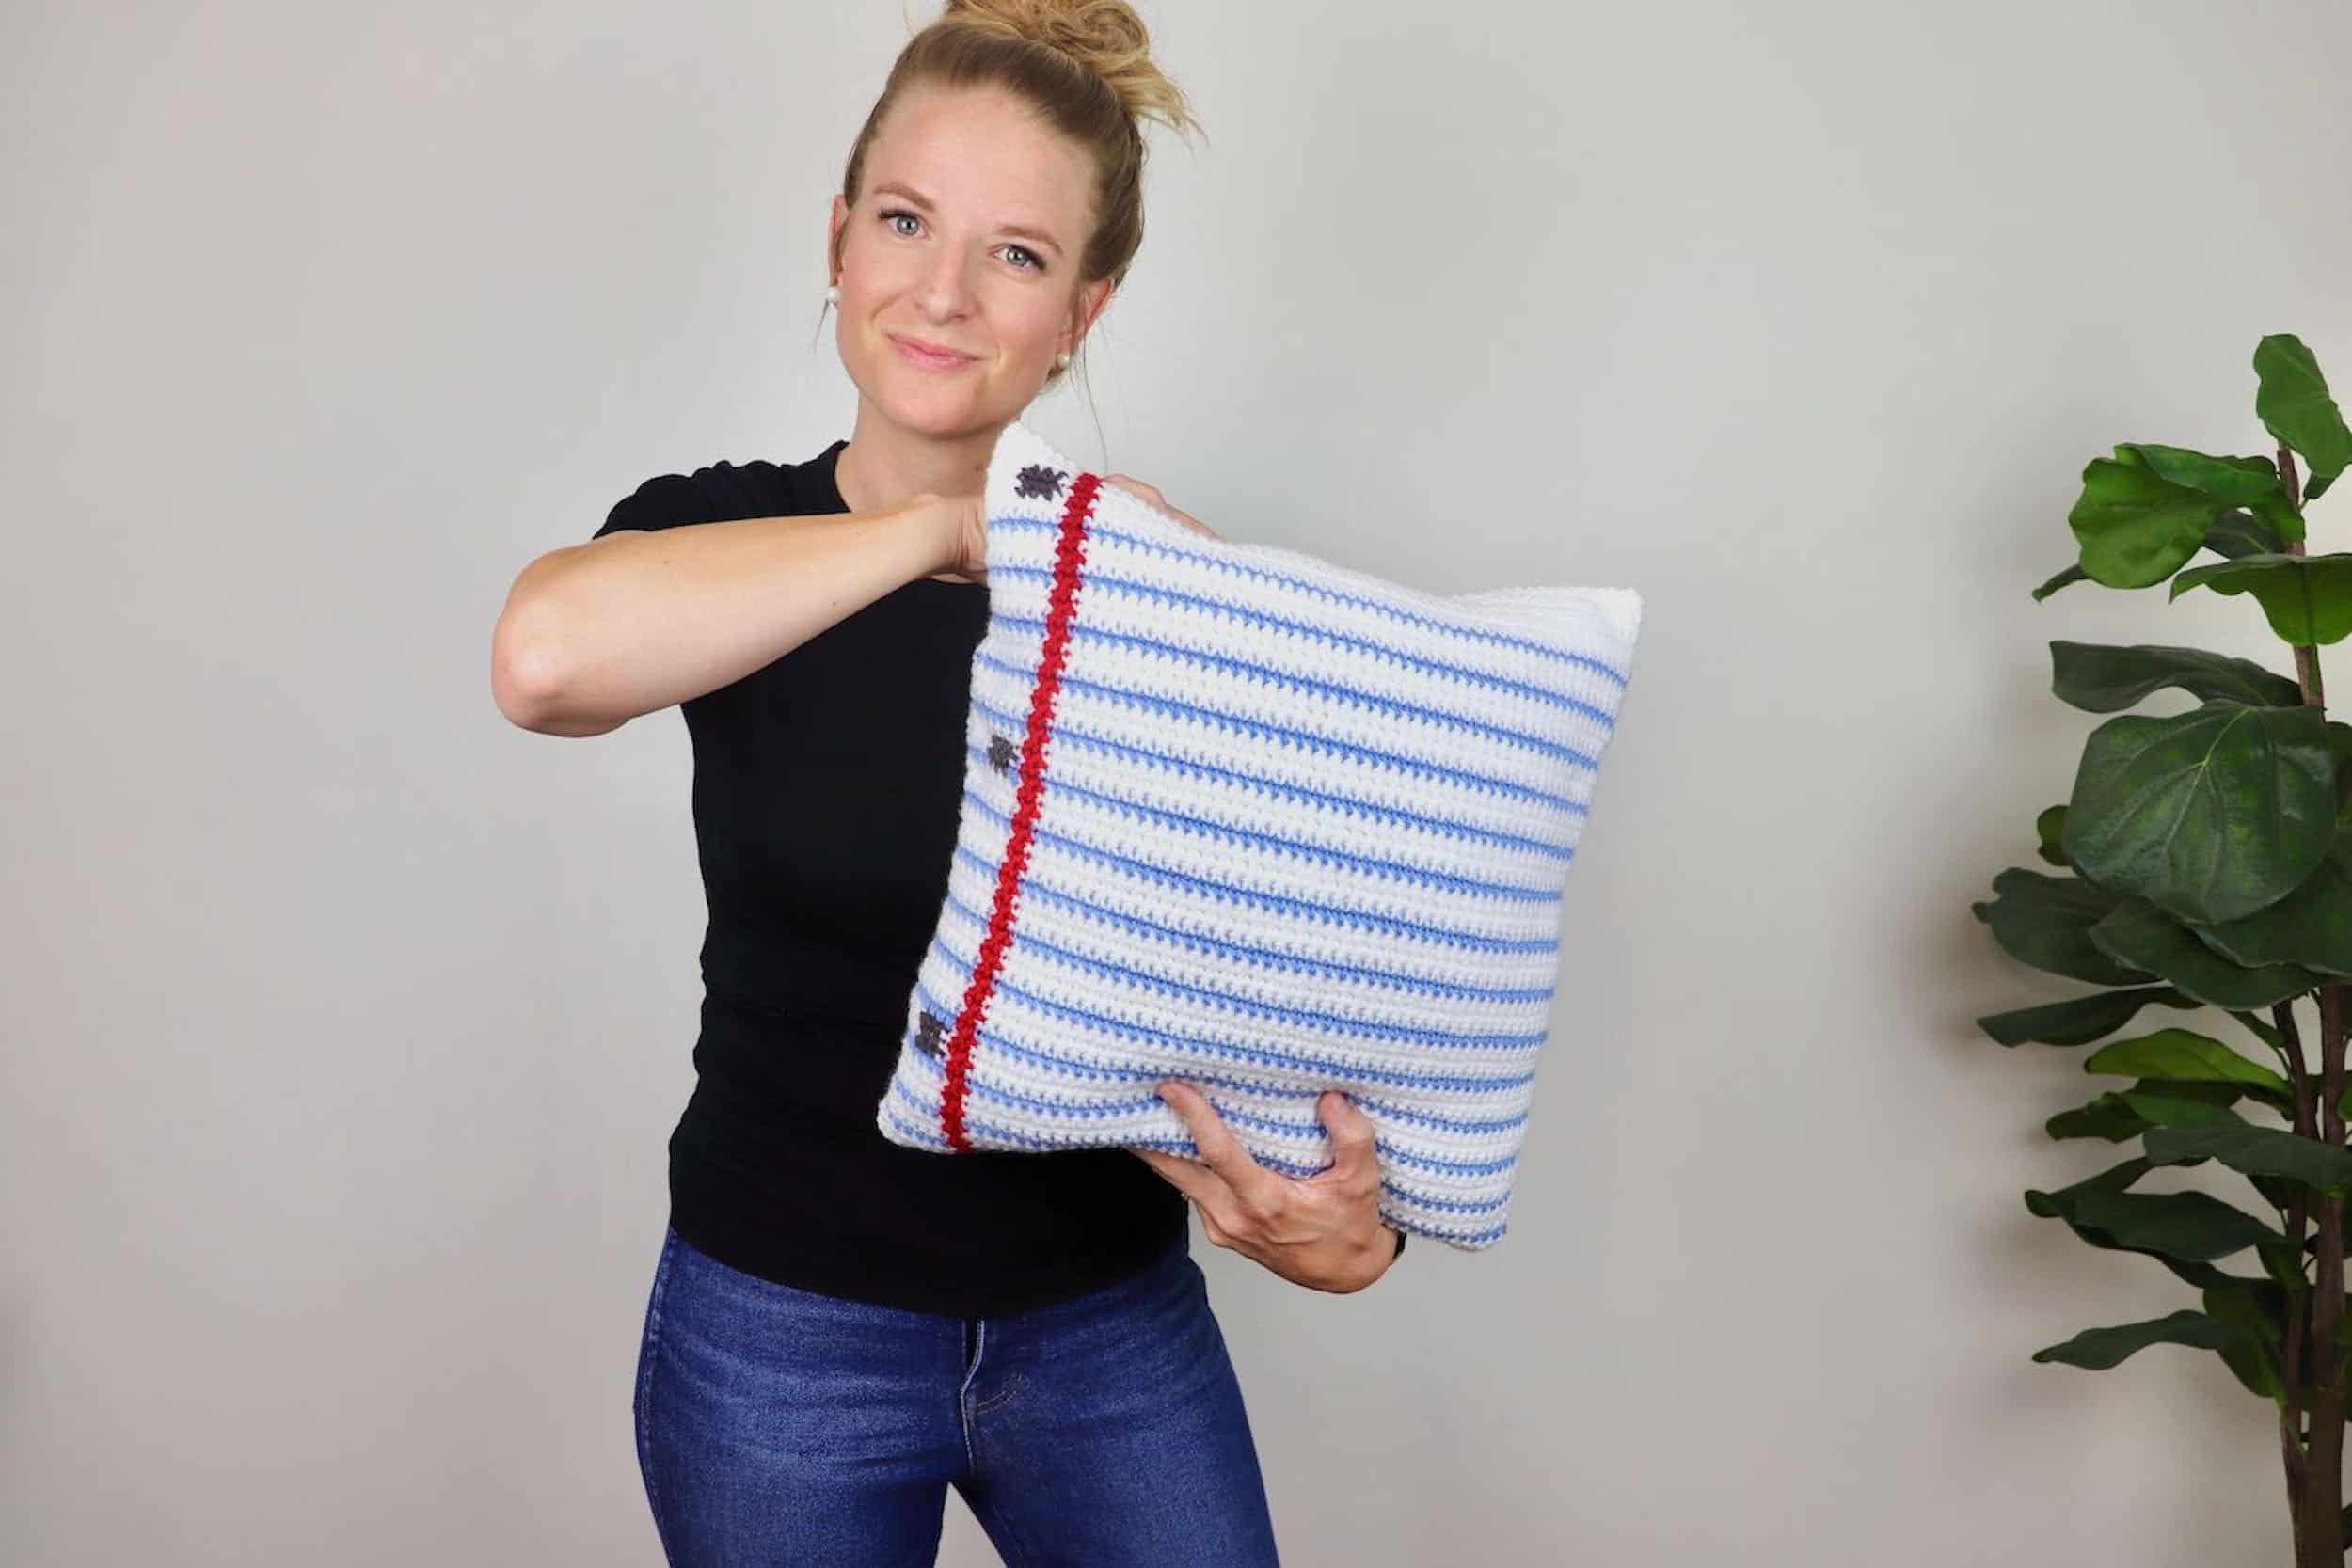
Hey friends! Rachel from Cozy Nooks Designs here. I am a crochet & knit designer, blogger, YouTuber and Crochet Instructor with Annie’s Creative Studio. Today I am going to share with you a new tapestry crochet pattern – the Paper Pillow!
I always wonder what I should make to say “thank you” to my childrens’ teachers. I always love giving a good homemade gift, which is what encouraged me to design this pattern!


The Paper Pillow is considered an experienced beginner pattern. I have some YouTube and blog posts with different crochet techniques to aid you, so don’t be intimidated by it! These will be linked throughout the post.
I will also have 2 more pillow designs that will be releasing later this week. The Pencil Pillow and the Home Sweet Classroom Pillow. If you would like to know when they’ll be released, you can sign up for my newsletter HERE.

Alright, let’s get to the pattern!
Materials:
- Amour Crochet Hook, Size G/4.0 mm (Art. No 1047/G)
- Worsted Yarn, Weight 5 (I used acrylic)
- 485 yards of worsted weight 4 yarn – MC
- 12 yards of worsted weight 4 yarn – CC1
- 60 yards of worsted weight 4 yarn – CC2
- 6 yards of worsted weight 4 yarn – CC3
- 16″ x 16″ Pillow Insert
- Mini Patchwork Scissors (Art. No 493/CW)
- Darning Needle Set (Art. No 339)
- Optional: Marking Pins
Gauge:
14 sc sts = 4″ , 18 rows = 4″
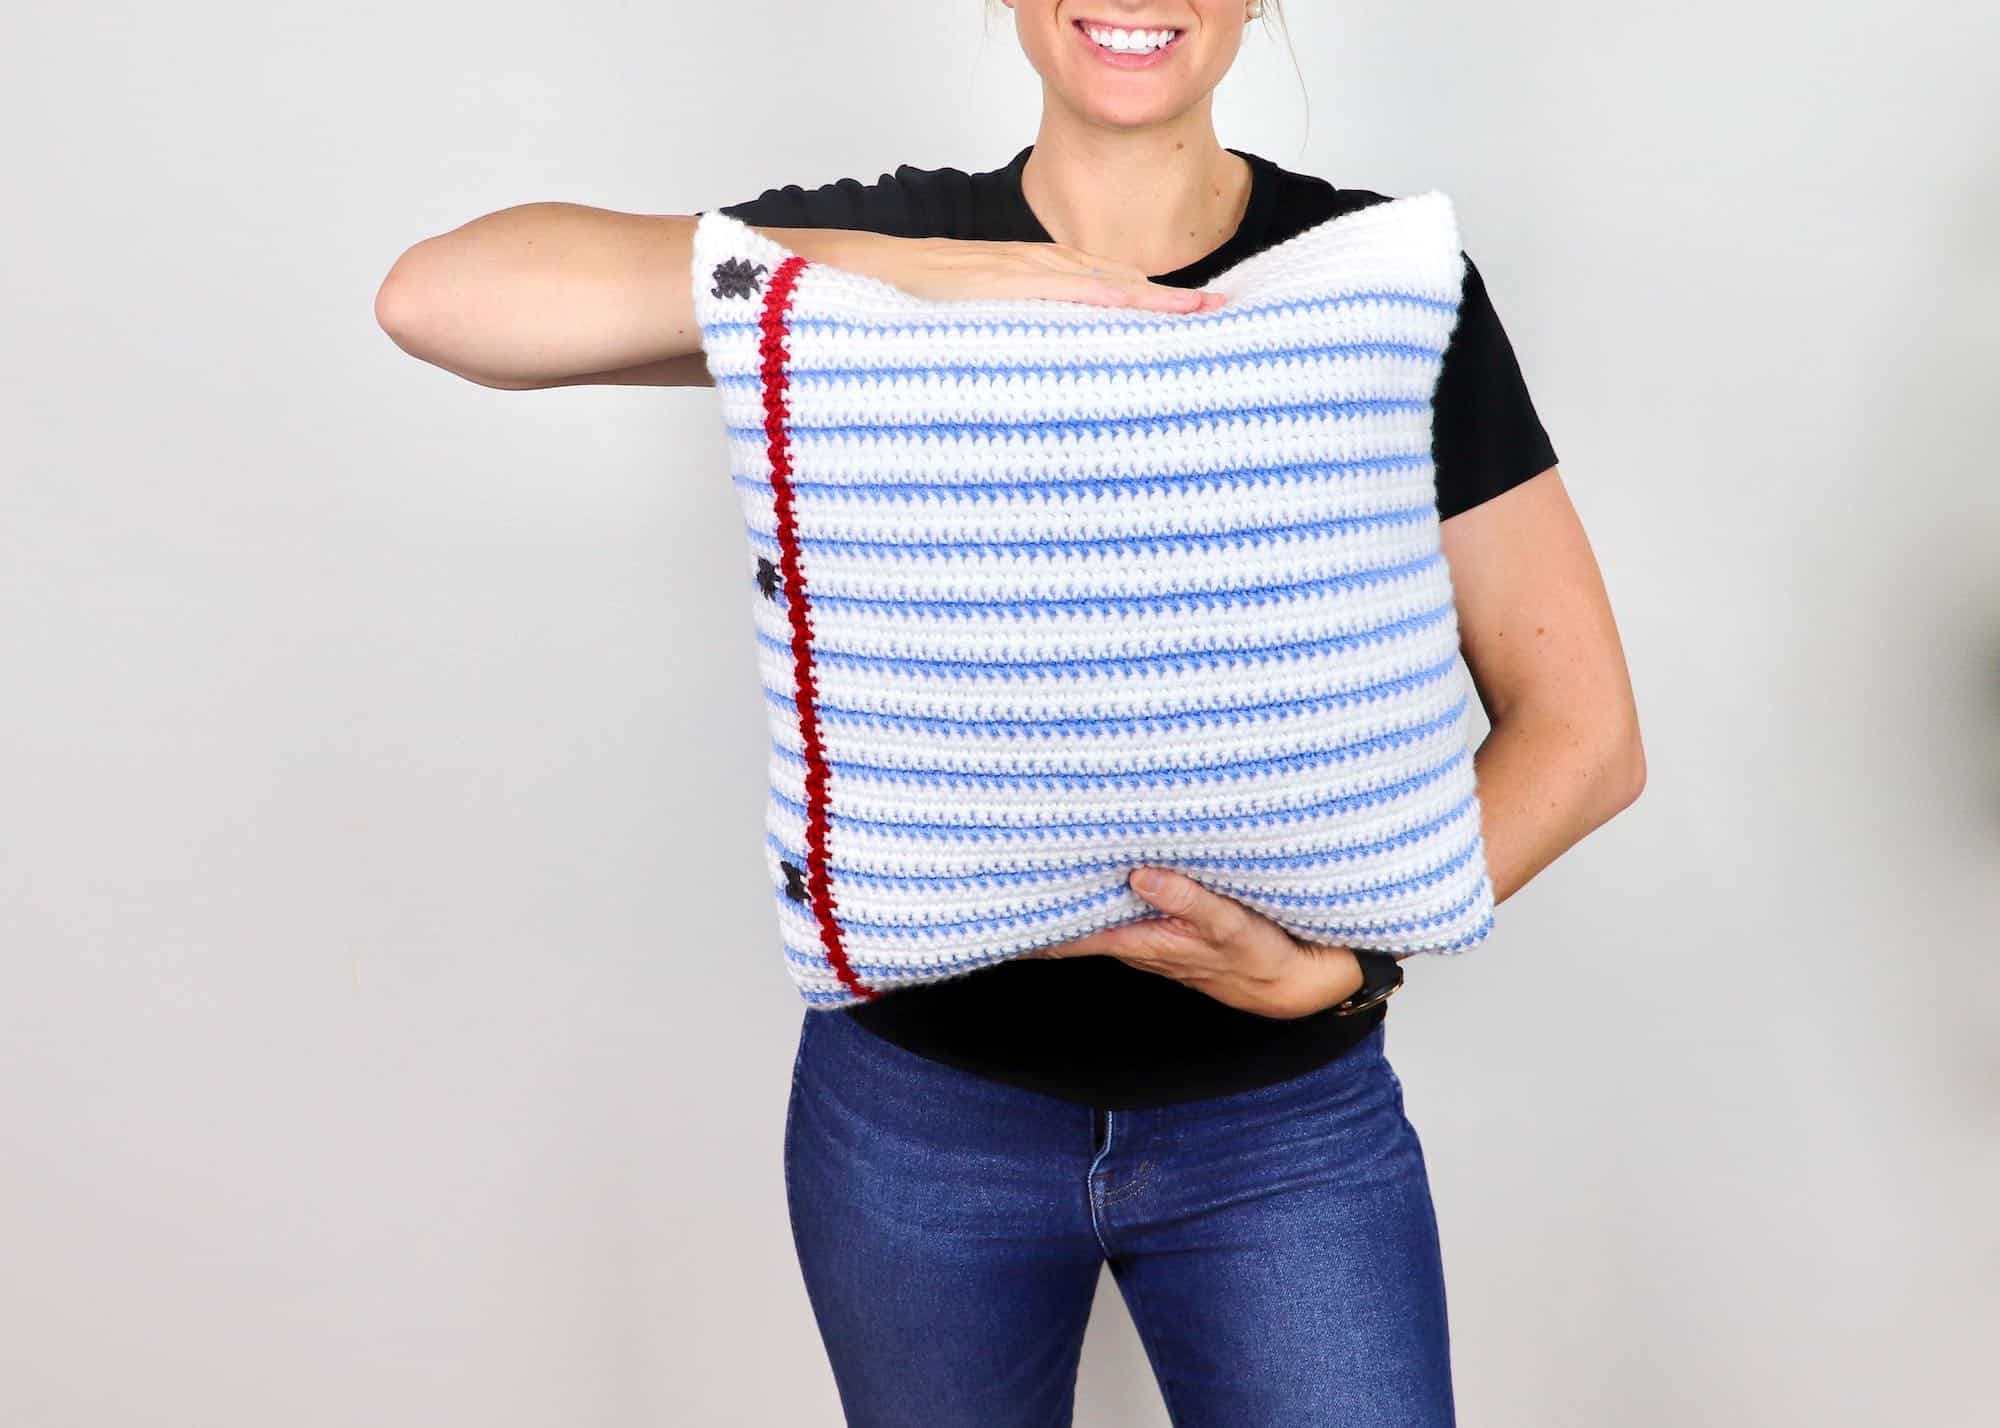
Finished Size:
15.5″ x 15.5″
Terminology
US Crochet Terms Used
- ch – chain
- CC1 – Contrast Color 1 (Red)
- CC2 – Contrast Color 2 (Blue)
- CC3 – Contrast Color 3 (Gray)
- MC – Main Color (White)
- rem – remaining
- RS – Right Side
- sc – single crochet
- st/sts – stitch/stitches
- WS – Wrong Side
Notes
- You will be making this from bottom up.
- When you are on the RS of the piece, you will be on an odd row; when you are on the WS, you will be on an even row.
- The ch 1 does not count as a st.
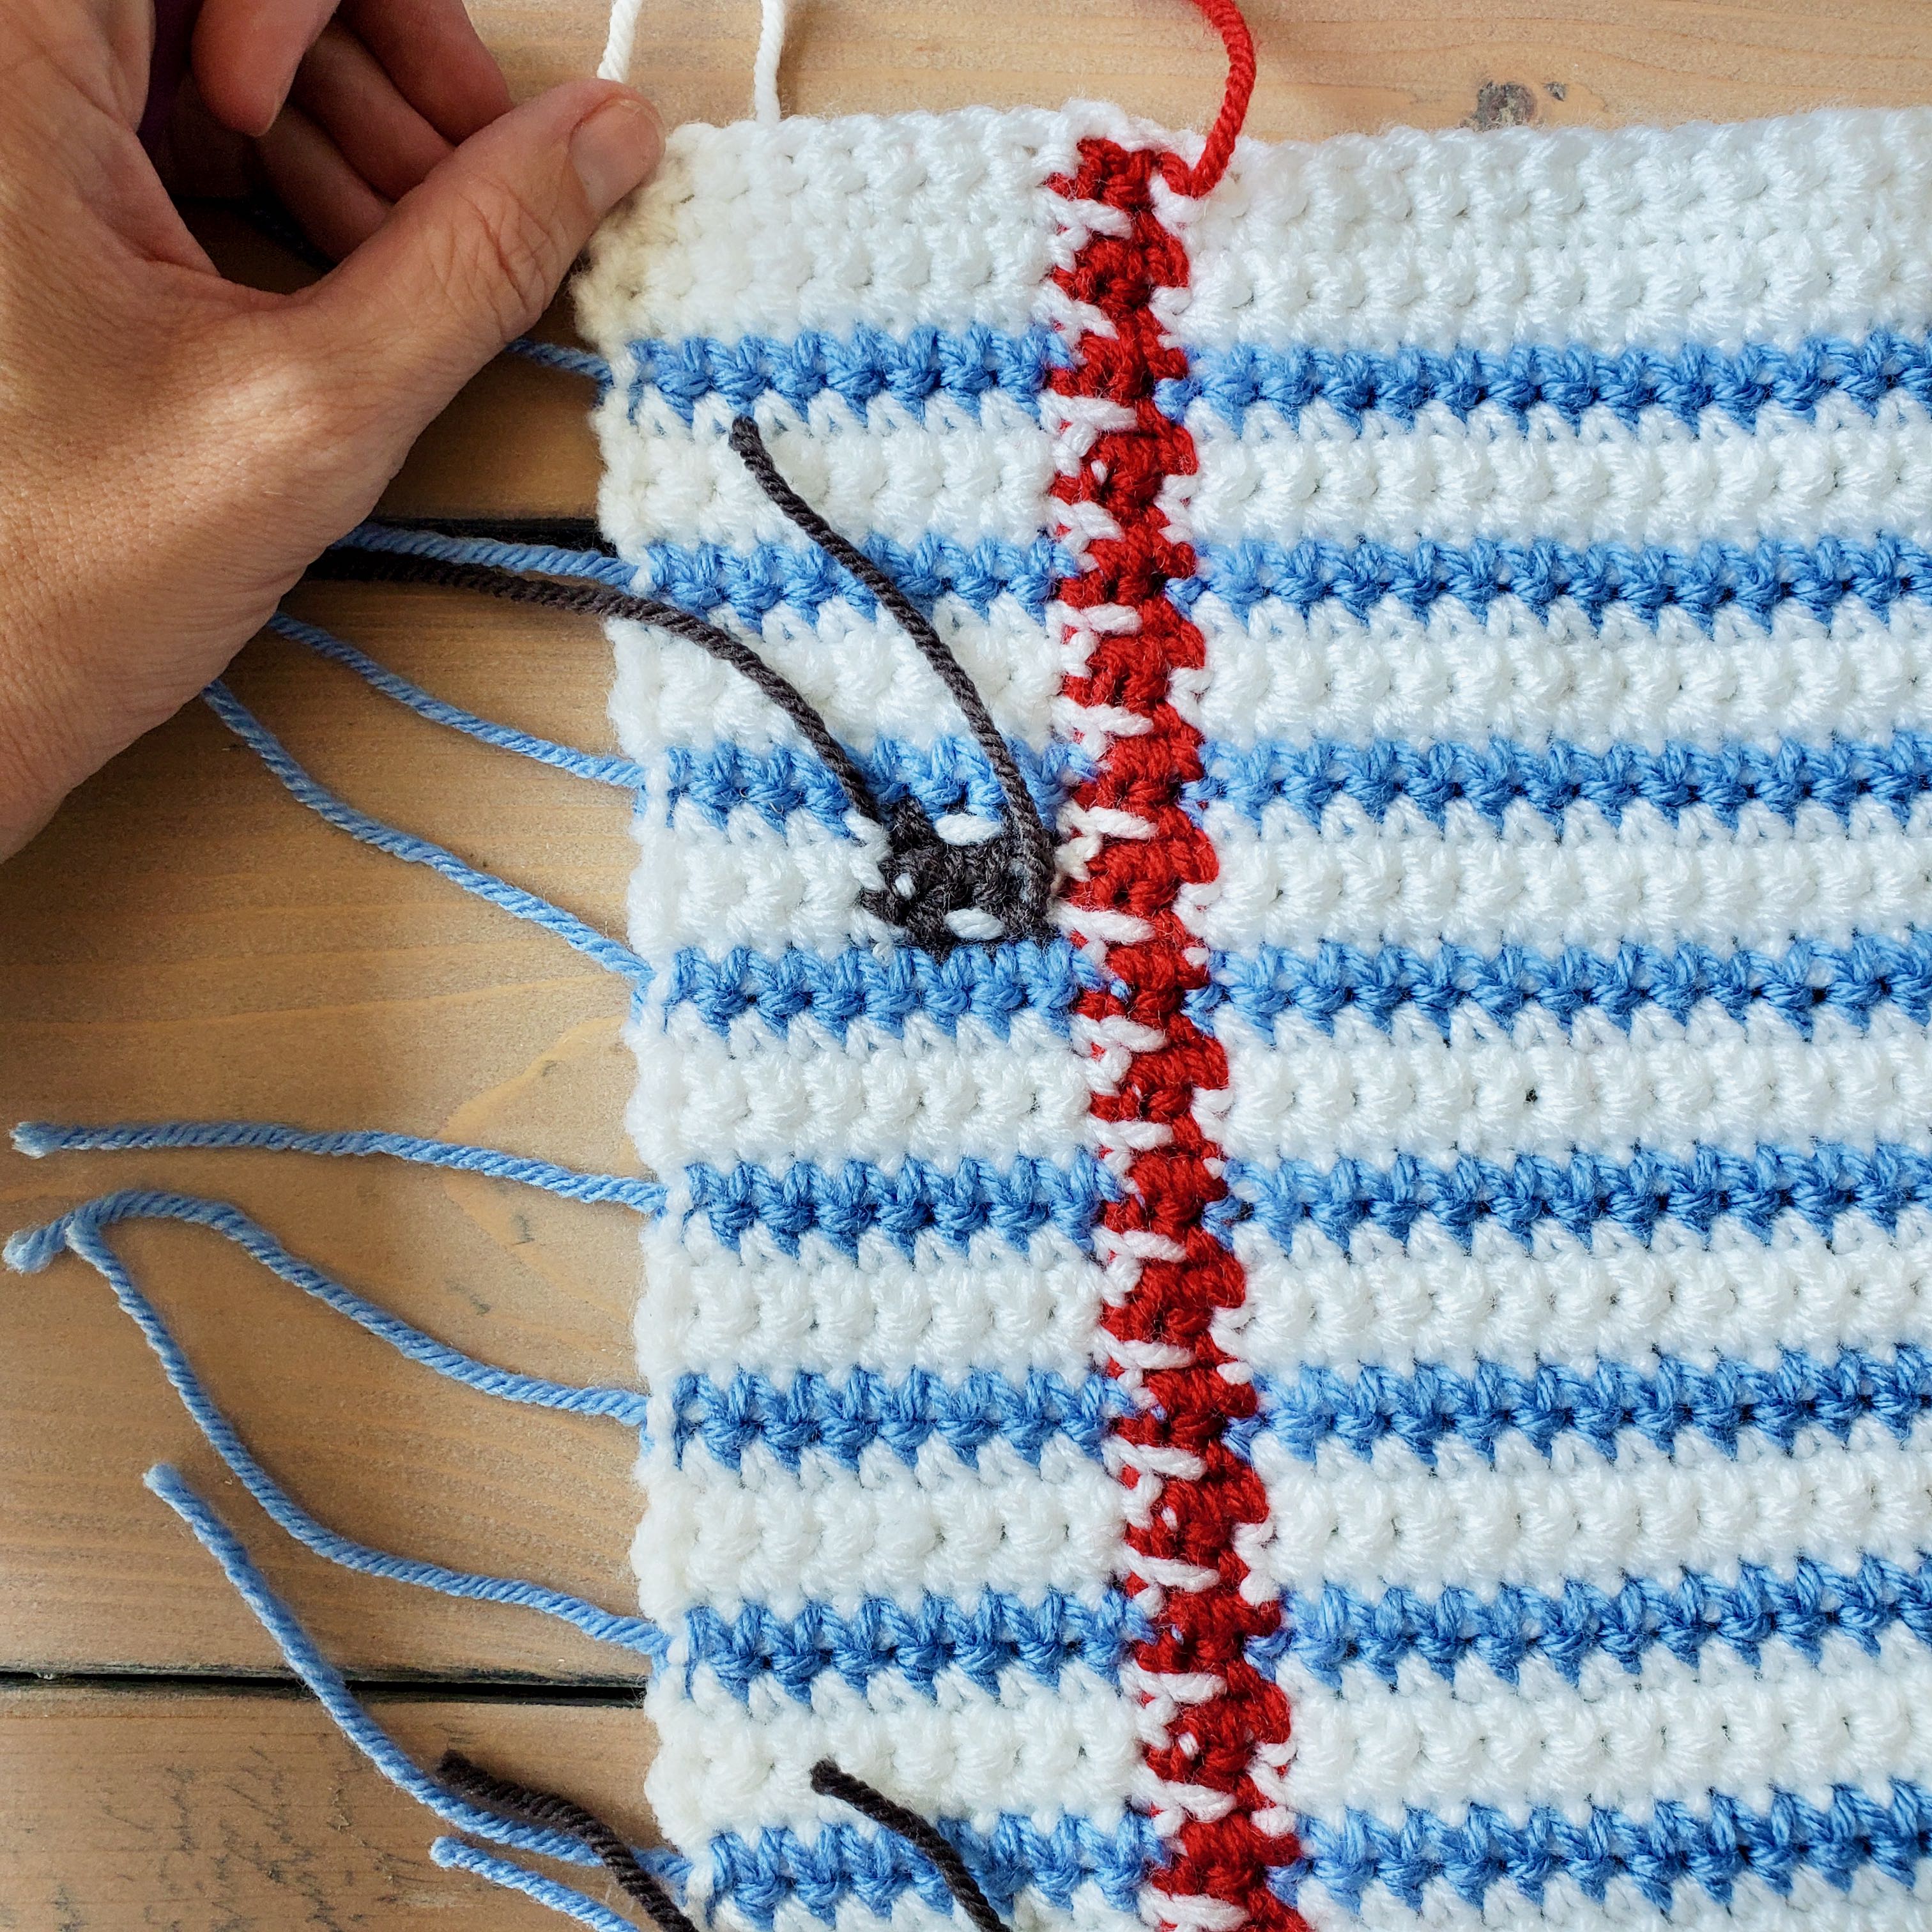
- For the blue line, carry the MC along to pick back up the next row.
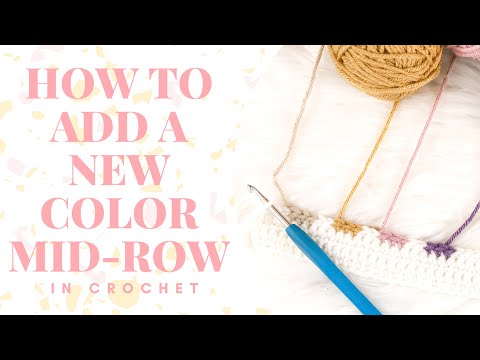
- For the gray portions, create separate bobbins. If you need help on how to add a color mid-row here is a video from my YouTube channel –
- You need to be familiar with how to change colors using the “Yarn Under Technique”. The video below from my YouTube channel also describes this technique –

Front
Using MC sc, ch 56
Row 1: sc 1 in 2nd ch from hook, sc 1 in 43 chs, using CC1, sc 1 in 2 chs, using MC, sc 1 in 9 chs, turn (55 sts)
Row 2: ch 1, MC sc 9, CC1 sc 2, MC sc 44, turn
Row 3: ch 1, MC sc 44, CC1 sc 2, MC sc 9, turn
Row 4: rep row 2
Row 5: ch 1, CC2 sc 55, turn
Rows 6-13: rep rows 2-5
Row 14: rep row 2
Row 15: ch 1, MC sc 44, CC1 sc 2, MC sc 1, CC3 sc 3, MC sc 5, turn
Row 16: rep row 2
Row 17: rep row 5
Rows 18-33: rep rows 2-5
Row 34: rep row 2
Row 35: rep row 3
Row 36: rep row 2
Row 37: ch 1, CC2 sc 47, CC3 sc 3, CC2 sc 5, turn
Row 38: ch 1, MC sc 5, CC3 sc 3, MC sc 1, CC1 sc 2, MC sc 44, turn
Row 39: ch 1, MC sc 44, CC1 sc 2, MC sc 1, CC3 sc 3, MC sc 5, turn
Row 40: rep row 2
Row 41: rep row 5
Rows 42-57: rep rows 2-5
Rows 58-59: rep rows 2-3
Row 60: ch 1, MC sc 5, CC3 sc 3, MC sc 1, CC1 sc 2, MC sc 44, turn
Row 61: ch 1, MC sc 44, CC1 sc 2, MC sc 1, CC3 sc 3, MC sc 5, turn
Row 62: ch 1, MC sc 5, CC3 sc 3, MC sc 1, CC1 sc 2, MC sc 44, turn
Row 63: rep row 3
Rows 64-69: rep rows 2-3
Row 70: ch 1, MC sc 9, CC1 sc 2, MC sc 44
Fasten off.

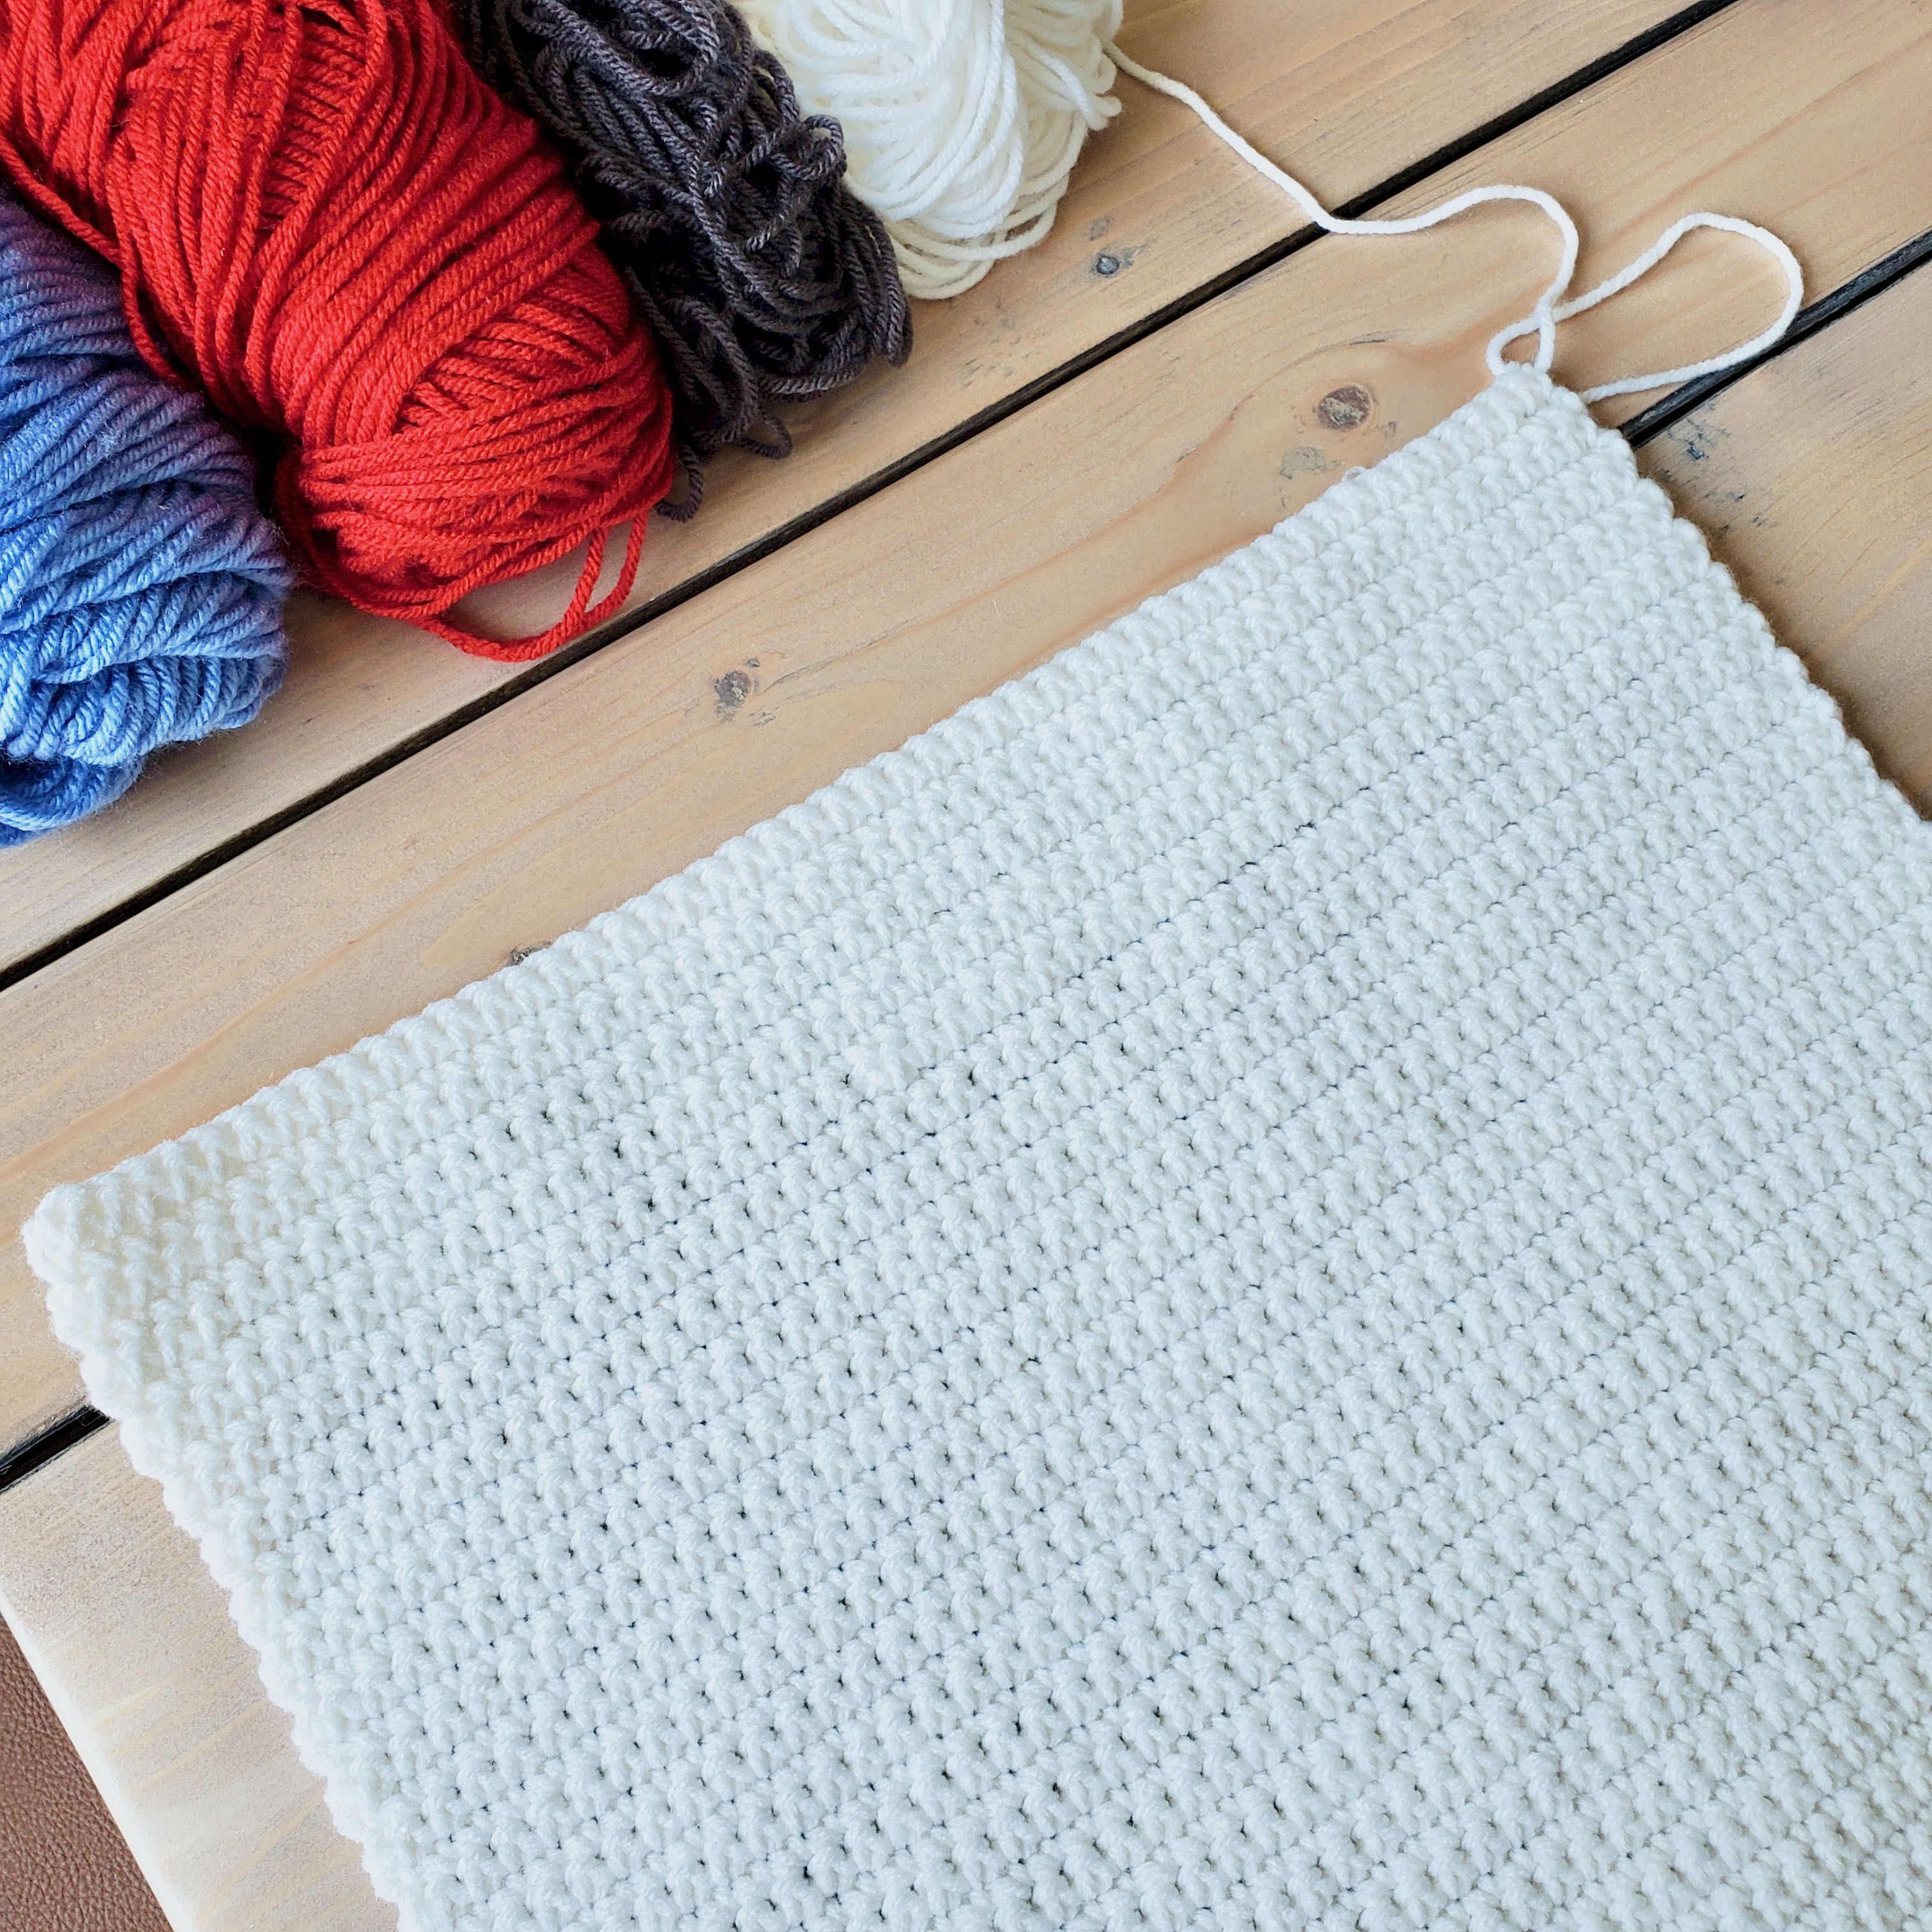
BACK
Using MC, ch 56
Row 1: sc 1 in 2nd ch from hook, sc 1 in each ch across, turn (55 sts)
Rows 2-69: ch 1, sc across, turn
Row 70: ch 1, sc across
Fasten off.

ASSEMBLY
Step 1: Hold Front and Back with RS together. You may want to pin Front and Back together to match panels up.
Step 2: Sc around edges leaving bottom of the pillow open.
Step 3: Flip pillow RS out.
Step 4: Insert pillow.
Step 5: Whip st rem side closed. You may want to pin Front and Back together.
Fasten off. Weave in yarn ends.


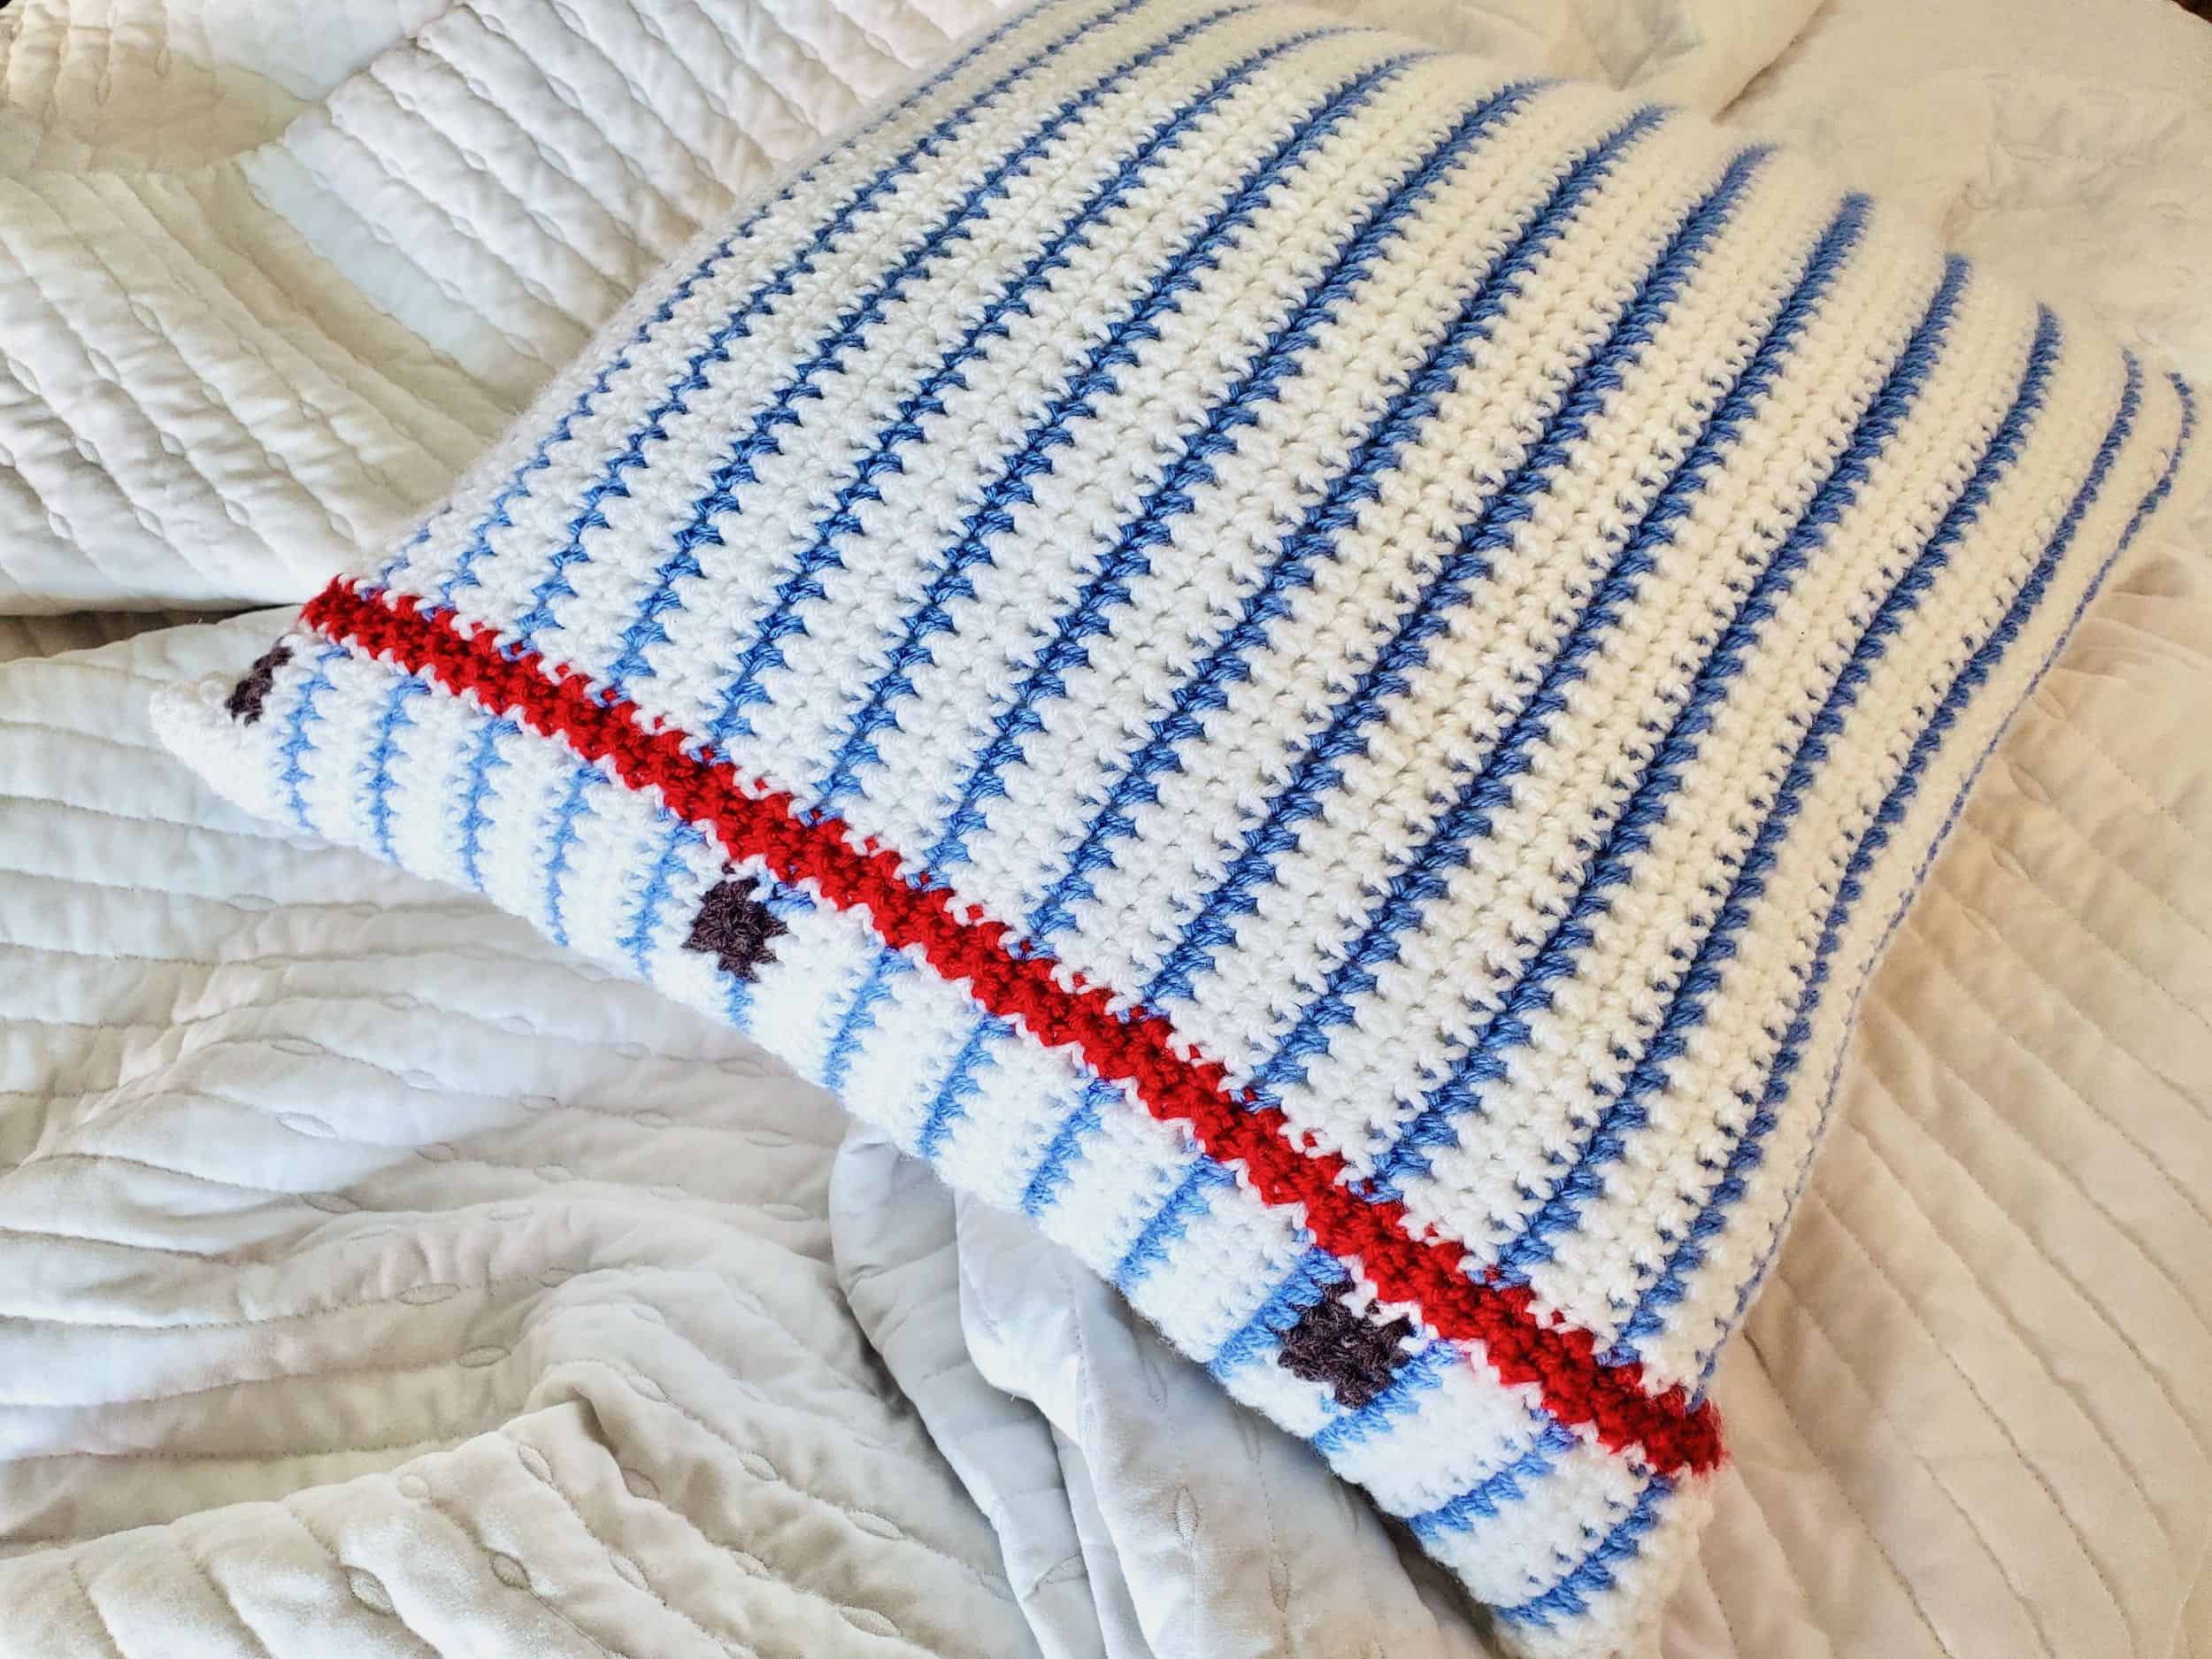
Hopefully this pillow gets you excited for the upcoming school year!
I would love to see your Paper Pillow. Please tag me @cozynooksdesigns and use #PaperPillow on Instagram for a chance to be featured!
You can purchase the chart and written instructions for the Paper Pillow by clicking HERE if you prefer Etsy or HERE is you prefer Ravelry. I also have it for sale on my website HERE.
Can’t wait to see your Paper Pillow!


Find Cozy Nooks Designs on her Blog | Instagram | YouTube | Facebook | Pinterest | Etsy | Ravelry