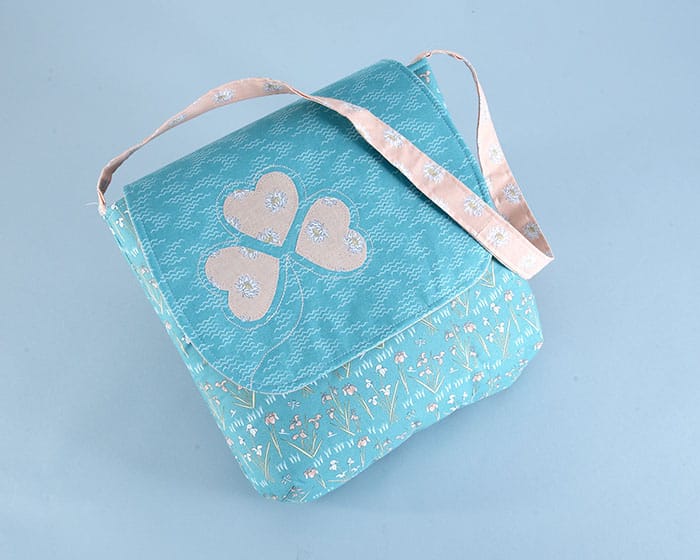
Clover Messenger Bag

Designed by Debbie Shore
This stylish bag is perfect for day or evening, and simple to make when you have the right tools!
Gather these supplies
Tools
- Curve Ruler with Mini Ruler – Art No. 7006
- Wonder Clips – Art No. 3155-3189
- Patchwork Scissors (Large) – Art No. 493/L
- Water Erasable Marker (Thick) – Art No. 516
- Ruler
Materials
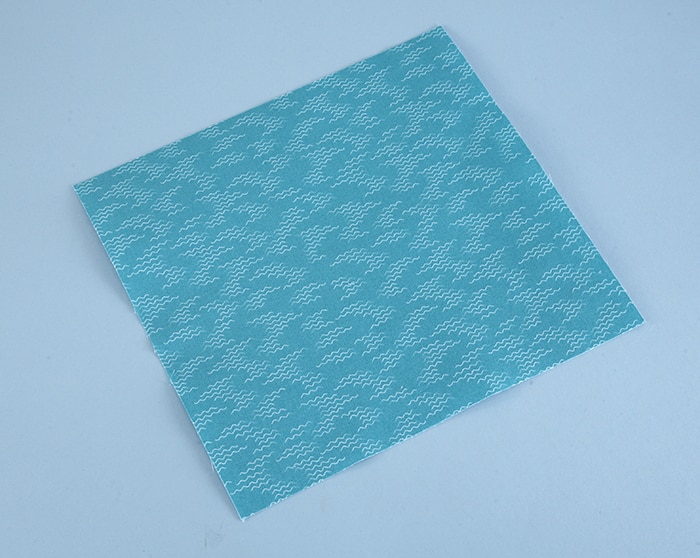
- 26″ x 24″ outer fabric
- 26″ x 21.5″ medium weight interfacing
- 10.5″ x 10″ contrast fabric for the flap
- 30″ x 26″ lining fabric
- Magnetic snap closure
- 6″ square fusible adhesive sheet
Let’s get started…

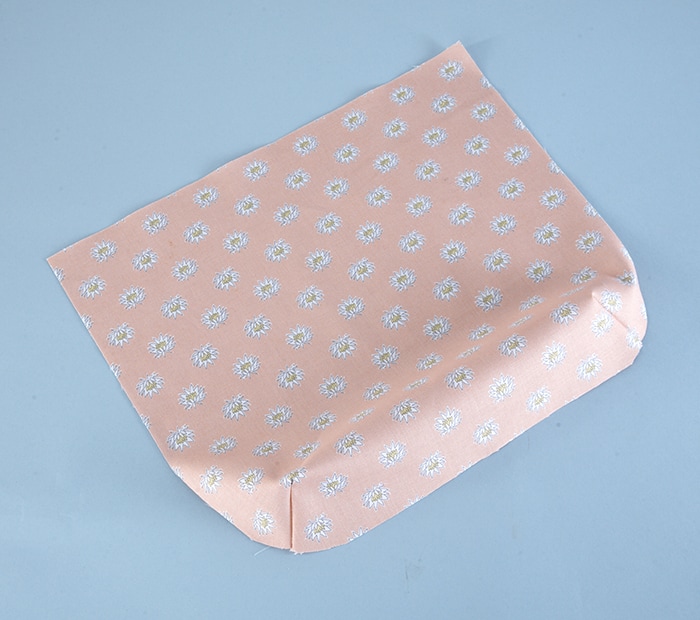
Measure then cut the outer fabric into two pieces, each measuring 13″ x 12″
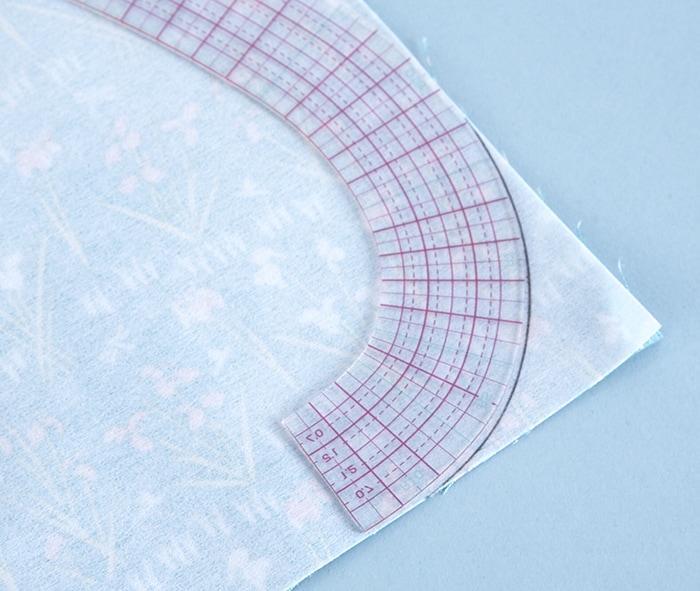
Fuse stabilizer to the wrong sides of each piece. Take your curved ruler (not just for dressmaking!) making sure the end is at right angles to the bottom of your fabric. Draw around the curve to make the base round.
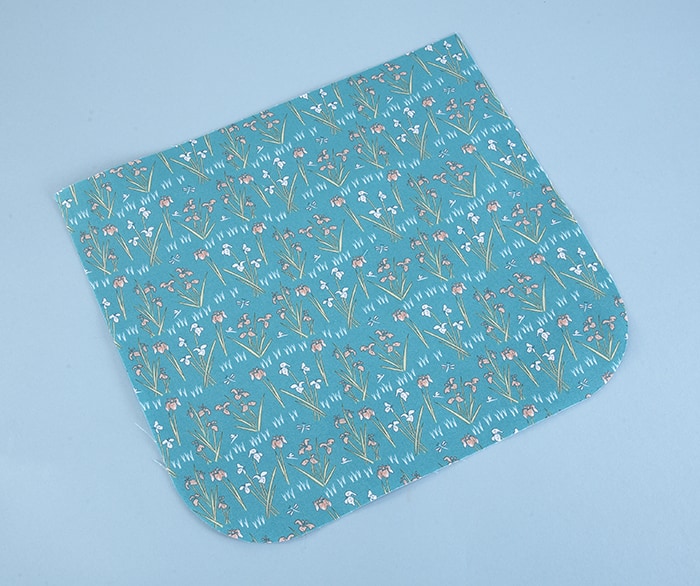
Cut this shape from both outer pieces.
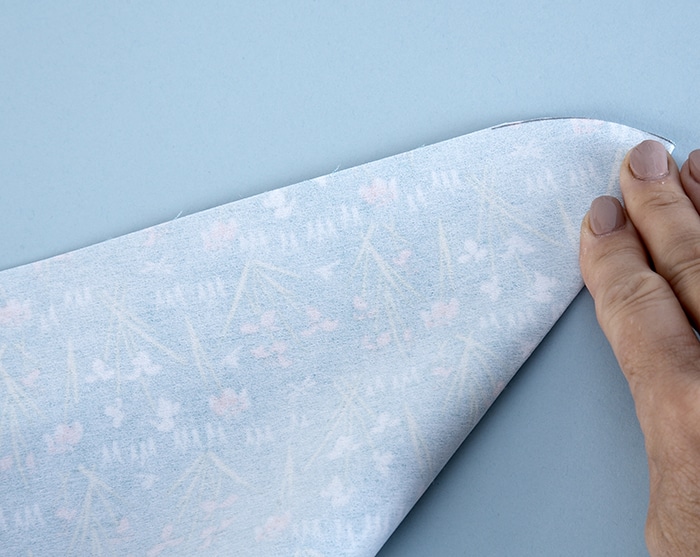
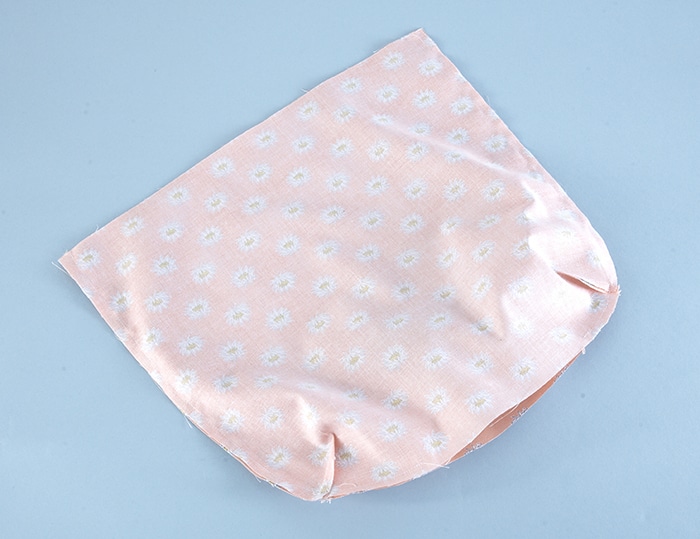
Fold the bottom of each piece so that it matches the side, crease the diagonal line.
Open the fabric to see the crease line.

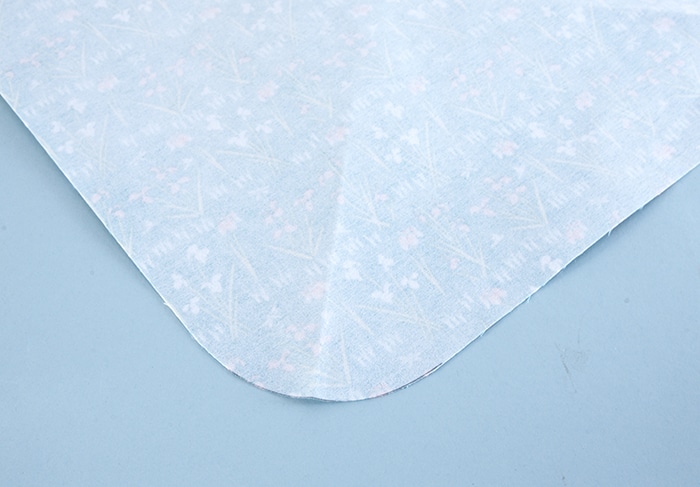
Measure, mark, and cut 1″ from the edge on the creases to create triangular darts.

Use that piece as a template to cut two lining pieces.
Pinch darts together and sew.
Fuse stabilizer to wrong side of the fabric to be used for the flap.
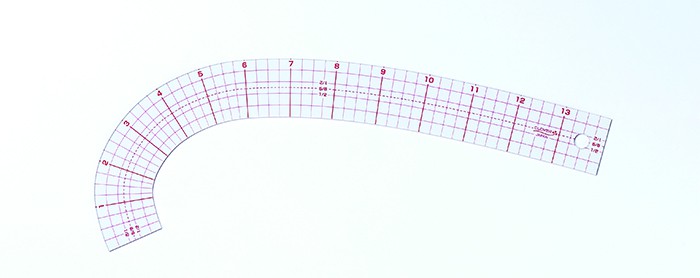
Take your curved ruler, place 1″ from top corner making sure that the curve of the ruler sits over the bottom edge of the fabric. Draw the curve around both sides. You’ll end up with the perfectly curved flap.

Place the thinner half of the magnetic fastening to the center of the flap lining about 1.5″ from the edge. Here’s a tip: place an extra piece of fabric behind the fastening to strengthen the holes.
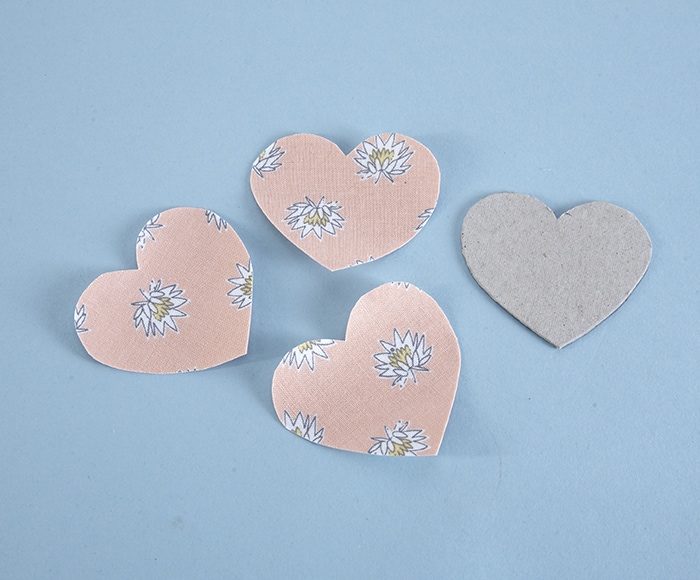
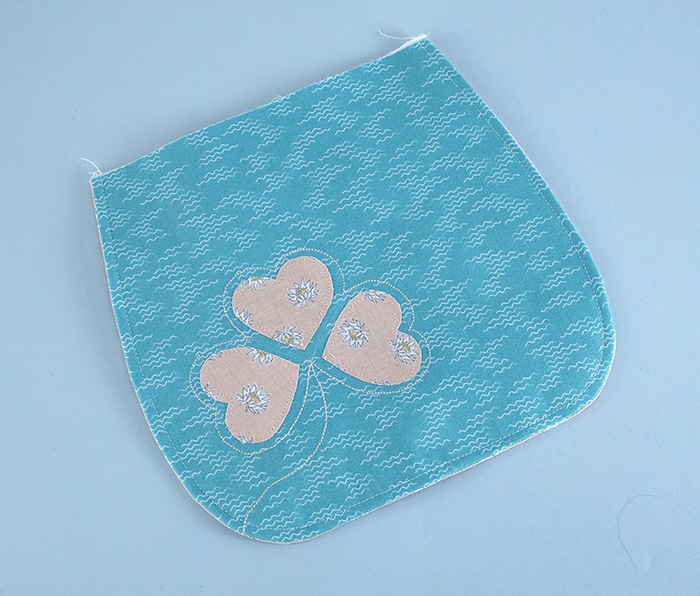
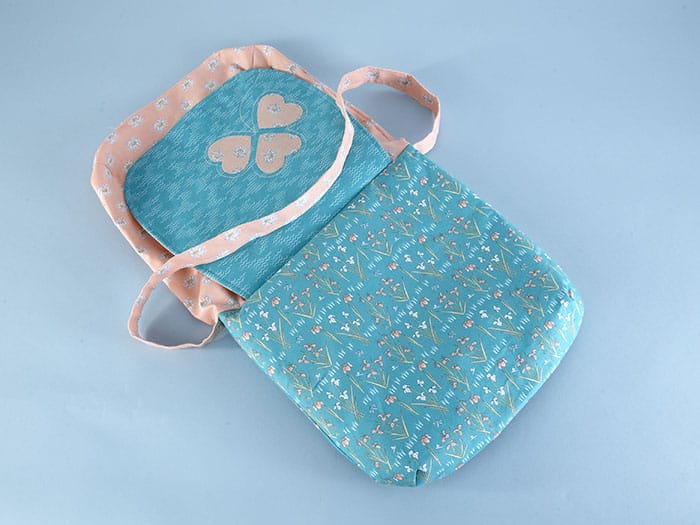
Use fusible adhesive sheet on a piece of lining fabric. Draw and cut out three hearts for the clover.

Iron the hearts to the right side of the flap, just to one side. Sew around the outline of the hearts with a triple stitch on your sewing machine. Take the stitch line to one side of the flap to create the “stem”.
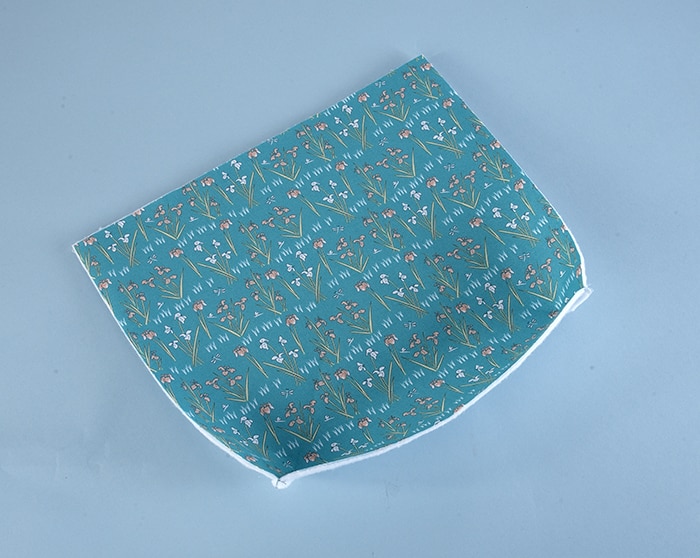
Sew the two lining pieces right sides together, leaving the top open. Turn the right side out and press.
Fit the second half of the magnetic closure to the front of the bag about 6″ from the top edge. Sew the flap, right sides together along the edge of the backside of the bag.  Sew the front and back of the bag right sides together, leaving the top open and matching the dart seams. Turn the right side out.

Cut a length of lining measuring 30″ x 4″ for the strap, fold in half lengthways and crease, then fold each long edge to the center and crease again. Fold in half and press. Another tip: A spray starch will help to keep the creases in place before you sew!
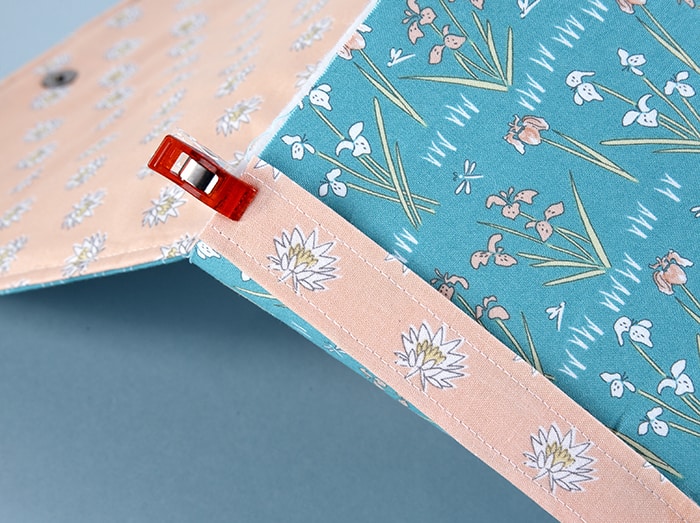
Edge stitch along each side of the strap. Clip, then sew, facing downwards over each side seam of the outer bag. Make sure the strap isn’t twisted!
Sew the darts into the lining.
Sew the two lining pieces right sides together, leaving the top open, and leave opening at base about 6″ wide.

Push the outer bag inside the lining, right sides together. Sew around the top.
Turn the bag right side out, sew the opening closed.
Push the lining inside the bag and press, edge stitch around the top to finish!

See more sewing projects and tutorials with Debbie Shore on Instagram | Pinterest | YouTube
Happy sewing everyone!
Stay connected with Clover on Facebook | Twitter | Instagram | Pinterest | YouTube | Ravelry
[mc4wp_form id=”11289″]