Some things never leave you alone.
They simmer inside you. Sometimes for years. That’s how it’s been.
I taught hand-sewing workshops to kids for over twenty years and was always meeting mums who wanted to sew with their kids but felt it was too overwhelming. Or that the patterns available were just too complicated. I found myself thinking, how do you get all these mums happily sewing with their kids?
In my workshops, I’m always amazed at how much kids just love to sew. And by how proud they are when they make a project all by themselves. You can see them growing. Well, almost. But how to get their mums to see it? That was my question. And softies, they were my answer.
They were the simple, fun, creative entry-point I was seeking. They were the entry-point…but soon they became much more. They became a new way of designing. And they became my friends too. But that’s a whole other story.
So, for the last few years I’ve been trying to make the world’s simplest softies. And to use them to introduce a new generation of I-can’t-even-sew-on-a-button parents to the creative buzz of sewing with kids…or just sewing by themselves for that matter.
In 2016, I founded Sew a Softie whose mission is simple: to spread the “sewing bug” around the world. Sew a Softie holds two global events every year.
In March the Global Kids Sewing Party kicks off with schools, libraries, scout groups, sewing circles and ordinary families sewing a softie to gift to someone in their community. Last year over 140 groups in 25 countries joined in. This year I’m hoping to have 10,000 kids sewing softies.
Sew a Softie in July has participants from Barcelona to Tel Aviv, and from Perth to Aguas Calientes posting an easy-to-sew softie tutorial. You may or may not be aware but July is choc-a-bloc full of softies, often with two tutorials appearing each day…and I usually extend the month several days just to fit everyone in. In addition, kid ambassadors throw Sew a Softie parties with friends and post their creations online.
One thing is certain, what was a simmer is now on the boil.
Having given a brief history of the world of Sew a Softie, I’d like to introduce you to…
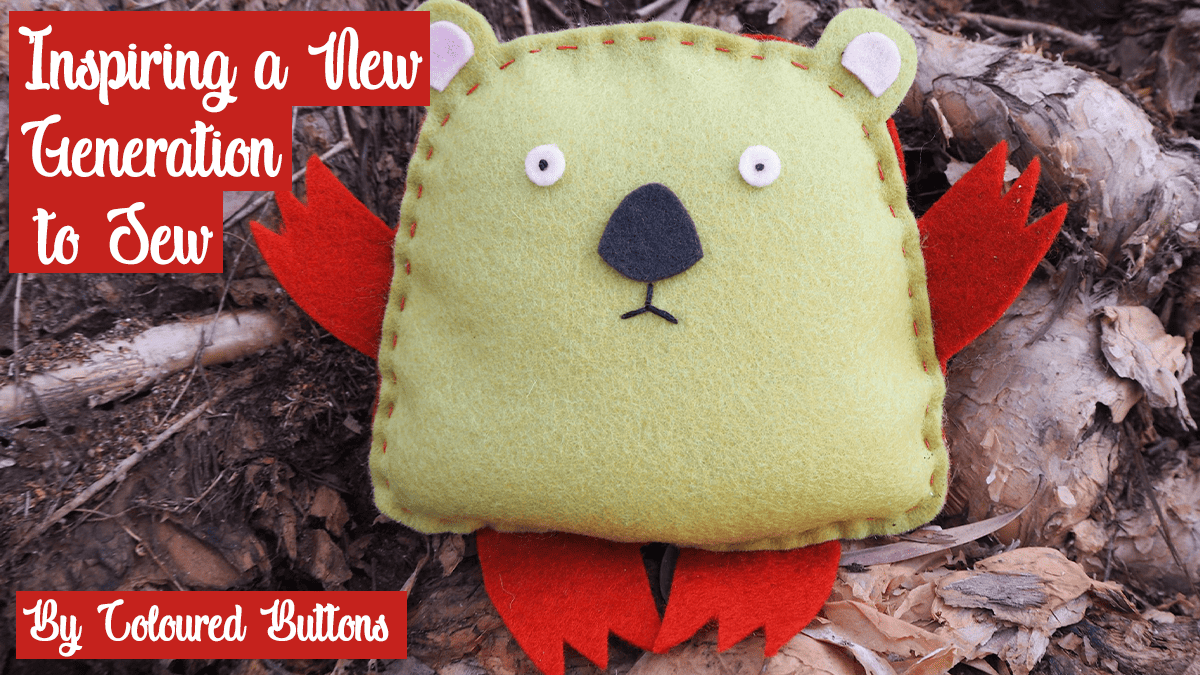
Wally
Wally’s a wombat. He’s also a softie. Don’t know if you’ve ever heard of wombats but we have them over here in Australia…interesting fellas…broad-headed, short stout bodies, strong forearms and legs to dig their burrows. They can make a real mess of your backyard.
And they can get a bit grumpy, but mostly they make me laugh…and they’re reliable friends…well, Wally is anyway. To make him you’ll need two pieces of felt and a running stitch…that’s about it. Here’s how:
What you need
- 7” x 7” reddish-brown felt
- 6” x 6” green felt
- Pink, dark grey and white felt for facial features
- Needle (chenille 22)
- Thread
- Pins
- Stuffing
- Granular weighting material
- Scissors
What to do
Step 1: Copy and cut out the template.
Trace the template for the front of Wally’s body onto the green felt and for the back of his body onto the reddish-brown felt and cut out.
Trace the template for the inside of his ears onto pink felt and for his nose onto dark grey felt and cut out.
Cut or punch out two 3/8” diameter circles from white felt for his eyes.
Step 2: Sew on each eye using a French knot as the pupil. Glue his nose into place. I’ve made his mouth using three stitches.
Step 3: Pin the front and back of Wally together. Sew around his body leaving an opening for stuffing.
Step 4: Fill the bottom third of Wally with a granular weighting material. I’ve used rice grains. Then stuff the top two-thirds with stuffing and sew the opening closed. Finally, glue on the insides of his ears.
If you’d like to sew more softies/plushies/stuffies, head on over to my blog Coloured Buttons. And if you just want to say hi, I’m on Instagram and love chatting.
Happy sewing with Clover’s great products, Trixi.
Stay connected with Clover on Facebook | Twitter | Instagram | Pinterest | YouTube | Ravelry
[mc4wp_form id=”11289″]
