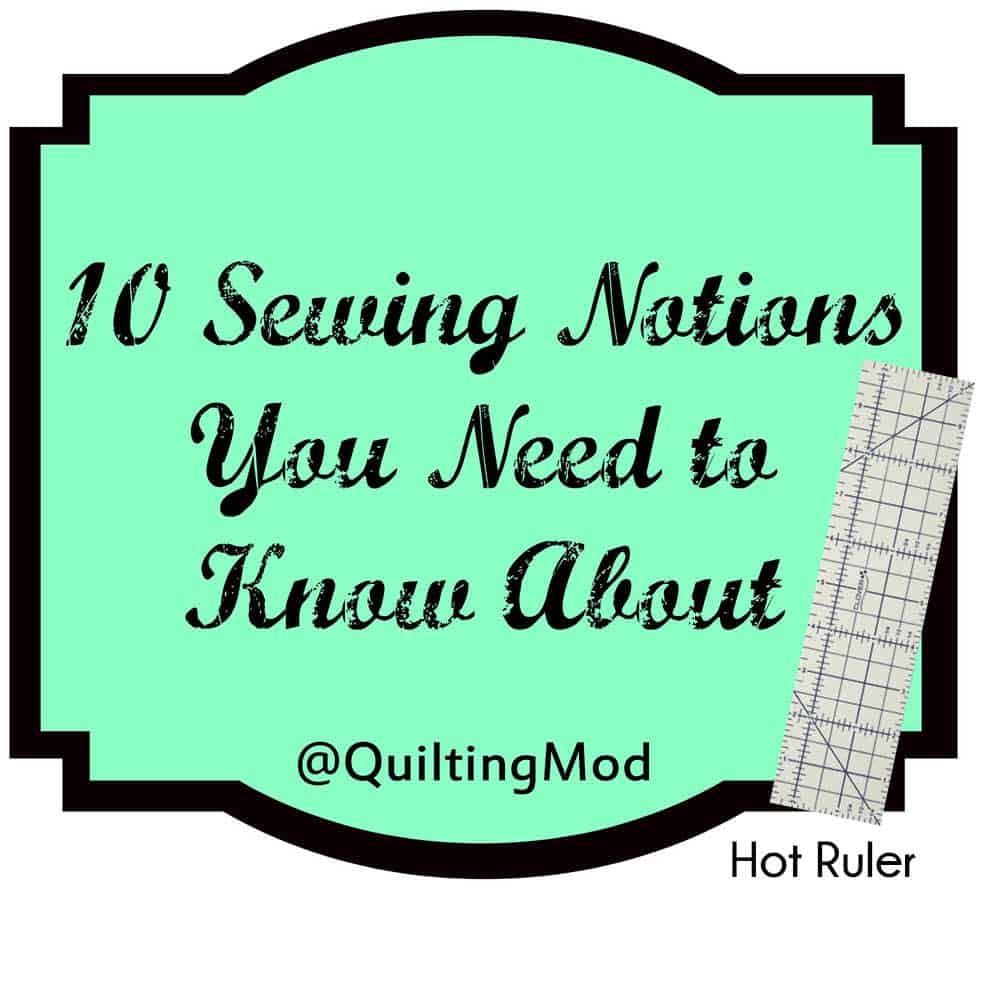
If you missed the first item, check my previous post, especially if you have a messy iron. Today’s notion is the Hot Ruler, and it measures your level of hotness. Wowers! You’re a hottie! I might be kidding about its intended purpose, but it is very useful for turning over the edges of fabric.
Here’s a look at the heat resistant, 2 1/2″ x 10″ nylon fiberboard with ruler markings and a non-slip surface.
I put mine to use on an 18″ Doll Pillowcase Dress (free pattern). Simple Simon and Company was selling surplus muslin dolls from their Spring Market booth, and I thought it would make an excellent Christmas gift for my daughter. If you want your own doll, and Simple Simon and Company are out of stock, Amazon has some too.
Here’s how my piece looked after the first step.
Next I pinned four 10″ ribbons 4″ and 7″ from either end and pinned them into place with Patchwork Pins.
I ran a line of stitching 1/4″ and 5/8″ down from the fold, catching the ribbons.
I used a safety pin to pull 12″ worth of 1/4″ elastic through the casing.
I sewed the short ends right sides together, catching the elastic in the seam, to make a tube.
Then, I turned over the bottom edge over 1/4″ twice and topstitched it.
After flipping the dress right side out, it was ready for the muslin doll. I painted the hair using acrylic paint. During this process, I began to regret the superiority I felt when I watched a YouTube video about painting hair on peg dolls and contemplated why so much emphasis was placed on painting the correct side of the head given how foolish that would be. As you may have surmised, I was painting lavender on the face-side of the doll’s head when it dawned on me that the doll’s thumbs should not be aiming toward the back of the body. Oy vey! They were trying to warn me! I was able to reverse the damages by immediately scrubbing the paint off with water and soap. Unfortunately, I should have patiently waited for the head to completely dry before resuming painting because capillary action is a real thing, which means that my purple hair started bleeding onto the neck and face. As for the bold color choice, my daughter was very insistent that more natural hair colors would not suit, even though I was very tempted to use a subtle coordinating color.
