

By Marlyn Rodriguez
As a person who is learning to craft, starting and completing a project can seem challenging because we want it to be perfect! There is nothing wrong with that but, we have to understand that we are still learning.
It took me a while to get this idea through my head, I kept making and remaking this project until I finally accepted that it was okay for it to not be perfect the first time around.
Before beginning the project, we have to learn what weaving is and how to do it. To do so, here is an instructional video that I found to be very helpful.

Now that we have the basics down, let’s start our project.
I made a piece to be used as wall art. Here is how i did it:
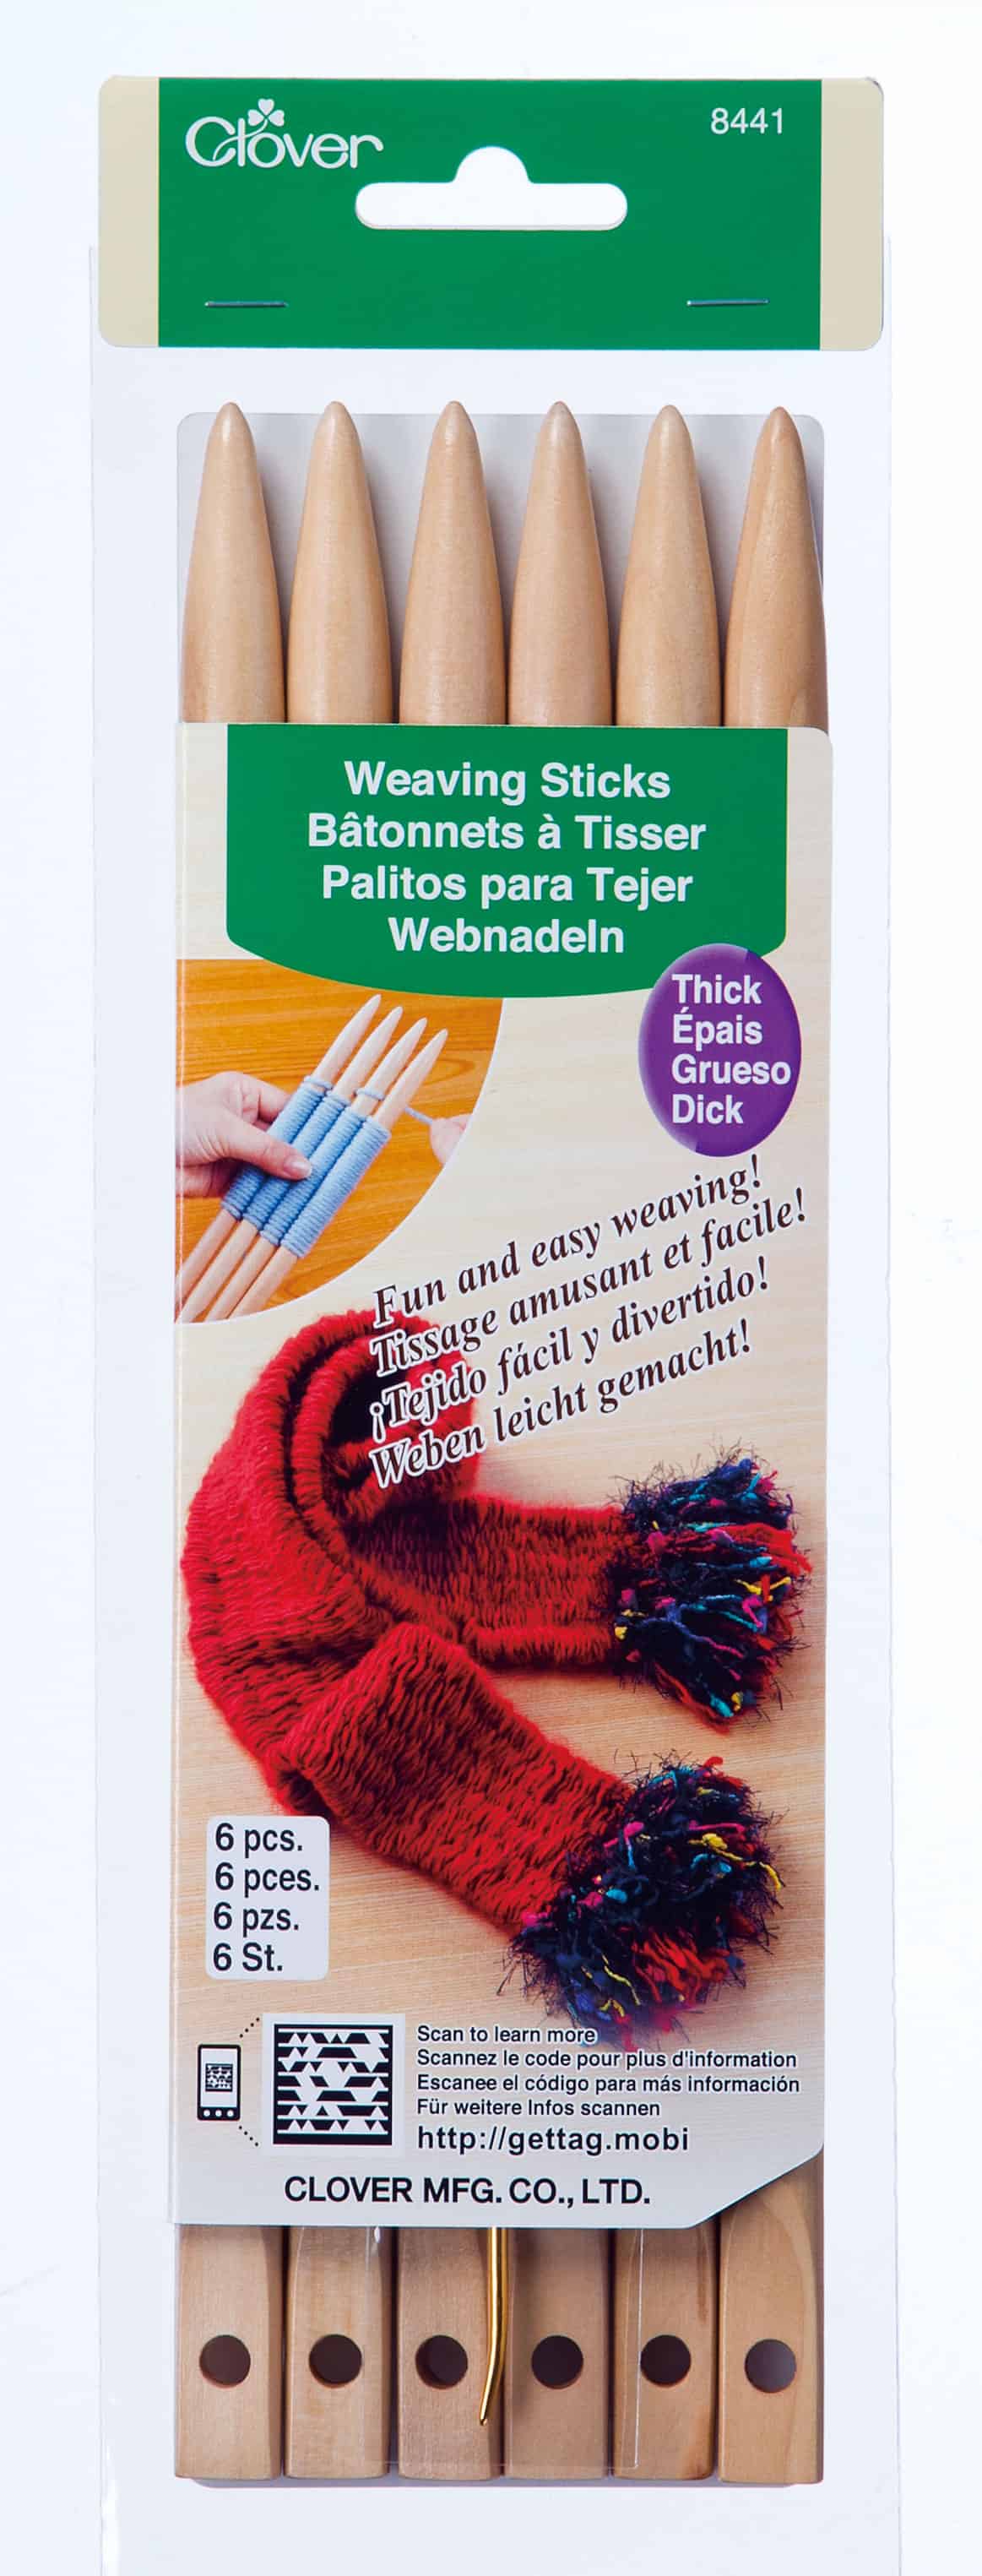

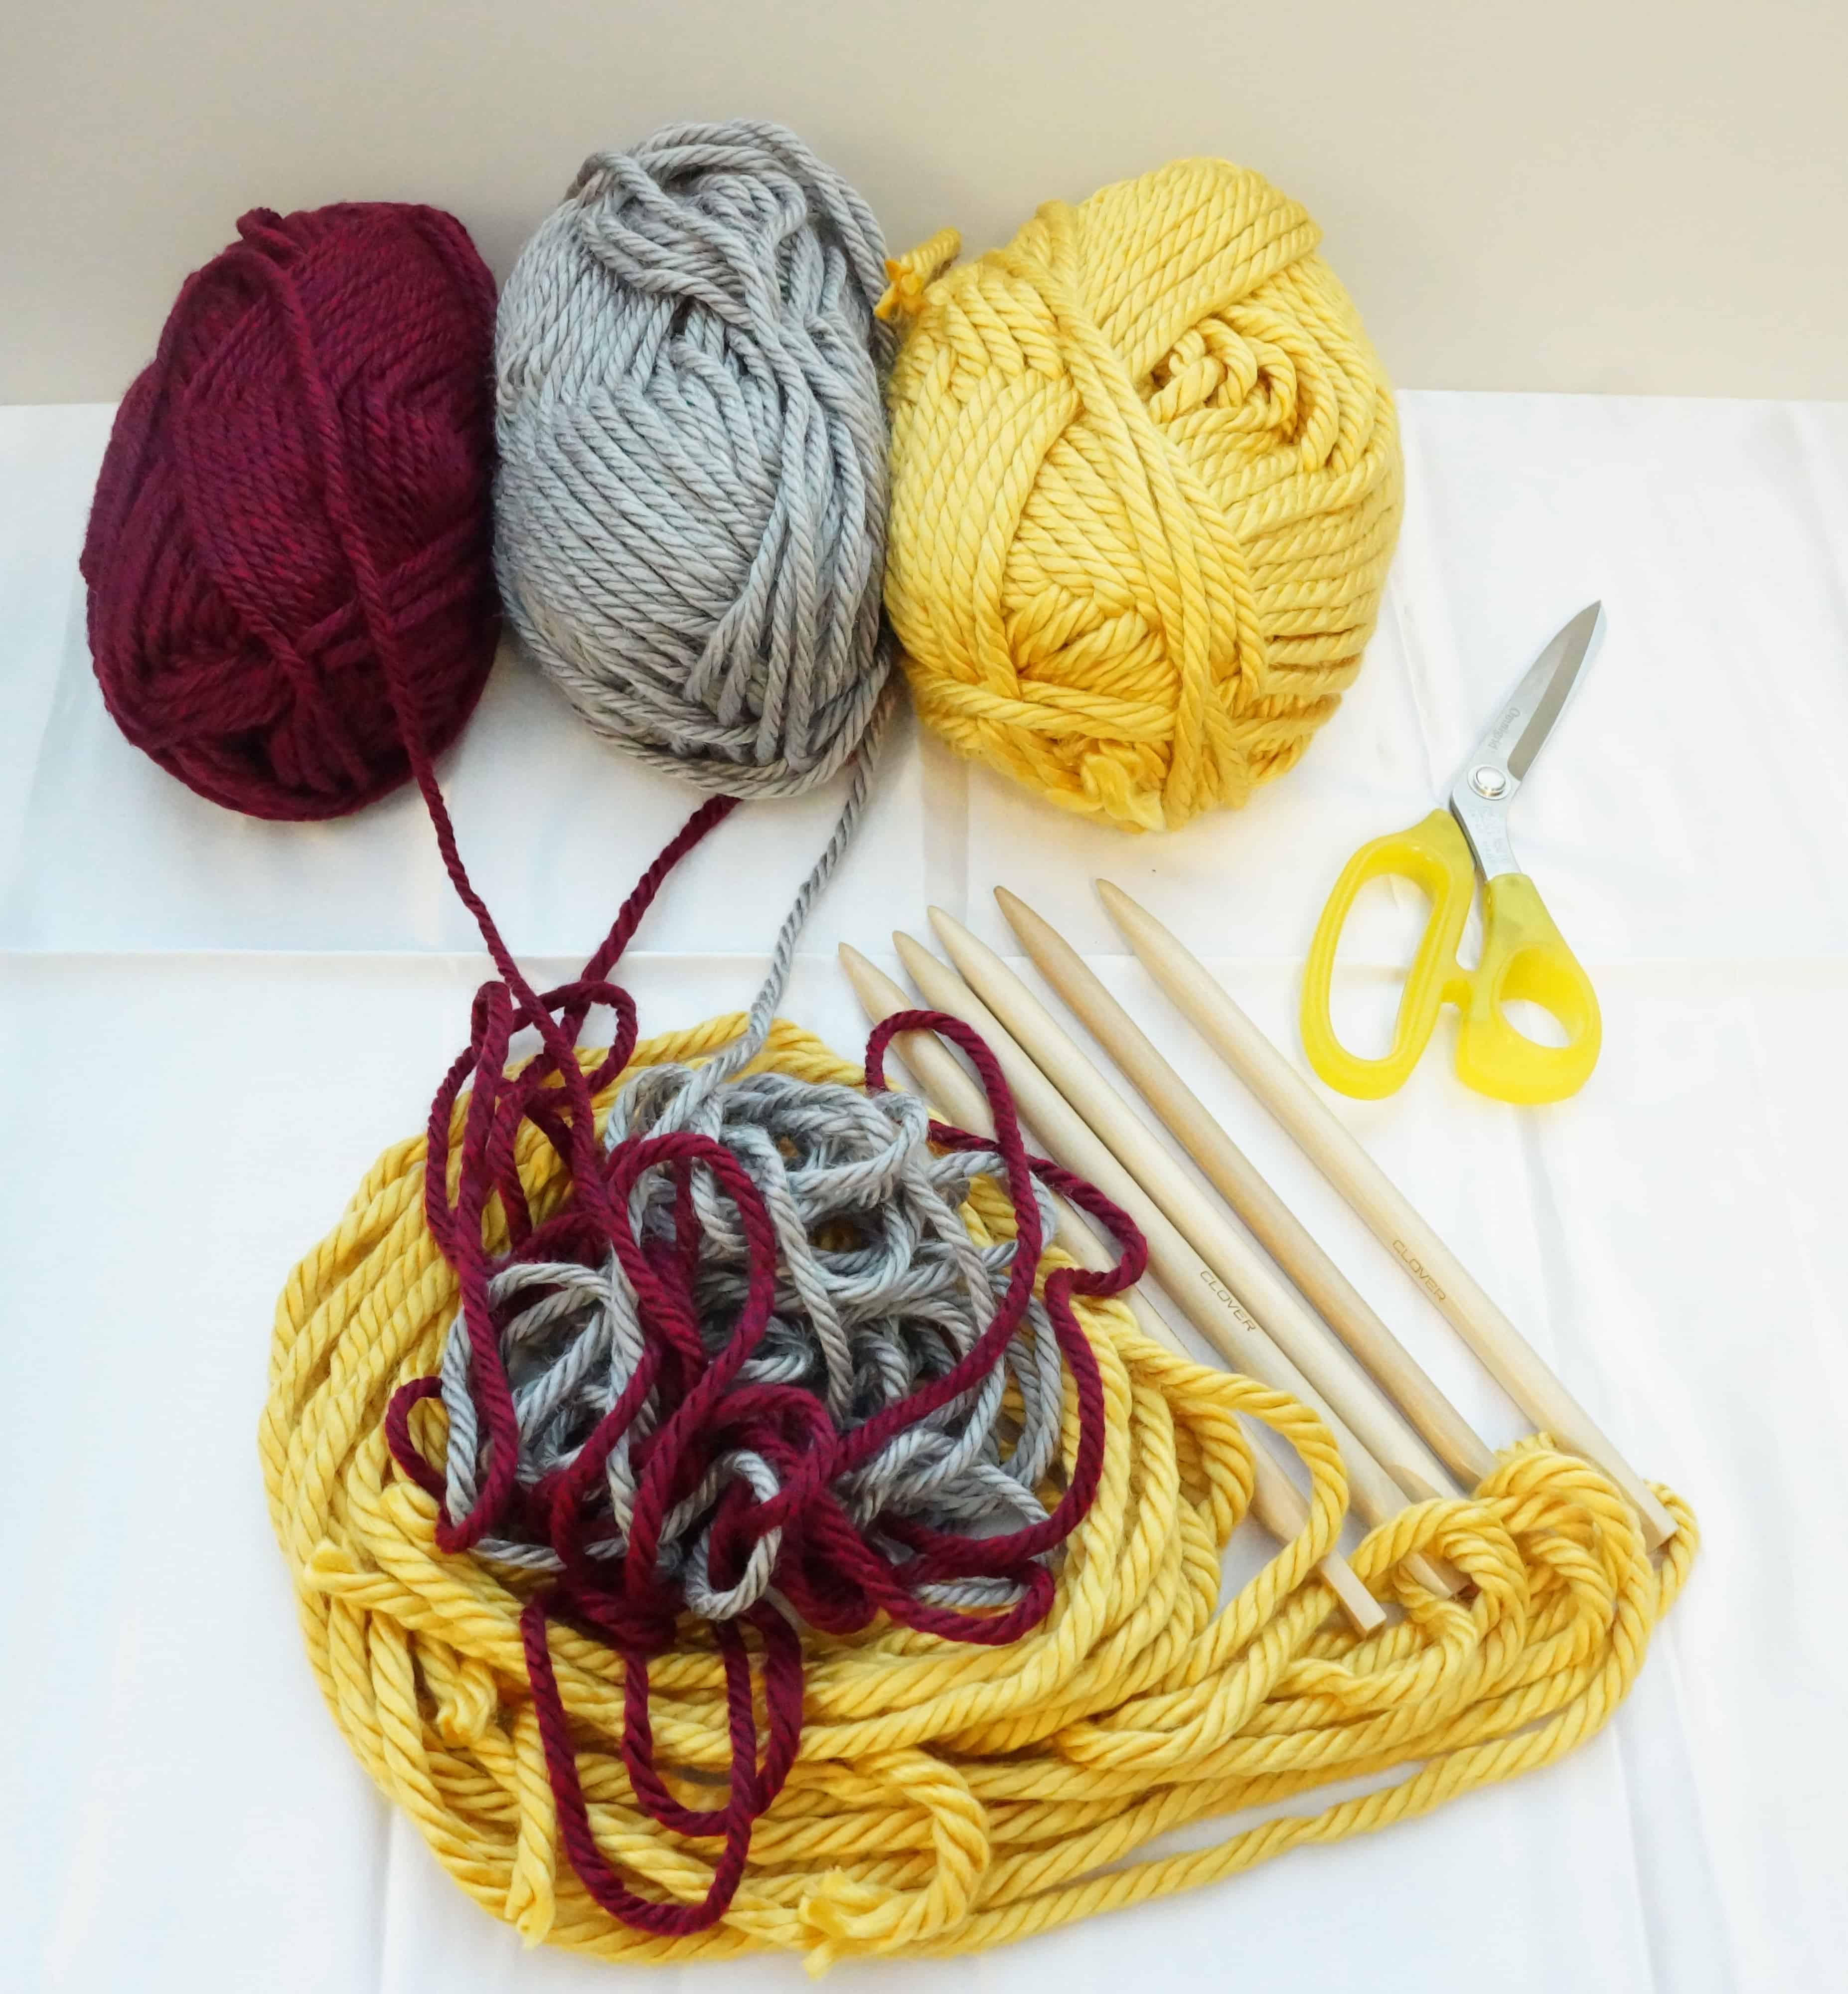
- Weaving Sticks Thick (Art. No 8441)
- Scissors
- Dowel
- 1 skein of 2 different colored yarns
- Terms: Solid- yarn used for solid panels. Pattern- yarn used to incorporate pattern.
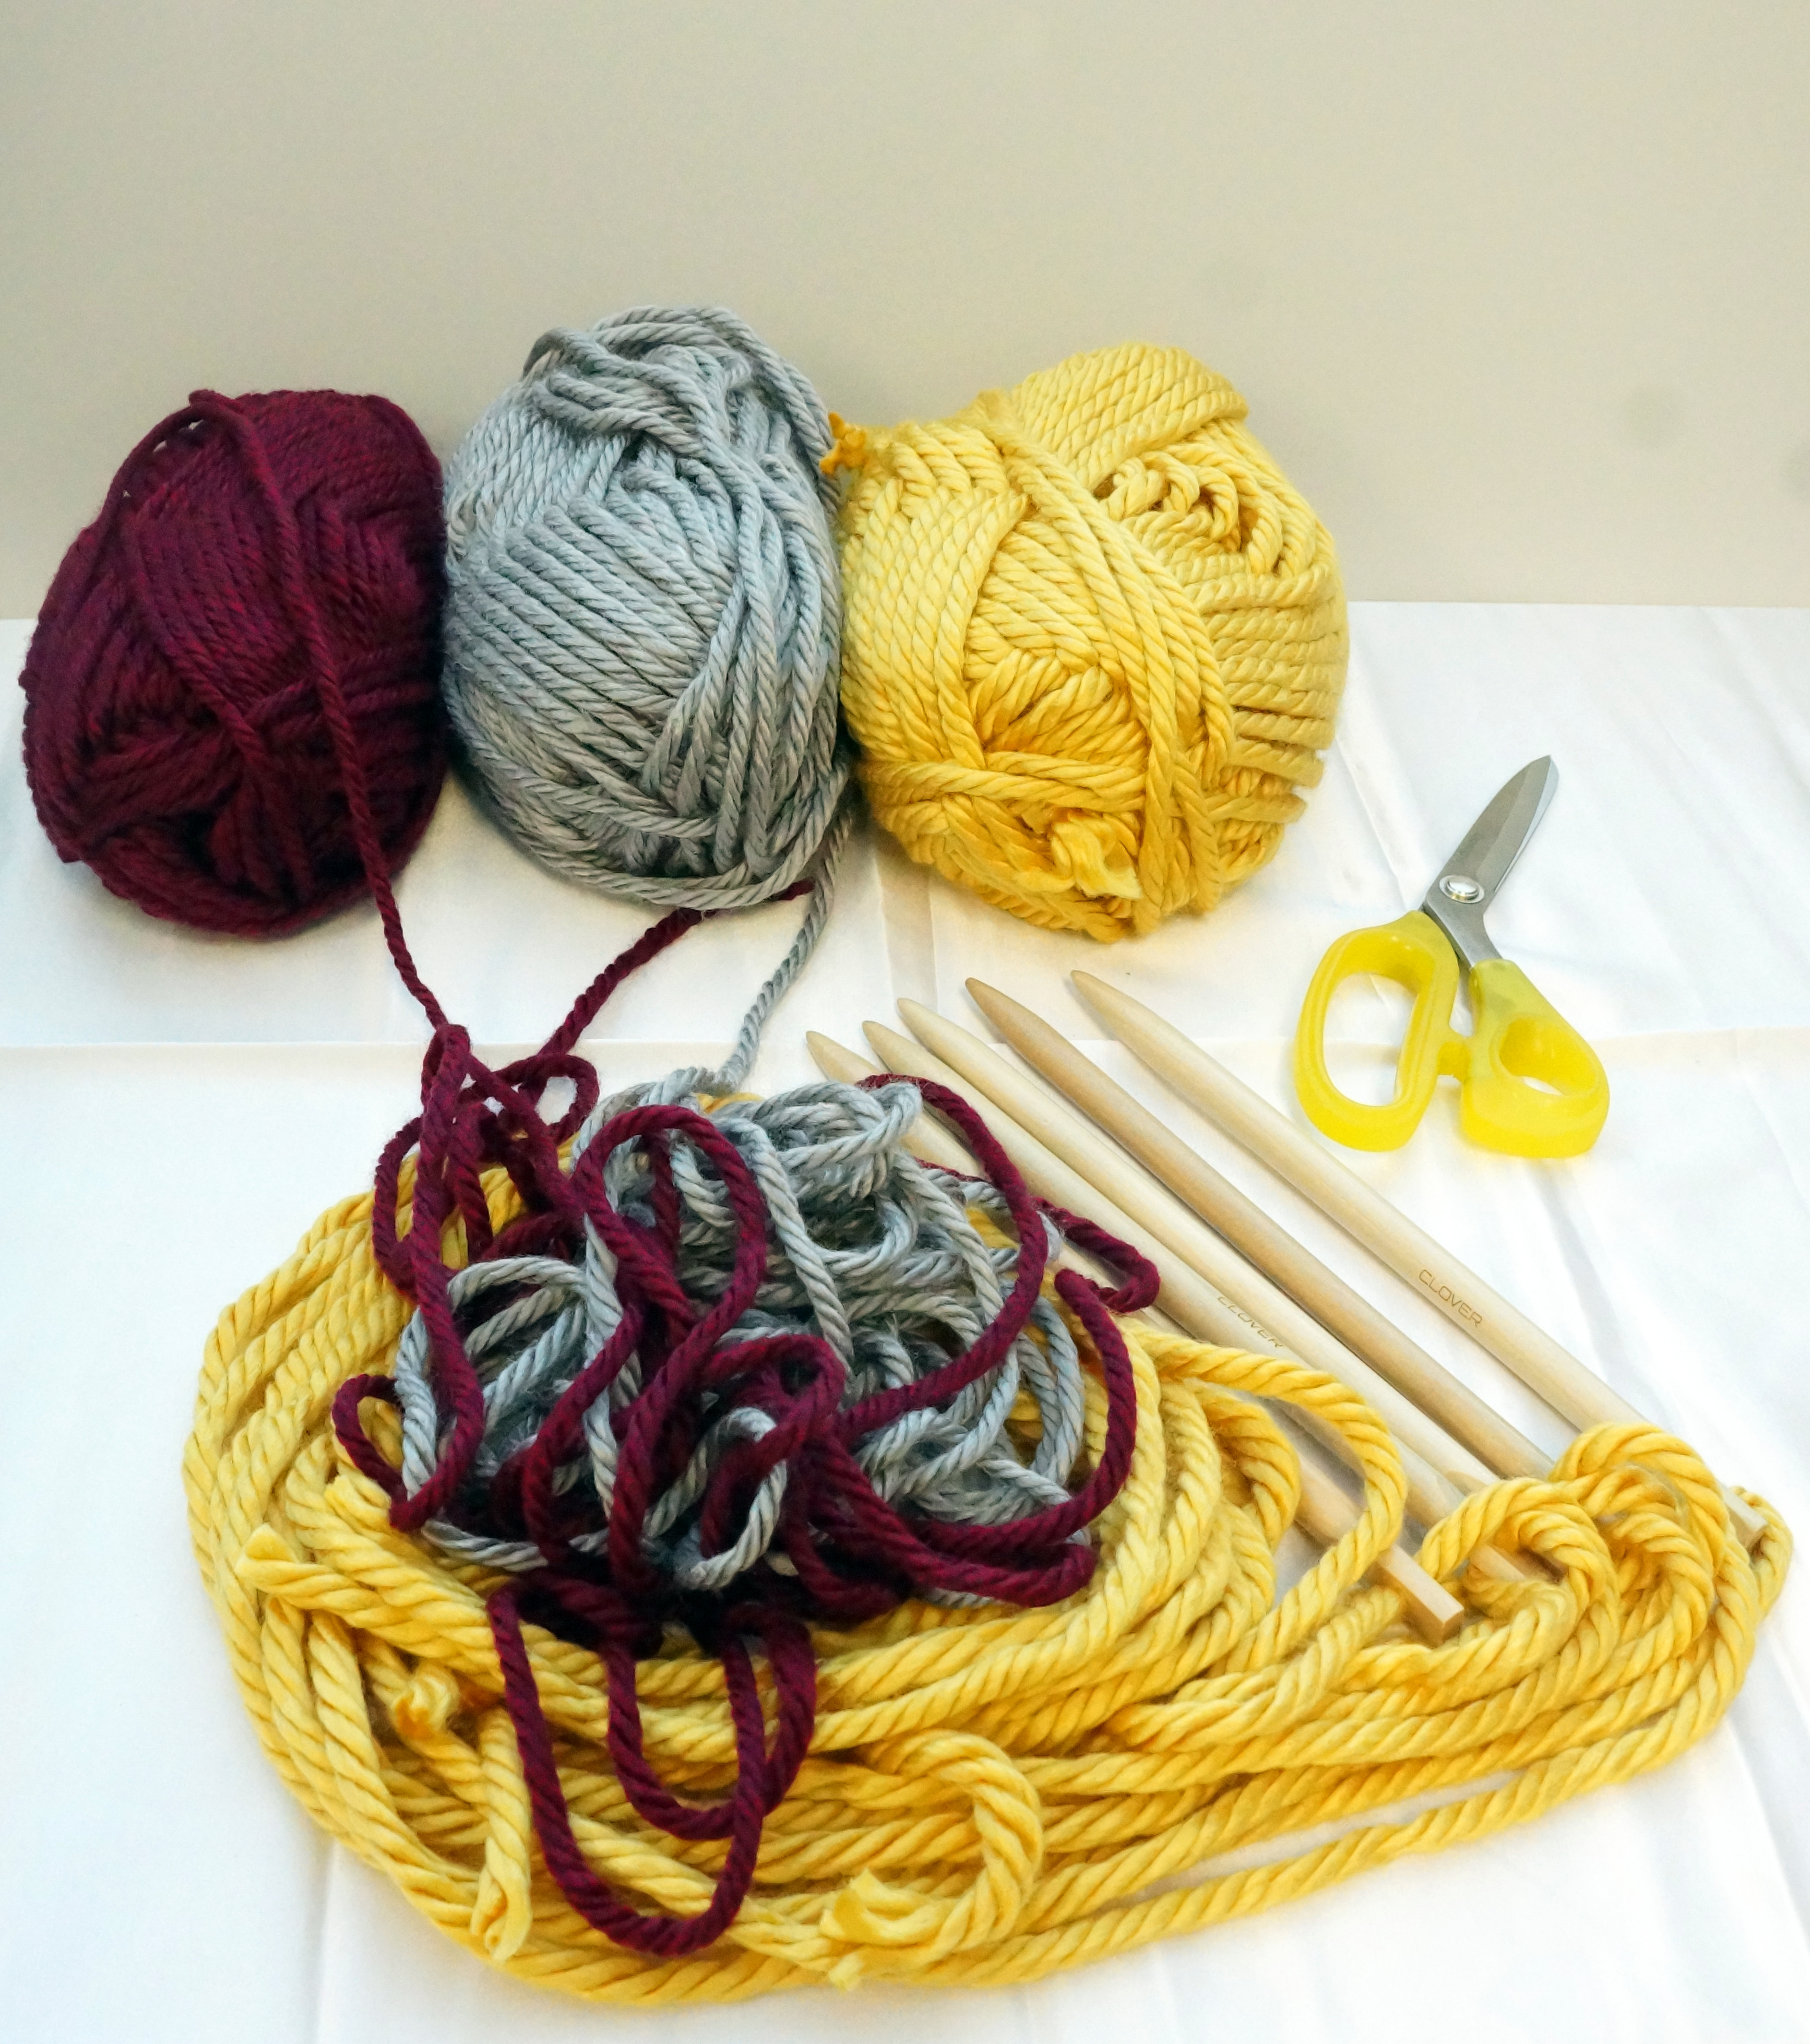

Note: You can use as many colors as you’d like but for this project I only used two. The original plan was to use three, but that didn’t quite work out for me.
Step 1: Cut the solid (known as the warp) to the length of preference for your wall art. With 5 weaving sticks, start weaving with the solid all the way through. You’re going to make 4 panels (two solid and two pattern) all the same length using the solid as your warp yarn. 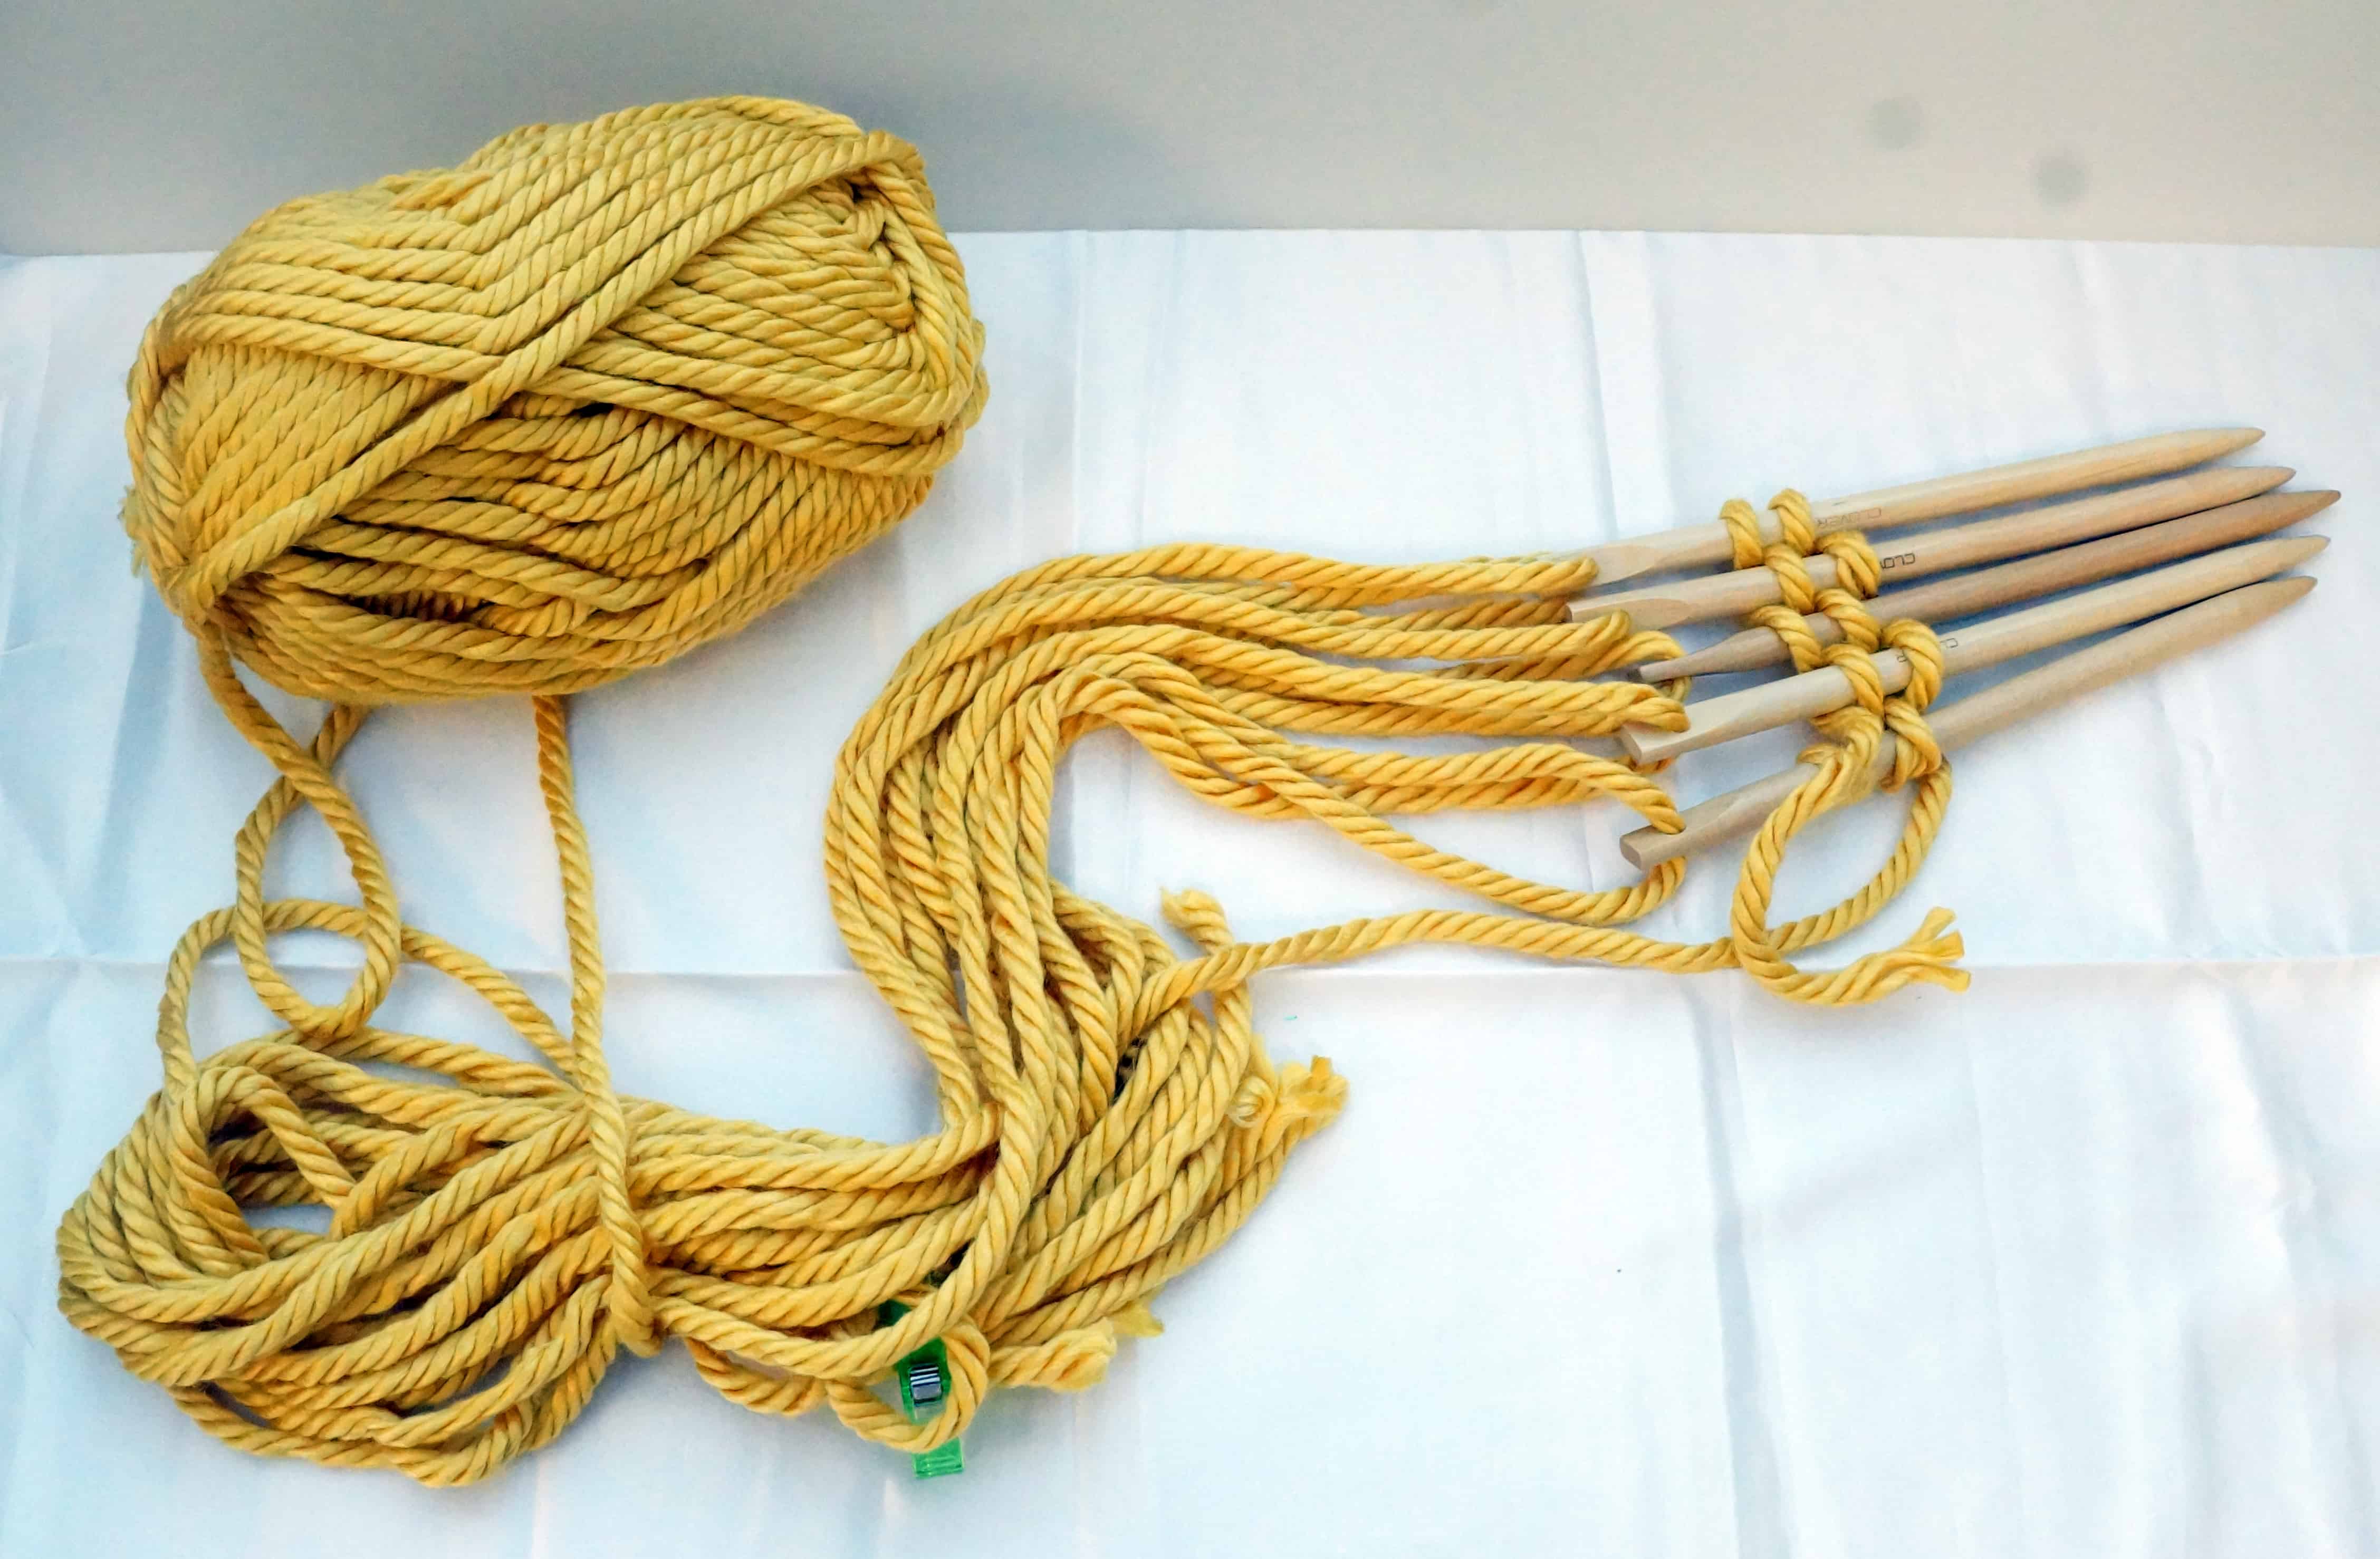


With the solid, tie a knot where you stopped weaving your pattern yarn. 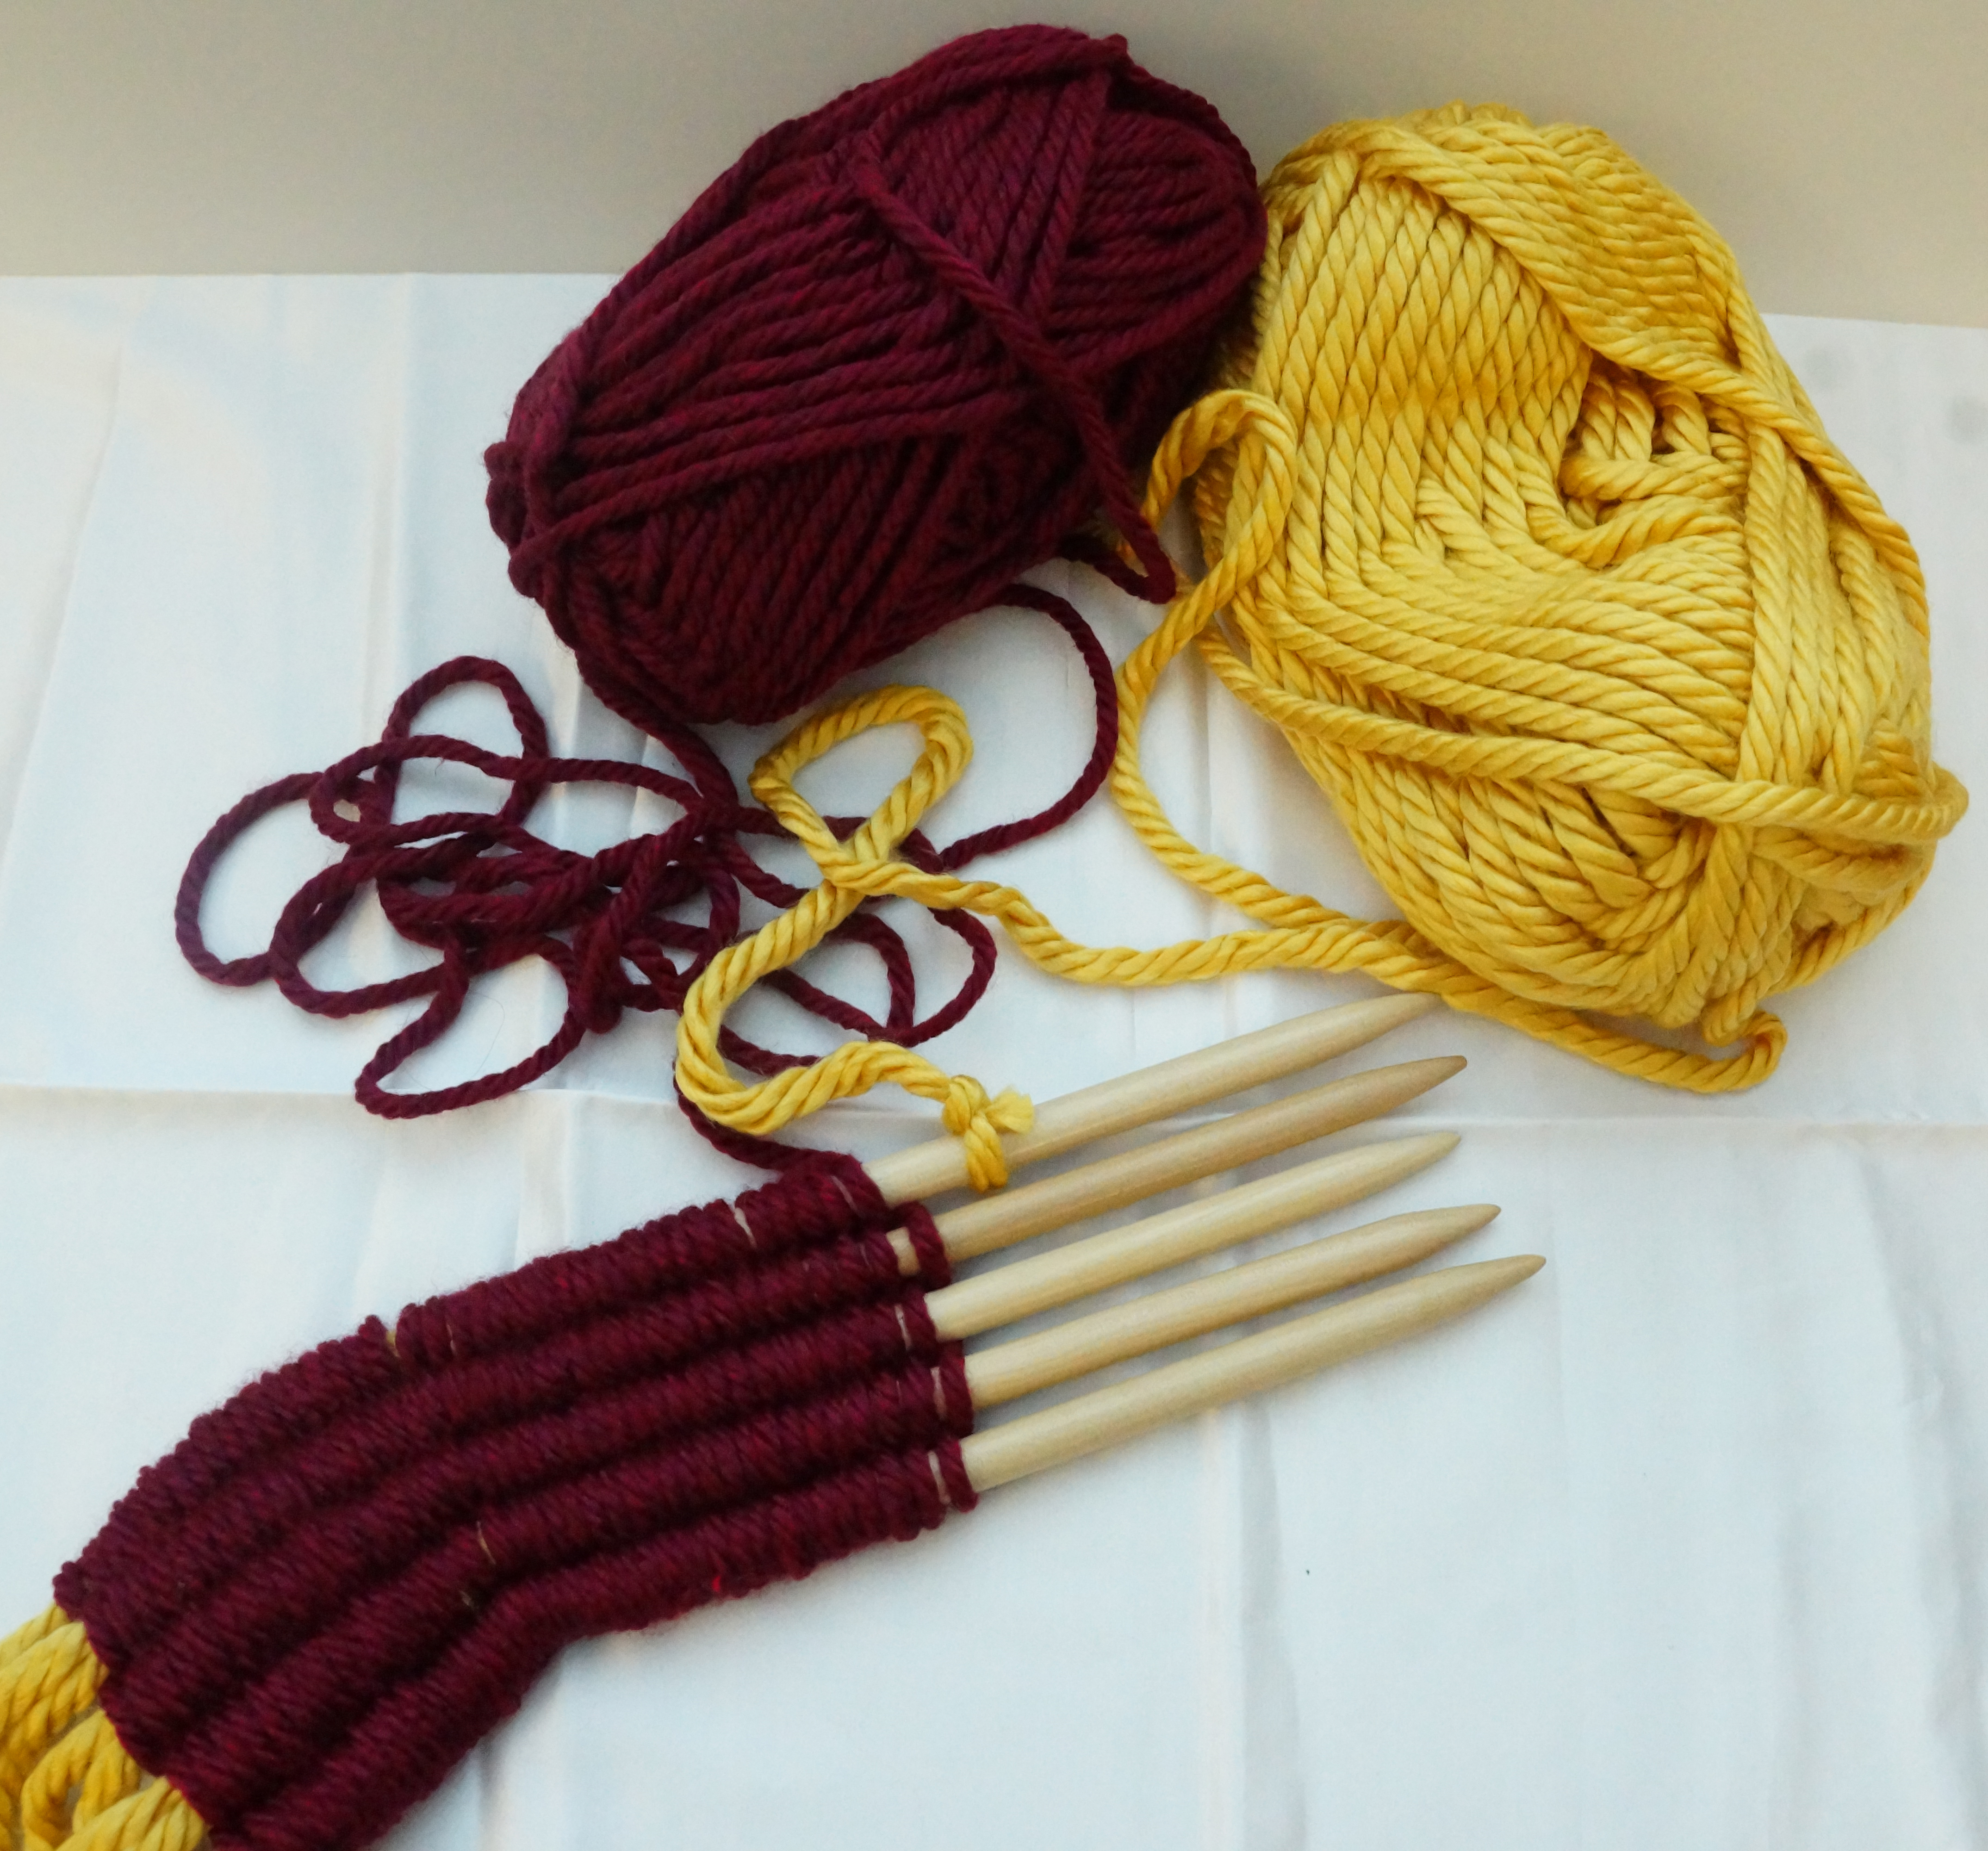

Step 3: This is where it gets interesting. Weave only the first two weaving sticks to your far left and stop at your height of preference. Continue weaving the last three sticks using the pattern yarn to match the height of the solid.
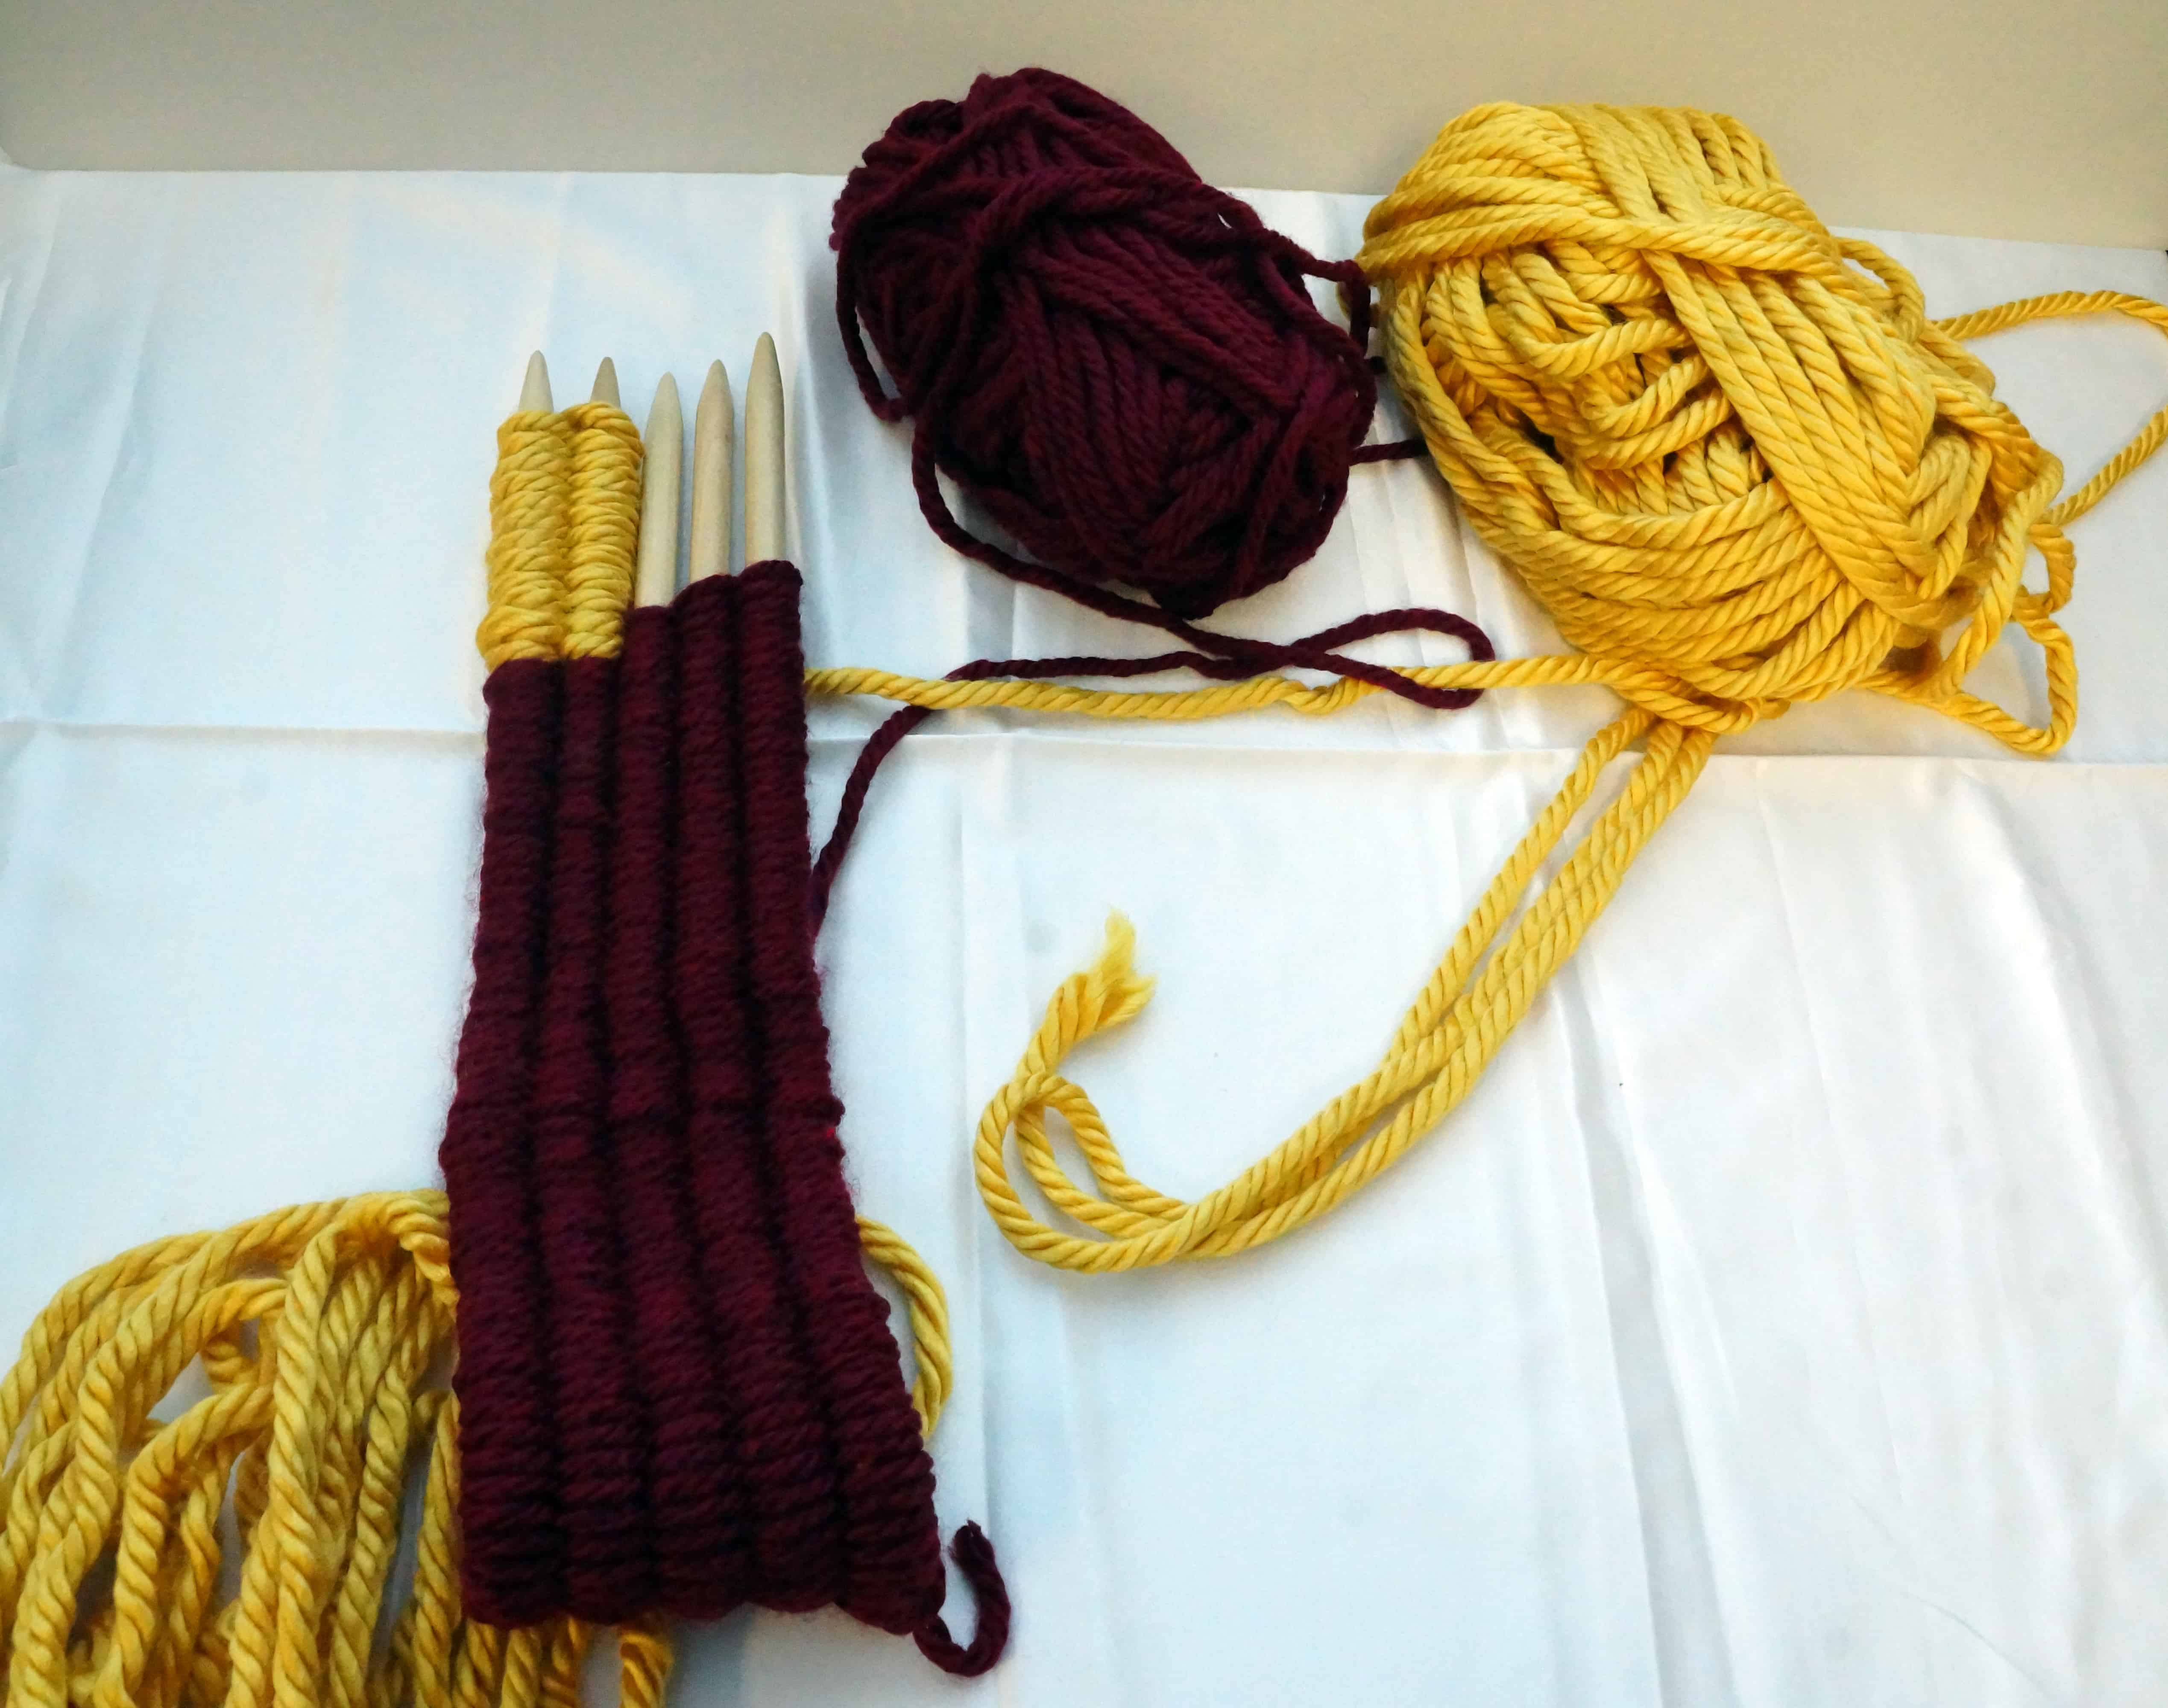

You will then weave using the next three sticks, stop at your height of preference and match the height using the pattern yarn with the last two sticks.
Repeat with four sticks, stop at your height of preference and match the height using the pattern yarn on the last stick.
Once you’ve completed your pattern, you will finish off by matching the length of the solid panels using the solid yarn.
Step 4: Repeat Step 3 since both patterned panels are symmetrical.
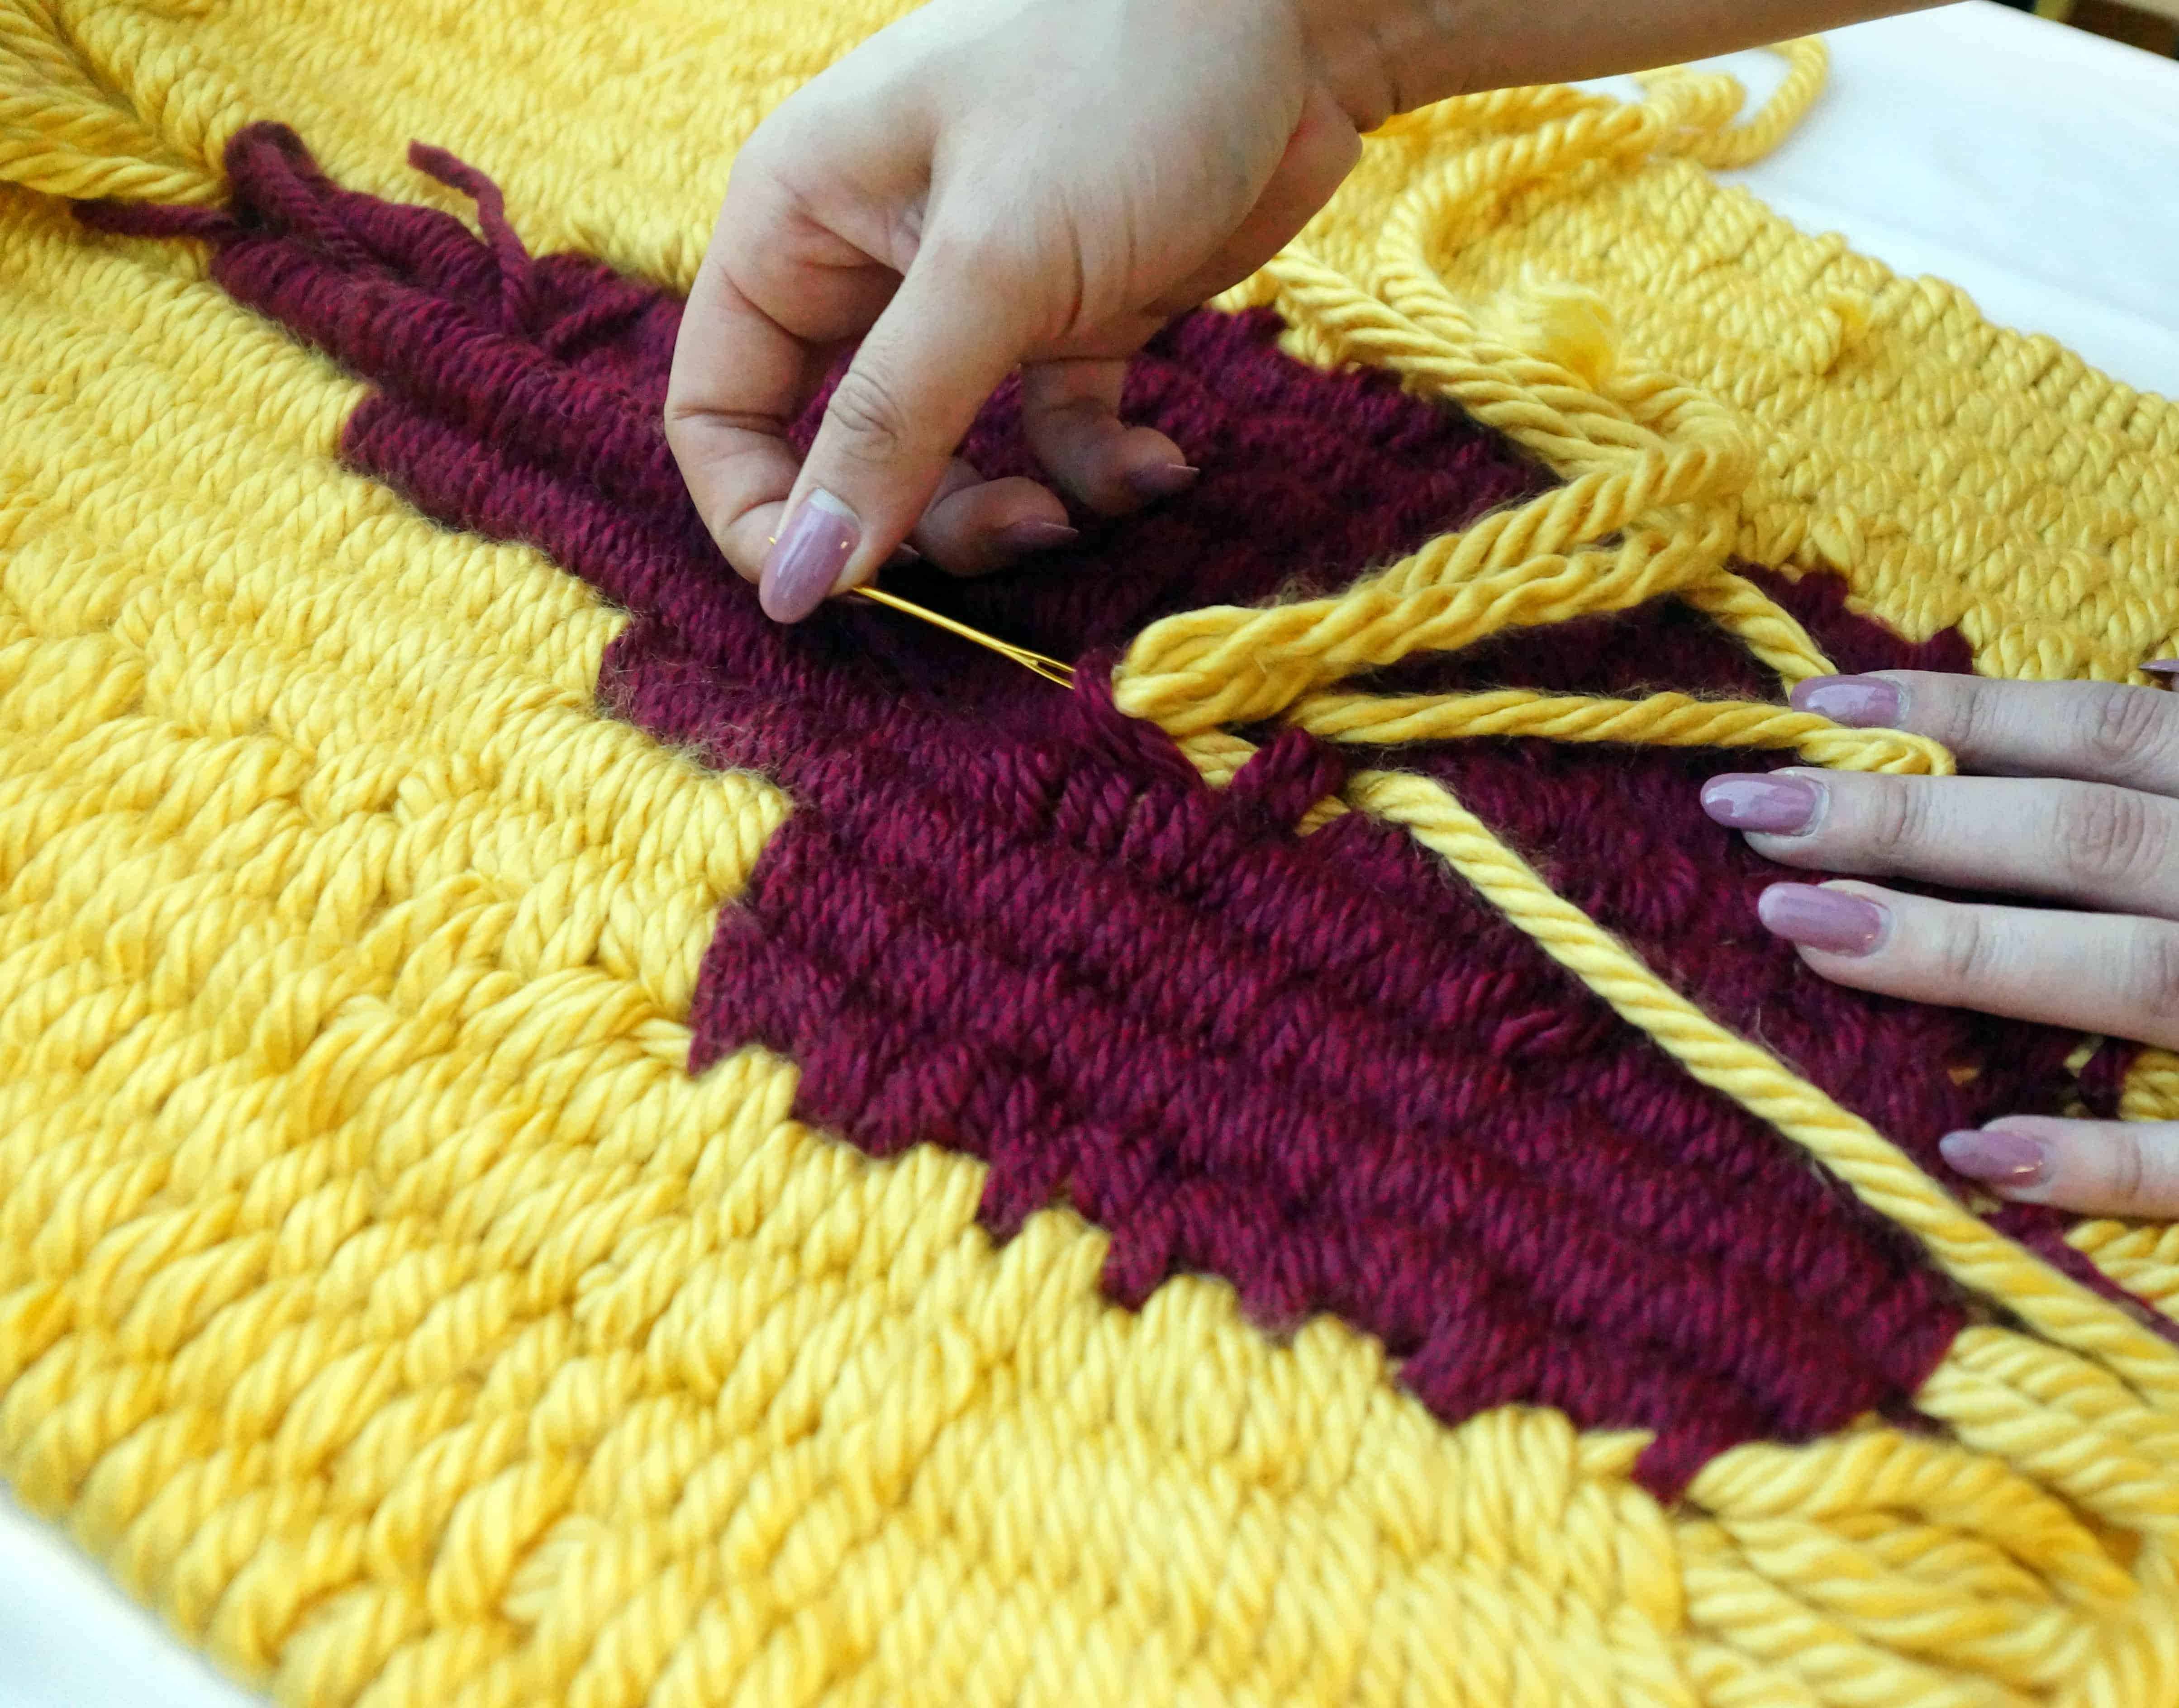
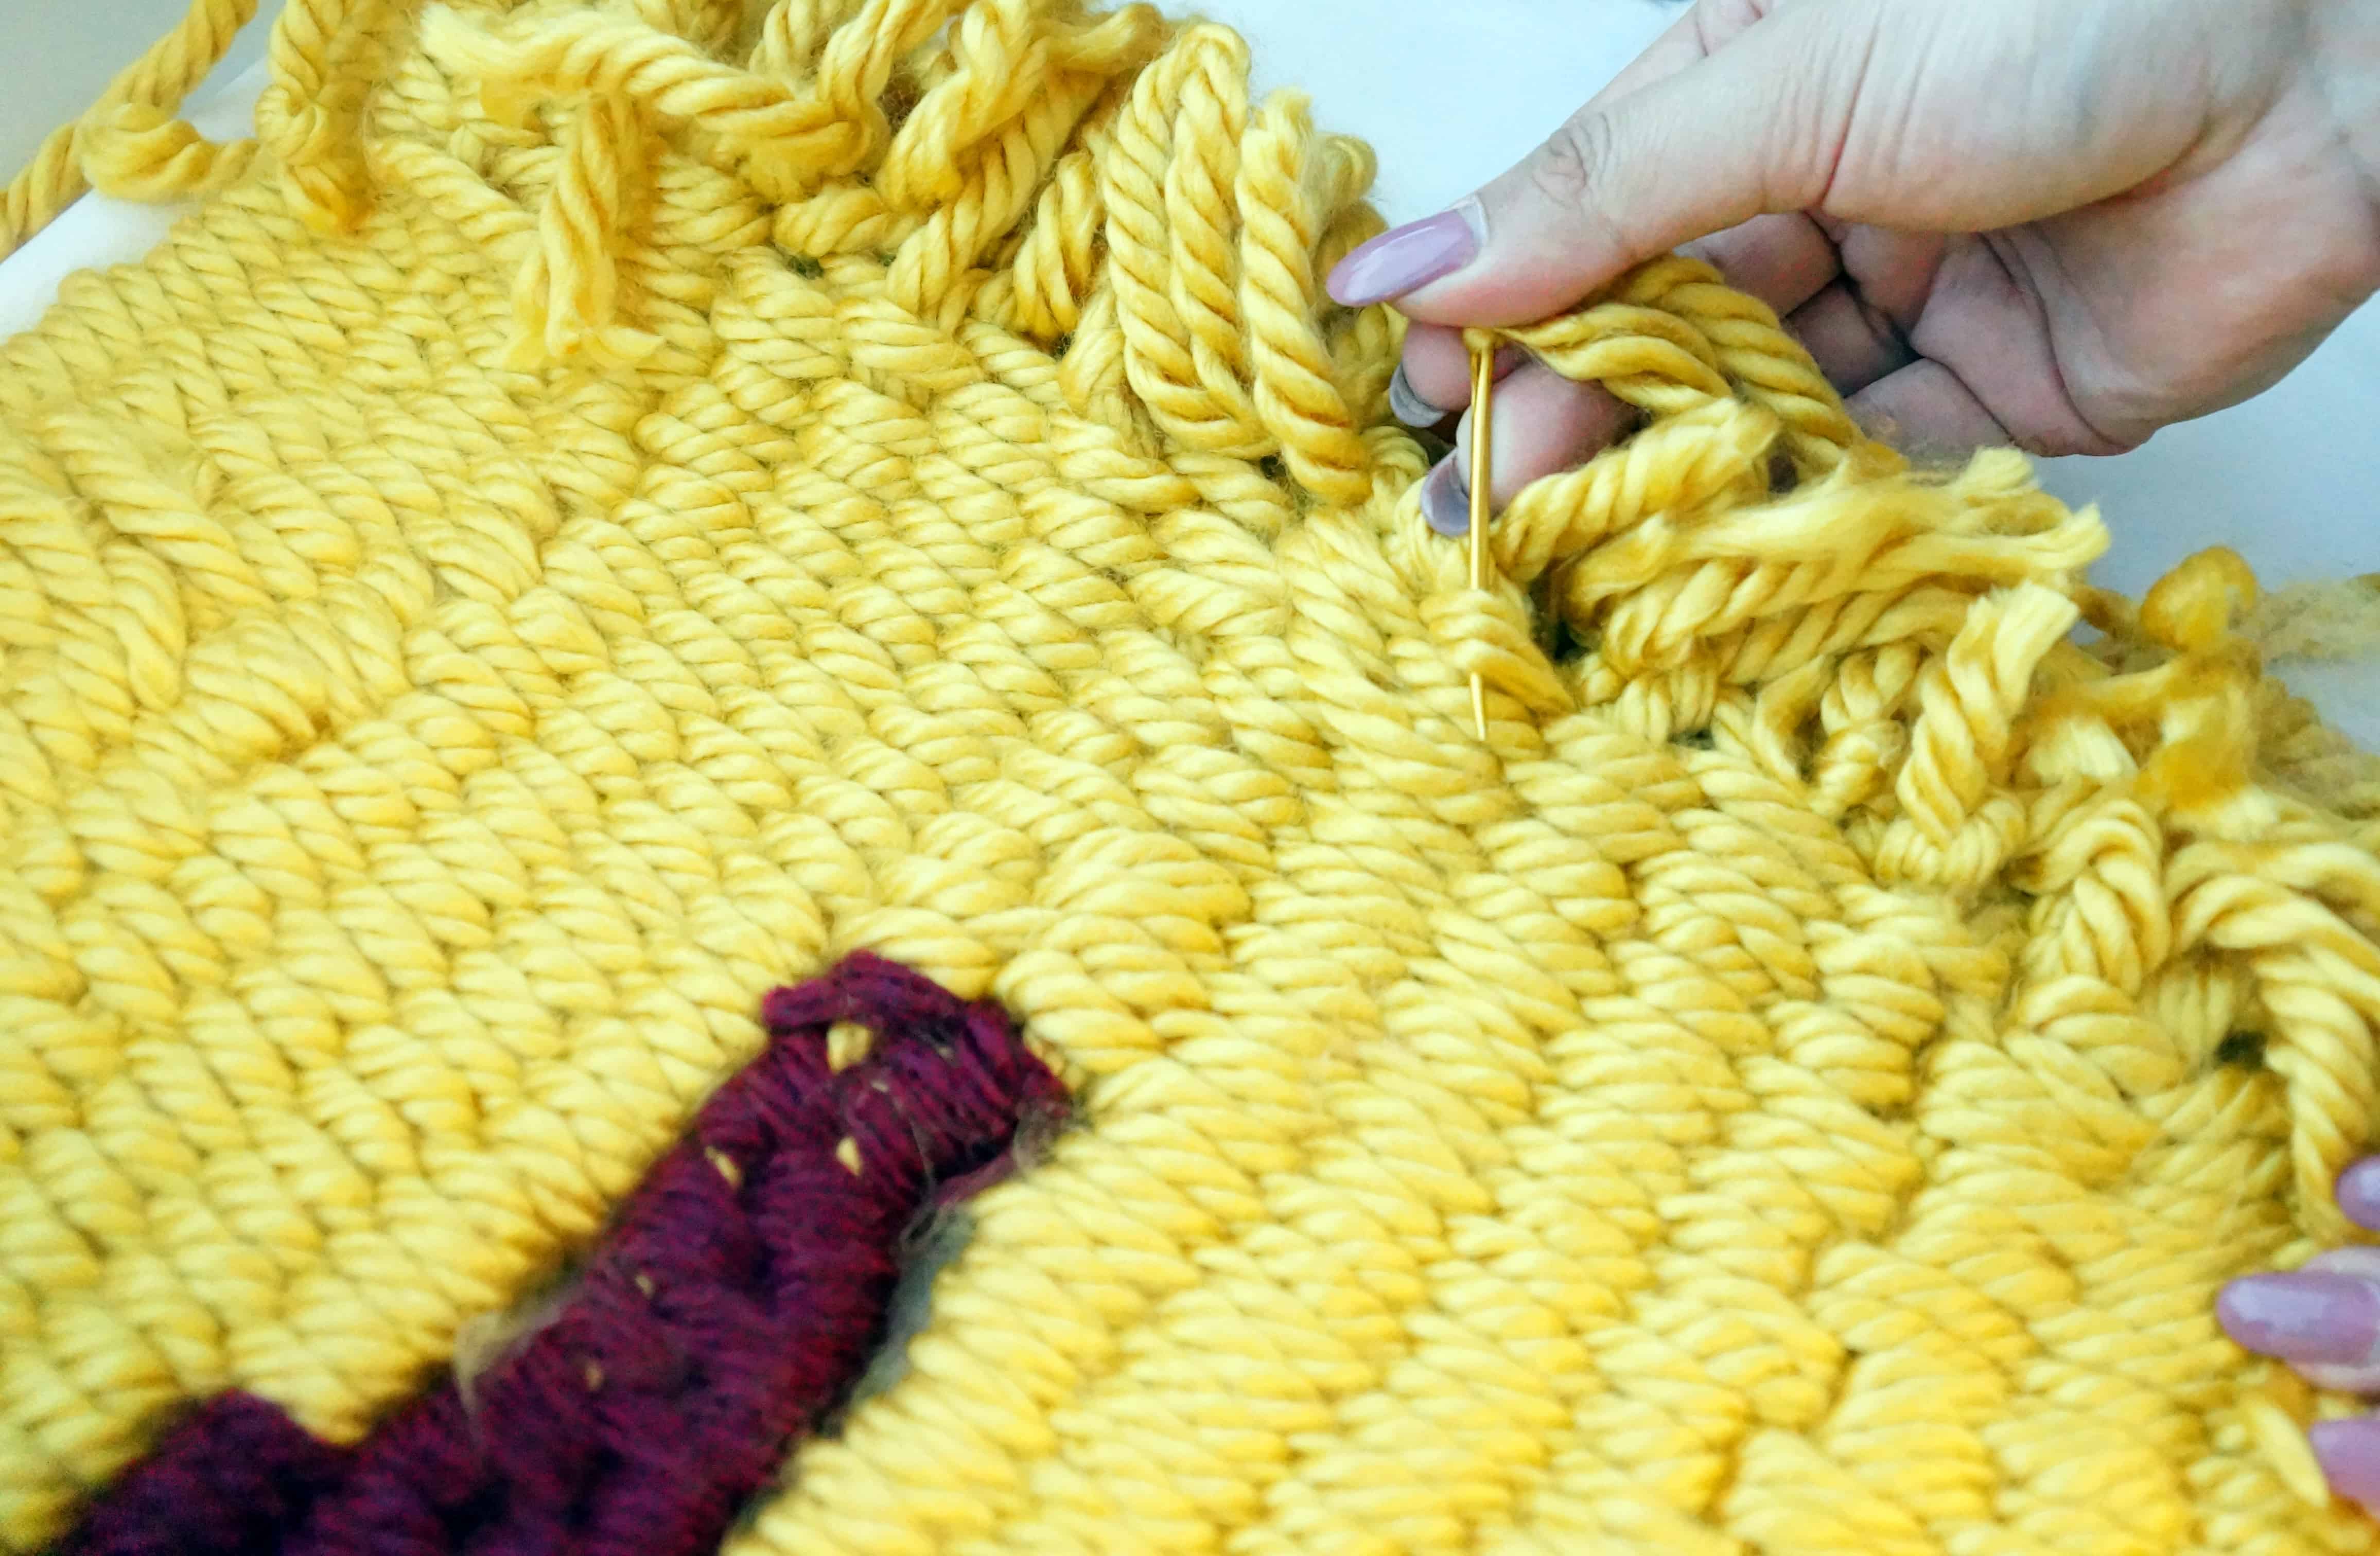
Step 5: Once all panels are complete you will weave them together using the solid yarn, and your darning needle.
Put the yarn through the darning needle, and then just weave your way through like shown below.

Step 6: Last step! Tie the ends of yarn to your dowel and weave the loose ends back into your panels to hide them.

Finally, hang and enjoy your wall art!
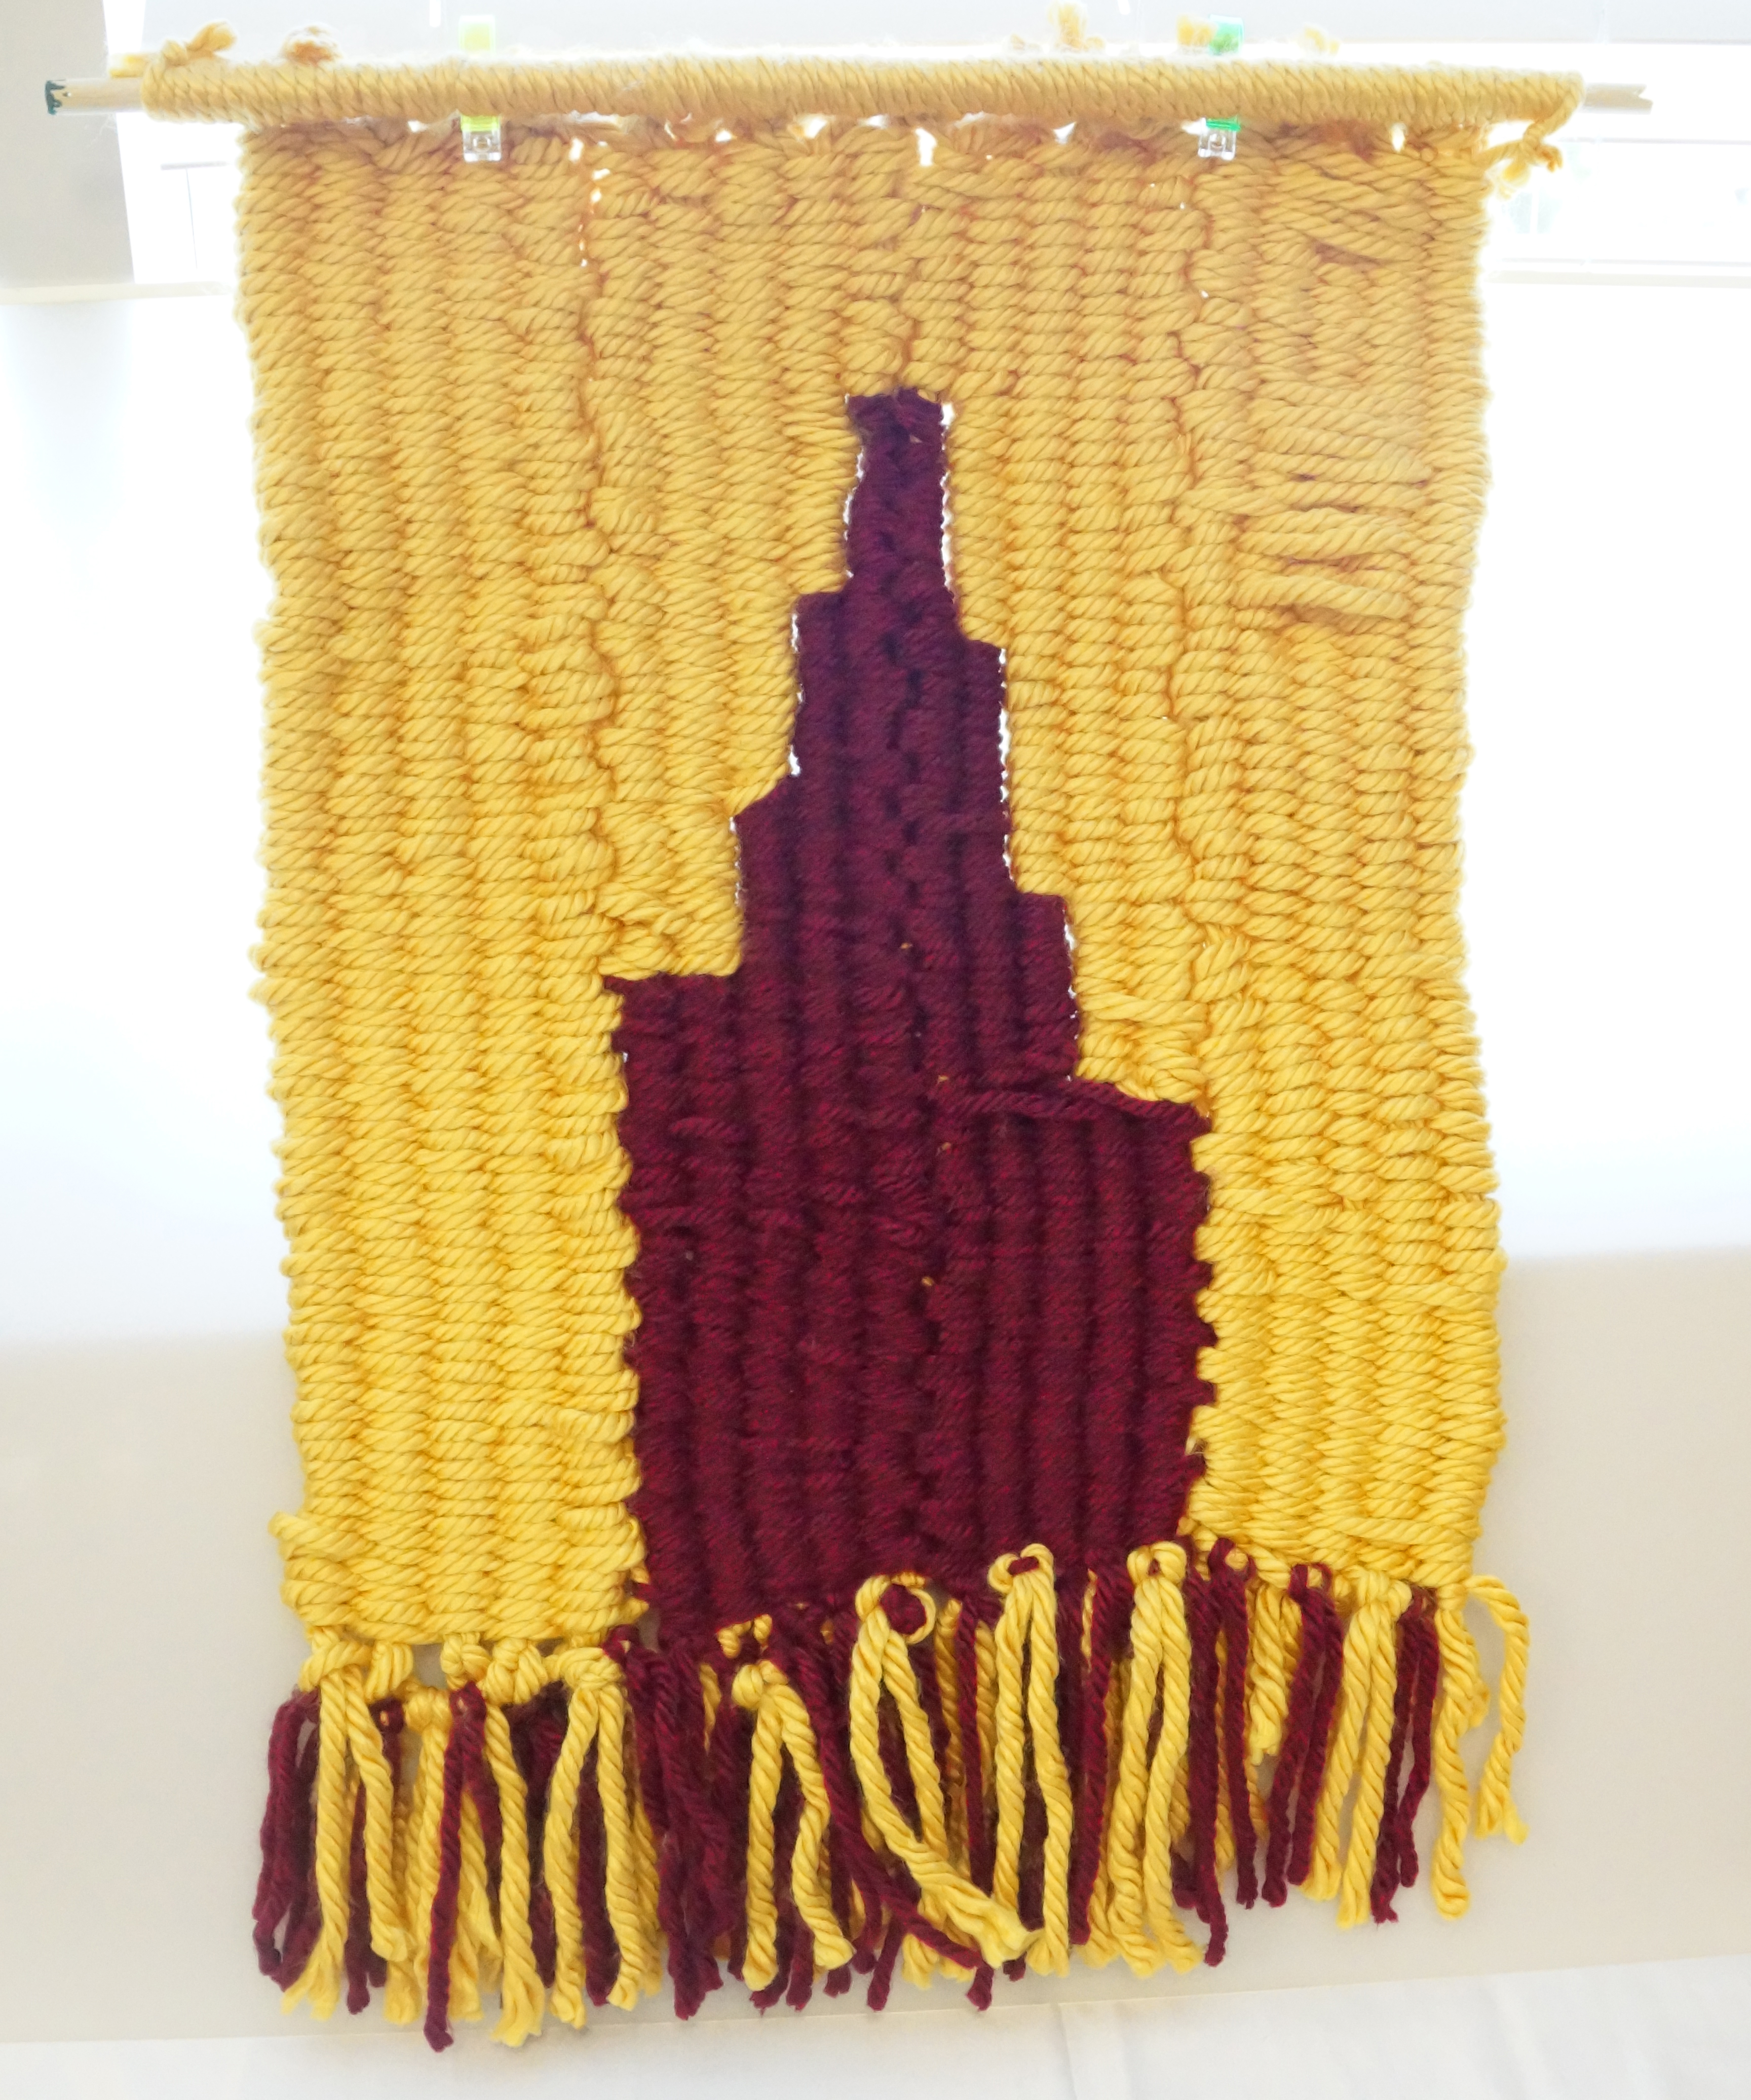

Feel free to embellish and make it your own. I added some fringe for a finished look.
That wasn’t too hard! Was it?
I found this project to be very beginner friendly and although the result wasn’t perfect, it was all mine and a great learning experience.
I am excited to continue experimenting with the weaving sticks and will show you what I come up with next!