


Right now in the dead of Winter it may not feel like it, but soon it will be Springtime. What do we all tend to do once the weather warms up (I mean, other than sit on the patio with wine and friends)? That’s right, Spring clean which also means, get organized! Well, theoretically. We can aspire to that plan, anyway.
Years ago, I was looking for a way to organize my wiley pile of circular needles and was inspired by an embroidery pouch my mom (a veritable queen of organization) had held her thread in for as long as I’d been alive. It utilized zip-top sandwich bags encompassed in quilted covers to keep her supplies safe and sound. I super-sized the idea with larger, freezer bags and along with some vintage fabric made myself the keeper that still holds my circs these many years later.
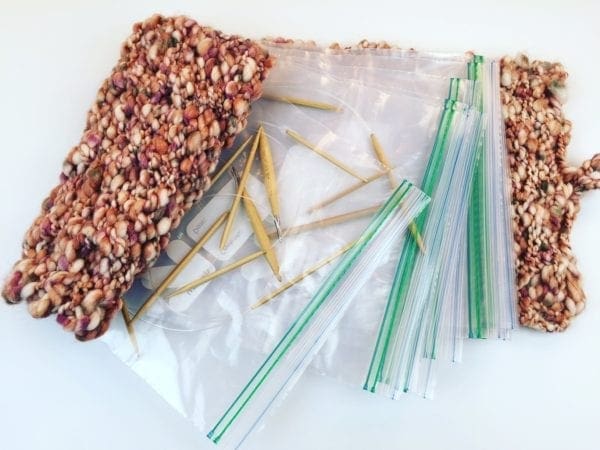
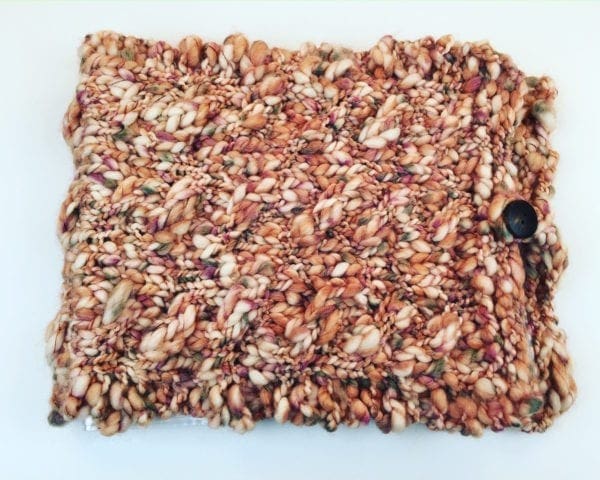
As my tool stash grows, though I’ve found that I also need to increase my container collection — even though I can’t necessarily see the floor of my office currently, come Spring this fact will change! This week’s project comes from that need. I also thought it would be fun to make a case for my Takumi Bamboo Circular Needles using a circular needle. I’m a nerd like that. And so, combined with other great, Clover tools I did just that. I knit-up a nubby, cushy, cable-y case to keep my stitchers safe. Here’s how you can make one, too!

Cabled Circular Needle Organizer
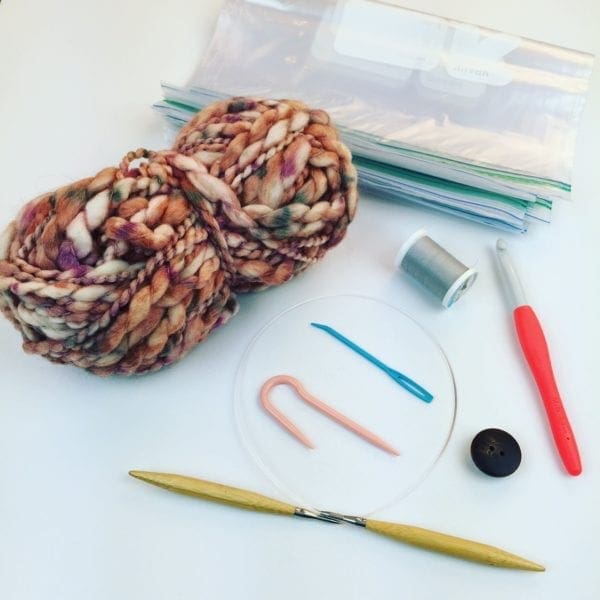
Materials
Approx 150 yds, Bulky (#6), Thick & Thin Yarn (I used this.)
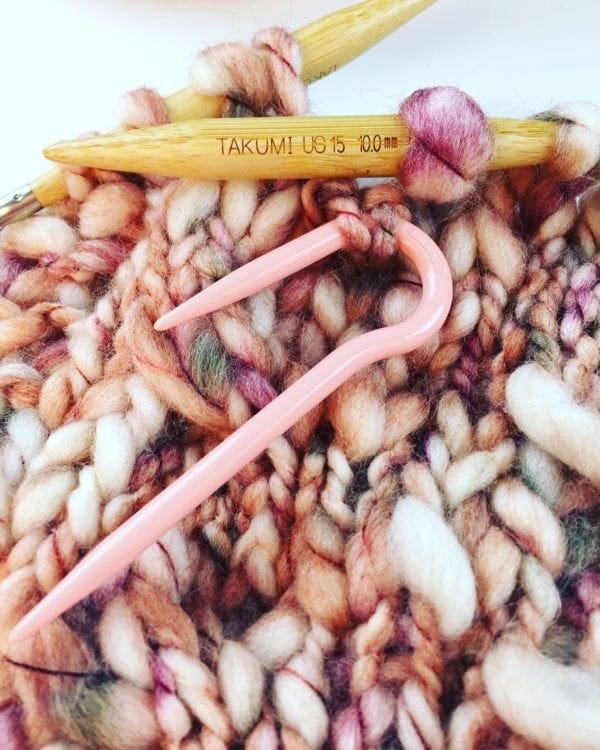
Size U.S. 15 (10 mm), Clover Takumi Bamboo Needles
Clover Jumbo Cable Needle
Clover Jumbo Tapestry NeedleLarge button
Coordinating sewing thread & needle
10, Gallon/3.78 L) freezer bags
11″ x 2″/28 cm x 5 cm piece of felt
Straight pins
Sewing machine (Optional)
Wonder Clips (Optional)
Finished Measurements
Approx 12″ x 28″/30.5 x 71 cm

Gauge
8 sts x 12 rows = 4″/10 cm in Stockinette Stitch
Special Stitch: C4F: Cable 4 Front
Slip 2 sts onto cable needle and let them fall to the front of work; knit next 2 sts; knit sts from cable needle.
Directions
CO 24.
Rows 1-5: Knit.
Row 6: Purl.
Row 7 (RS): P2, K2, *C4F, k2; rep from *, twice more, p2.

Rows 8 & 10: Purl.
Rows 9 & 11: P2, k to last 2, p2.
Row 12: Purl.
Rep Rows 7-12 until piece measures 27″/68.5 cm.
Rep Rows 7-10, once more.
Knit 4 rows.
BO.
Finishing
Block piece. This is important to get measurements!
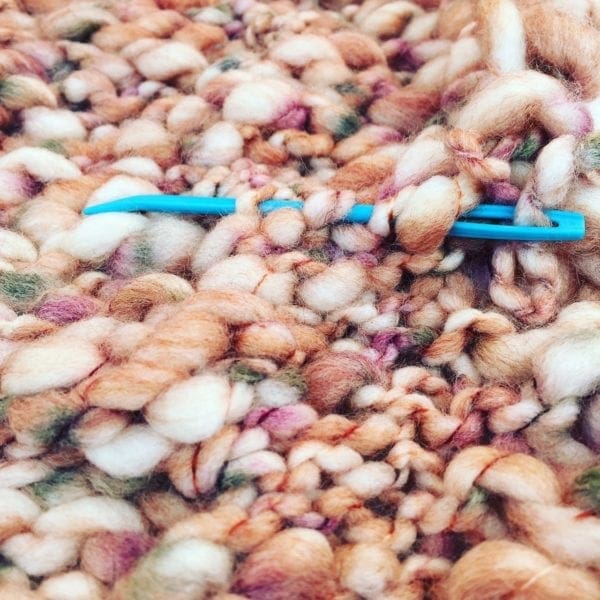
Create button loop: Using crochet hook and a slip stitch, join yarn at top-center (short) edge of what will be the back of your organizer. Crochet a chain long enough to go around desired button; slip stitch in the same space where you began to create loop. Fasten off.
Weave in ends.
Sew button on corresponding area of top-center edge of what will be the front of your organizer.
Assemble needle pouches:
- Separate freezer bags into two piles of 5.
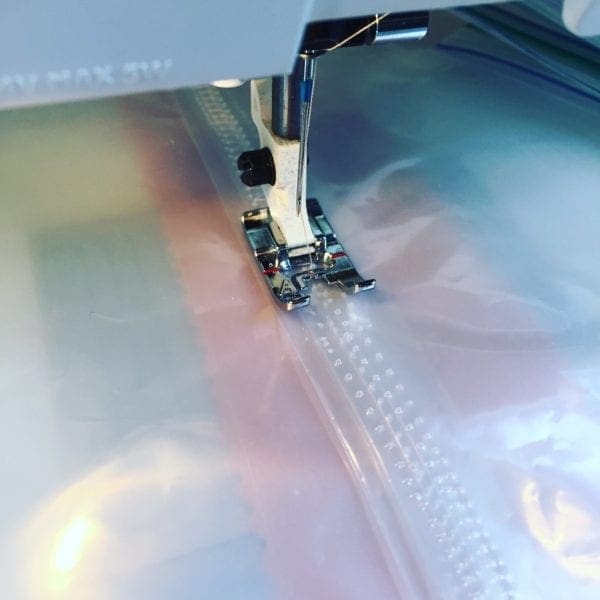
- About 1/2″/1 cm from the bottom edges, hand or machine (using zigzag stitch) sew one pile to center of felt piece; repeat process with second pile, but overlapping bag bottoms facing the opposite direction (think about the pages of a book, if it were laying open.) Tip: The Wonder Clips are really helpful for holding bags in place!
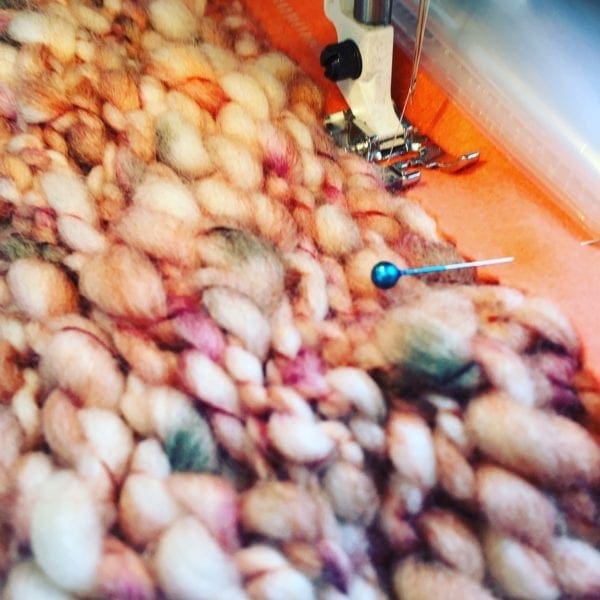
- Pin felt piece with attached bags to inside-center of knitted piece (it will ultimately be folded lengthwise). Taking it very slowly, hand or machine (zigzag stitch) sew to knit piece. You’ll need two seams; one on either side of where bags are sewn to felt.
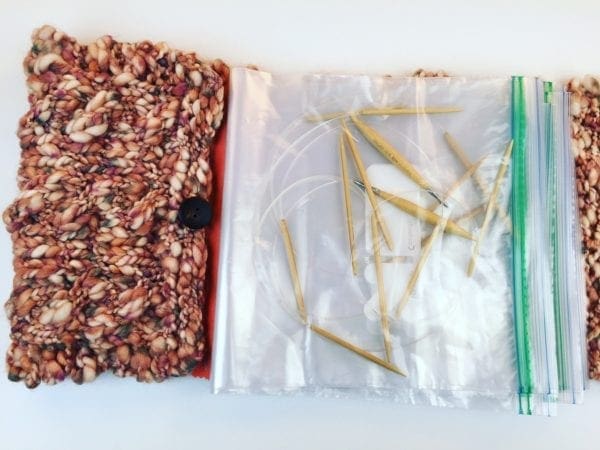
You’re done! Check you out, you multi-crafting wonder! Now gather your Takumi Bamboo Circular Needles and get to filling those pouches. Now your needles will have a cozy home, fit for a knitted king!
Enjoy!
xx,
Vickie
Yarn Arts Ambassador, Clover Needlecraft
Psst! Can’t remember some of the knitting basics? Check out my Get Schooled: Knitting series of videos on YouTube for help!